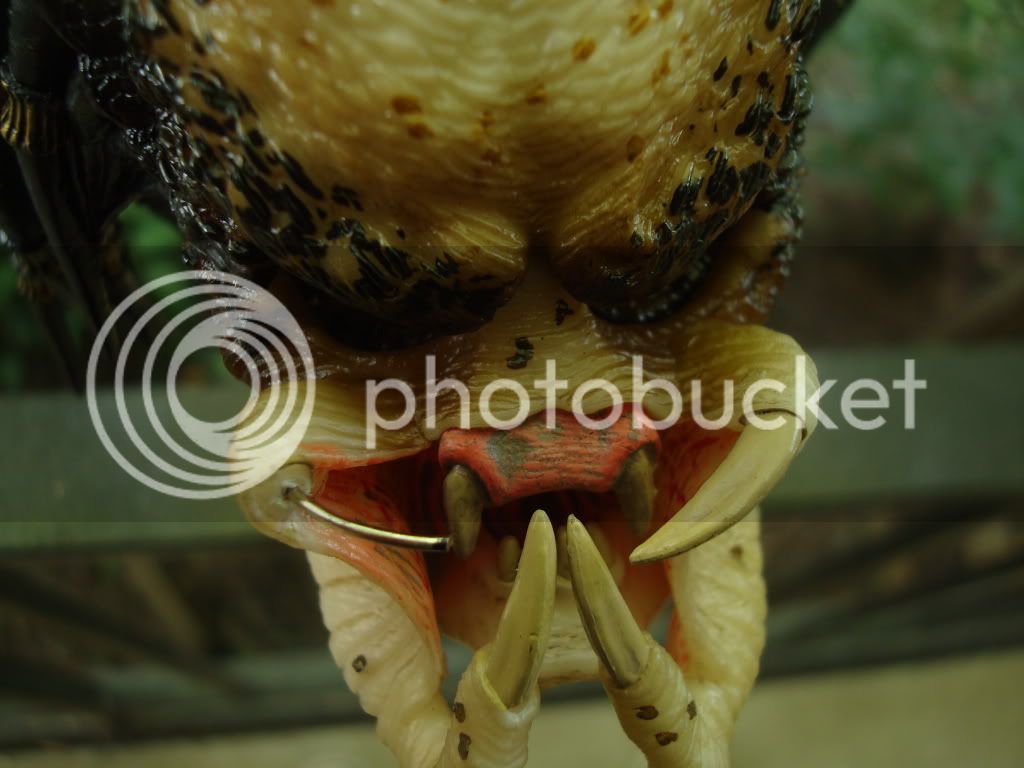
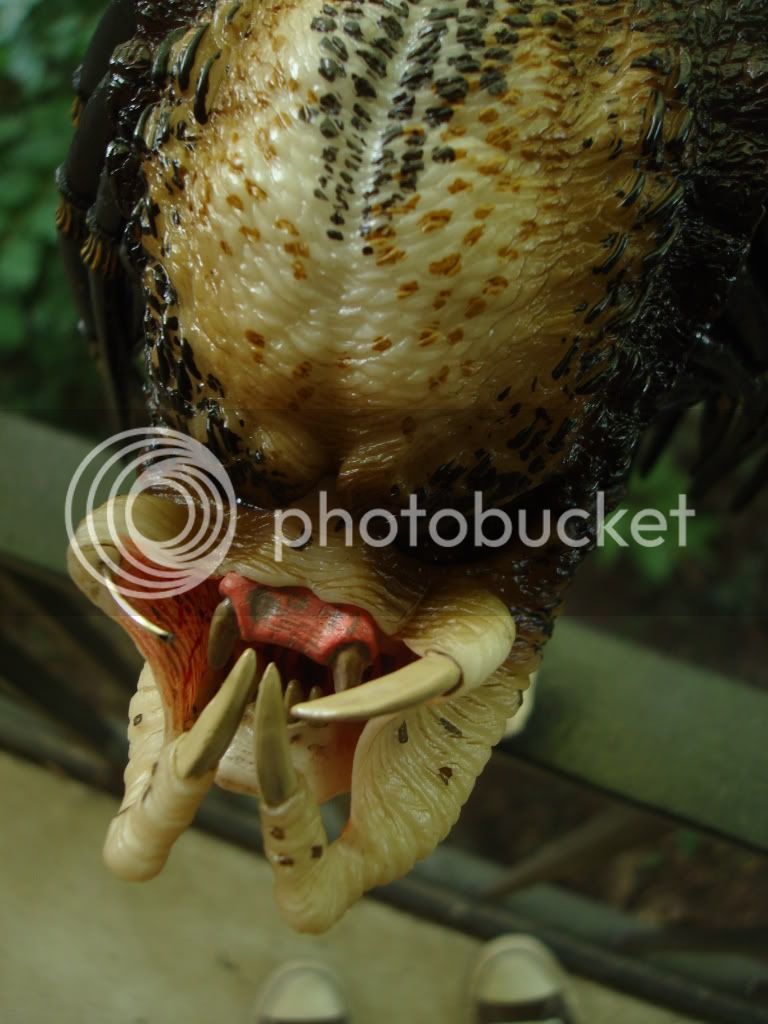
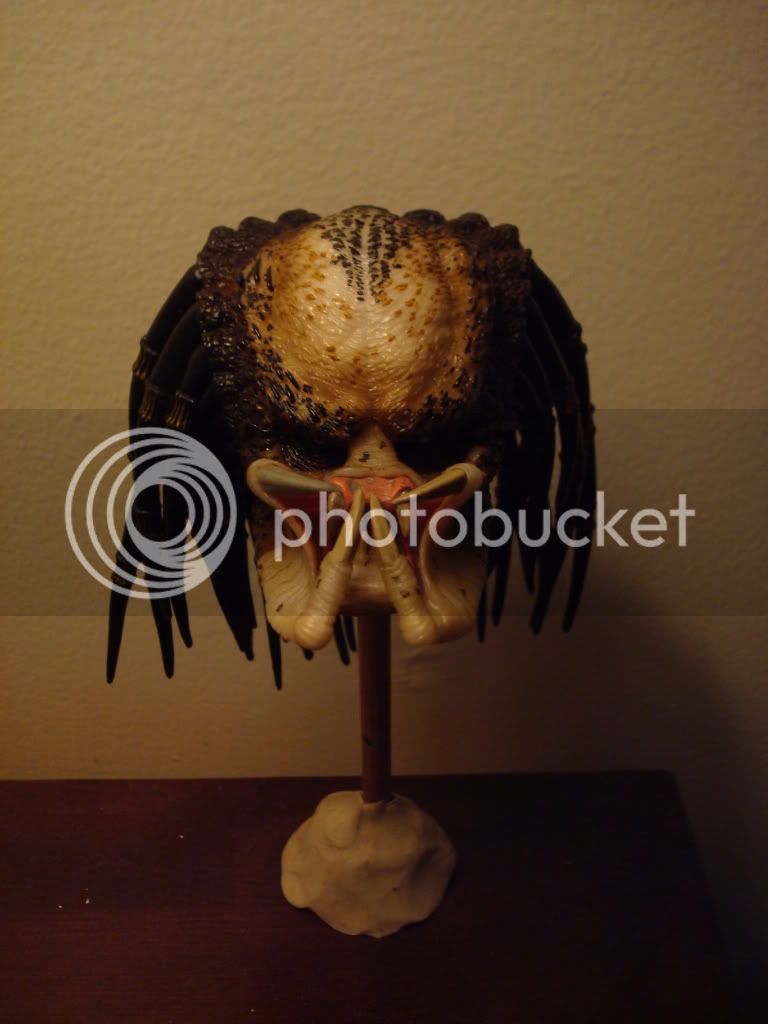
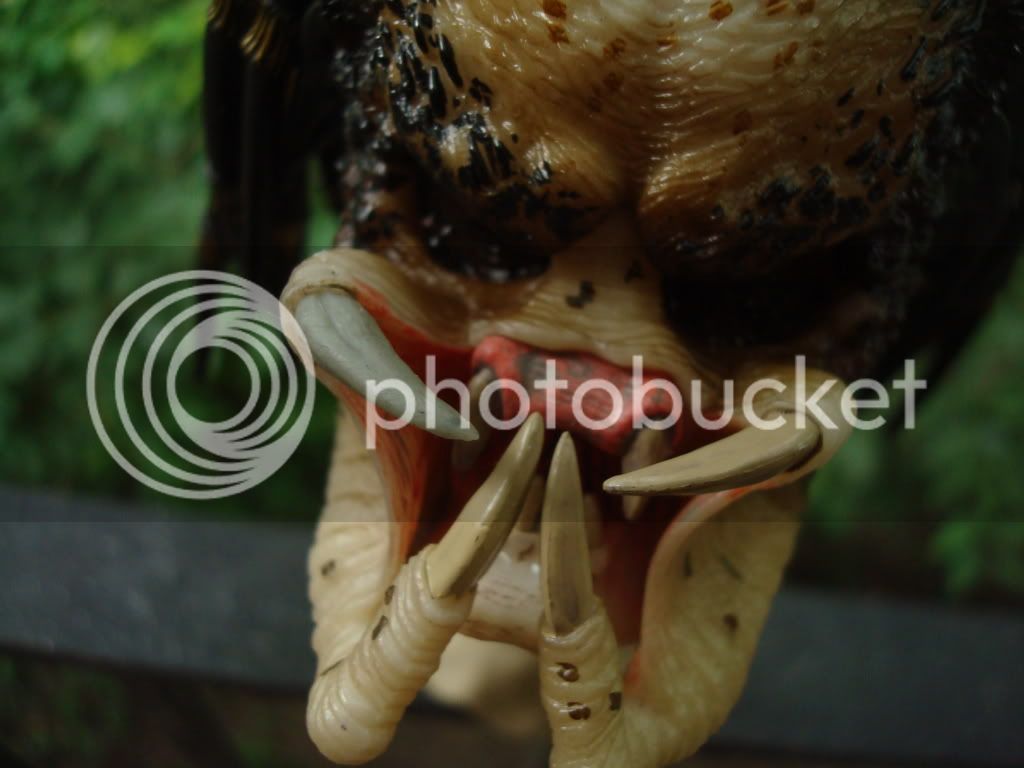
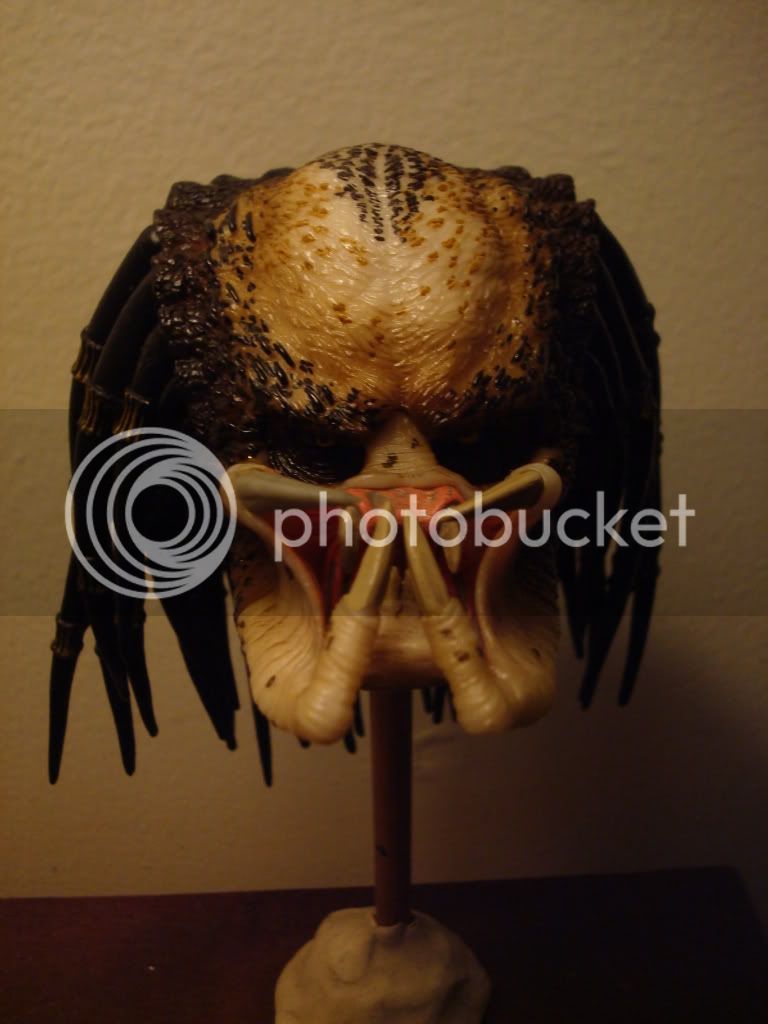
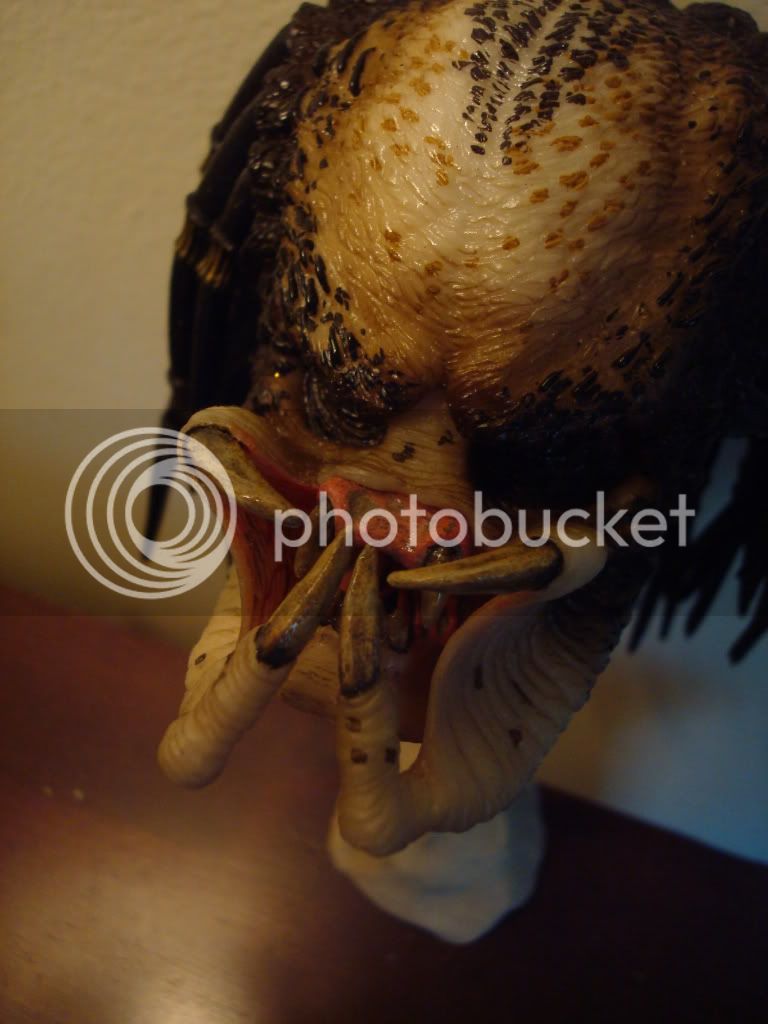
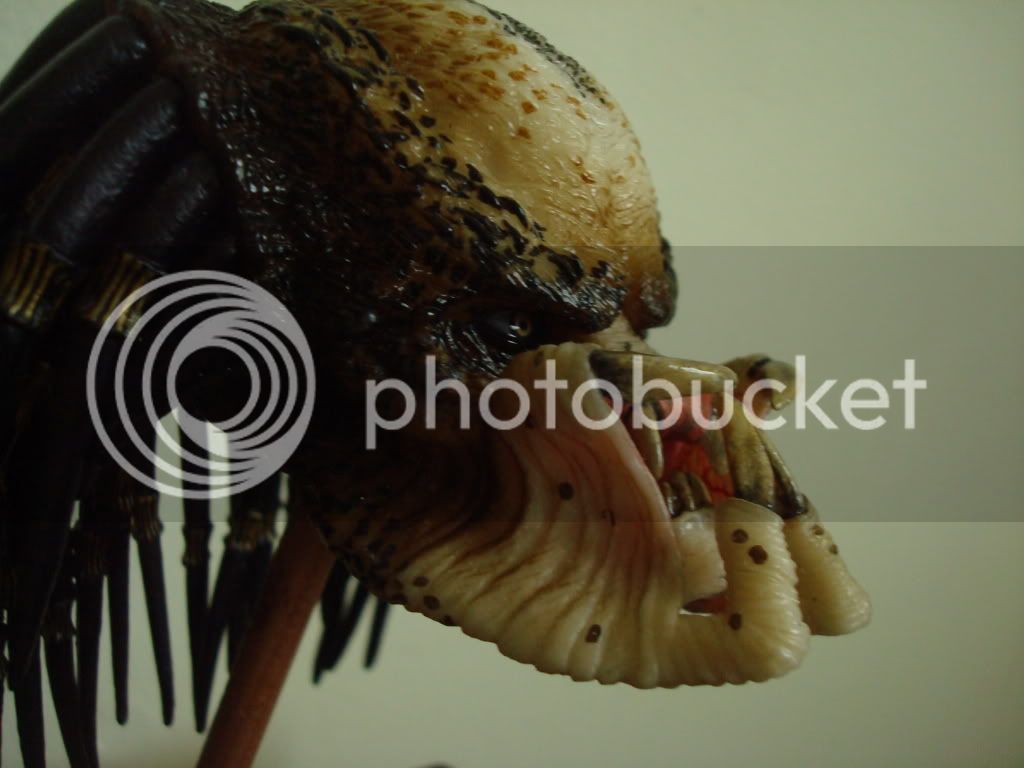
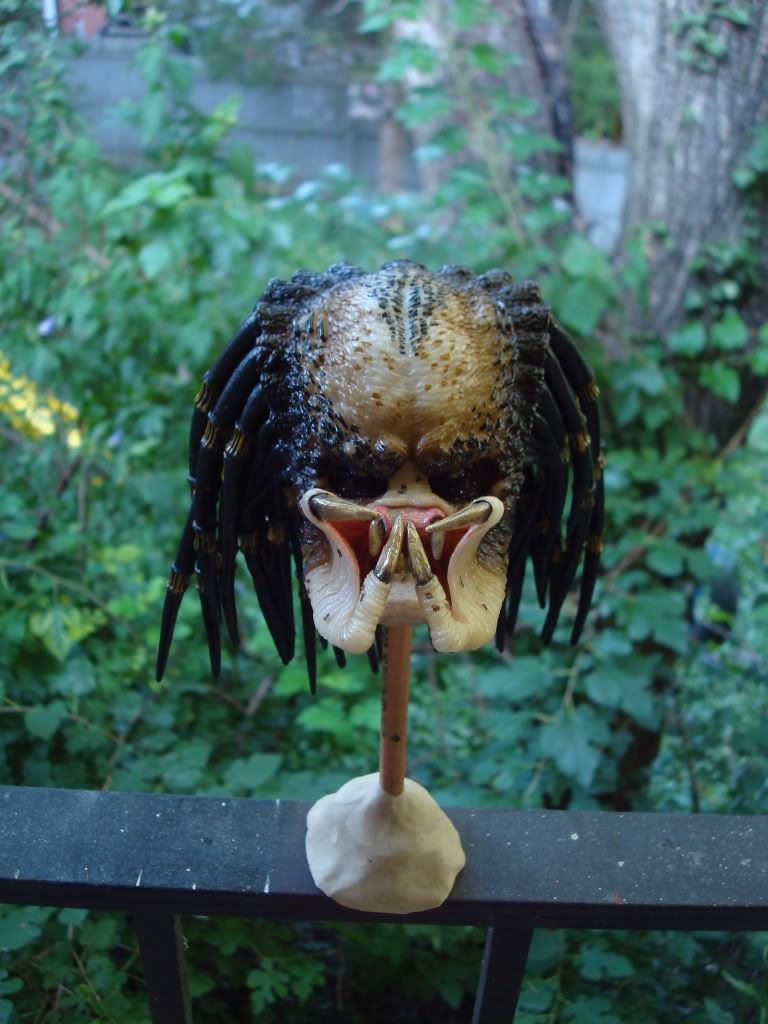
I wanted to share my method for fixing a mandible that has broken of your 1/4 Neca Predator! First of all, I contemplated sending it back but was offered partial refund so I opted to fix it!
-The first step I took was finding a metal rod thin enough yet still rigid enough to hold shape. I ended up using a sewing needle!
-I marked the needle with a sharpie to determine how far in I wanted the needle to go. I went about .25"
-The next step was to hammer the needle in so it would be a snug fit. ( Being careful not to hammer to hard and possibly damaging the rest of the head)
-After that, I carefully removed it with pliers and began bending it to the proper curvature.
-I gave it a slight raised look also to appear more dramatic and not so symmetrical.
-Once that was done, I used E-6000 adhesive on the tip of the needle and worked it back in the jaw with pliers.
-I also applied a bit of E-6000 to the outside part of the jaw where the needle inserts. Just for a little extra security.
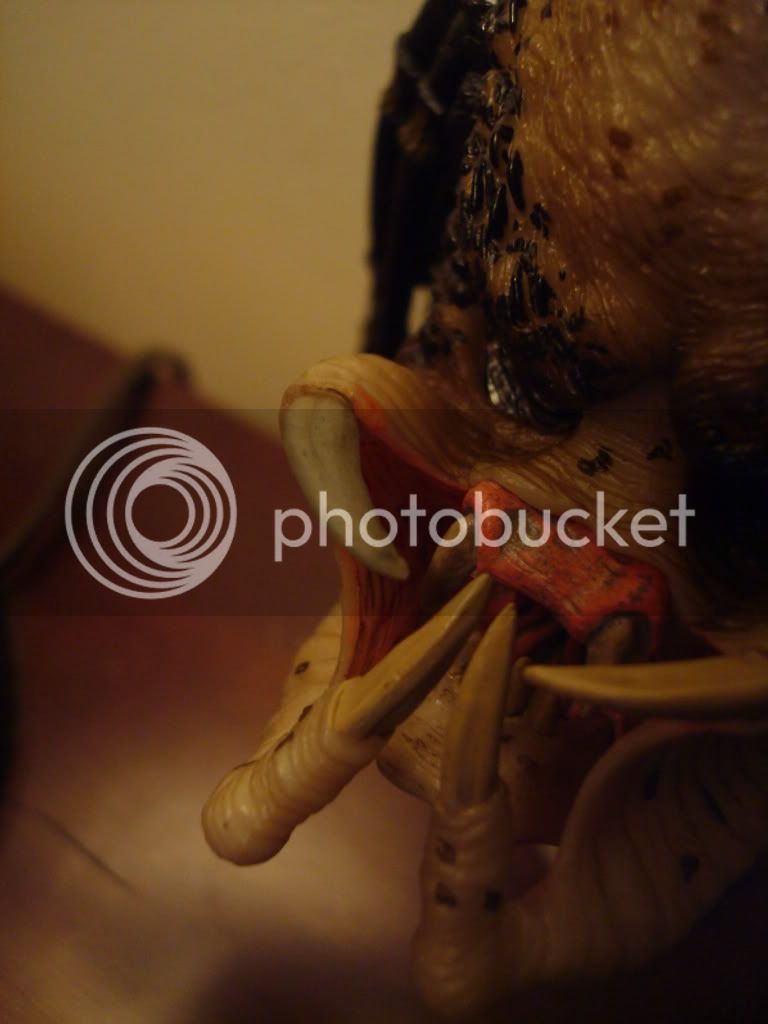
-After this came the sculpting stage. I used Epoxy Sculpt to form a rough shape over the needle. Careful to get most of the shape as close as possible.
-Once this dries completely I will clean up the mandible with small sanding files such as making the top a bit more narrow and then begin the painting and repainting of the other mandibles.
I will continue to post more WIP pics as I get further. I just wanted to show my method in case others have had this happen or may ever! Here are some pics of the process so far. Enjoy and I hope this helps. Stay tuned for more pics soon.


Last edited:


