actionfiguremovies
Super Freak
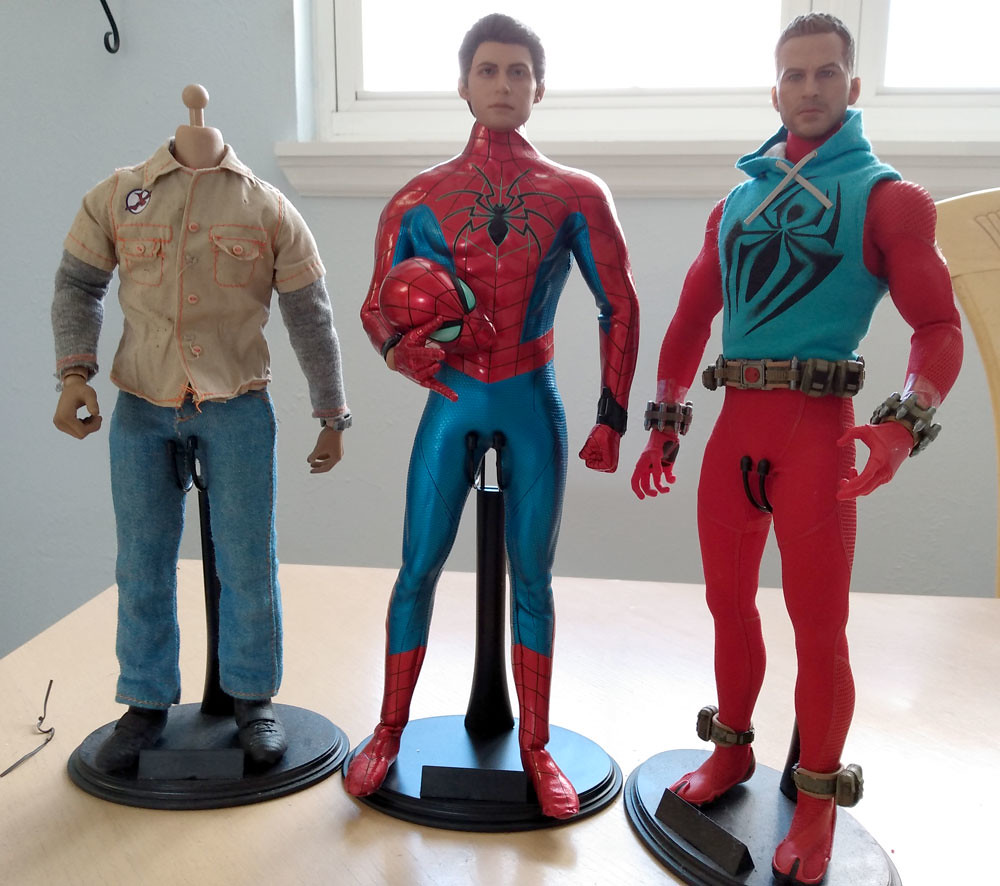
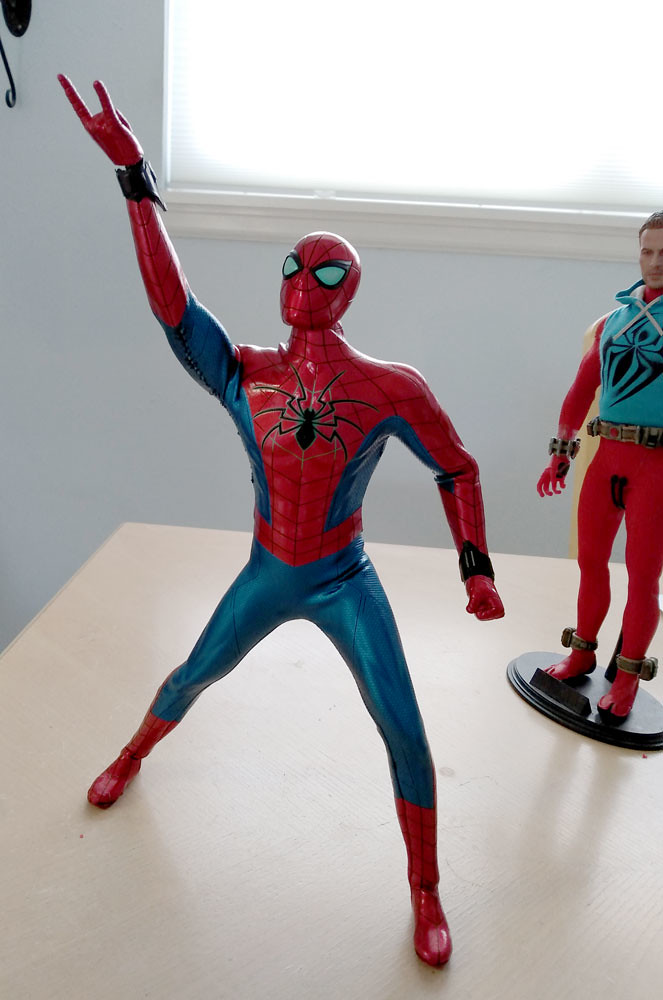
I thought it might be good to show what it takes to do a TbLeague body swap on a Hot Toys Armor Spider-Man MK IV step by step. This will be a work in progress, so as parts come in, I will update this post. So lets get started.
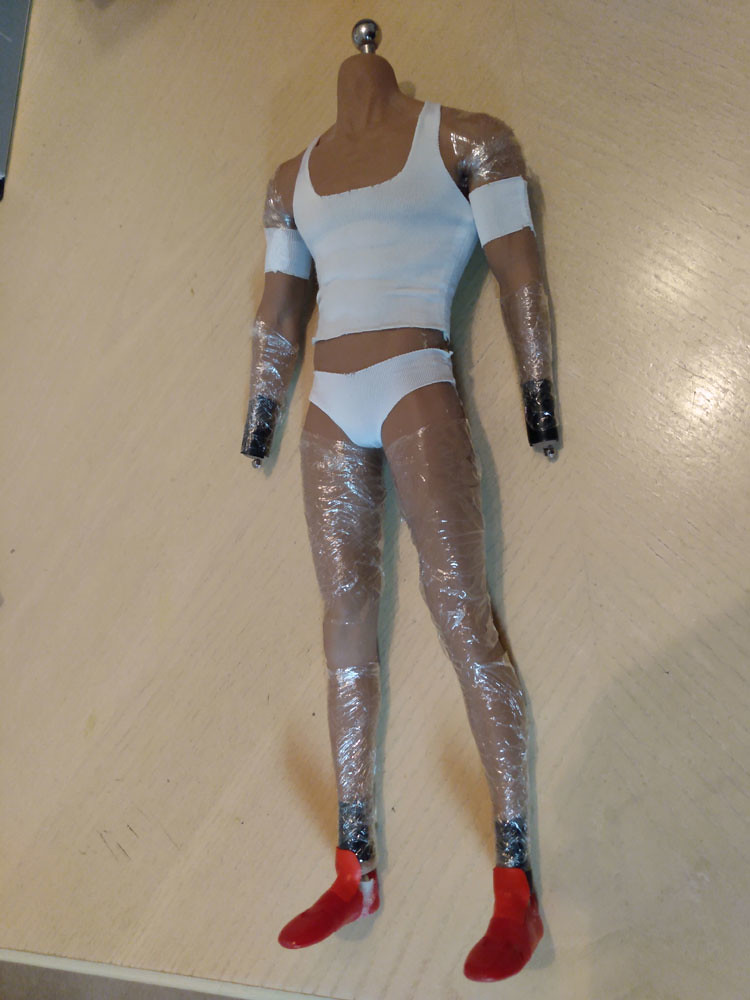
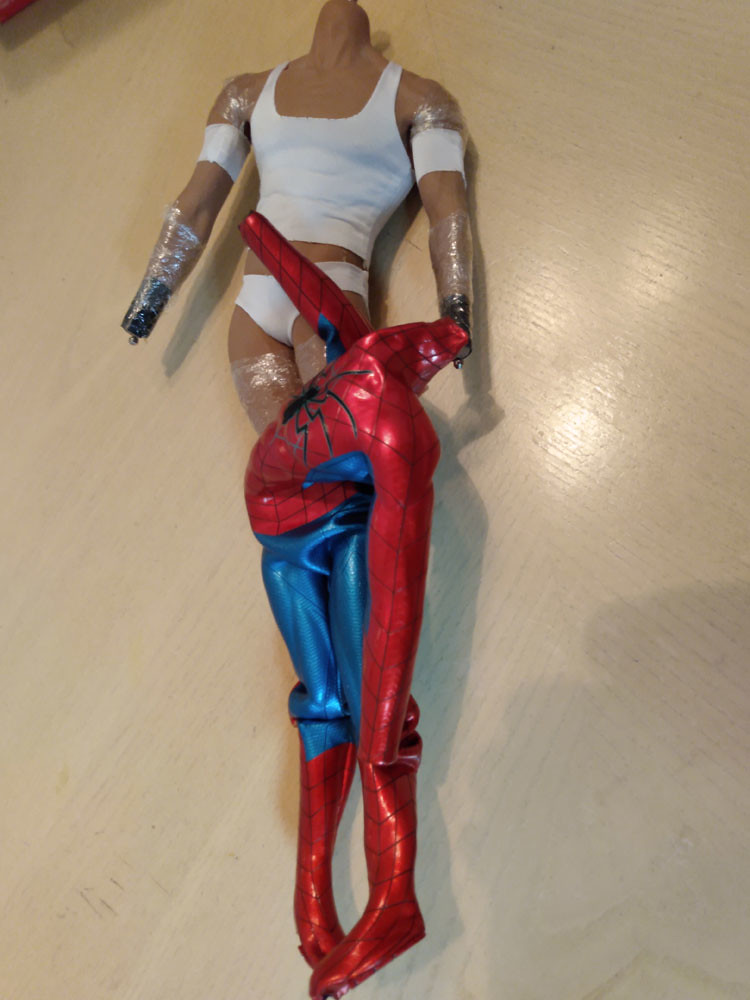
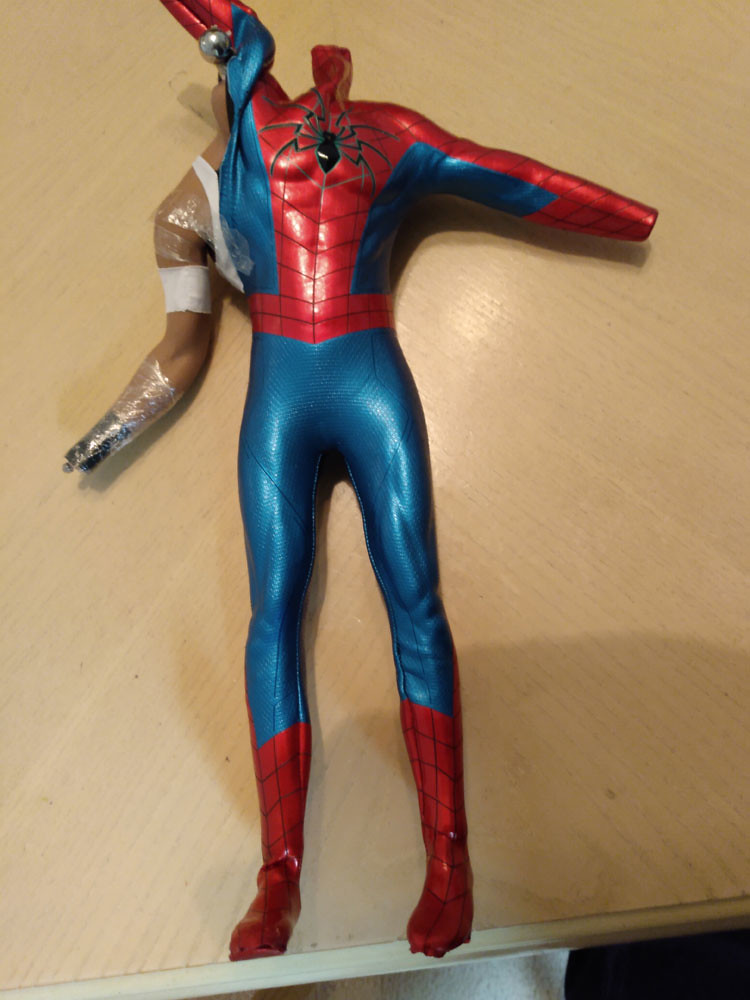
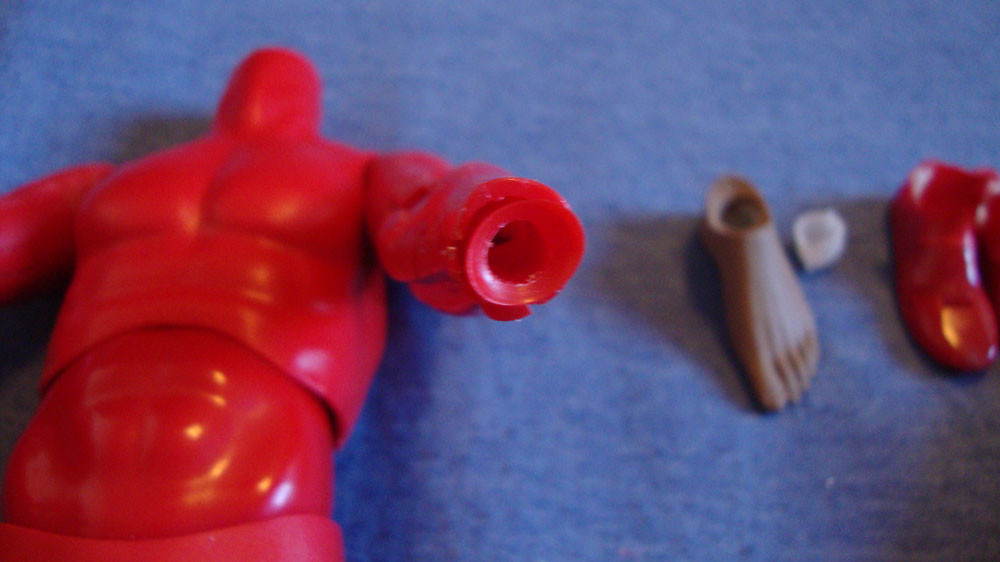
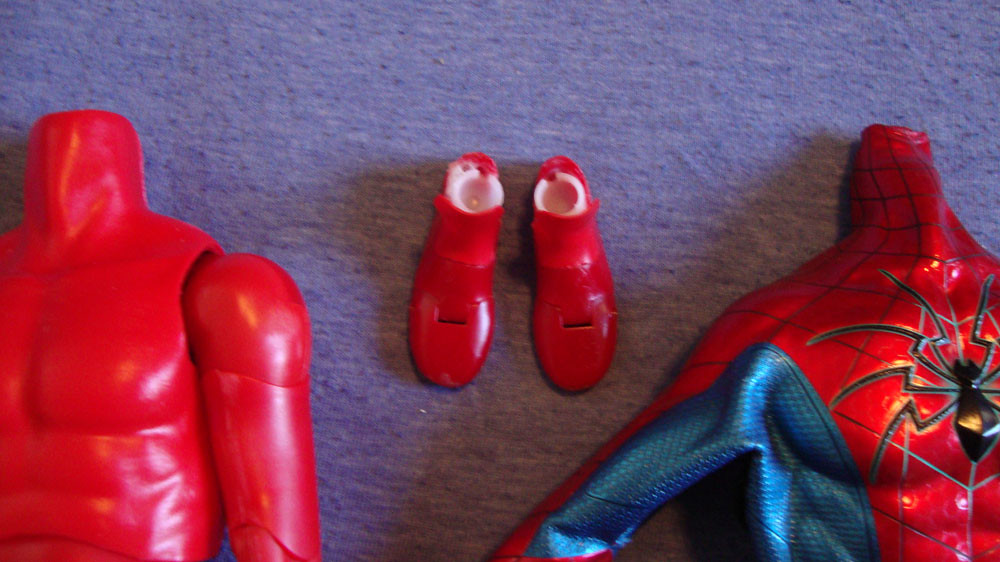
Here's what we have so far. The Red body is the original Hot Toys Spider-Man body. You will notice that there are quite a few differences compared to a standard HT body. Neck, wrist connectors and ankle joints.
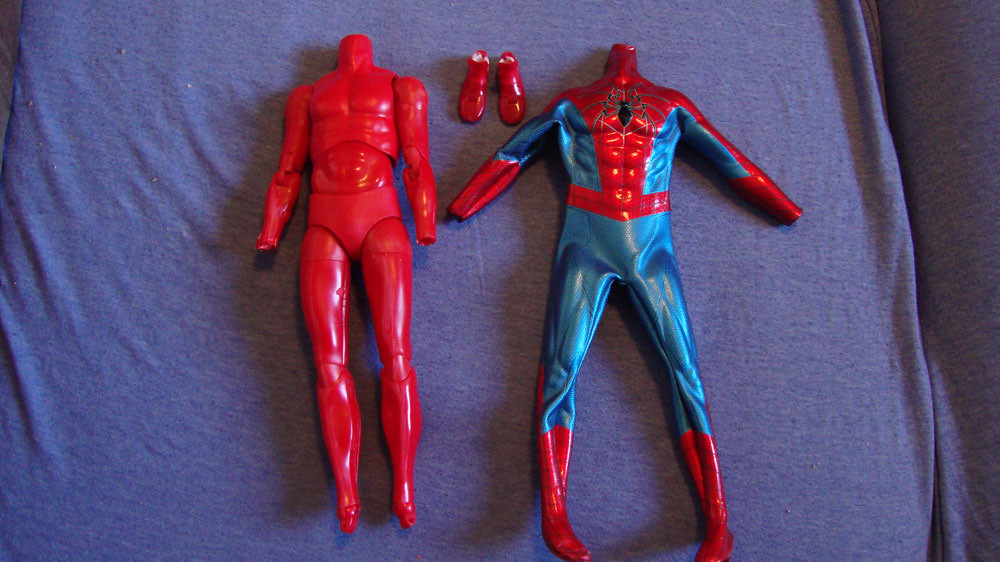 DSC09960 by A.F.M. Productions, on Flickr
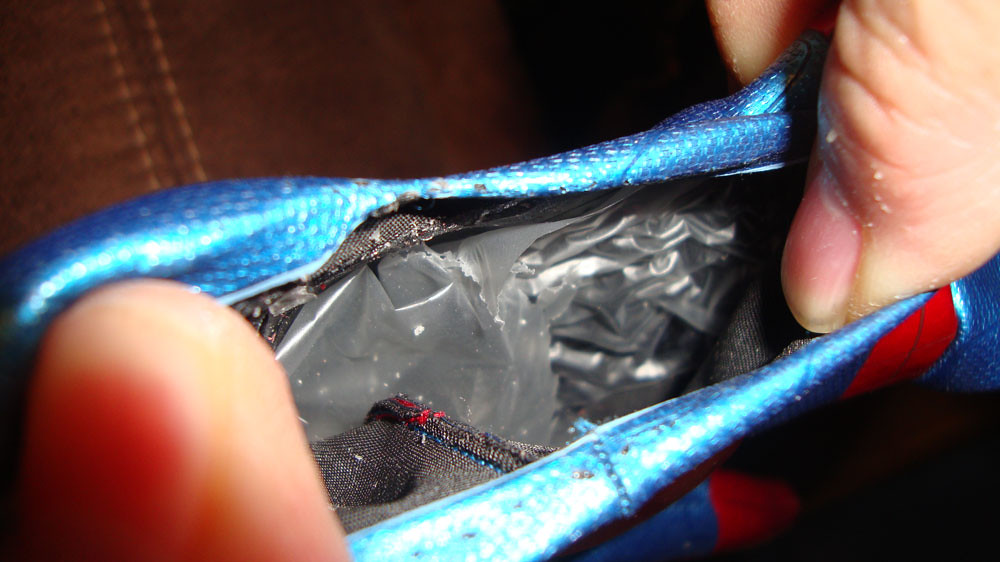
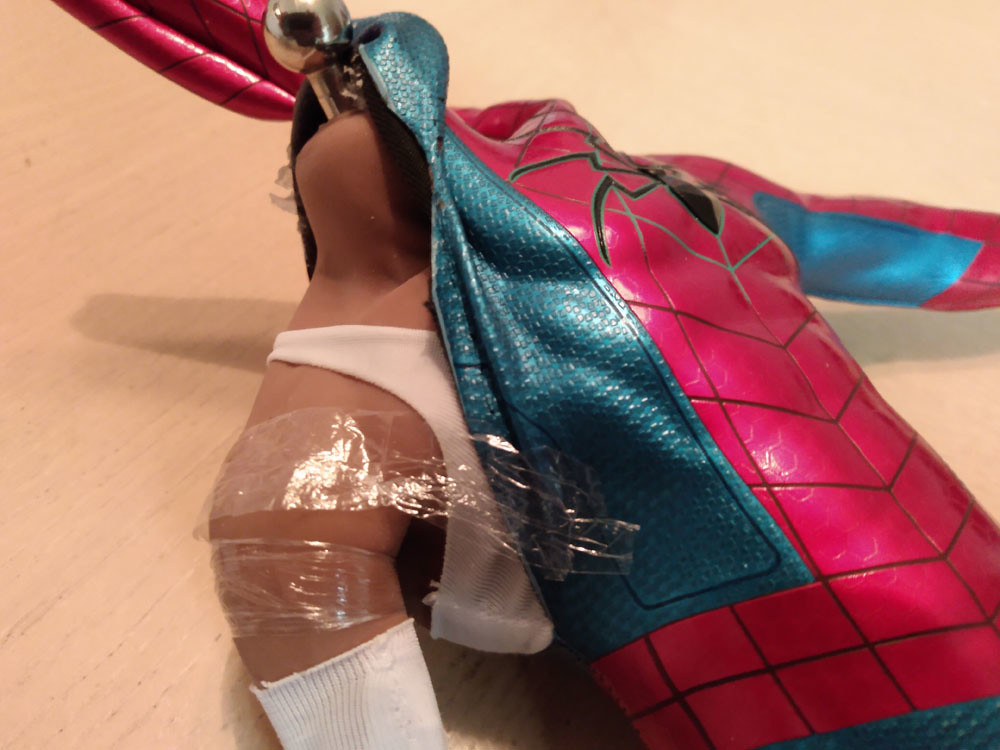
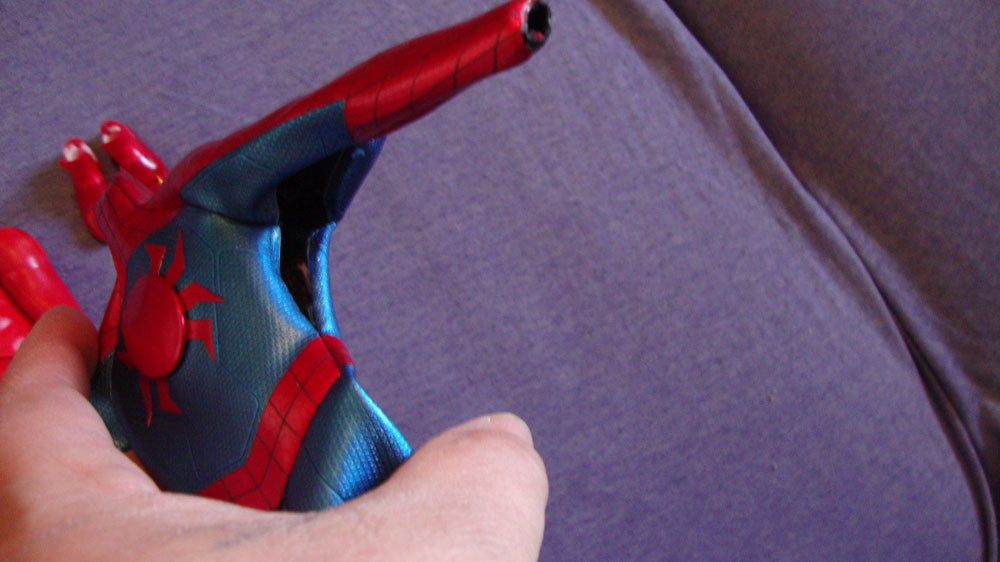
You will need to cut the seam on the suit to remove the body. Since Hot Toys started sewing their suit up years ago, cutting them out is the only way to remove the suits. (Boy, do I miss the age of zippers and Velcro). Anyway, cut along the Right side. This is what they do to sew the character into the suit. The stitching looks different from the other Left side and is usually space wider than the original stitching on the other Right side.
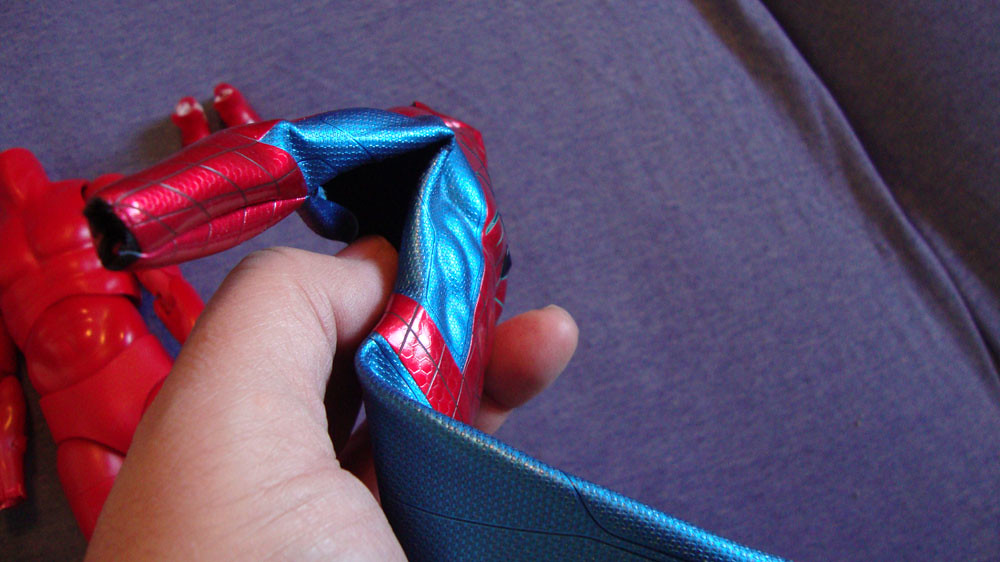 DSC09962 by A.F.M. Productions, on Flickr
 DSC09963 by A.F.M. Productions, on Flickr
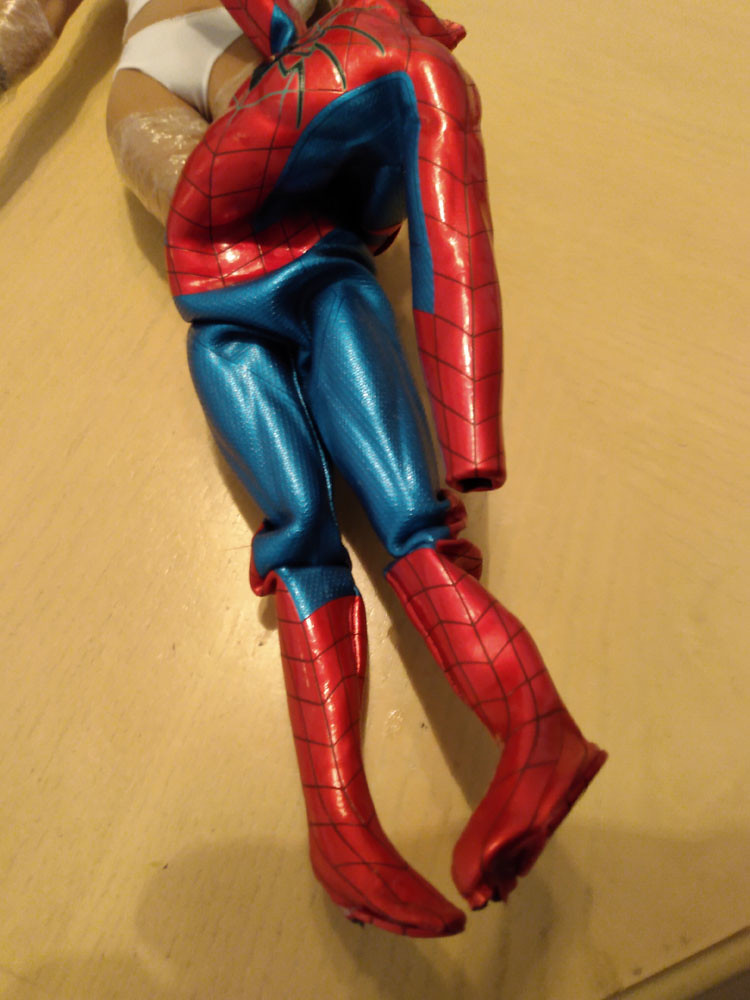
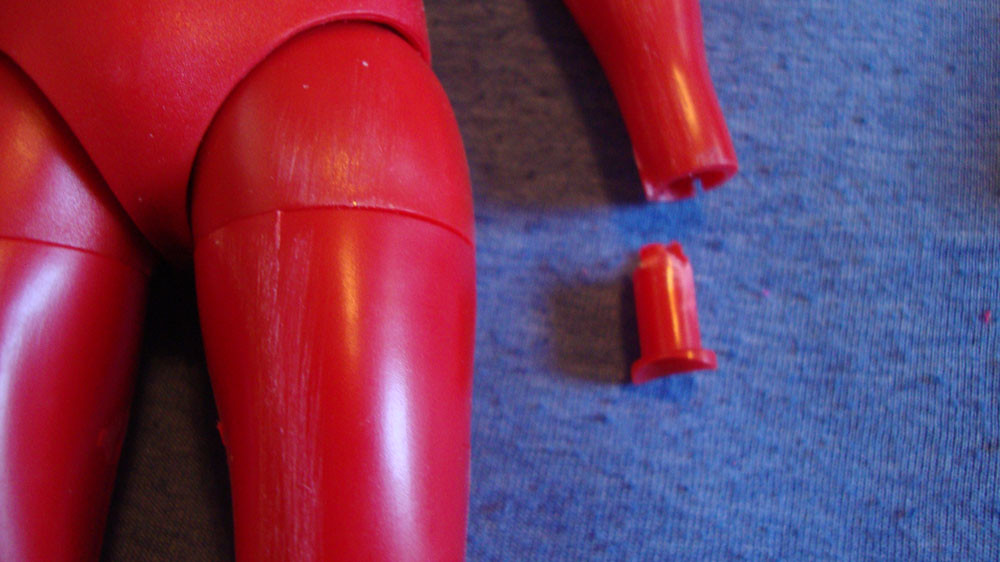
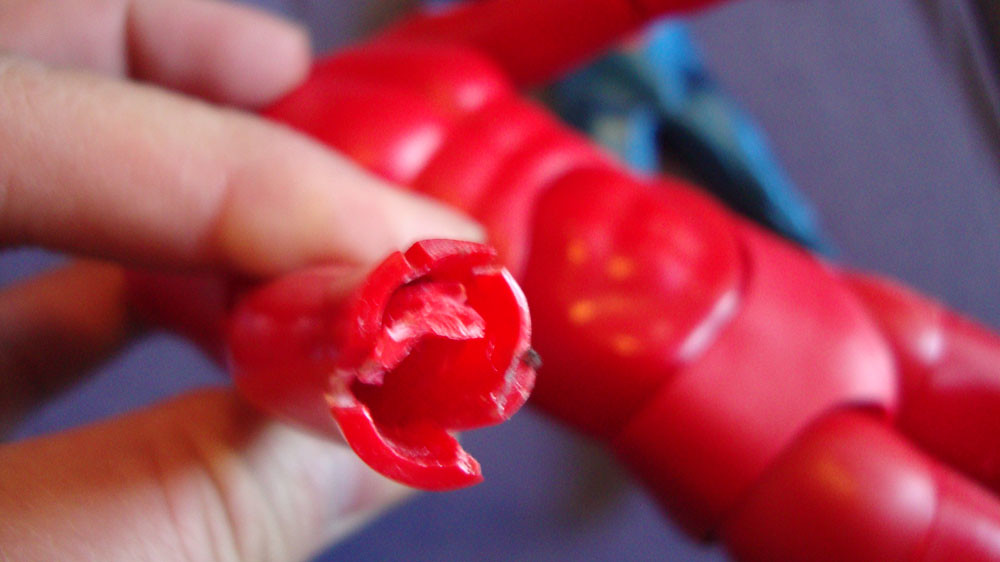
Next you will have to drill out the neck and wrist pegs as the suit is tucked into them. Do this slowly. You do not want to damage the suit. Once it's pulled away, just take it out and lay it to one side. You will not need it again. WHen the Neck and wrist connectors are removed, you can take the suit off the body..
 DSC09970 by A.F.M. Productions, on Flickr
 DSC09971 by A.F.M. Productions, on Flickr
 DSC09967 by A.F.M. Productions, on Flickr
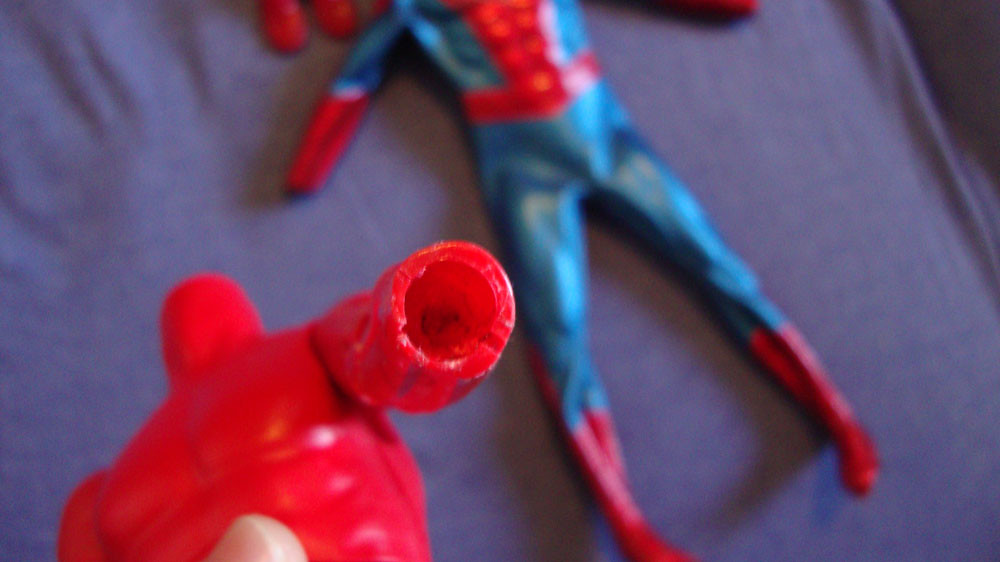 DSC09966 by A.F.M. Productions, on Flickr
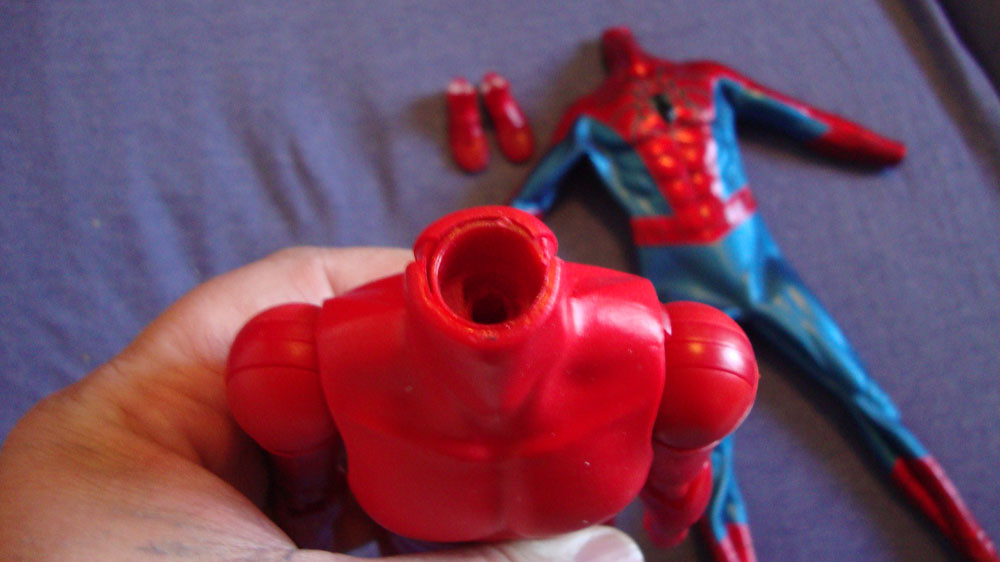 DSC09965 by A.F.M. Productions, on Flickr
Pull the suit down to the feet Expose the ankle and heel. Next you will have to unscrew the ankle from the feet. It's one long screw and a small Philip's head screw driver will do the trick.
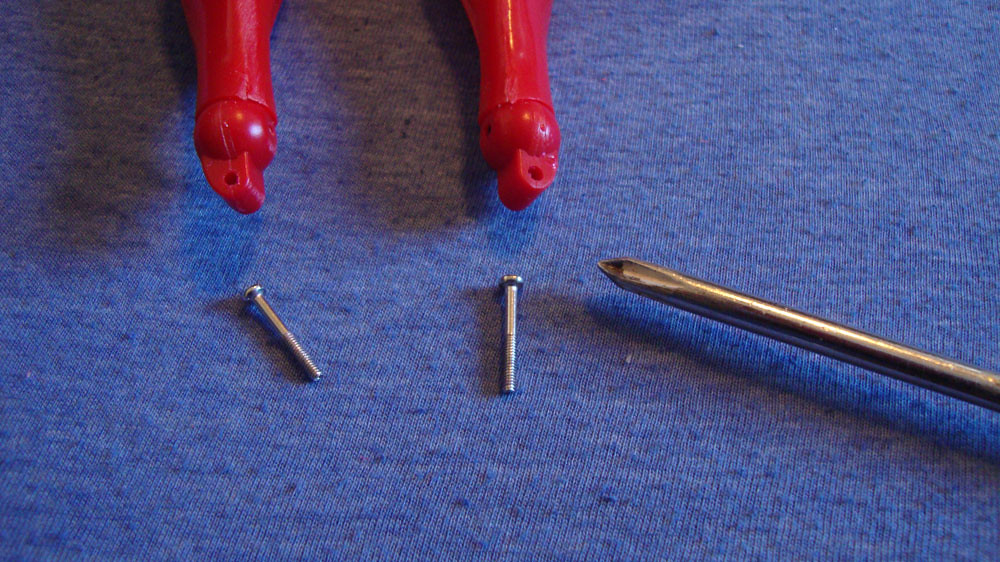 DSC09969 by A.F.M. Productions, on Flickr
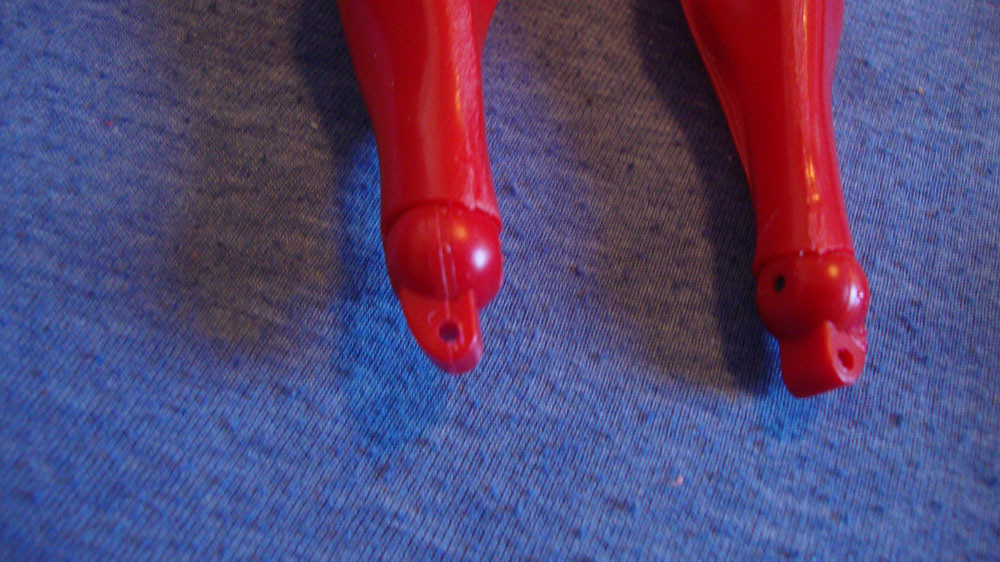 DSC09964 by A.F.M. Productions, on Flickr
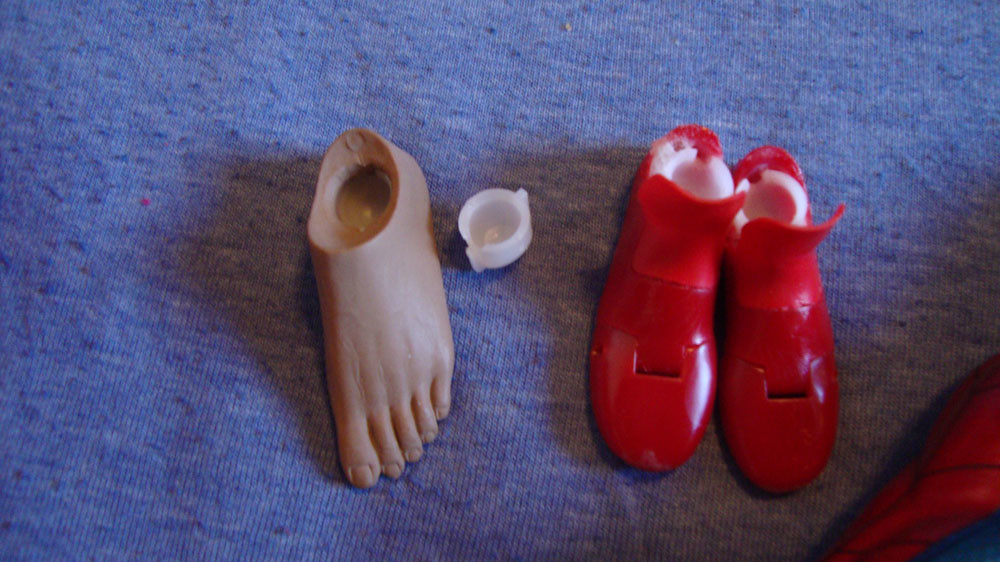
The next thing I did was remove the red shoe feet, but learned that this is not necessary. You can leave them in the suit. I was going to just put standard feet in their place but with a little modding, the red shoe feet work and look better. I'll show this in the next pictures.
 DSC09968 by A.F.M. Productions, on Flickr
Here are the red shoe feet after the mod. I took a regular Tbleague foot and removed the white ankle connector by cutting both sides to the foot to peel the heel down. The white foot connector pops right out with ease. I did a little dremeling on the red shoe foot so I could super glue the Tbleague white ankle connector into the red shoe foot. Now it will attactch perfect to to the TbLeague M32 body with ease. This red shoe foot mod can be done without removing the feet from the suit like I did. The red shoe feet attach to the soles that are on the bottom of the suit. Live and learn.
 DSC09961 by A.F.M. Productions, on Flickr
Okay,well that is all for now. I'm still waiting for my M32 body to show up. Should be here any day. So keep an eye out for future post. i hope this has been helpful for your future body swap. Feel free to ask questions if something was not clear.
Here's what we have so far. The Red body is the original Hot Toys Spider-Man body. You will notice that there are quite a few differences compared to a standard HT body. Neck, wrist connectors and ankle joints.
 DSC09960 by A.F.M. Productions, on Flickr
You will need to cut the seam on the suit to remove the body. Since Hot Toys started sewing their suit up years ago, cutting them out is the only way to remove the suits. (Boy, do I miss the age of zippers and Velcro). Anyway, cut along the Right side. This is what they do to sew the character into the suit. The stitching looks different from the other Left side and is usually space wider than the original stitching on the other Right side.
 DSC09962 by A.F.M. Productions, on Flickr
 DSC09963 by A.F.M. Productions, on Flickr
Next you will have to drill out the neck and wrist pegs as the suit is tucked into them. Do this slowly. You do not want to damage the suit. Once it's pulled away, just take it out and lay it to one side. You will not need it again. WHen the Neck and wrist connectors are removed, you can take the suit off the body..
 DSC09970 by A.F.M. Productions, on Flickr
 DSC09971 by A.F.M. Productions, on Flickr
 DSC09967 by A.F.M. Productions, on Flickr
 DSC09966 by A.F.M. Productions, on Flickr
 DSC09965 by A.F.M. Productions, on Flickr
Pull the suit down to the feet Expose the ankle and heel. Next you will have to unscrew the ankle from the feet. It's one long screw and a small Philip's head screw driver will do the trick.
 DSC09969 by A.F.M. Productions, on Flickr
 DSC09964 by A.F.M. Productions, on Flickr
The next thing I did was remove the red shoe feet, but learned that this is not necessary. You can leave them in the suit. I was going to just put standard feet in their place but with a little modding, the red shoe feet work and look better. I'll show this in the next pictures.
 DSC09968 by A.F.M. Productions, on Flickr
Here are the red shoe feet after the mod. I took a regular Tbleague foot and removed the white ankle connector by cutting both sides to the foot to peel the heel down. The white foot connector pops right out with ease. I did a little dremeling on the red shoe foot so I could super glue the Tbleague white ankle connector into the red shoe foot. Now it will attactch perfect to to the TbLeague M32 body with ease. This red shoe foot mod can be done without removing the feet from the suit like I did. The red shoe feet attach to the soles that are on the bottom of the suit. Live and learn.
 DSC09961 by A.F.M. Productions, on Flickr
Okay,well that is all for now. I'm still waiting for my M32 body to show up. Should be here any day. So keep an eye out for future post. i hope this has been helpful for your future body swap. Feel free to ask questions if something was not clear.


 :
: