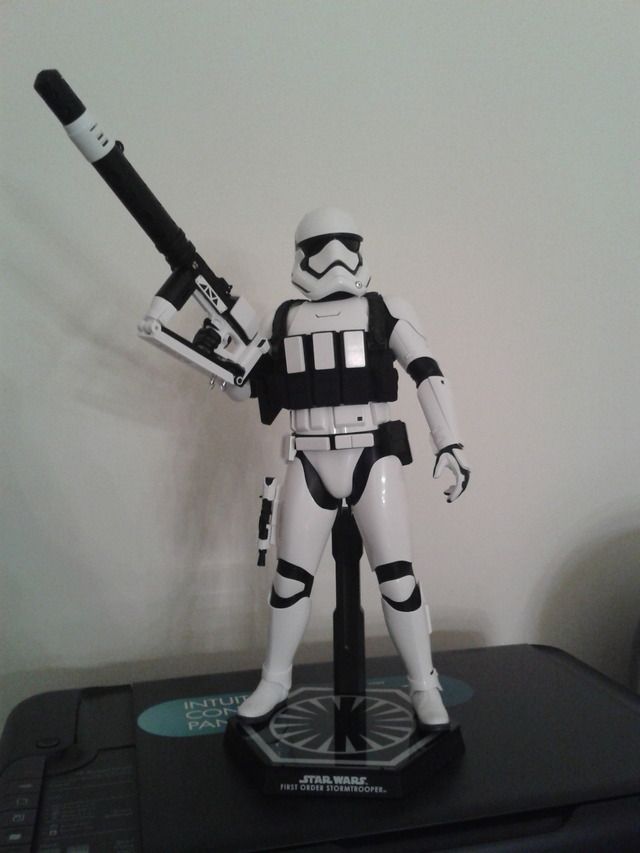
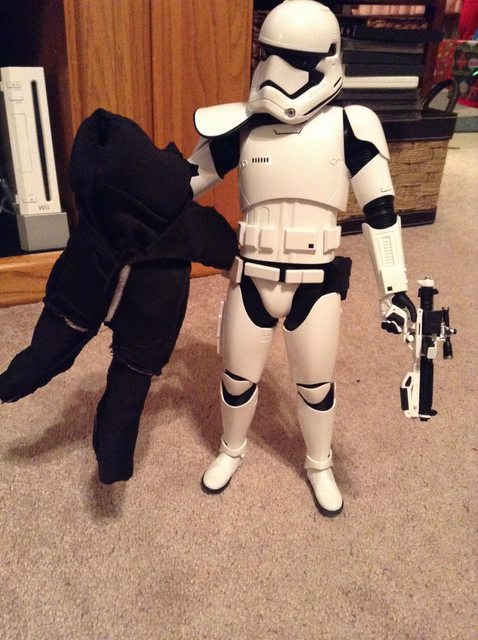
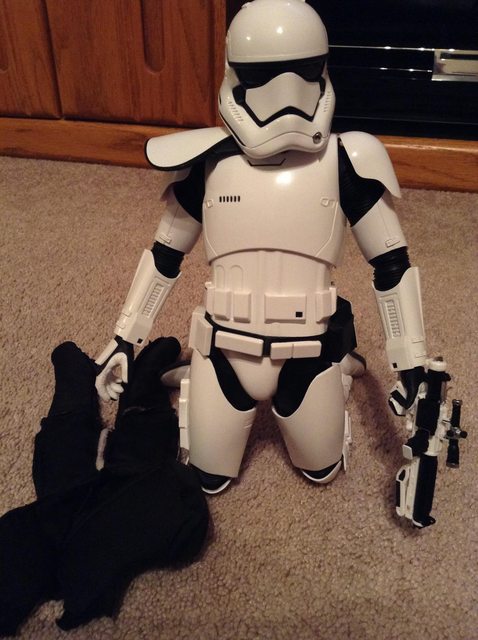
Here is my guide on how to remove the body suit on a First Order Stormtrooper. Removing the body suit gives the trooper greater flexibility and more dynamic poses. The armor is generally tight to the body. The belt is a bit loose and may sit lower than you would like it to, but I don't mind. Overall, fairly simple and may be self explanatory, but a friend needed instructions so I thought I would post this here in case anyone was curious or wanted to know how. Do this at your own risk though. I am not responsible if something breaks or if you are unhappy with the way the armor sits. Personally, I think the end results look good.
1. Remove all armor. Personally I decided to lay it out like this....
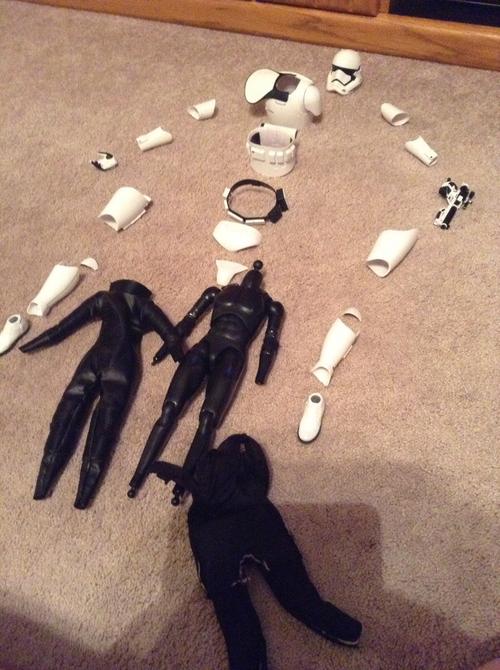
Just so I know what goes where when I reassemble the trooper.
I removed the head first, then the hands, lower arm armor, then upper arm armor. The upper arm armor will be a but tough to remove. It seems to get stuck at the elbow joints, but a firm pull will remove them.
Next was the feet, lower leg armor, the knee armor (these are attached using velcro, easy to remove and easy to put back on), then the upper leg armor.
Then came the crotch armor. These two pieces are attached using velcro. One in the back and one in the front. The front piece comes off easy, the back piece may be a bit tougher to remove.
Now slide the belt down, push the hips together and it will easily come off. No need to cut this.
Next is the chest armor with the pauldron. This piece will be glued on each side. Slowly pull one side apart and the black strip holding this together should come unglued and you can carefully remove the armor.
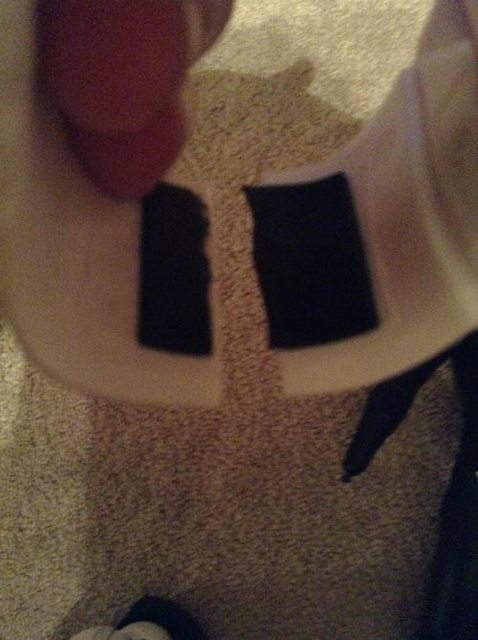
Next is the abdomen armor. This is where it could go wrong and you might create a lot of extra work. This is the hardest one to remove. Take a knife, insert it into the seal on the side. Begin to cut down until the black strip is cut threw and you can remove the armor. DO NOT CUT BOTH SIDES. DO NOT CUT BOTH SIDES. If you do, there will just be a lot of unneeded extra work for you. Now, you will NOT want to pry the armor off after making the cut. The other black side strip will be weakened and it will tear, causing the armor to split into two pieces. Slowly open it up, slip the figure out through the cut side and you are done. Here is a picture of the black strip cut. NOTE: You do not have to cut this if you can pull it apart. The glue may be weak enough on yours where it will simply will pull apart. Unfortunately on mine, I could not get it. So, choose which method you want to do, both will end with the same result.
Now that the armor is removed, unzip the armor suit. Getting the suit off the arms is a bit tough. You will want to pull the suit down and over the shoulder blades exposing the upper arms of the figure. Then pull the suit from each arm. Remove the left arm, then the right arm. Now that the arms are free, pull the rest of the way off. The material shouldn't rip, just be careful though. This should be removed and you will now see the fat suit. Remove this. Put the armor suit back on the figure (remember the zipper goes in the back). Make sure the armor suit is properly put on before reapplying the armor.
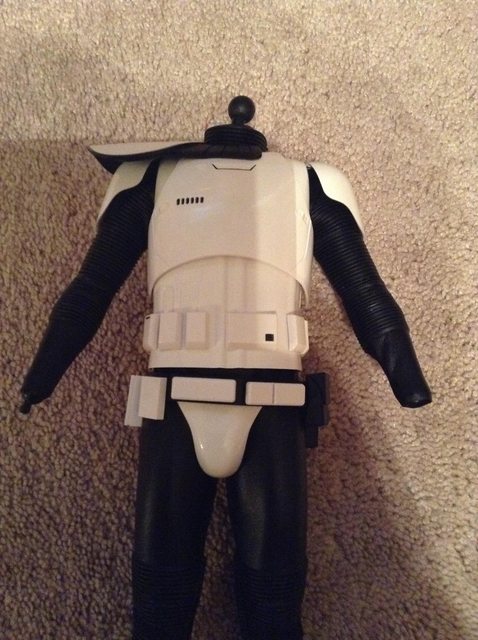
Reapplying the armor. Put the crotch pieces back on. Now the abdomen armor. Remember, the cylinder thing at the back off this armor should be pointing down and be sitting at the waste of the figure. If the cylinder is sitting mid back, this is wrong. You will not want to make this mistake as it will just cause more stress to the black strip that is holding this armor piece together. Apply the belt. You can slip it over the hips. Next is the chest armor. Here is how it should look thus far.
Reapply the upper arm armor, lower arm armor and hands. Reapply the upper leg armor, then the knee armor, lower leg armor, then the feet. Put the head back on and you are done. Took me about 30 minutes to do. I was being pretty cautious though and taking pics, probably could be done a bit quicker.
1. Remove all armor. Personally I decided to lay it out like this....

Just so I know what goes where when I reassemble the trooper.
I removed the head first, then the hands, lower arm armor, then upper arm armor. The upper arm armor will be a but tough to remove. It seems to get stuck at the elbow joints, but a firm pull will remove them.
Next was the feet, lower leg armor, the knee armor (these are attached using velcro, easy to remove and easy to put back on), then the upper leg armor.
Then came the crotch armor. These two pieces are attached using velcro. One in the back and one in the front. The front piece comes off easy, the back piece may be a bit tougher to remove.
Now slide the belt down, push the hips together and it will easily come off. No need to cut this.
Next is the chest armor with the pauldron. This piece will be glued on each side. Slowly pull one side apart and the black strip holding this together should come unglued and you can carefully remove the armor.
Next is the abdomen armor. This is where it could go wrong and you might create a lot of extra work. This is the hardest one to remove. Take a knife, insert it into the seal on the side. Begin to cut down until the black strip is cut threw and you can remove the armor. DO NOT CUT BOTH SIDES. DO NOT CUT BOTH SIDES. If you do, there will just be a lot of unneeded extra work for you. Now, you will NOT want to pry the armor off after making the cut. The other black side strip will be weakened and it will tear, causing the armor to split into two pieces. Slowly open it up, slip the figure out through the cut side and you are done. Here is a picture of the black strip cut. NOTE: You do not have to cut this if you can pull it apart. The glue may be weak enough on yours where it will simply will pull apart. Unfortunately on mine, I could not get it. So, choose which method you want to do, both will end with the same result.

Now that the armor is removed, unzip the armor suit. Getting the suit off the arms is a bit tough. You will want to pull the suit down and over the shoulder blades exposing the upper arms of the figure. Then pull the suit from each arm. Remove the left arm, then the right arm. Now that the arms are free, pull the rest of the way off. The material shouldn't rip, just be careful though. This should be removed and you will now see the fat suit. Remove this. Put the armor suit back on the figure (remember the zipper goes in the back). Make sure the armor suit is properly put on before reapplying the armor.
Reapplying the armor. Put the crotch pieces back on. Now the abdomen armor. Remember, the cylinder thing at the back off this armor should be pointing down and be sitting at the waste of the figure. If the cylinder is sitting mid back, this is wrong. You will not want to make this mistake as it will just cause more stress to the black strip that is holding this armor piece together. Apply the belt. You can slip it over the hips. Next is the chest armor. Here is how it should look thus far.

Reapply the upper arm armor, lower arm armor and hands. Reapply the upper leg armor, then the knee armor, lower leg armor, then the feet. Put the head back on and you are done. Took me about 30 minutes to do. I was being pretty cautious though and taking pics, probably could be done a bit quicker.


