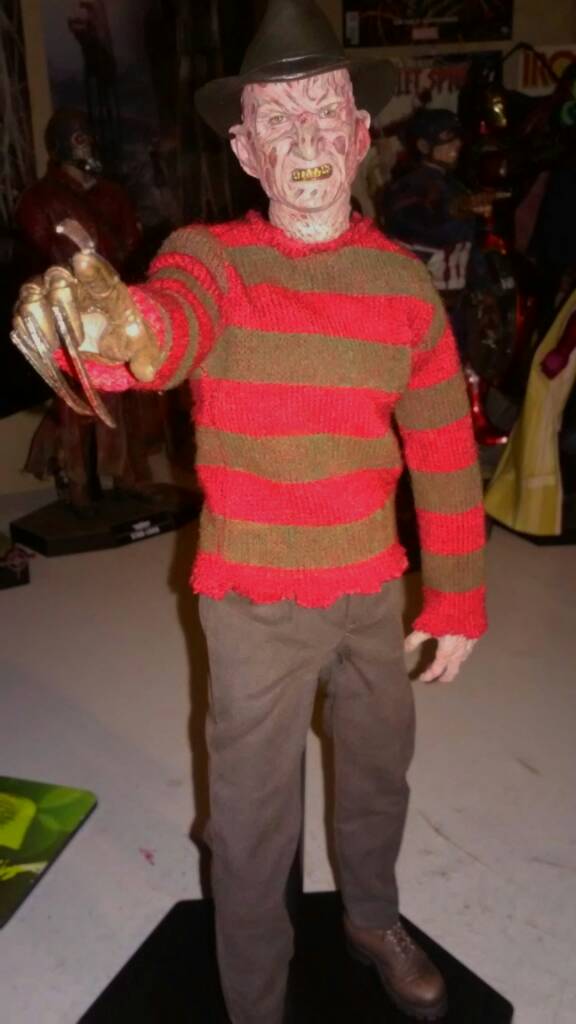
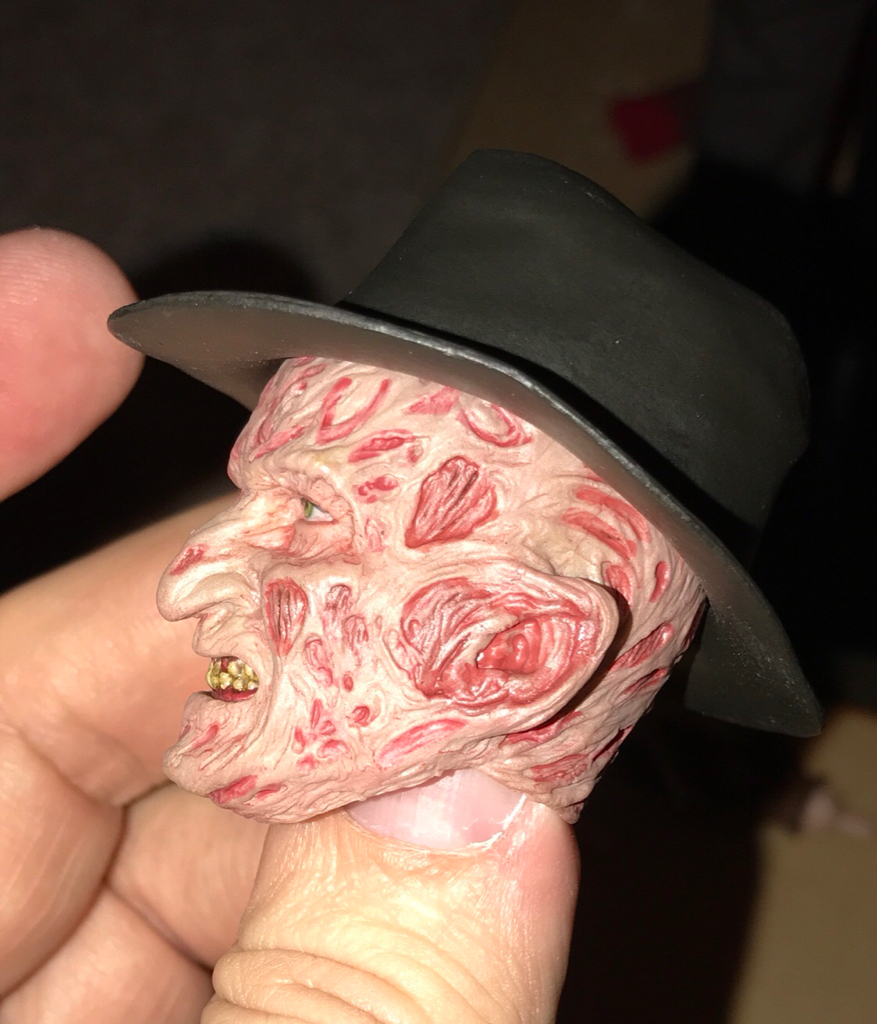
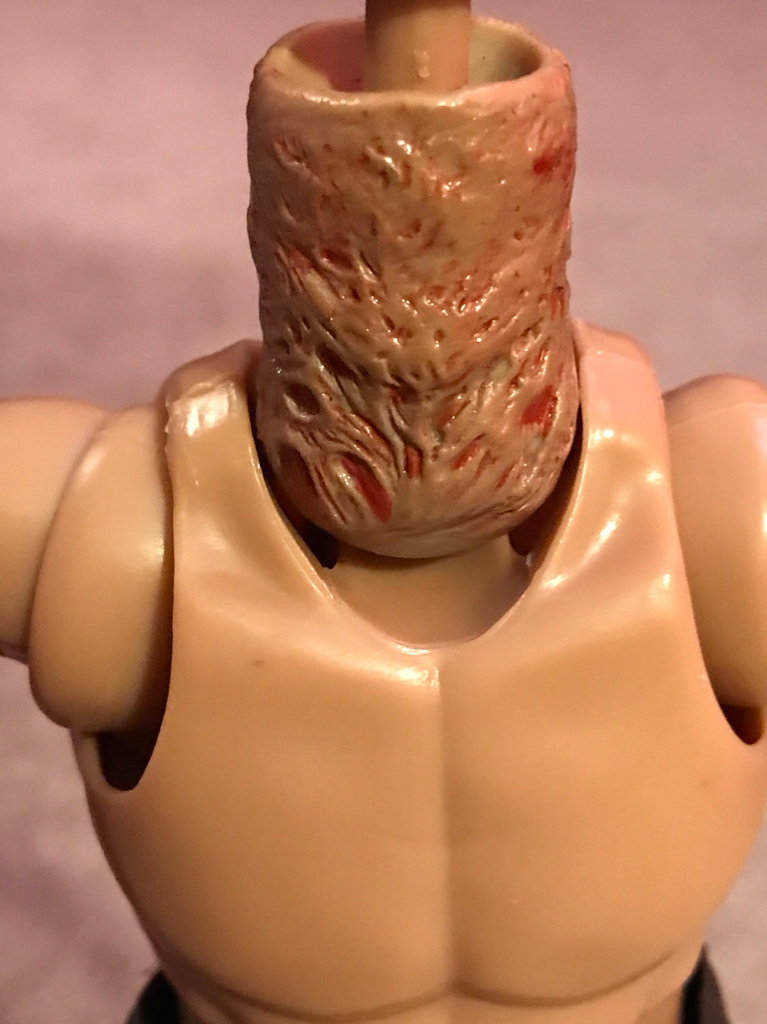
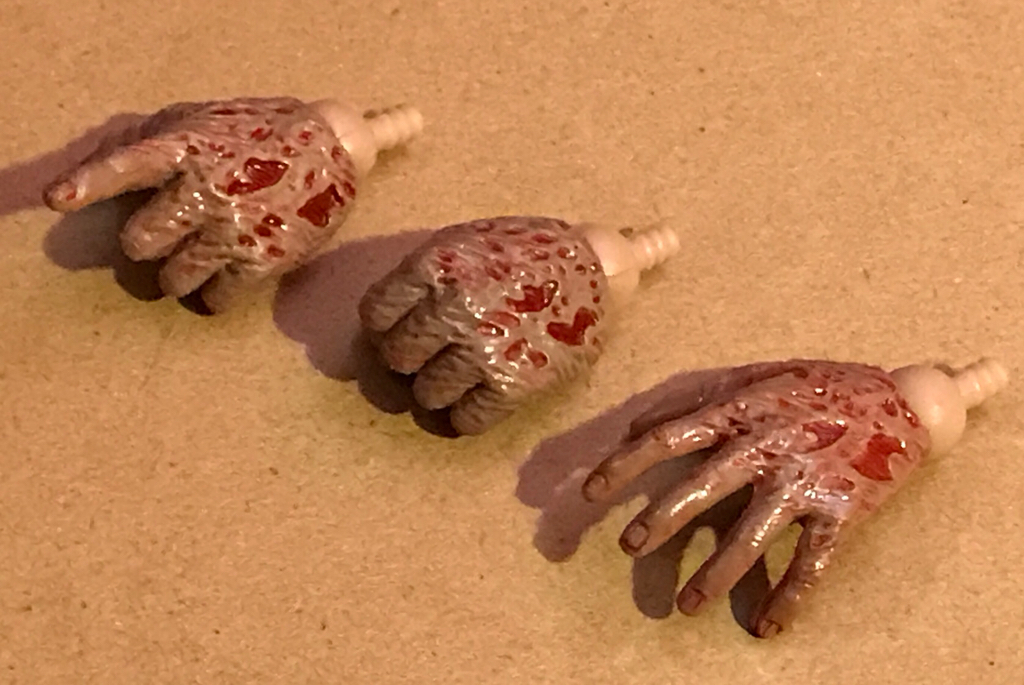
1/6 SSC - A Nightmare on Elm Street: Freddy Krueger Collectible Figure

Collector Freaks Forum

Help Support Collector Freaks Forum:

This site may earn a commission from merchant affiliate links, including eBay, Amazon, and others.
He arrived yesterday, in my dreams!
a6327316bd3b3459e62a88658cf96cb5.jpg


Sent from my LG-D415 using Tapatalk
 
Really nice! I saw this diorama... The diorama is big or small version?


It's the big version....it's freaking huge. I chopped it up today with a bandsaw...I can seriously get 1-2 more dioramas from the extra pieces. I thought it was expensive at first, but seeing all i can use it for, it was worth it.
 
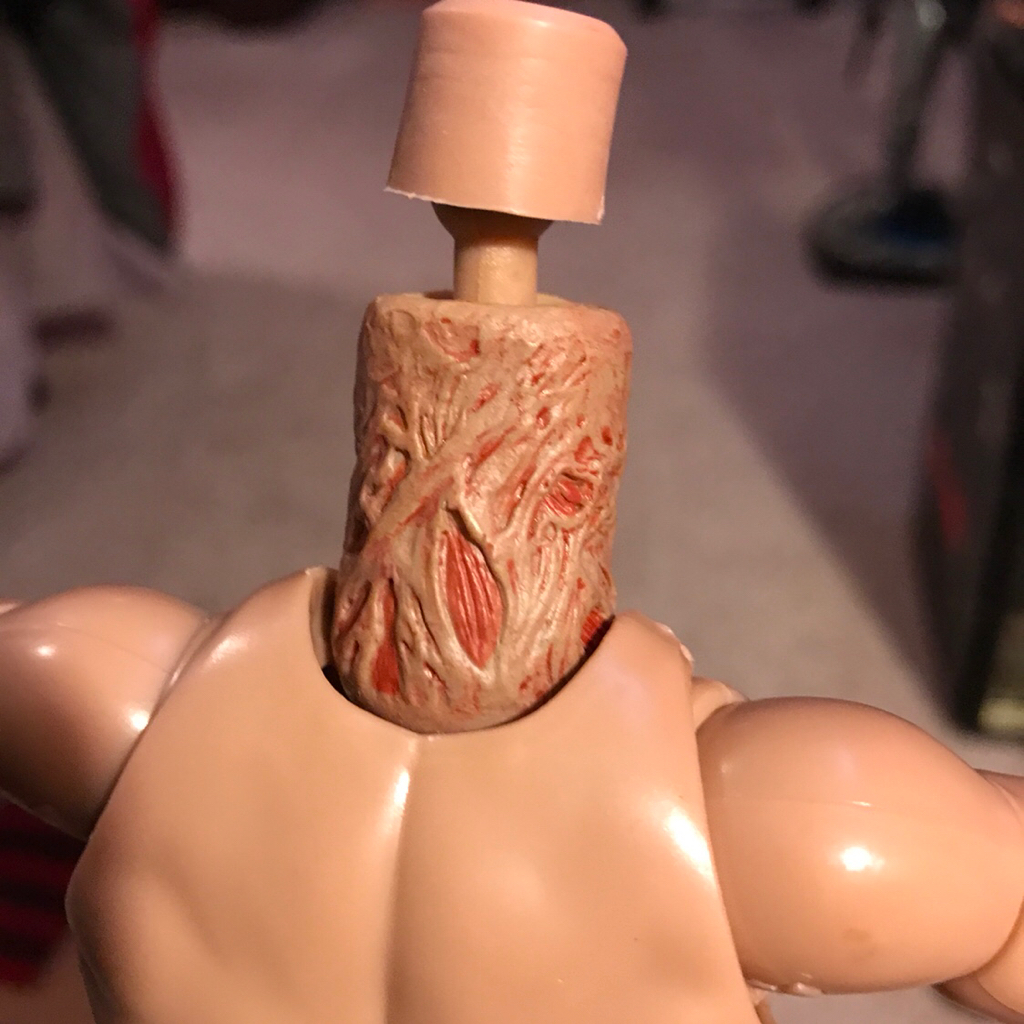
To make it more rigid, and without gluing it to the neck, you might just have to paint it with clear coate on the inside.
Hey, what kind of clear coate do you recomend? I've never been clear coate shopping, but the only kind that I am aware of is the spray can variety such as the Krylon one. And is it something you get from a hobby store or you can pick it up at Walmart/Lowe's as well..and does it only come in a spray can? I'd really like one in bottle form that's easy to apply with a paintbrush. Plus one that I could wipe off right away (without messing up a sculpt) if I screwed up.
 
If your looking to make the collar stiff so it doesn’t bend out of shape worst then it is there a material product called Fray Stop. It will stiffen the material without changing its color or look, but it will harden it. Just work it into the collar while it’s off your figure.

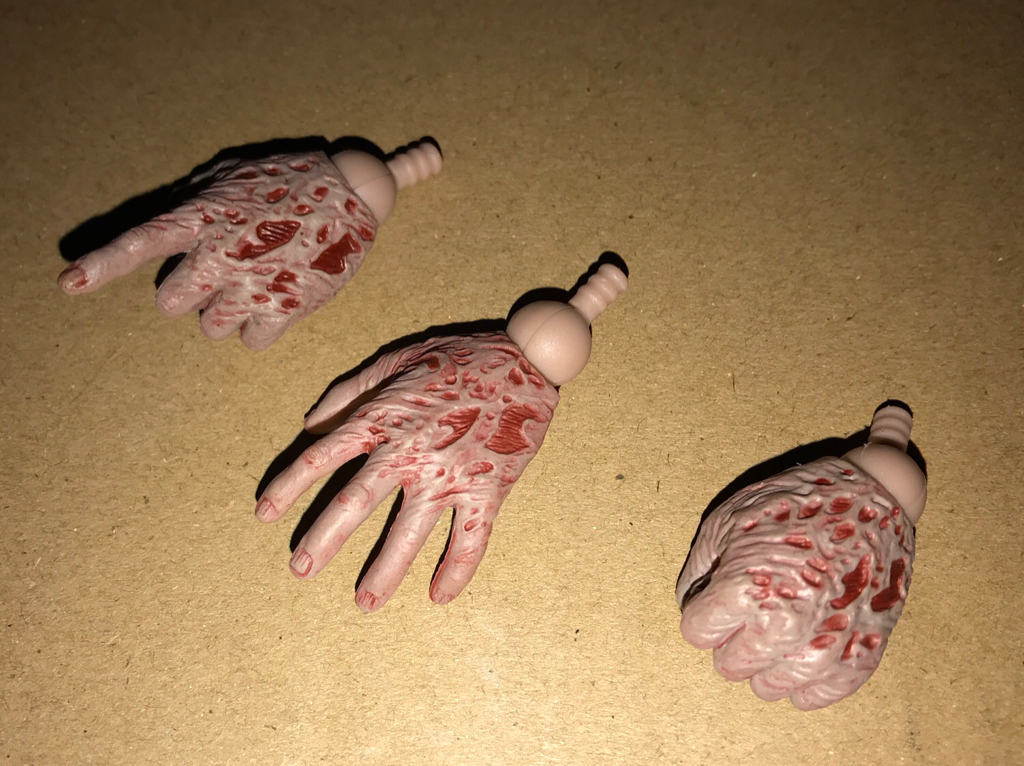
But If you looking to make him have a wet look? If so I’d use Floor Wax. It dries and leaves a gloss without ruining paint. It’s how I did mine and his hands. Also if your so inclined....some hot water and a tooth brush you can remove it. It will stay on there as long as you like. It’s an old model builders trick. I use to use it on Figure models for clients and run it through my airbrush. Here’s so quick before and afters.

Before... plain and dull...
c5178f3a95aa541e3e5a19f937085ca9.jpg
2db85a52deed84b36c314a9834ad37c0.jpg
a24150b7d0fe2df3286fad77678d7c70.jpg
127b53be15bc4ff0cf13cd119c2e53b9.jpg


Afterwards...
3270b259fcc7ab86d28e6d2bd2ba8584.jpg
3ba8aa225779a19a9d588ef82b3a13c2.jpg
f9df04a53e439224976c03ef060f5bd4.jpg
fdebab4c7caa910b5c19e32e16d097bc.jpg


All thanks to...
00ac3809d6de8b8fa0ee93791f5847ca.jpg


Dries in under 5-10 minutes and it last - won’t cause tacky paint or screw ups like some clear sealers either. It’s been my trick of the trade for over 20 years for models and figures that needs a gloss or wet look to them. Hope that helps ya out.

Take care - Jase


Sent from my iPhone using Tapatalk
 
Hey, what kind of clear coate do you recomend? I've never been clear coate shopping, but the only kind that I am aware of is the spray can variety such as the Krylon one. And is it something you get from a hobby store or you can pick it up at Walmart/Lowe's as well..and does it only come in a spray can? I'd really like one in bottle form that's easy to apply with a paintbrush. Plus one that I could wipe off right away (without messing up a sculpt) if I screwed up.

Well, I can't recommend any particular brand as I'm in Europe and we have different brands, but I guess any varnish will provided you take care when you apply it. Another alternative would be to use red acrylic paint. I'm sure it would work as well. Basically, anything that can stiffen the material without going through would work: paint, varnish, glue...
 
But If you looking to make him have a wet look? If so I’d use Floor Wax. It dries and leaves a gloss without ruining paint. It’s how I did mine and his hands. Also if your so inclined....some hot water and a tooth brush you can remove it. It will stay on there as long as you like. It’s an old model builders trick. I use to use it on Figure models for clients and run it through my airbrush.

Dries in under 5-10 minutes and it last - won’t cause tacky paint or screw ups like some clear sealers either. It’s been my trick of the trade for over 20 years for models and figures that needs a gloss or wet look to them. Hope that helps ya out.

Take care - Jase

Thank you so much Jase! Yes, I read about this technique recently on here (probably from you). I actually just got another idea last night when applying some New-Skin on some finger wounds. It dries clear and glossy..but has a bit of that nail polish/acetone smell. So the floor wax does sound better and smells better too! I'd be using it to gloss up some older figures eyes. Although it doesn't really bother me, I'd probably use it on the open wound areas on Freddy while I'm at it. I'm sure in hand it'll make a world of difference. Oh, and it can even be used with an air gun..wow. That's the one tool I lack. I've always wanted an air gun kit, but they've always been quite expensive. And you certainly can't paint large areas with acrylics and paint brushes, etc. without it being noticeable. I just purchased my first dremmel the other day; the Walmart brand one for $19. Man, even at 8 thousand RPM's....that thing is scary powerful! I've been thinking about removing the hat and doing some dremmeling to be able to position it correctly. Not sure which attachments I'll need for all that, as it came with quite a few; plus I bought a seperate pack of additional ones. I'd better shut up now as this is quite a long post. I'm just real excited about my new tool and just wanting to make sure I use it properly. Again, thank you for reiterating the excellent idea of floor wax. On my next day off I'll be buying some of that for sure.
 
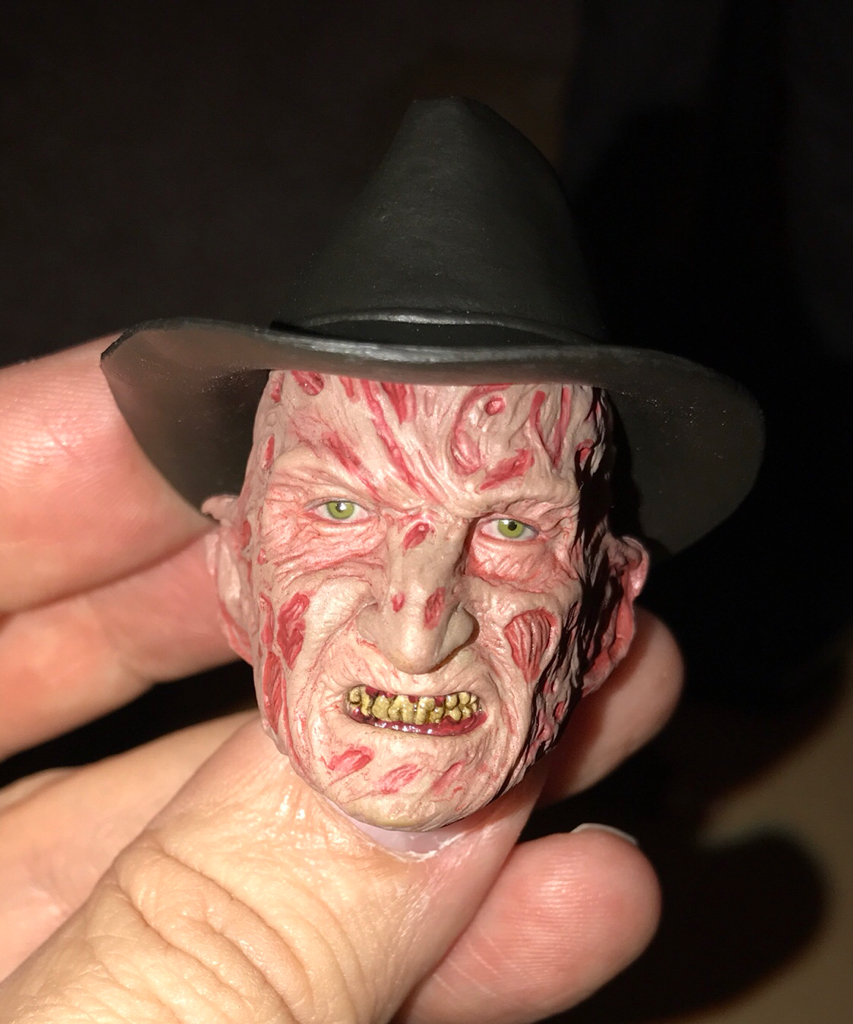
Now, I've seen people repositioning the hat, and I understand why they did it, but frankly, I don't like any of the results I've seen.

That hat is very narrow already and on all the pics I've seen with the hat lower, it looks like there's no head in there, so I'd think twice before doing such a drastic mod... Unless you use a proper sized replacement hat.
That's a damn good point..I'll have to go back and see, as I don't recall it looking off in that way. The fedora is accurate to part 3, but yeah, I can see the need for the crown to be overall a bit larger if positioned lower on the head. I do fancy the idea of tilting the hat down on the left side as it was often worn. But still, it certainly is a risk to do all of that indeed.
 
That's a damn good point..I'll have to go back and see, as I don't recall it looking off in that way. The fedora is accurate to part 3, but yeah, I can see the need for the crown to be overall a bit larger if positioned lower on the head. I do fancy the idea of tilting the hat down on the left side as it was often worn. But still, it certainly is a risk to do all of that indeed.

I think the best way to circumvent the hat issue is to heat it up, lower the front part of the brim and cold freeze it in shape. That's probably the only mod I'm gonna do.

Nice pics, Death Asylum! Makes the wait unbearable. :)
 
I think the best way to circumvent the hat issue is to heat it up, lower the front part of the brim and cold freeze it in shape. That's probably the only mod I'm gonna do.

Nice pics, Death Asylum! Makes the wait unbearable. :)
Yeah. Luckily the hat on mine came bent quite nicely. But a very easy alternative to those receiving more flared up brims. I have even noticed some variation with actually how far down the hats are on some figures compared to others. I did own another and the hat was definitely sitting just a bit higher than my other one. When I get some time, I'll send comparison pics.
 
Yeah I didn’t do a massive hat mod, just heated the vinyl and bent the brim slightly while heated and shocked it into place with ice water.


Sent from my iPad using Tapatalk
 
All thanks to...
00ac3809d6de8b8fa0ee93791f5847ca.jpg


Dries in under 5-10 minutes and it last - won’t cause tacky paint or screw ups like some clear sealers either. It’s been my trick of the trade for over 20 years for models and figures that needs a gloss or wet look to them. Hope that helps ya out.

Take care - Jase


Sent from my iPhone using Tapatalk
Hey Jase, where'd you get that particular Pledge? This is what they had at Walmart:
IMG_8259.jpg
 
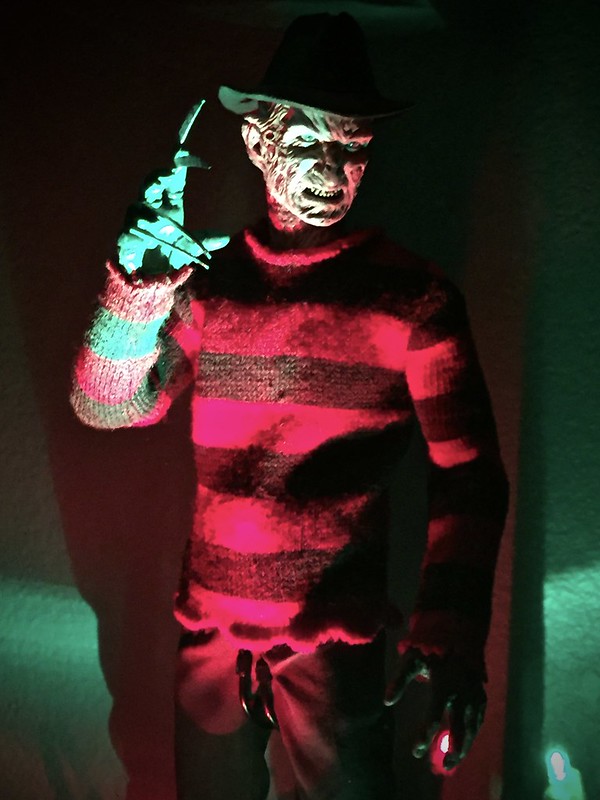
A few quick pics with my iPhone. Overall, pretty good out of the box. He can def benefit with a few mods, but SSC did alright on this one.

37604459130_e767539a73_c.jpg


37830505392_7c360a85be_c.jpg


37830504472_57e2bea7a1_c.jpg

Those pics look great.

Just noticing the green paint on the brown stripes. Is that from Sideshow? Did they just paint the stripes green?
 
Thank you sir. The sweater is rough on the parts with the green stripes and soft on the red, so something was printed on them. The green only stands out when I shine the light on it, otherwise it's way too dark in natural light.
 
Back
Top