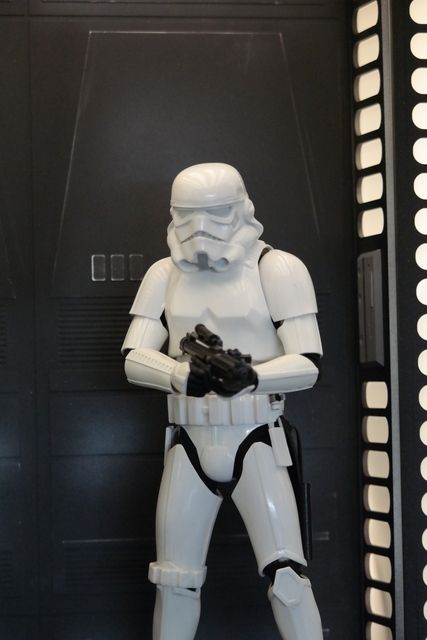
ANH Buckets

Collector Freaks Forum

Help Support Collector Freaks Forum:

This site may earn a commission from merchant affiliate links, including eBay, Amazon, and others.
looks good SB.
the surface texture looks a bit bubbly or something...........not sure how to describe it. was that the art you were saying could be sanded out? dig the shape & size though.

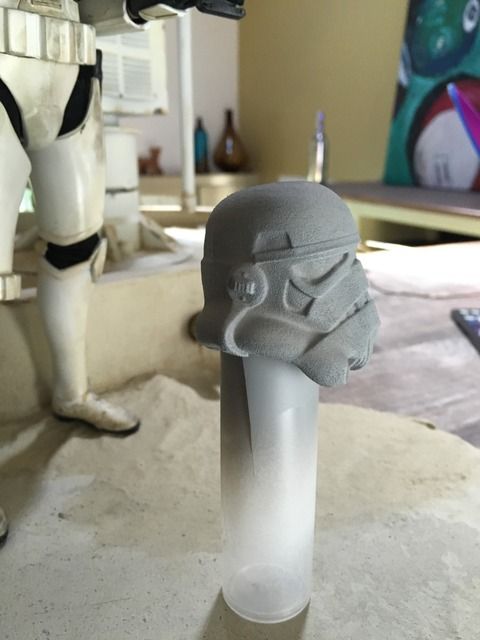
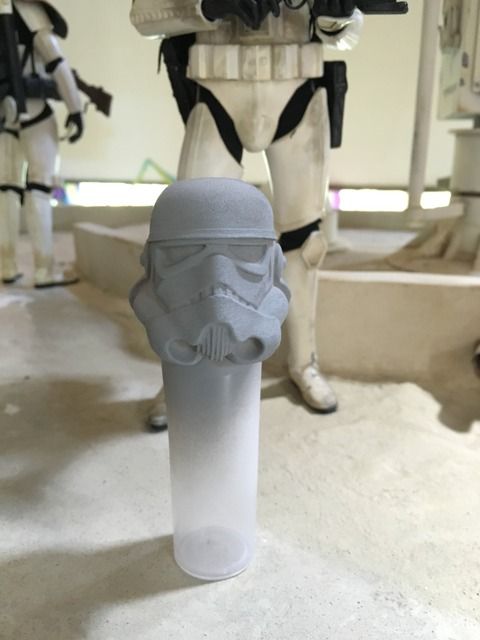
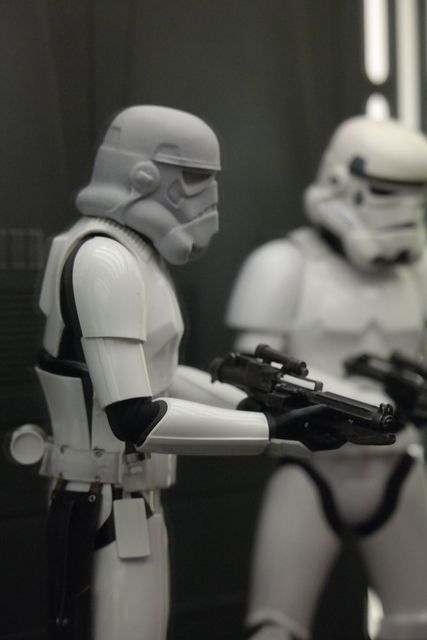
Thanks, brother! What you are seeing isn’t bubbles, but some groves from the 3D printing, which can either be sanded down or removed by casting helmets or by more layers of paint.

What I did was use only one layer of paint to reduce the smoothing of edges that was occurring from the grey base, then white finish. You can see on the grey base coat that there are no bubbles. The lines were sanded on the top of the head and any surface area I could reach with fine grit paper, but inside the curves and groves was too hard for me to get. Next time I could probably get to them with a buffer on my dremel, but I was lazy.

I also used some grey pastel that got stuck in the grooves which enhanced the “bubble” look, which really is grooves. I can show you some close ups so you can see. The thing is that I think this is far more accurate than Marmit or SS.

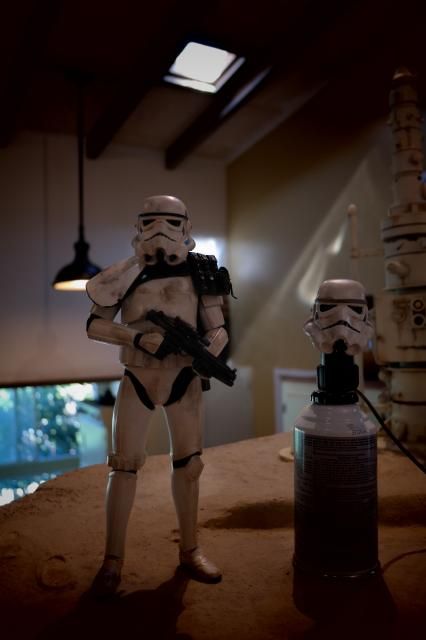
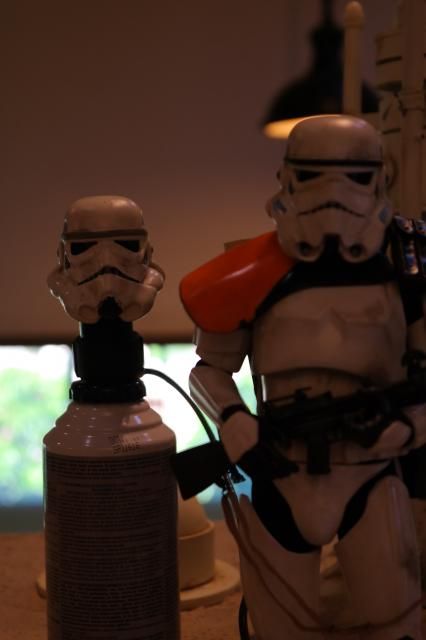
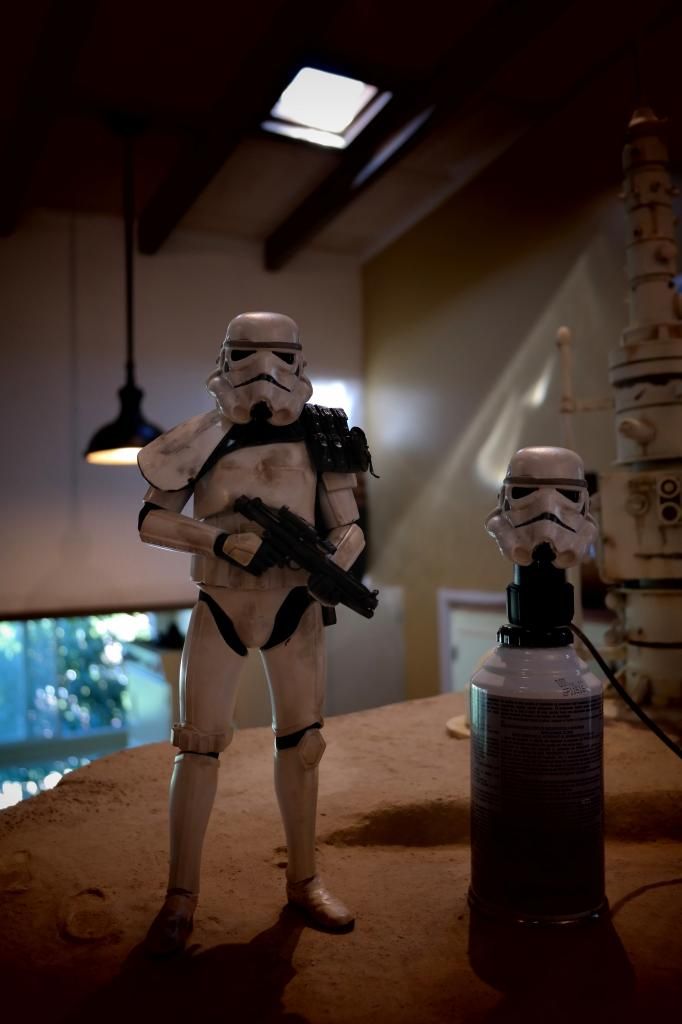
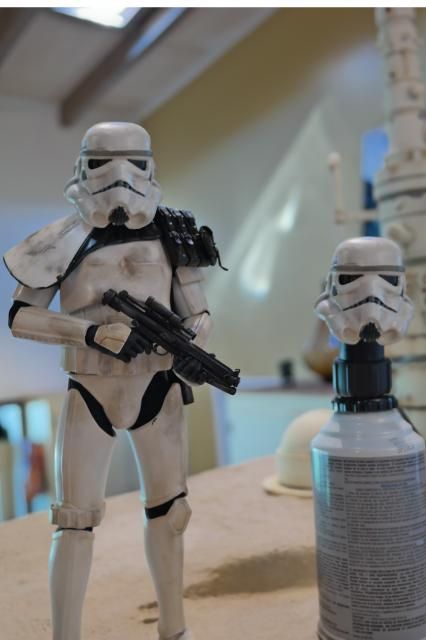
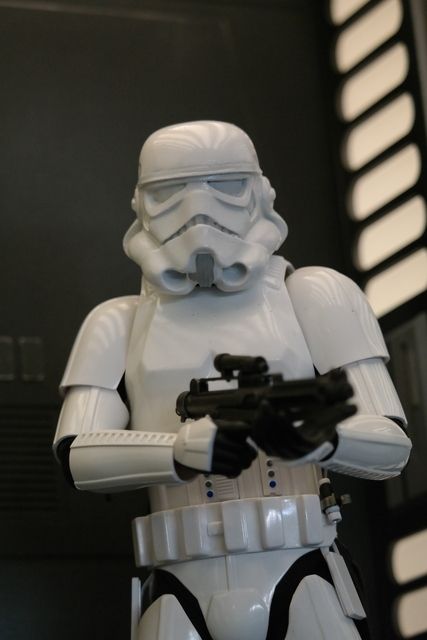
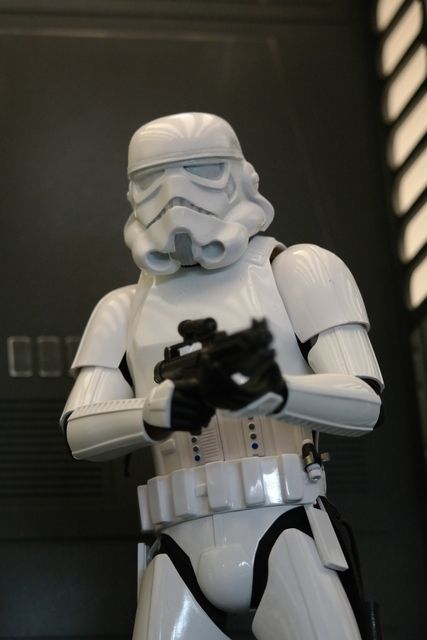
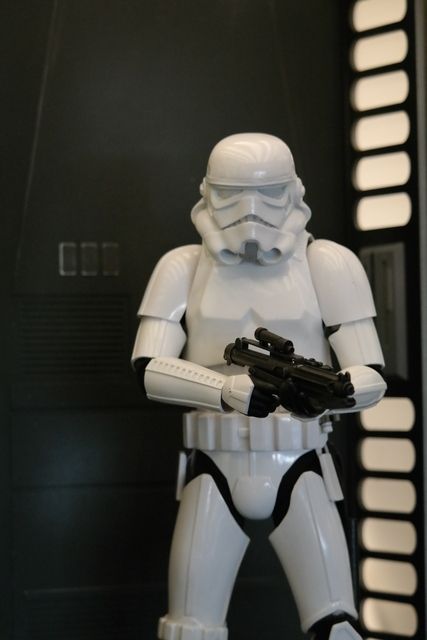
I was trying to see where the flaws were and the best way I could figure to do that was paint them up and photo them next to my Marmits.

These are the things I need to improve:

1) Sharpen the edges on eye lenses and nose bridge
2) Widen the back of the helmet
3) Reduce the size of the speaker
4) Resize helmet, it's the original print, which is a little bit large. I have new dimensions.

These enhancements should sharpen the features that are so attractive and enhance the look from a frontal perspective.

Also, you can sand down the black helmet band and place one anywhere you want according to how you like the look of your trooper.
 
Last edited:
Oh, I get what you are saying now. Yea man keep at it, what you have now looks great, and your plans on the next one should take that up a few notches......:yess:
 
Thanks, bro. Nobody is really commenting, which is usually a sign of disinterest, and I really need feedback.

It's hard to see all the faults, because of course I want this to work.

Much of this is out of my hands, I don't have the software to make changes by hand. So I have to articulate what needs to be done and keep my fingers crossed......

I am going to do some photoshop and drop these helmets on my Marmit body to see if it will look like I hoped.
 
it may be that you get a few that really want screen accurate helmets that don't mind the cost vs. those that aren't so detailed oriented and say that their ssc or marmit lids are close enough. kind of where i'm at right now..........but depending on final pricing i'm not out yet....:wink1:......and you may swing some of the less detailed peeps, again depending on the affordability of them.
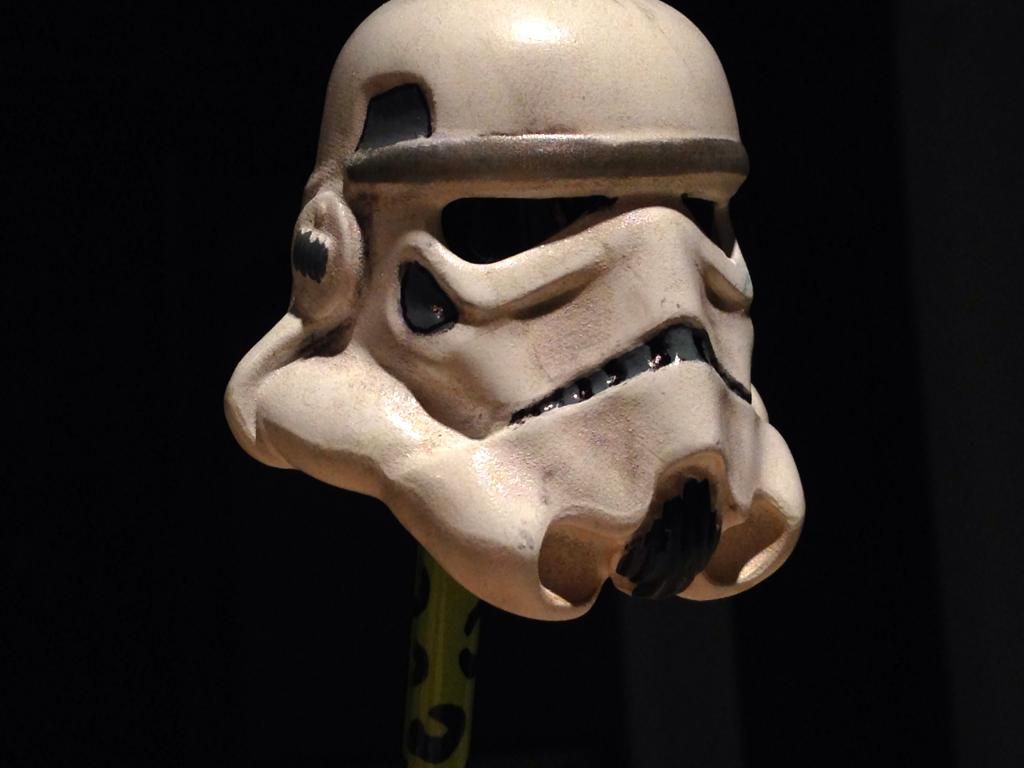
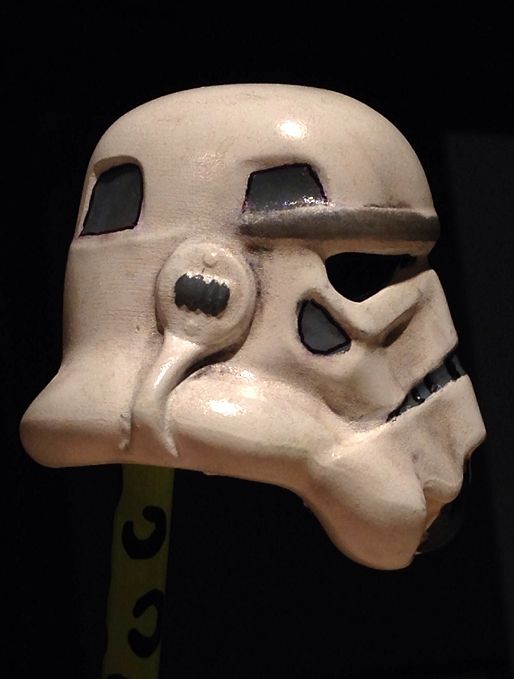
 
Here's a close up, where you can see the texture issues, that could be dealt with in a multitude of ways (casting and sanding being the cheapest option for reproducing for my art displays)...and also some more shots:


it may be that you get a few that really want screen accurate helmets that don't mind the cost vs. those that aren't so detailed oriented and say that their ssc or marmit lids are close enough. kind of where i'm at right now..........but depending on final pricing i'm not out yet....:wink1:......and you may swing some of the less detailed peeps, again depending on the affordability of them.

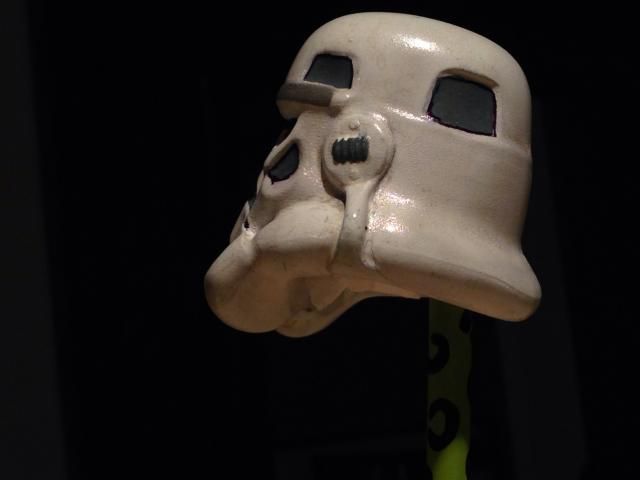
Yeah, I was comparing last night and just got sort of sad thinking about replacing my Marmit buckets......and to be honest, might have to keep a couple for variance....and well, because I am attached. :monkey2

But if I get this right, I will be very happy to modify a few of my figures. Of course i need the detail, it really needs to be sharp.

Also, these probably aren't for sale, with copyright issues and all......:wink1:
 
gotcha........:wink1:

yea but i see the issues with the close ups. is that as clean as the printer will allow? if it is it does seem as if you will need to rework a master copy for casting.........like you said and sharpen some edges and other features. i'll be following......:)
 
Yeah, definately not a final product. I would probably try Mr. white Surfacer to fill the lines and not impact shape....should do the trick.

I'm going to try it once it arrives on the second helmet.
 
It looks "lumpy" in places. Looks much cooler painted up though, it's much easier to "see" the details even if they're painted over in some cases.
 
It looks "lumpy" in places. Looks much cooler painted up though, it's much easier to "see" the details even if they're painted over in some cases.

What you are seeing is the printing lines, as I didn't use a sander or some type of base to cover the minor layer lines. I'm going to try Mr. White Surfacer to fill in the lines and give a flatter look, although many parts of the helmet were sanded and flattened already. I couldn't reach in the grooves with sandpaper and I didn't put too many layers of paint as to not take away from the details.


Last edited:
cool feel free to pm me. I might be interested. im slowly building on my ANH figures since that was my fav movie of the series.
 
Ok, this project is back on after finding a solid 3D software imaging professional.

Here are the latest: the helmet is slightly undersized, although jury is still out and I've been able to figure out how to smooth down a 3D printed helmet to an acceptable level, using fair material. Their are superior materials, but I want to get the proportion right before I pay premium prices for a print.

Started rough:


Smoothed it out:


I think the scale is alright, but could be larger...also will need to be for casting:


Looks awesome!!! I will be buying one for sure. Also, I agree that it looks slightly undersized, but still incredible!
 
Ok, cool. Thanks for the comment. No think we're going to need to find someone who can dproduce good casts by using a pressure pot.
 
I think you're absolutely right to ask that question. I think the HT buckets are oversized, every time I've walked past mine today - and after seeing your custom head - it has really stood out as being too big. You should definitely go for something in-between.

Yeah, I think so too. They work, but I think there is a happy medium.. Here is the size increase on the 3D Print at 103%:

100%
x: 51.5 mm
y: 51.6 mm
z: 51.36 mm

103%
x: 51:689 mm
y: 51:689 mm
z: 51:562 mm

I don't know how to translate this into a properly sized increase.
 
Back
Top