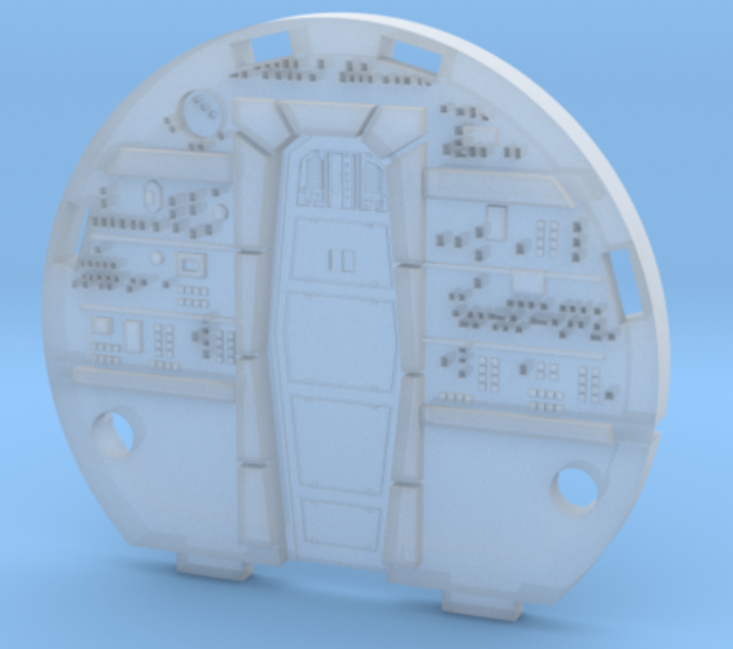
Bandai Perfect Grade 1/72 《Star Wars》Millennium Falcon

Collector Freaks Forum

Help Support Collector Freaks Forum:

This site may earn a commission from merchant affiliate links, including eBay, Amazon, and others.
I want a base coat of paint to act as a barrier for the turpenoid weathering. Some unpainted Bandai kits have cracked when washes are added.
 
I'm thinking now I may have broached this subject here already, 'cause my follow up questions seem familiar. (apologies for the senior moment, if that's the case)

So you don't feel the clear coating by itself would be enough of a barrier? I was hoping that alone would give me a surface to be able to try different things out and then allow me to 'erase' or dial it back if I wasn't happy or screwed up.
 
Uncertain. I can only speak from my experience. There are people on the RPF who've experienced cracking. A paint barrier seems to help.
 
I guess then what I'll do is experiment on areas on the bottom of the ship first- using a coat of dark grey primer and then white and a clear coat prior to weathering and decal application.

If it looks like I'm losing or plugging up too much fine detail, I'll go in a different direction on the top and sides.
 
Here's the gang in my cockpit.

44-Falcon-Construction-120118.jpg
 
Thanks guys.

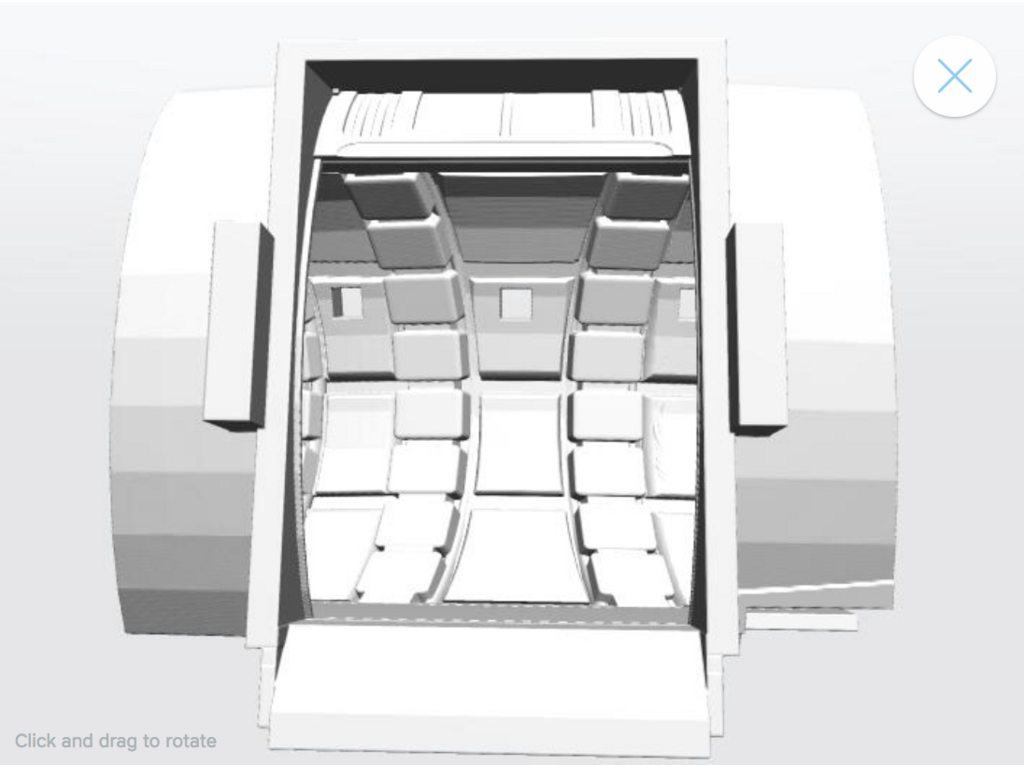
We tried several different techniques before deciding on this. Originally, I just wanted the lights to come from the horizontal light strips and tiny little square lights on the rear wall. However, this really didn't put much light into the cockpit which was a shame considering all the detail that's in there. That's why we decided to use the back-lit rear wall option because it generates some really cool ambient light in there which picks out much more of the sculpted details on the side walls.


That looks fantastic. Maybe I should just build the cockpit that way instead of dragging my feet for photoetch.
 
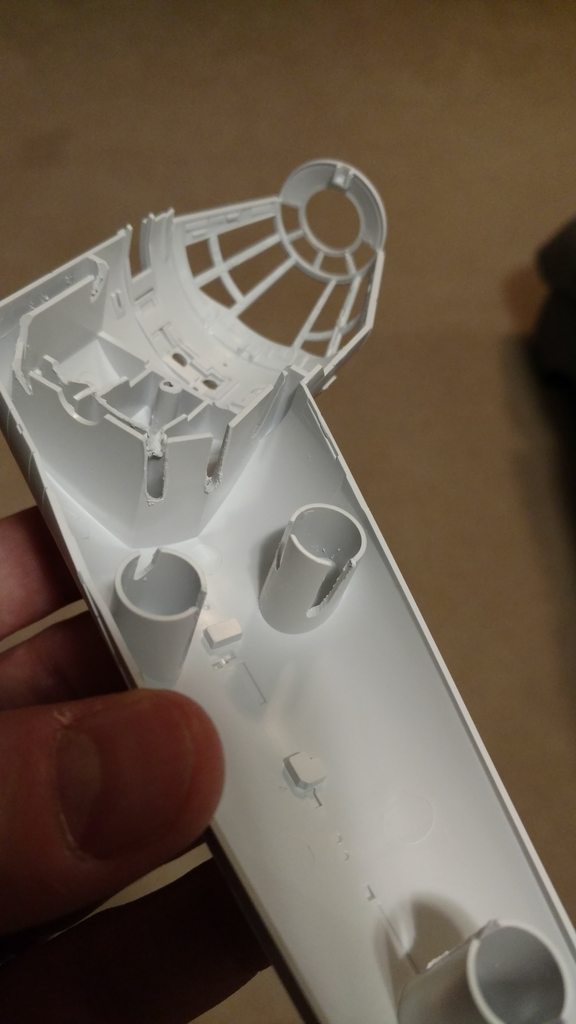
Passing along some experience: I'm a believer in test fitting parts. On this kit some of the major components fit so tightly that you will not get them apart again. Bandai Hobby Site has a build where they modified the internal posts. (see page 29 of pt 1). There's some really good suggestions.

I captured the Bandai Hobby Site build into PDFs (english translation is fair) and linked them here:

[FONT=source_sans_proregular]part 1: https://mega.nz/#!cuBwVSDa[/FONT][FONT=source_sans_proregular]!gd5EXL2Uq39HjEvIjZSNq9VXaaDdiyeIG1rz_hkZkrI
[/FONT]
[FONT=source_sans_proregular]part2: https://mega.nz/#!9rABnLZB[/FONT][FONT=source_sans_proregular]!Esk4reOlZlbpbhhT_2I1oW3vnXuG0K1QEsnluQb_h6o[/FONT]

Thanks thats great!
 
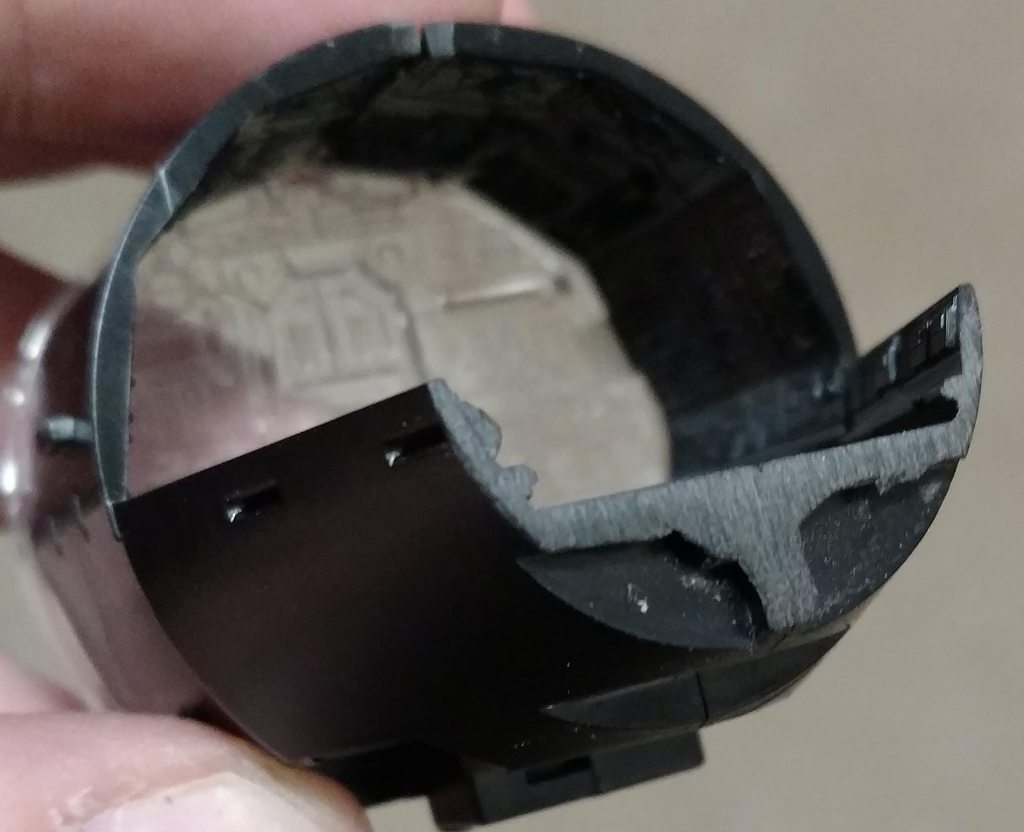
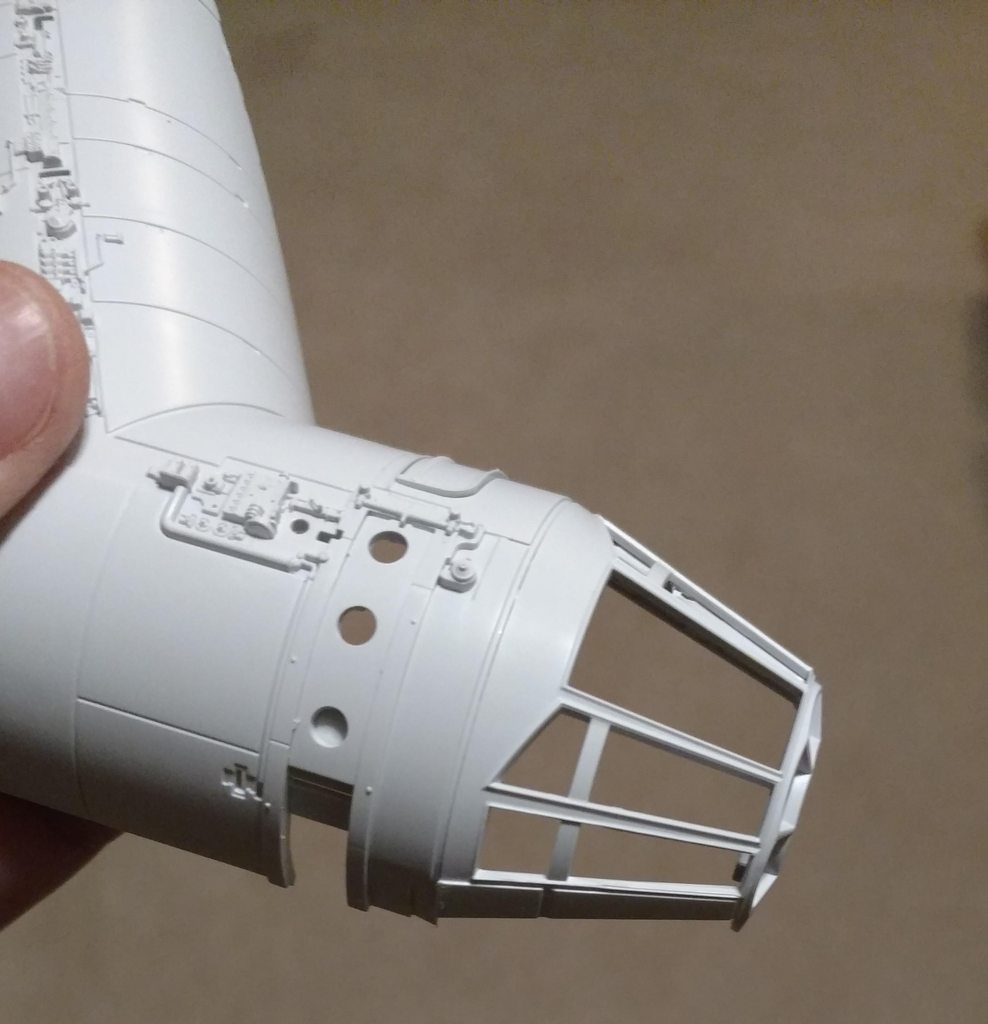
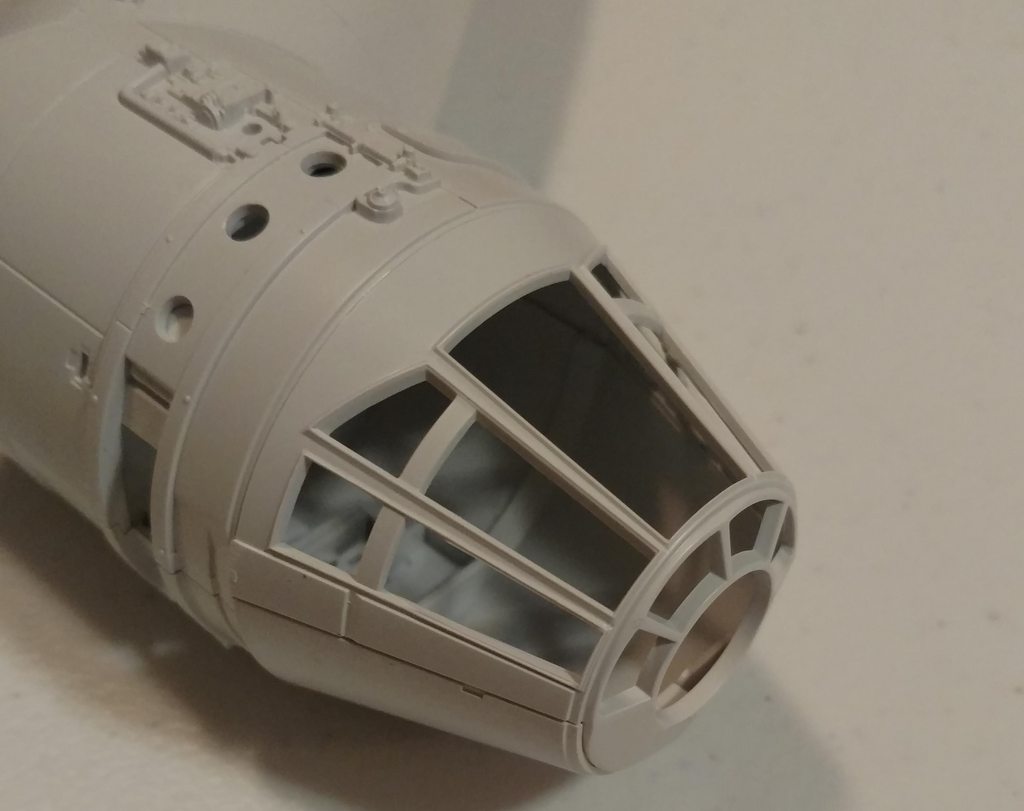
This made me so mad I forgot to take a "before" picture. I did a test fit of the full cockpit assembly earlier today. The cockpit window piece fits very poorly without modification - there was a 1 mm gap where this piece should meet up against the exterior upper tunnel.

I've been going through with a dremel and loosening up some of the fittings so I can still wiggle stuff free while I'm doing initial assembly. This is all done on internal areas that will not be visible later.

LEOUCuth.jpg


As I said I went into OCD mode and forgot to get the "before" but you'll know it when you get there. I pulled the interior out of the cockpit and ran a bead of fine glue on the upper tunnel and allowed the cockpit windows to become one with the upper tunnel. I can see a small "burr" from the sprue cut in this image that I'll wet sand away.

q6yVwiEh.jpg


I removed a small amount of material from the lower interior so not to press against the windows when assembled. I'll wet sand this to smooth it but it's likely not visible when assembled.

8V9zHWSh.jpg


MH2rlzmh.jpg


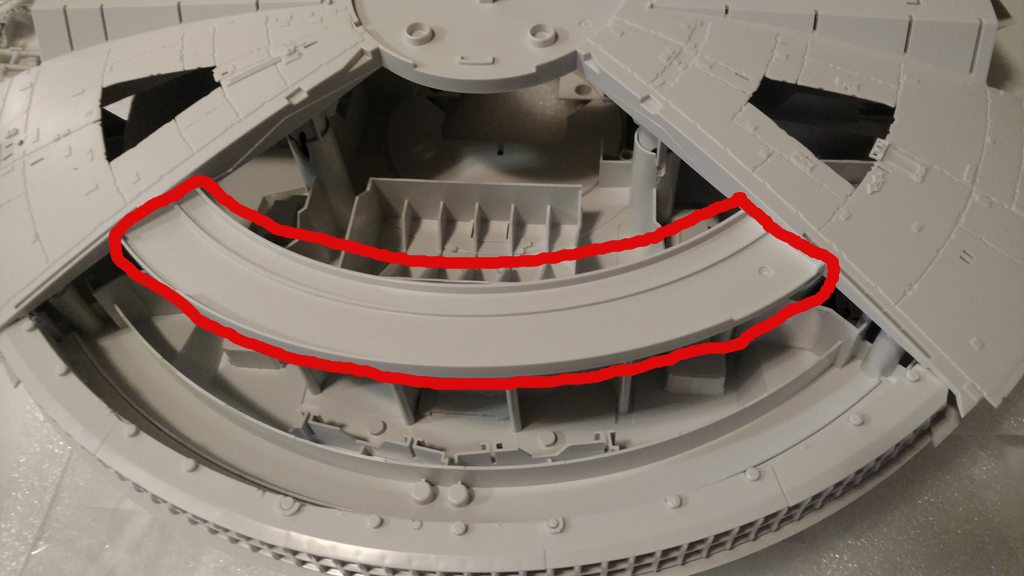
My other issue is this strut is slightly misshapen. It pushes up slightly against the engine deck like a spring. I'm considering cutting it but I'm going to run it by the RPF crowd first.

1DdbblUh.jpg
 
I don't have a 3d Machine. Is there another way to get these parts?

Shapeways prints the part for you. You don't need your own 3D printer. I've had good luck with Shapeways when I printed part arrived and it was poorly printed. They will reprint and reship it out with no cost to you.
 
Back
Top