Bustajesse
Super Freak
Wow really fantastic work guys. I wish I had these skills. Thanks for sharing all the progress pictures  It is really cool to see.

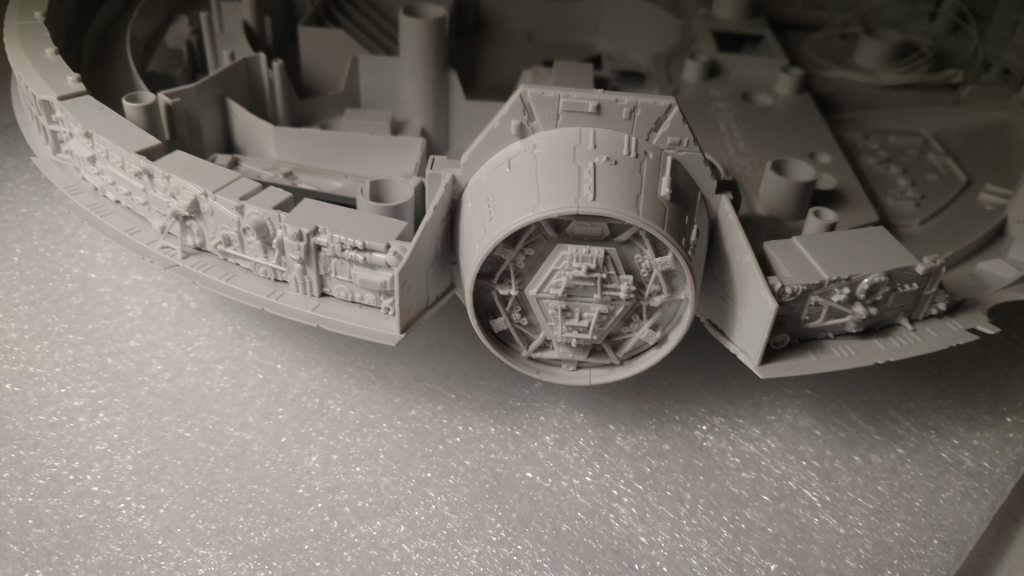
Here's a photo of the finished underside of my kit. Now work begins on the topside weathering!
View attachment 395900


Kamandi, in the engine deck picture, I noticed you had the Nato black base, and then you put the small parts (in white). After that, I assume you put on a base coat of Nato Black (2nd coat), and then the Insignia White. So, you would have as base: 2 coats of Nato black and 1 coat of Insignia White?


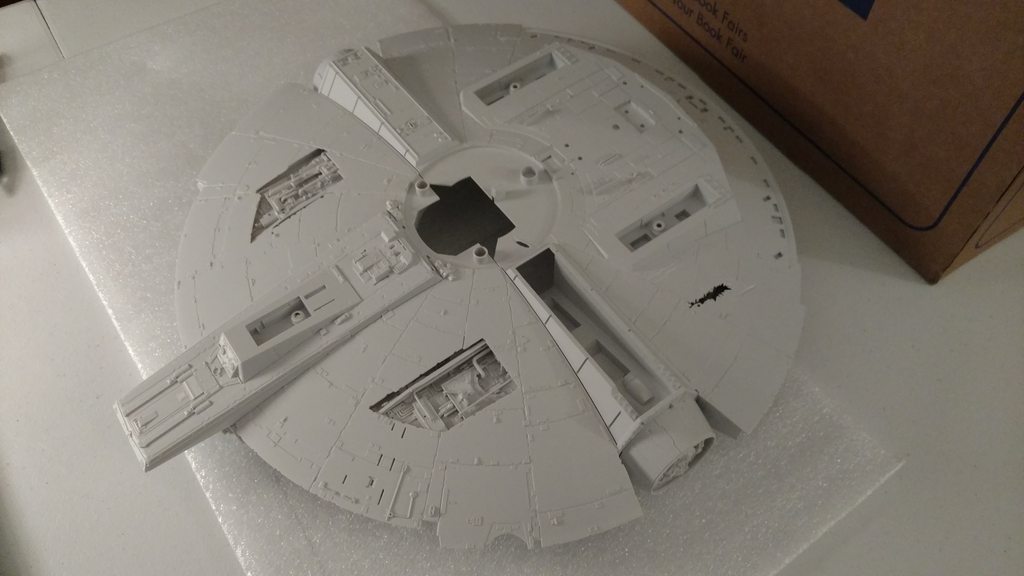
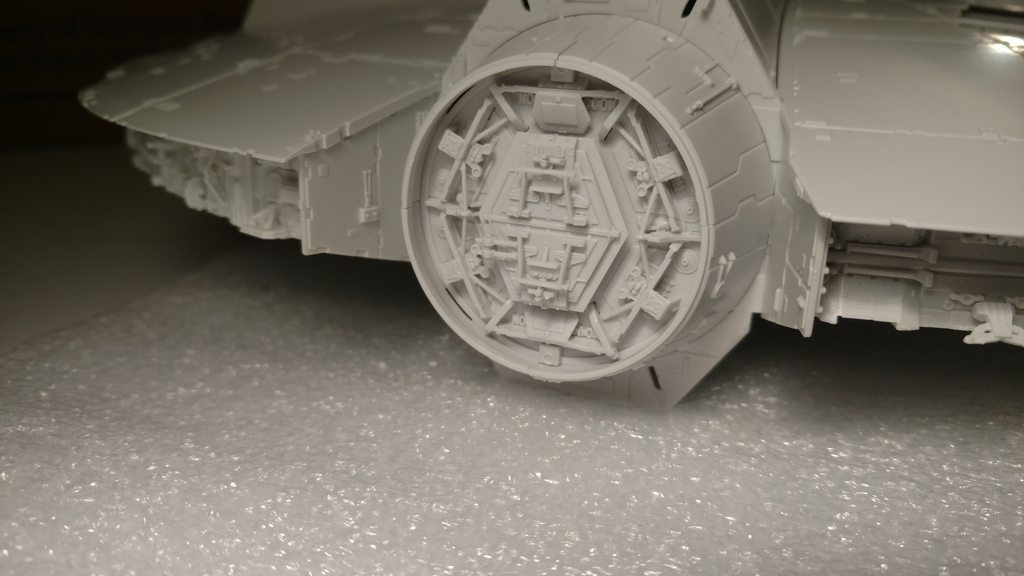
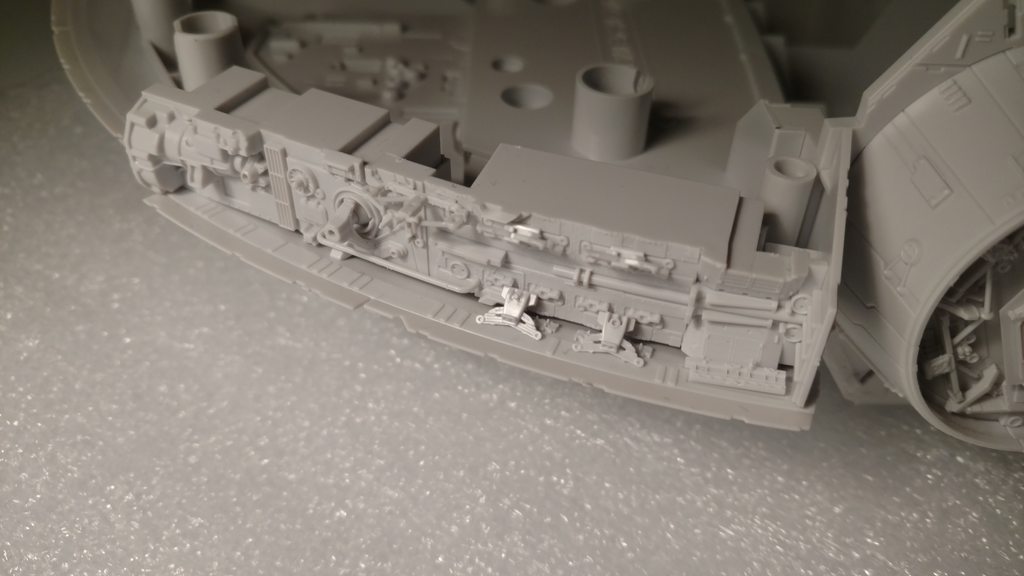
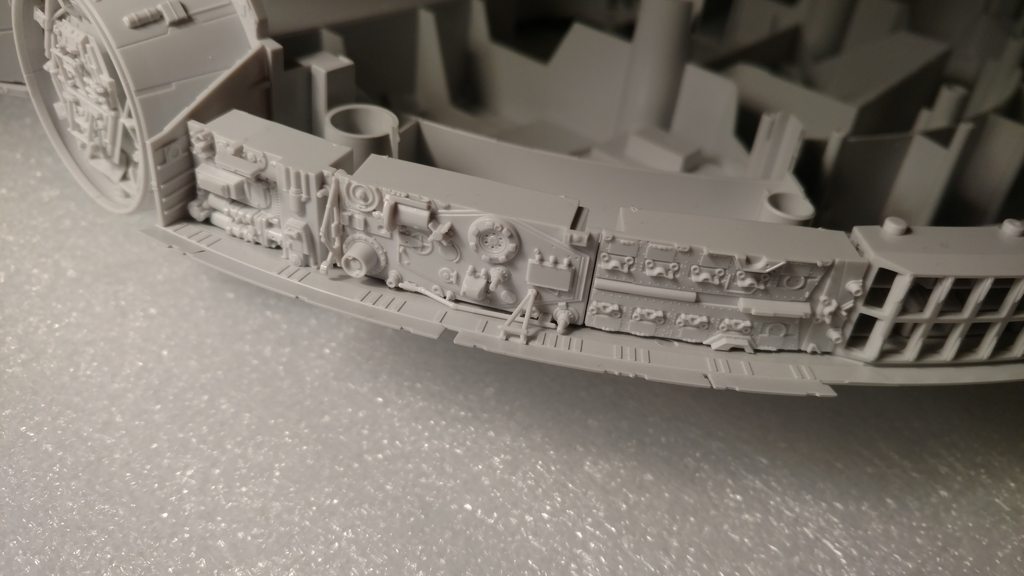
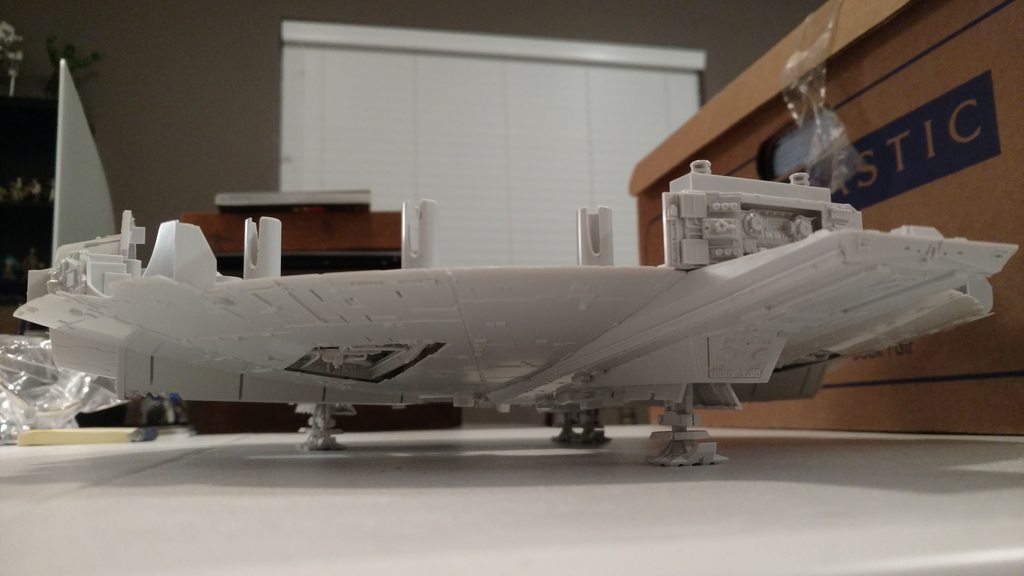
right-ish you are!! although i didn’t use the 3Dprint, i used an existing hard mount, and used plumber’s putty to lock it in place. i just need to find a base to use!!A friend 3D printed a panavise mount that will fit behind the gunner's port window. It looks like rhboyd has one in there as well.
and used plumber’s putty to lock it in place.
Wait, you used plumber's putty?? Did you mean epoxy putty?
Holy mother of god you guys are amazing! It's such a treat to come in here and watch your work, Kamandi, rhboyd and cking!
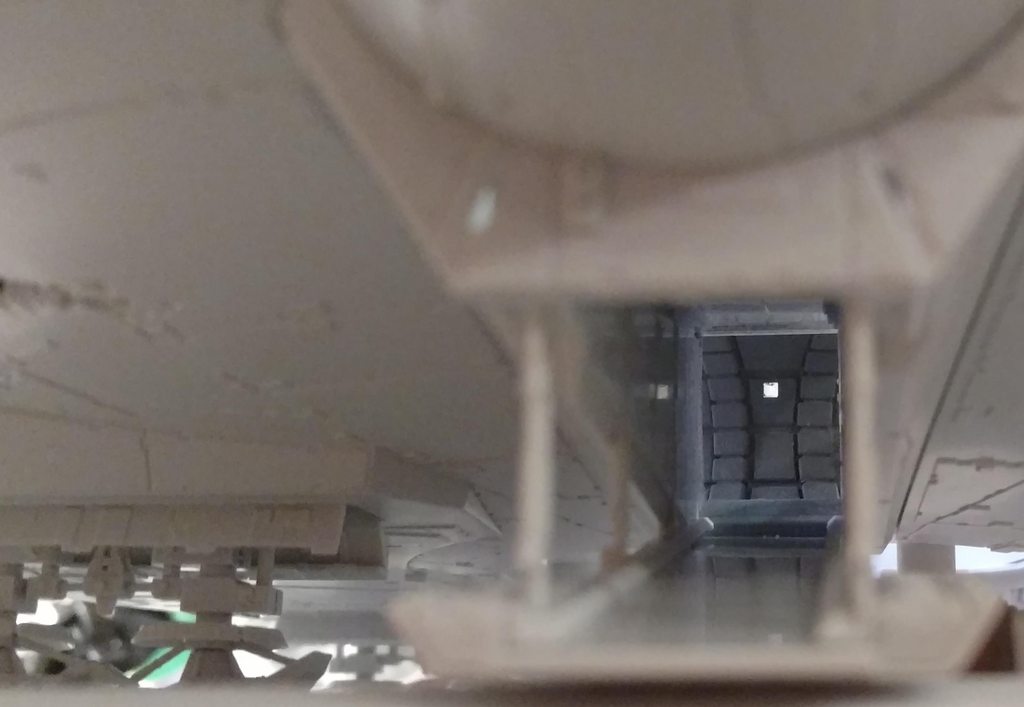
yes, epoxy putty.... but plumbing grade. cures in 2-3 minutes... hard as a rock!! it’s great stuff!! different from hobby putty since it cures so fast.
Enter your email address to join: