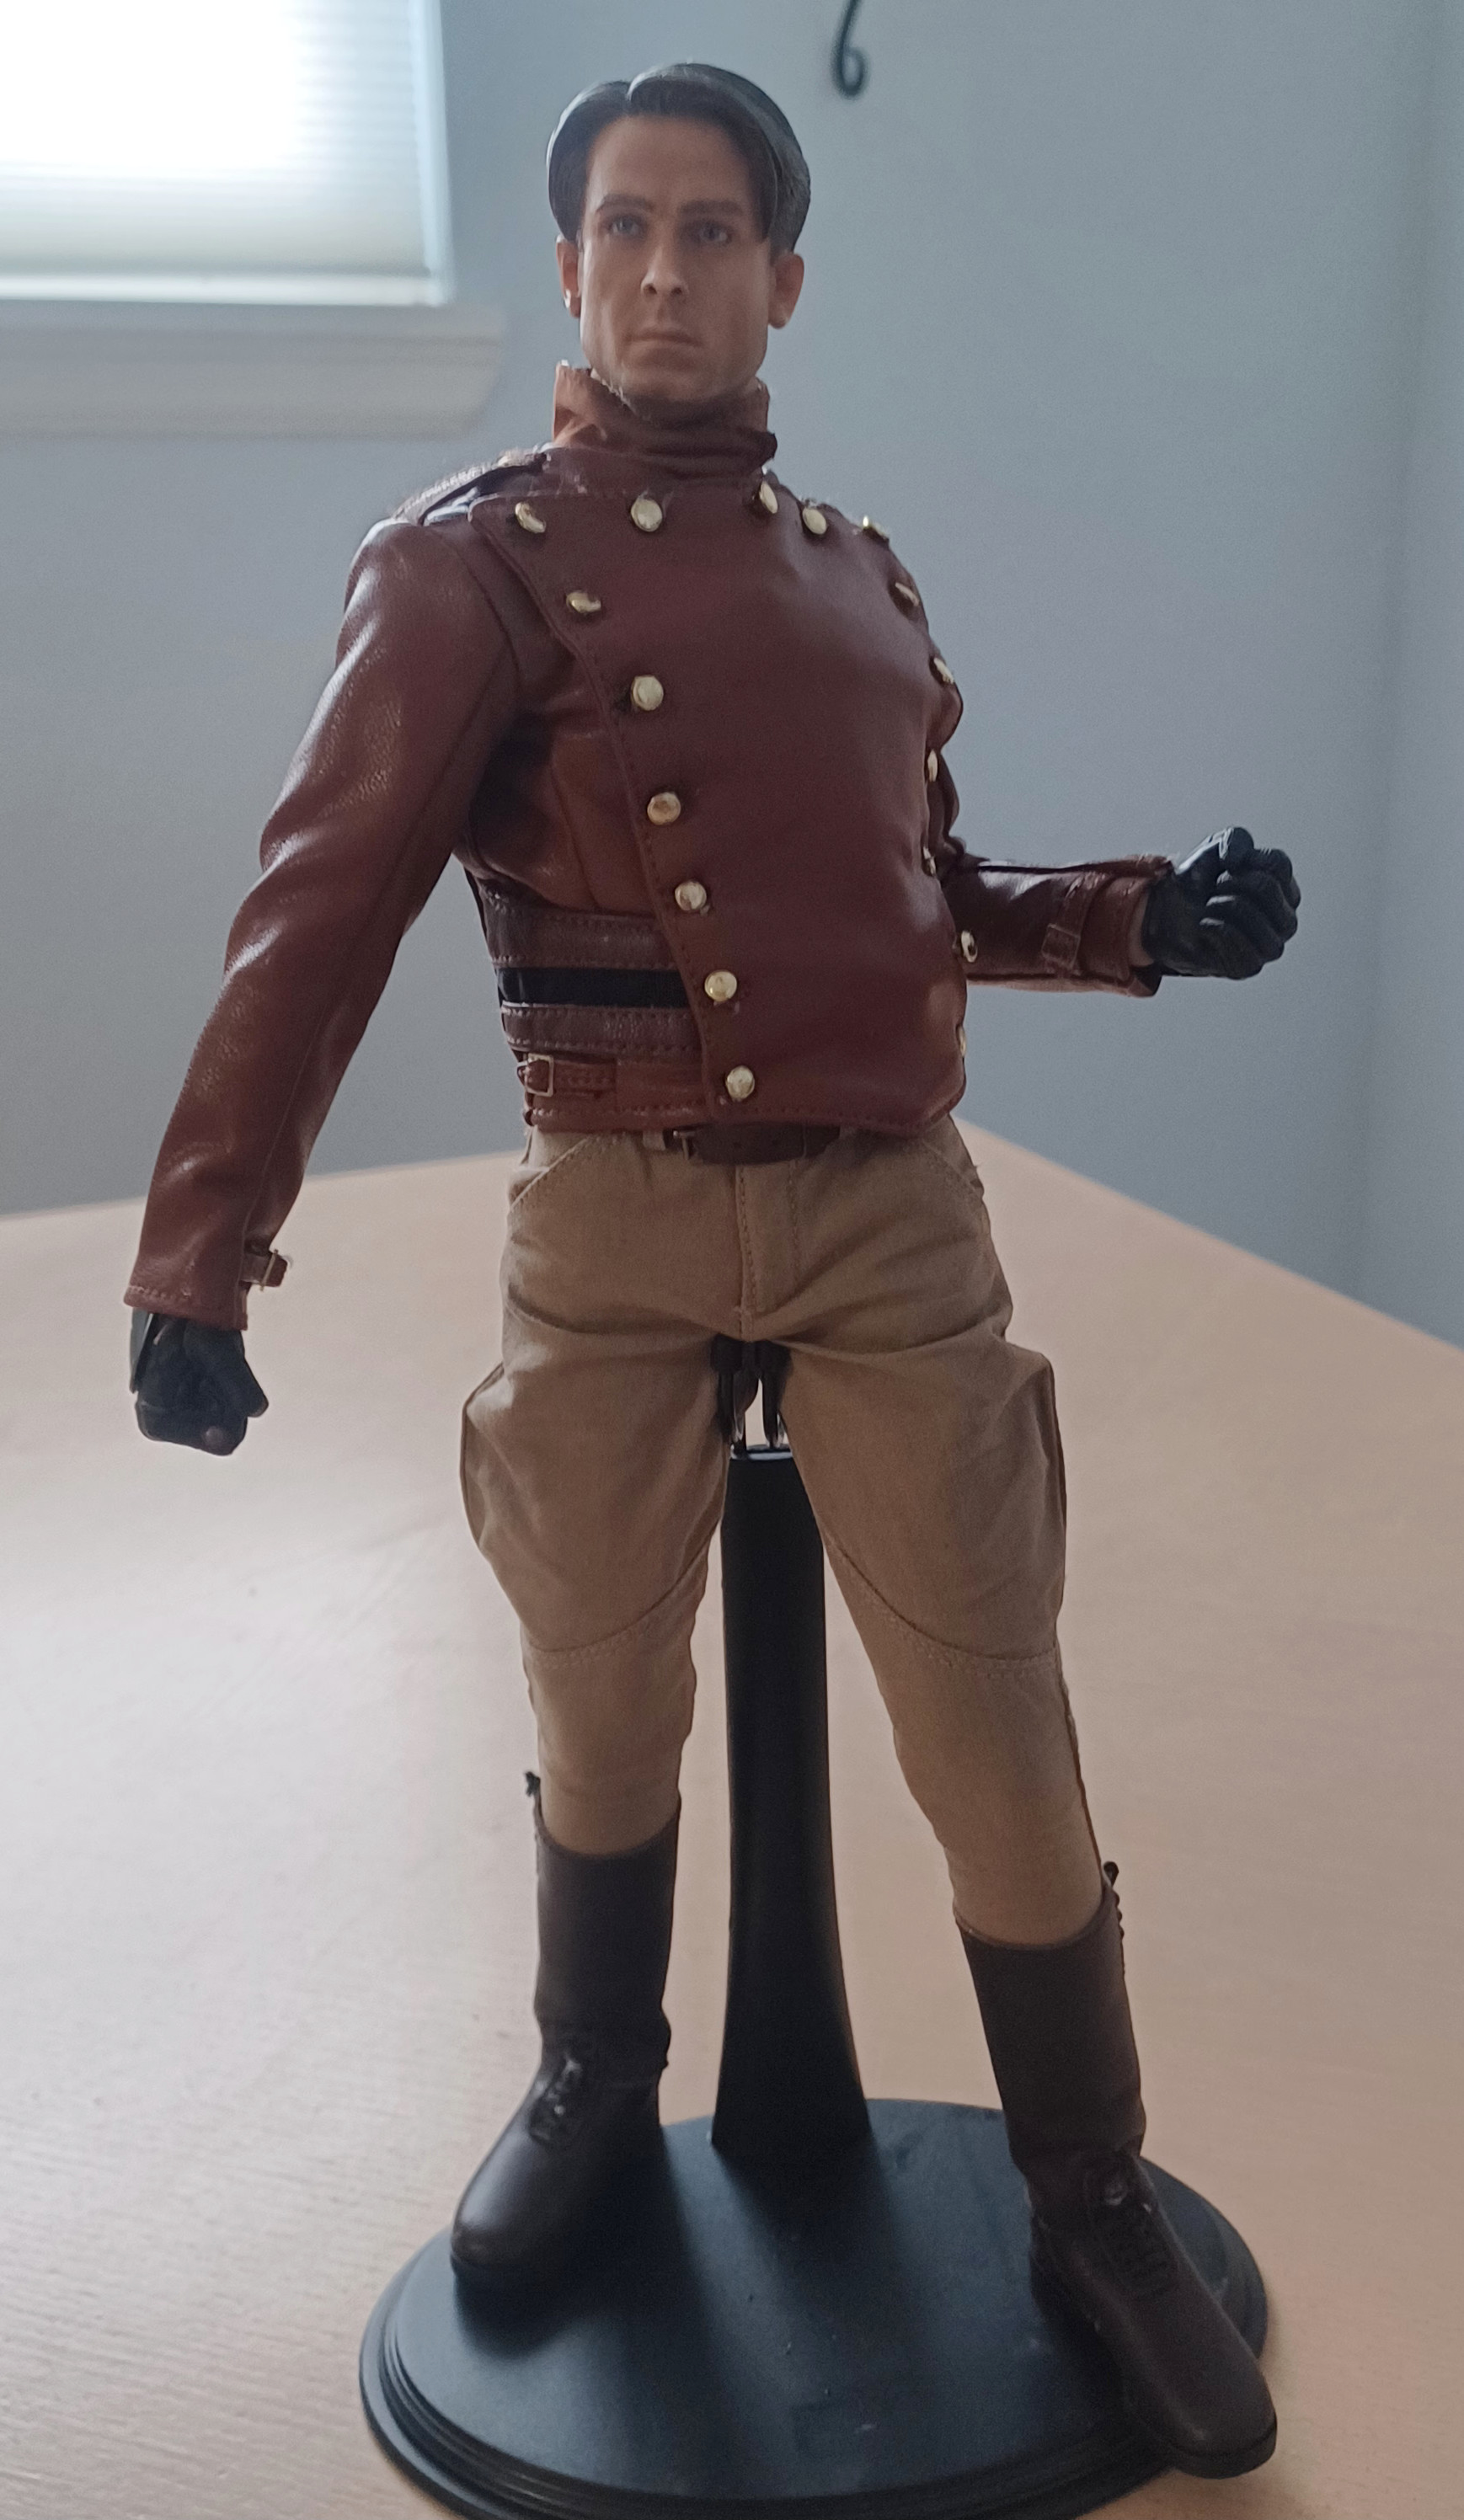
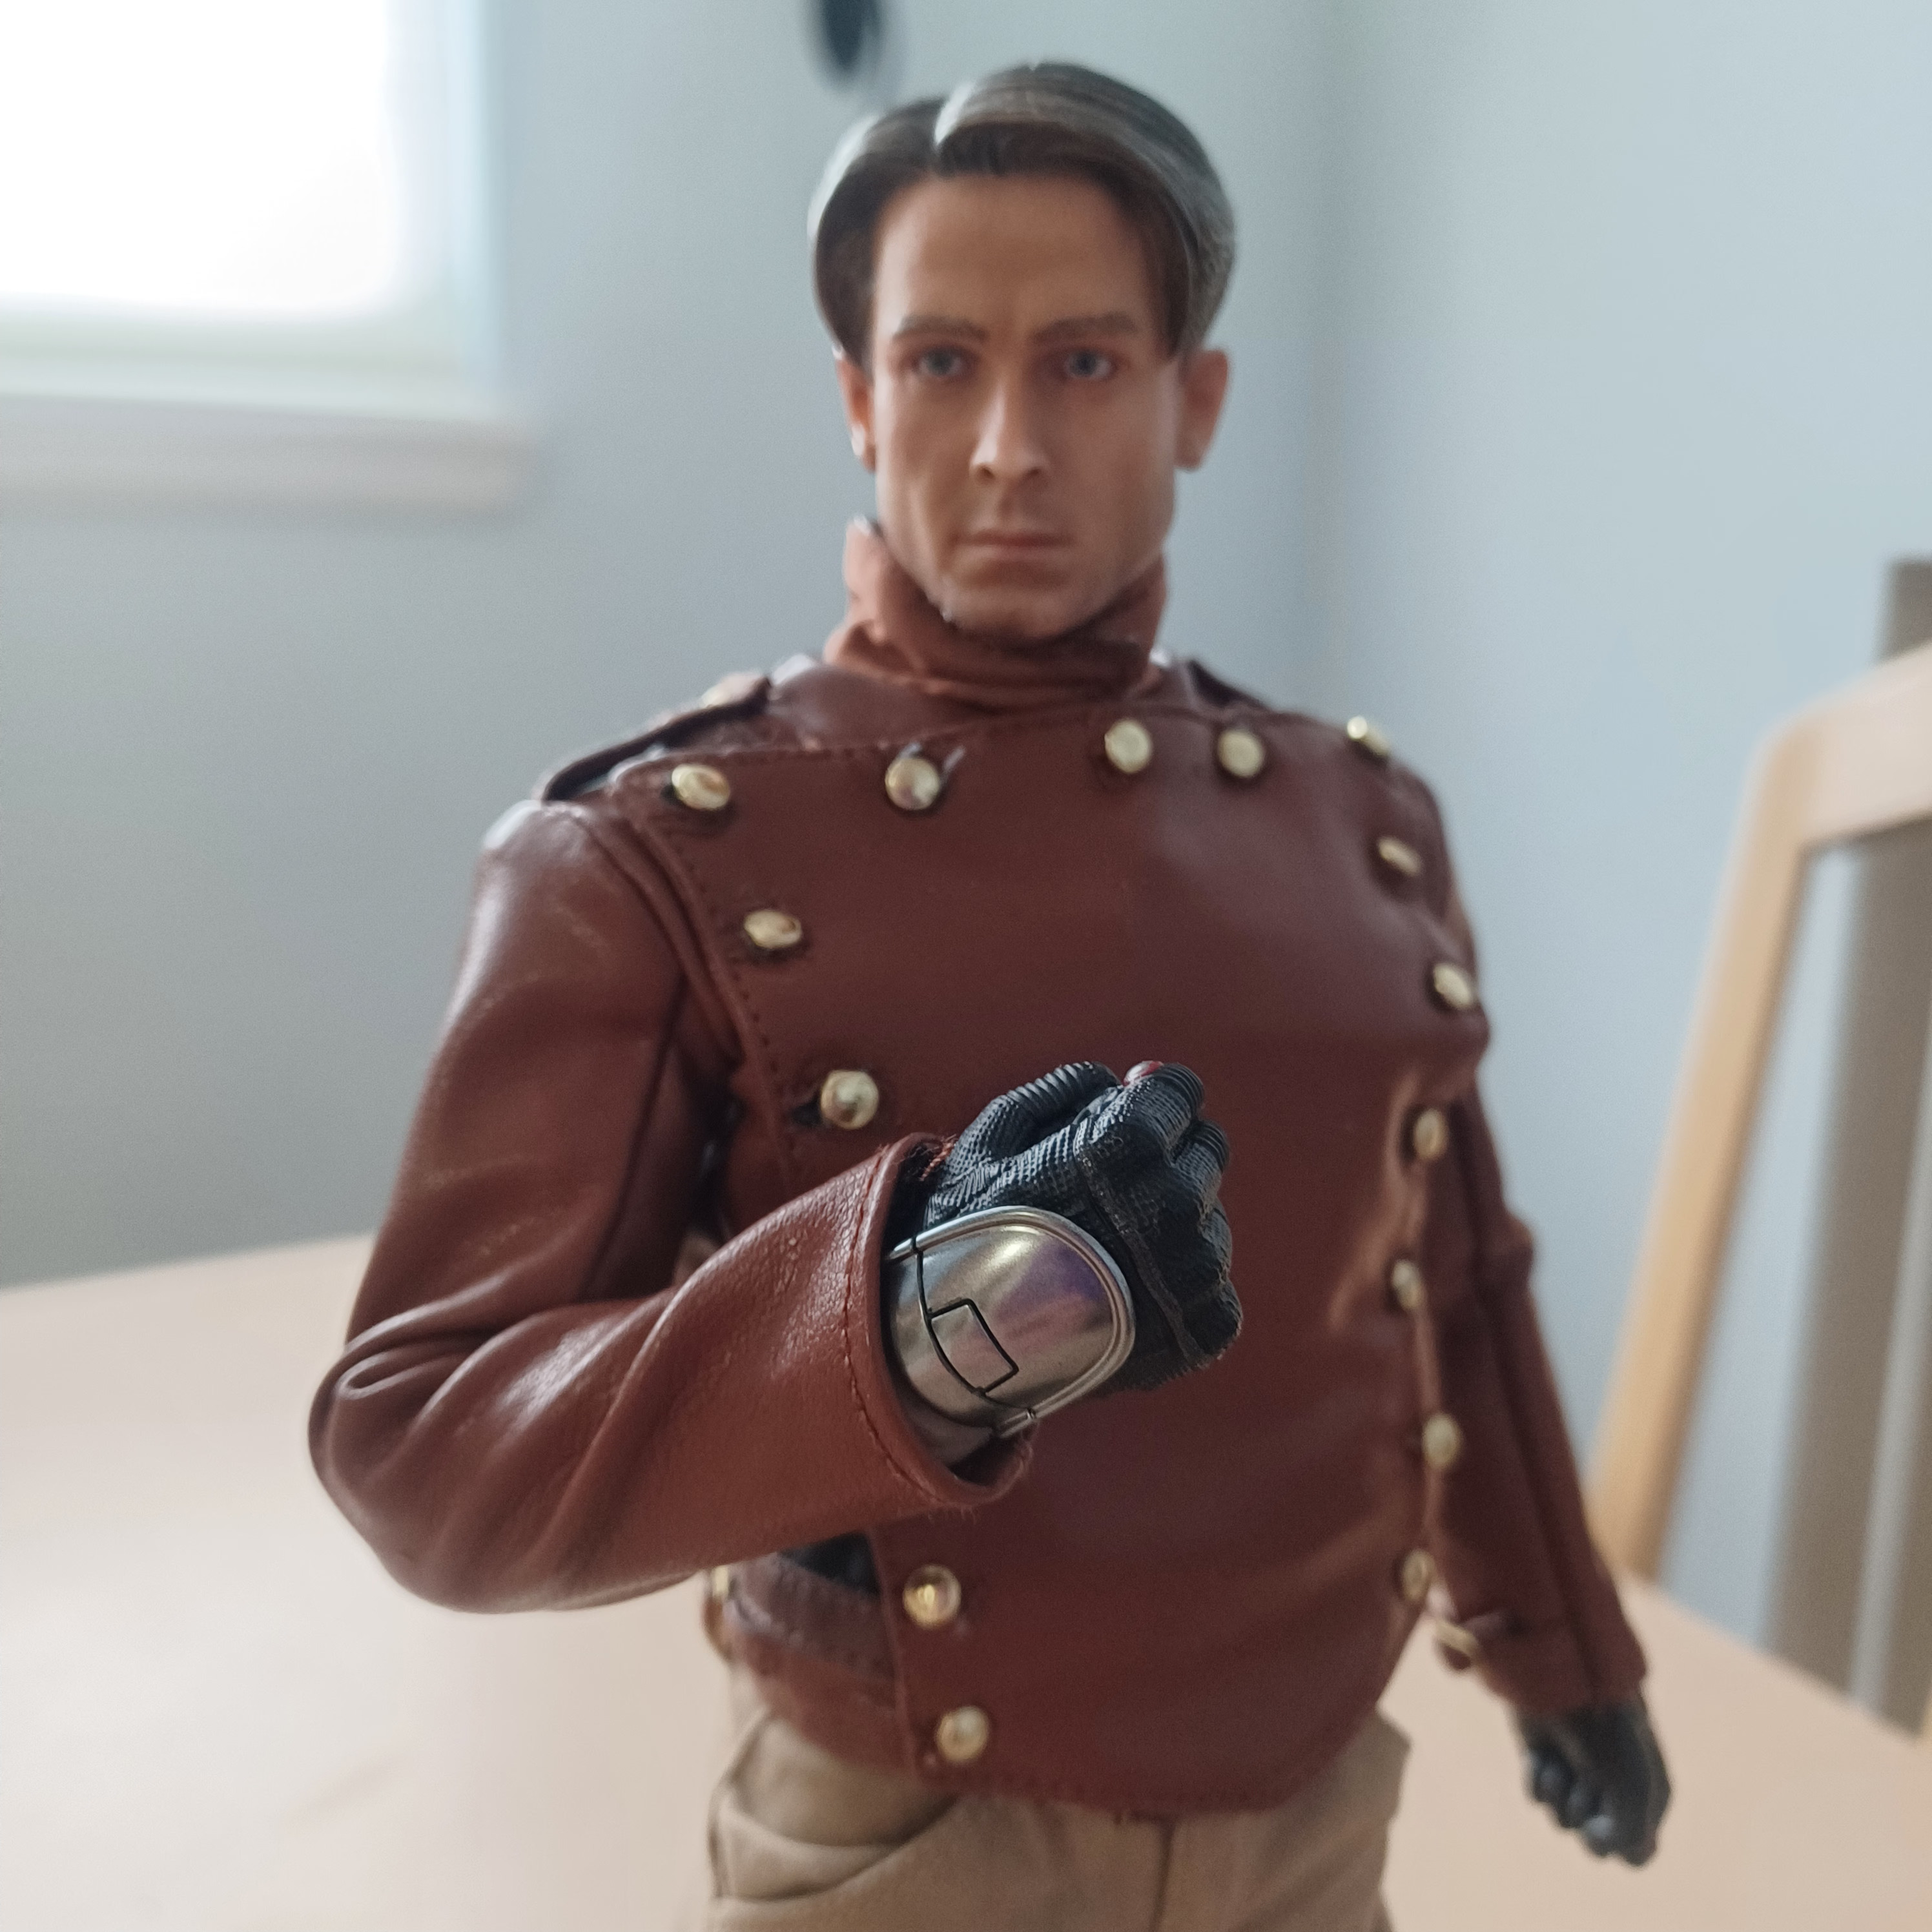
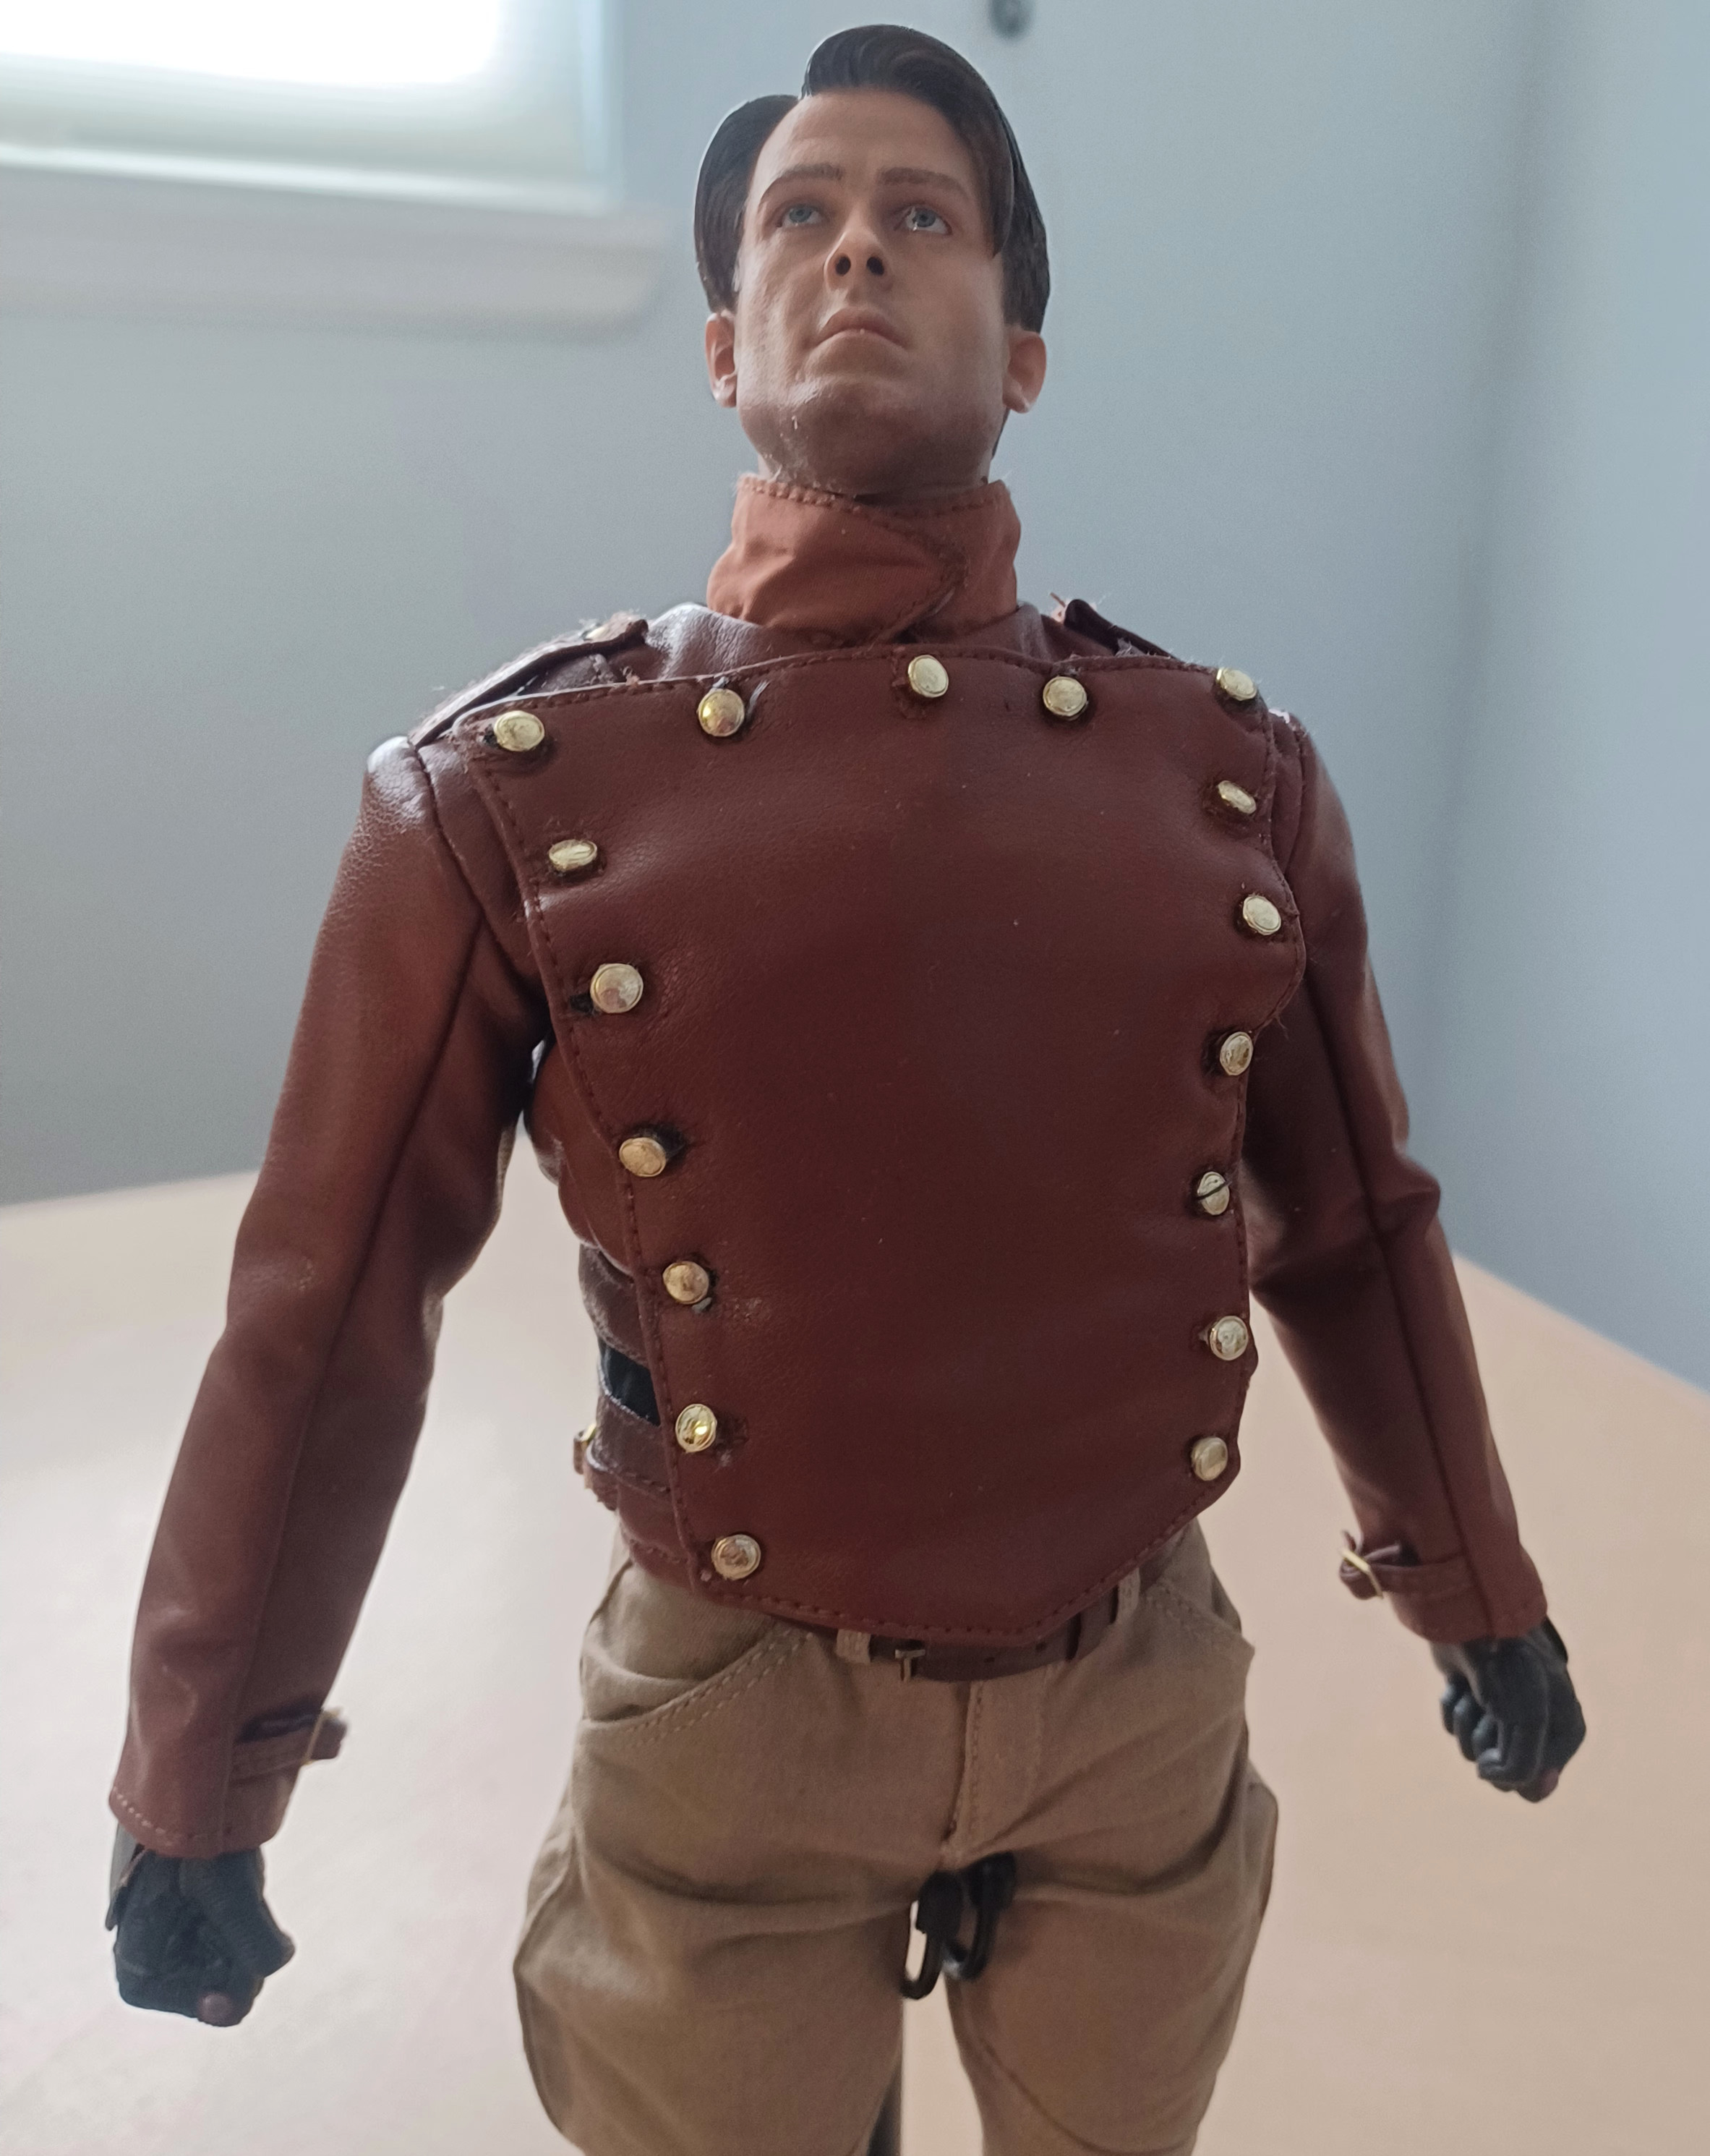
BLACKBOX 1/6 Rocketeer BBT9023A/B

Collector Freaks Forum

Help Support Collector Freaks Forum:

This site may earn a commission from merchant affiliate links, including eBay, Amazon, and others.
Mine is in the mail coming I hope. Who knows with whatever is going in the world....but thanks for the pics. It does look much more acceptable.

I regret cancelling my DX order at GianToys and ate the 20 dollar preorder. I don't think they give refunds on preorders sadly...oh well. I ended up ordering the regular version.
 
Yeah mine has been in transit forever too. Hopefully in the next week because it shows it finally hit the states a couple days ago. But I paid for the cheaper shipping option for the deluxe set which had an up to 40 days delivery window. 🥱
 
Hey Fellow Collectors
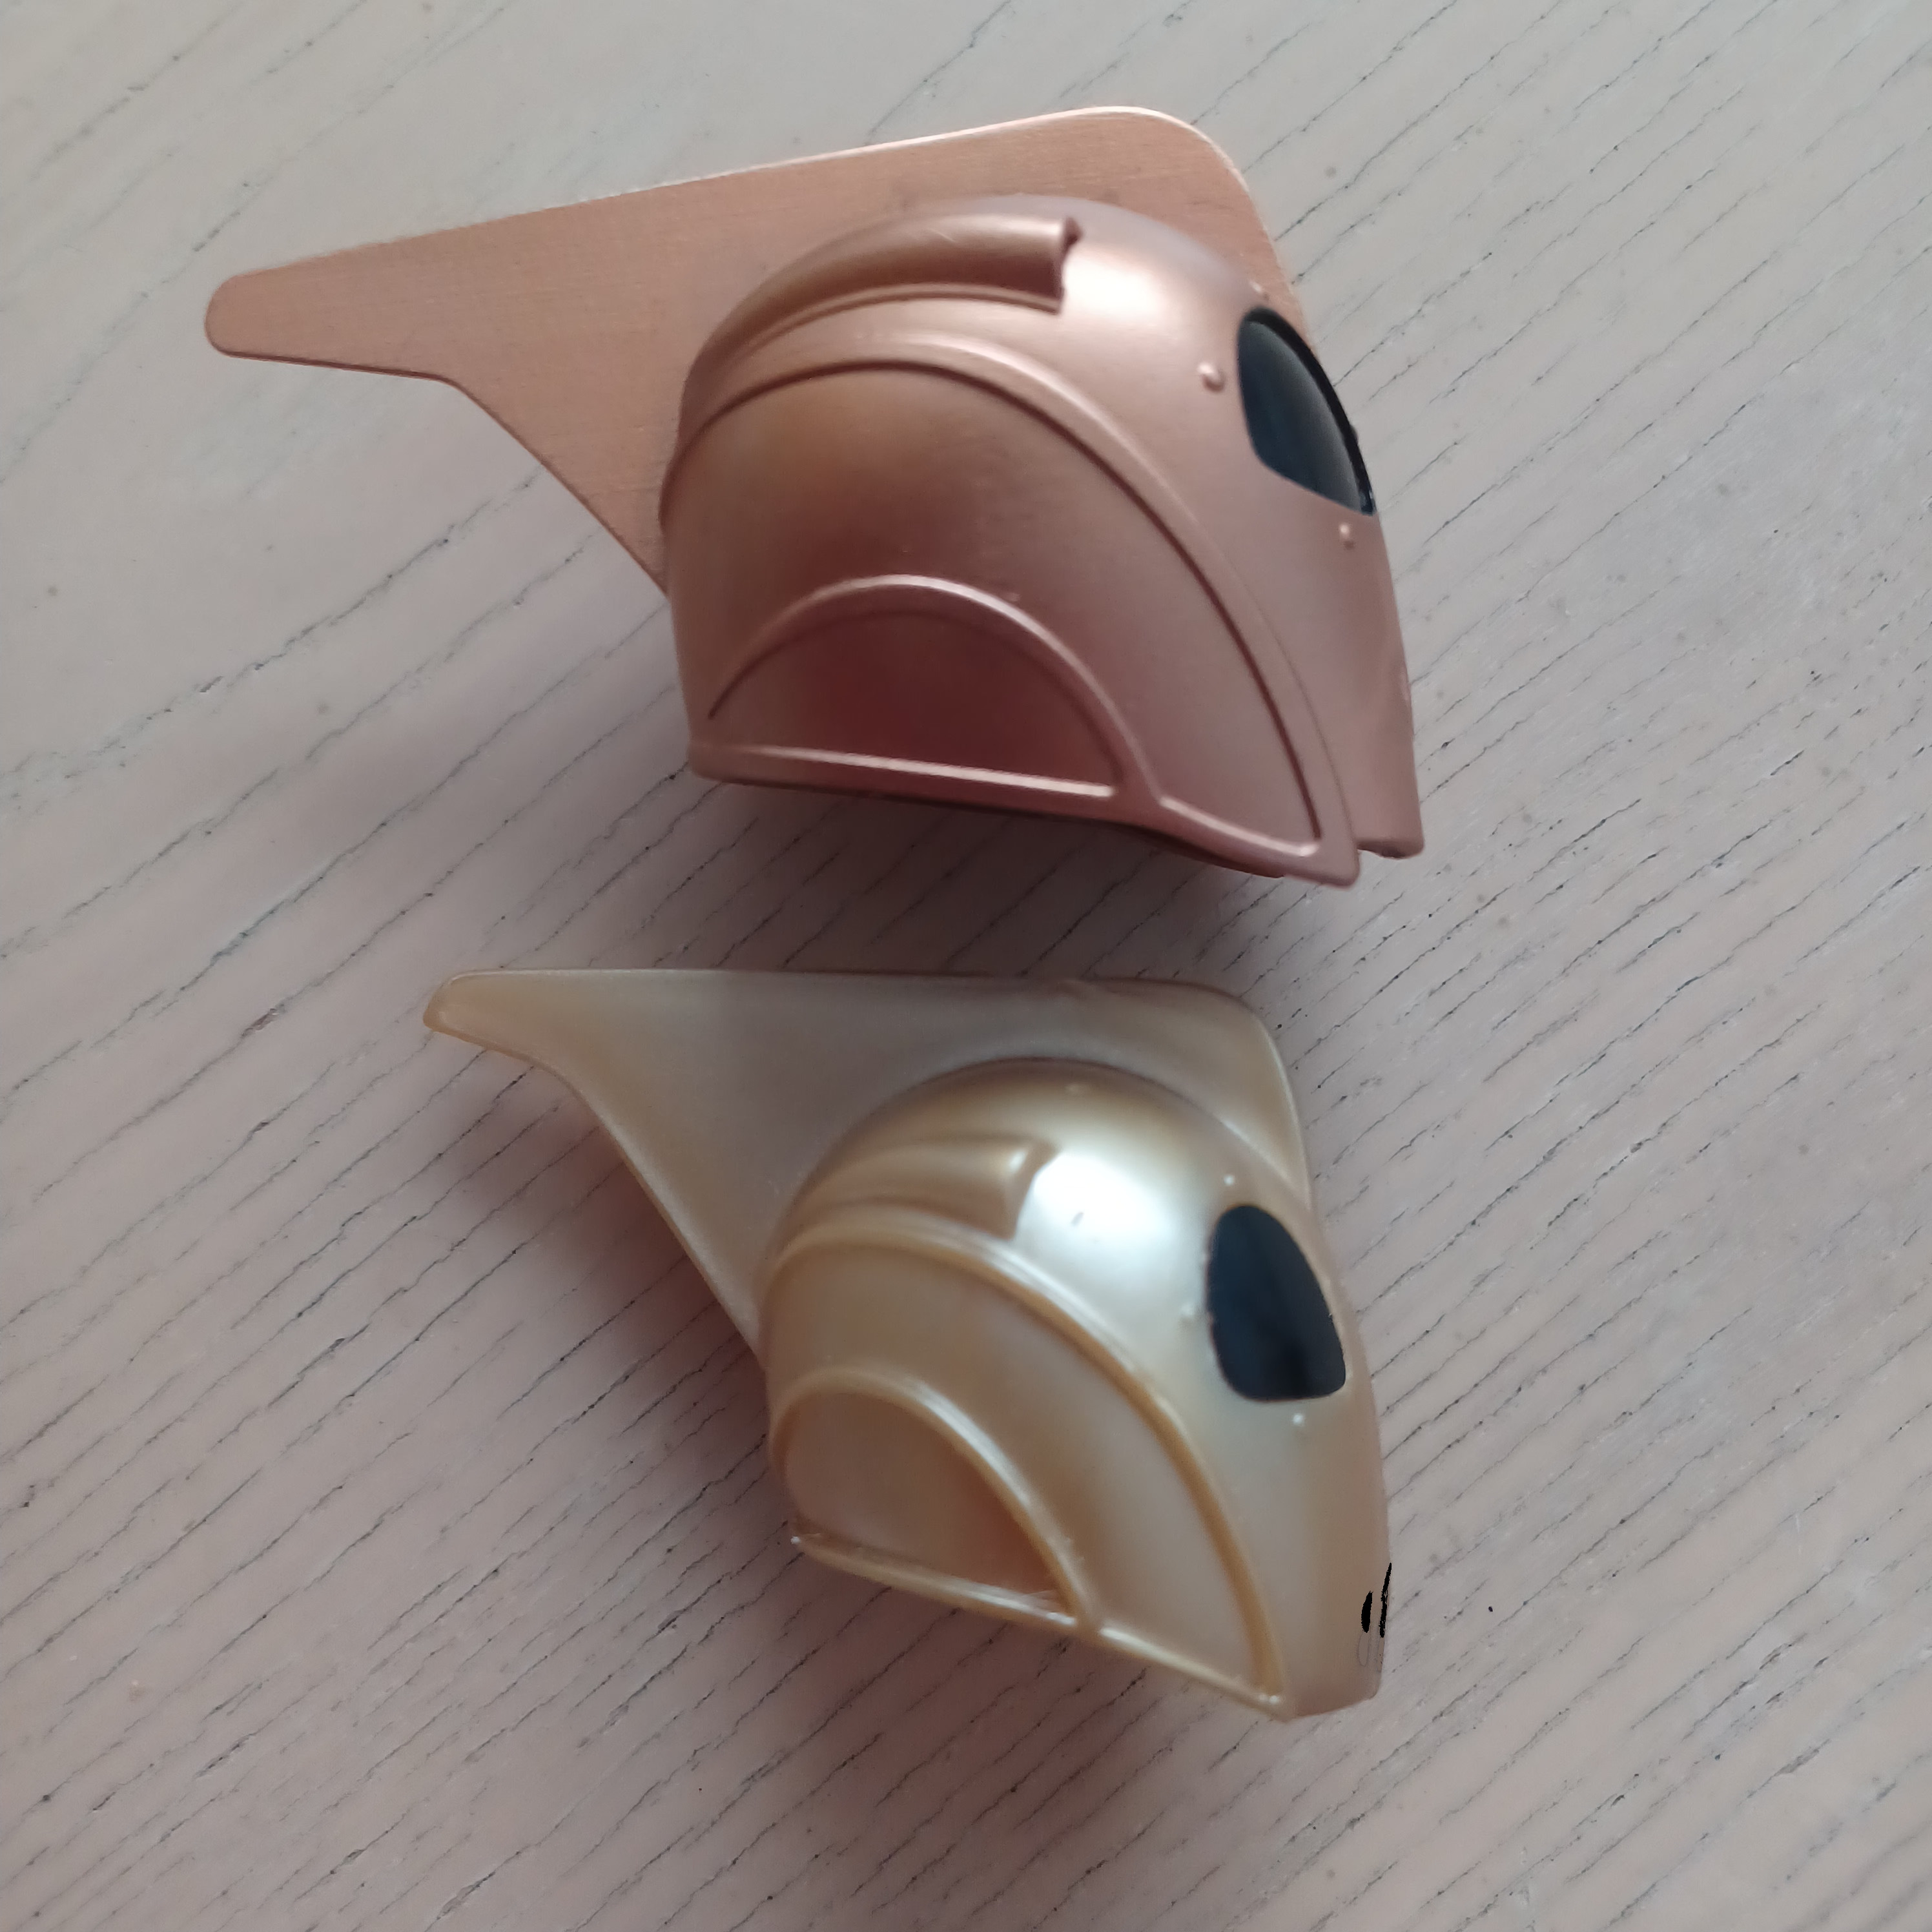
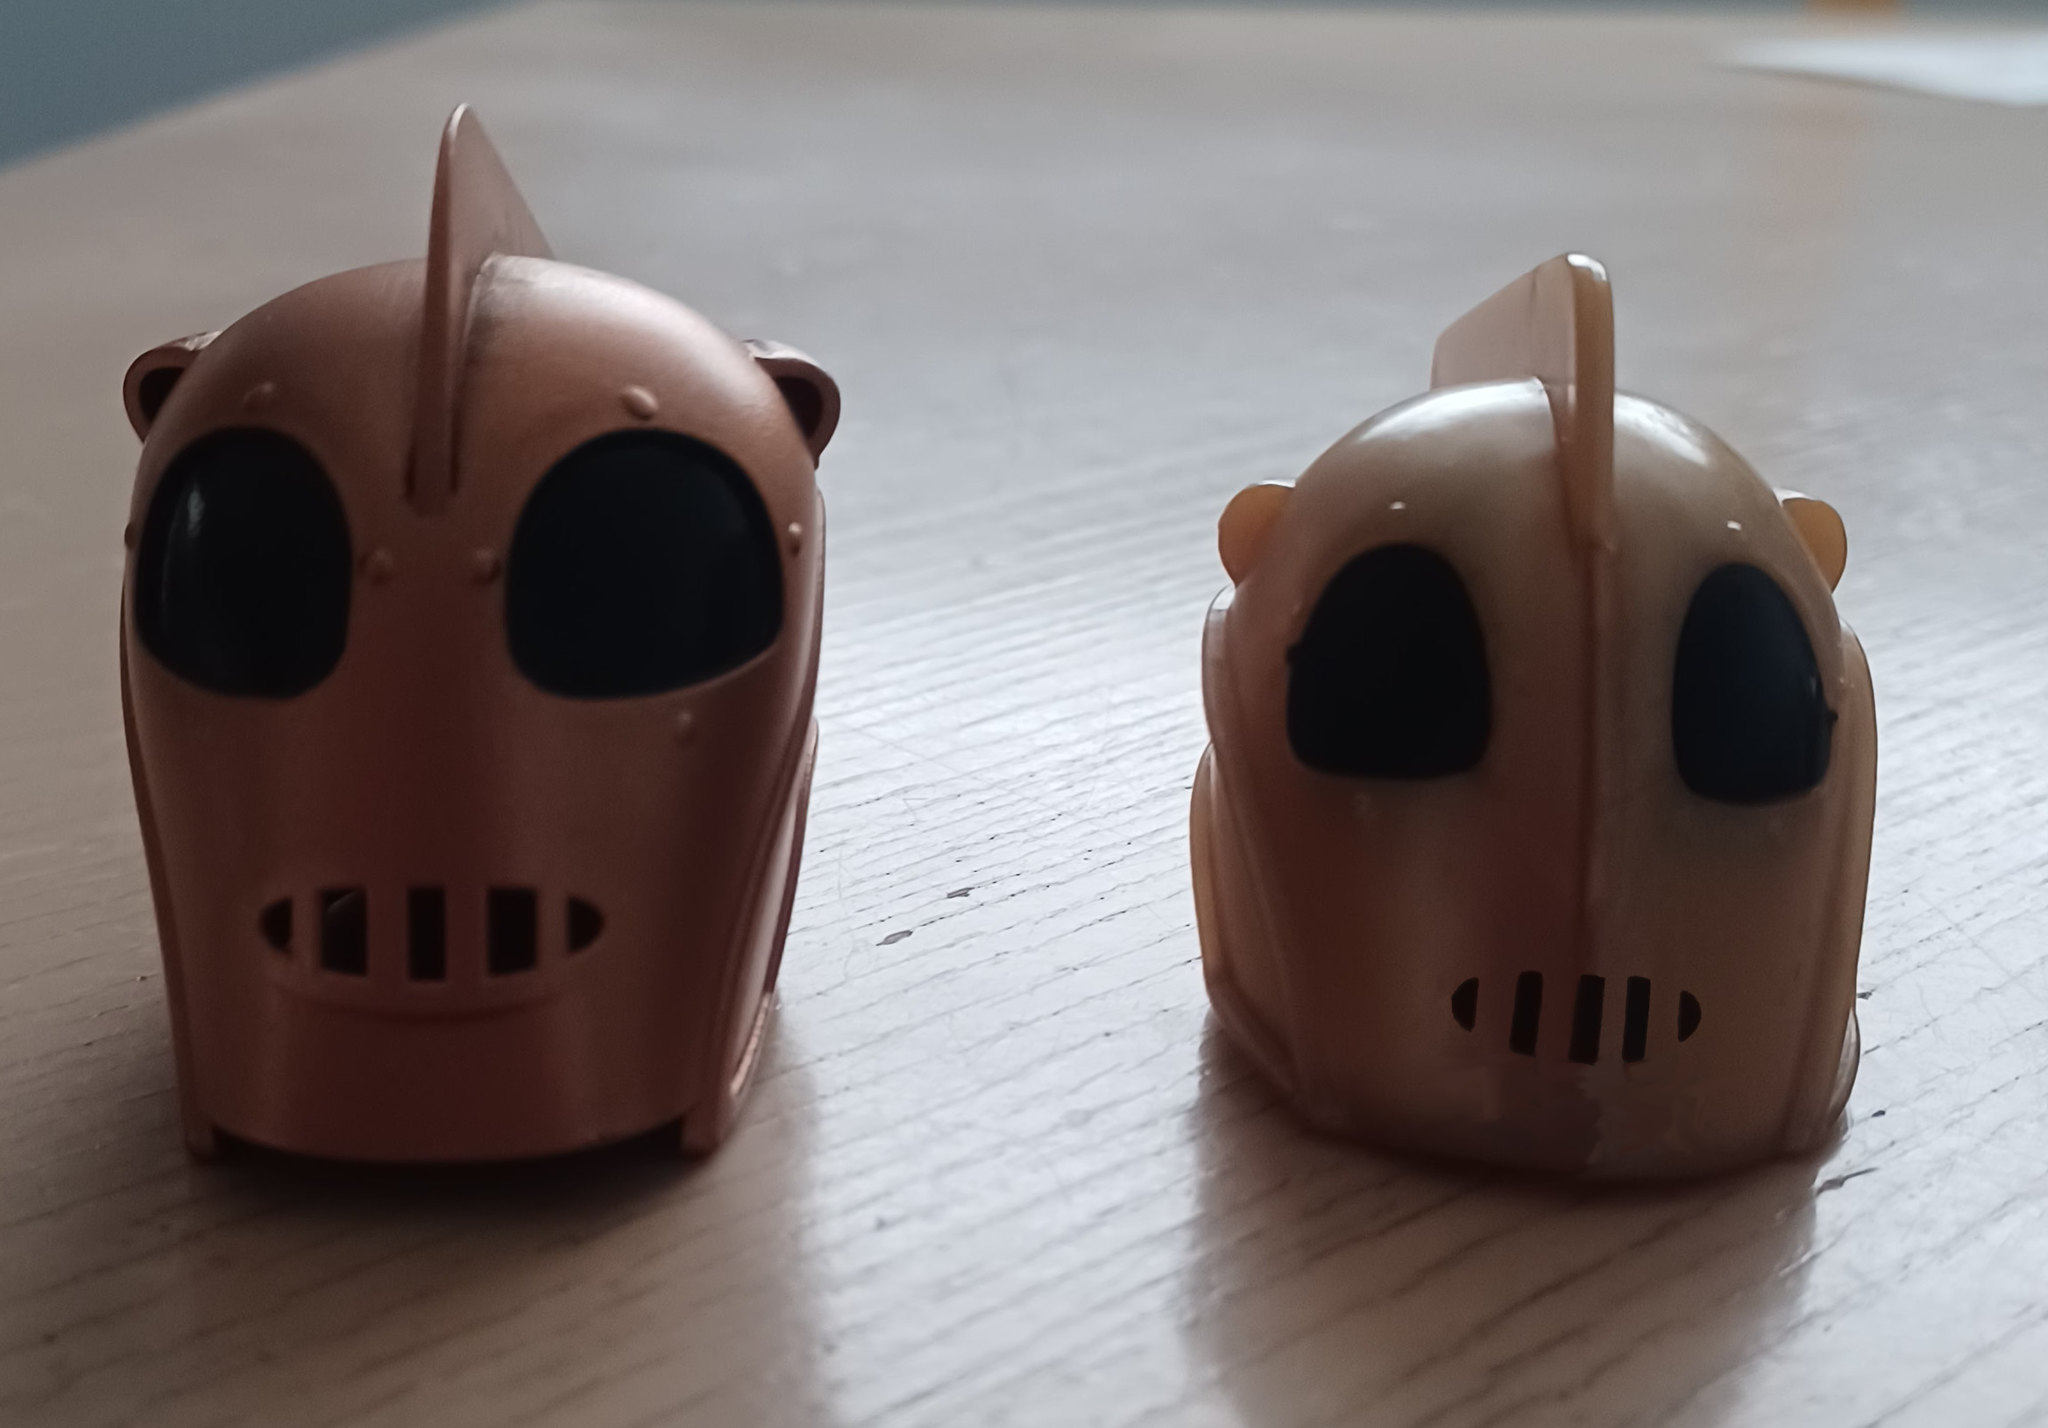
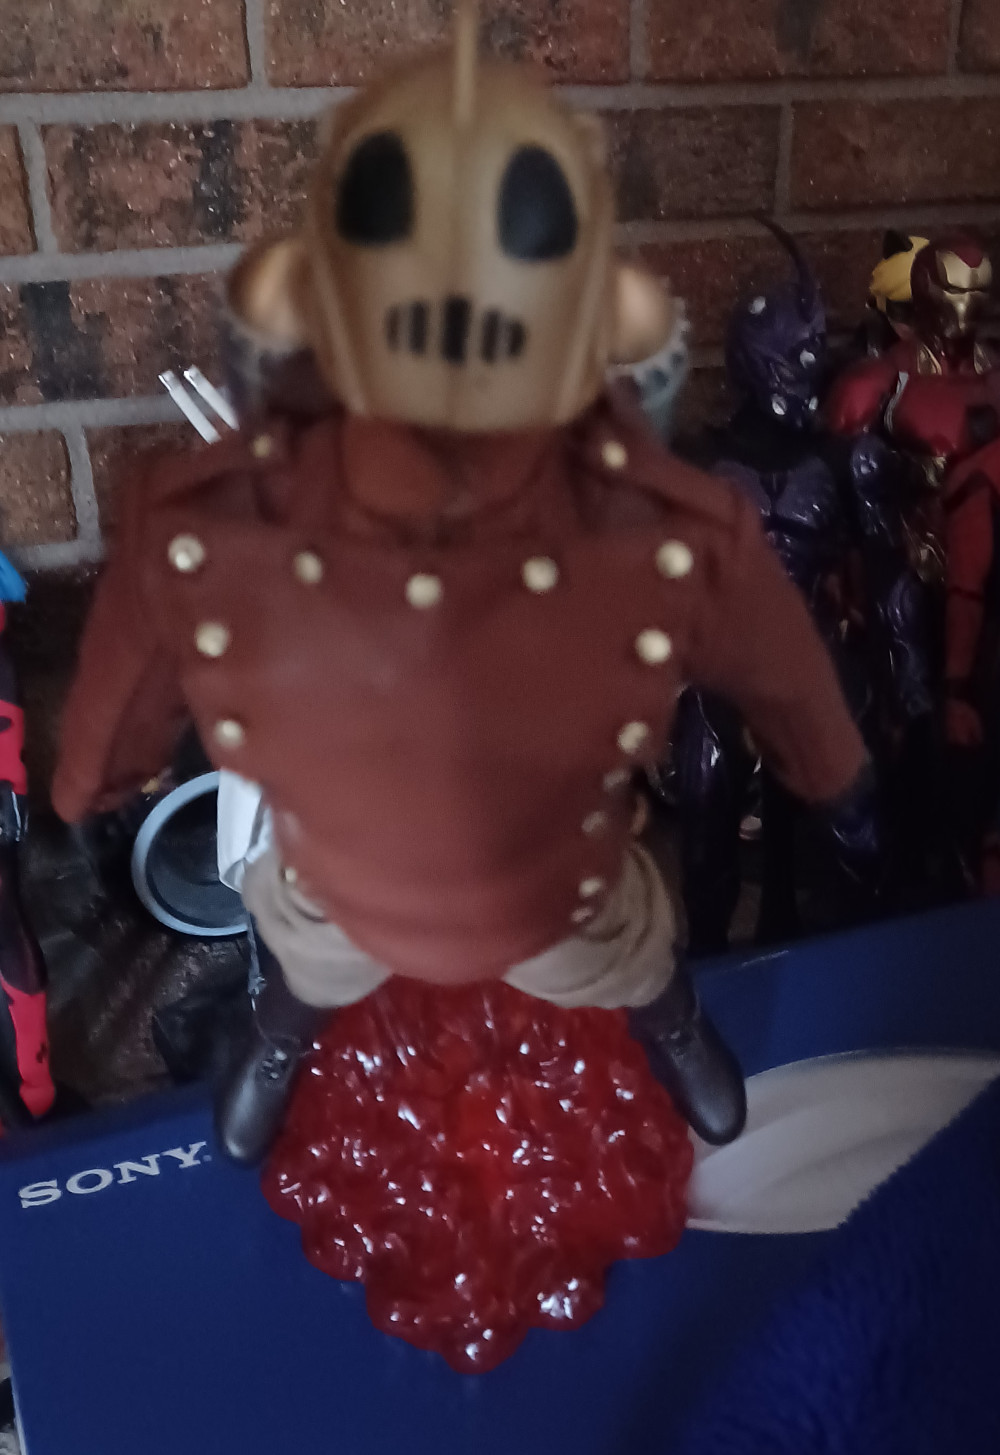
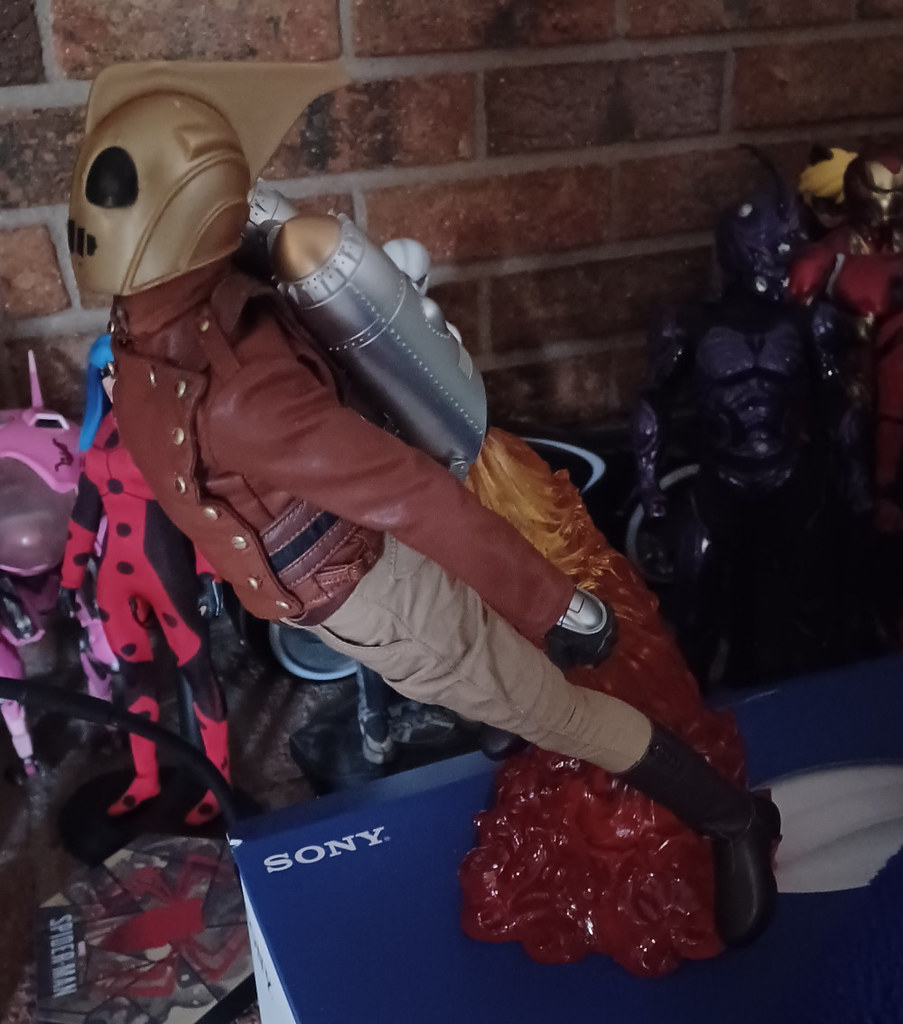
I found an alternative to the over size Black Box Helmet. Found it on ebay. It's a candy head topper from 1991 for under $10.00. VINTAGE THE ROCKETEER GOLD MASK CANDY HEAD TOPPER 1991 TOPPS WALT DISNEY NEW NOS | eBay

I took a chance and here it is for comparison.
20220806_144751 by A.F.M. Productions, on Flickr

20220806_144828 by A.F.M. Productions, on Flickr

It will not fit over a head, so I plan to put a neck adapter in it and put is on the body. Still working on that part. I just wanted to share the discovery.
 
Ok, super late to the party but I finally received my deluxe today. First of all: come on!

IMG_1187.jpeg


First impression: this figure is surely a looker and it's really impressive on the shelf. There are some evident drawbacks, like the sculpt is extremely light, they used a very low quality plastic, like Barbie grade soft plastic, like look at that:


Then there are the hands. The gloved ones are atrocious, they are still sticky and the paint is still wet. I'll need to leave them a month or so in open air to get the paint to settle properly. Somehow they went for a black rubber which then they painted pink for the fingers. The result is terrible, as the black paint shines through the pink and some fingertips are even chipped, so there are black patches showing.

Too bad the trigger hand and the button pressing hand are only available as a right hand, so they cannot be used at the same time. Also the trigger hand is badly shaped and to even hold the gun I had to forcefully (but carefully) stick the trigger finger into the trigger guard, this is the result, still not optimal:

IMG_1208.jpeg
IMG_1209.jpeg


One of the mods I did right away was cutting the stupidly big zipper handle.

IMG_1188.jpeg


Good riddance. This left the zipper with a standard 1/6 look. This way that giant pin doesn't show up with the jacket closed.

IMG_1189.jpeg


The harness was a little loose, meaning that once in place its straps covered the side buttons. So I tried to fasten the buckles not in their slot but tighter, in the opening where the receiving buckle is strapped to the leather. Here's a pic to show what I'm talking about:

IMG_1190.jpeg


This left the side buttons a little more exposed. The real problem with the way the harness is designed is that the straps should go under the epaulettes (I guess that's a better way to call those things...) but they basically cover the buttons. So you have to try and position the straps to make them go under, but they rub against the tiny buttons on the shouders, and they come undone everytime you move the figure. Definetly the most annoying things button wise.

IMG_1191.jpeg


IMG_1192.jpeg


While I struggled with the straps a stud came off. I don't think I am ever going to bother sticking it back in place.

IMG_1193.jpeg


And now the buttons! I know many of you struggled so much with them. But for me, it just took 30 seconds to button them all up! Don't belive me? Just watch!


All I needed was that magic tool from DID.

And now some photos with a basic pose. First with the original helmet:

IMG_1210.jpeg

IMG_1211.jpeg

IMG_1212.jpeg

IMG_1213.jpeg

IMG_1214.jpeg

IMG_1215.jpeg

IMG_1220.jpeg


And now with the reshaped helmet. Used the same method mentioned before in the thread. Dropped for 10 seconds in boiling water, pinched slightly at the bottom, done.

IMG_1222.jpeg

IMG_1225.jpeg

IMG_1226.jpeg

IMG_1227.jpeg

IMG_1228.jpeg


All in all this figure is a solid 8 for me.
 
Last edited:
Then there are the hands. The gloves ones are atrocious, they are still sticky and the paint is still wet. I'll need to leave them a month or so in open air to get it to settle properly. Somehow they went for a black rubber which then they painted pink for the fingers. The result is terrible, as the black paint shines through the pink and some fingertips are even chipped, so there are black patches showing.
Too bad the trigger hand and the button pressing hand are only available as a right hand, so they cannot be used at the same time. Also the trigger hand is badly shaped and to even hold the gun I had to forcefully (but carefully) stick the trigger finger into the trigger guard, this is the result, still not optimal:

That is my biggest annoyance with the figure.

I always planned to have him holding the Mauser, but he can only do it for a day at most. However far I push his finger through the trigger guard, the pistol always ends up at his feet.

:gah:


One the mods I did right away was cutting the stupidly bid zipper handler.
Good riddance. This left the zipper with a standard 1/6 look. This way that giant pin doesn't show up with the jacket closed.

I did that too, because it showed so prominently through the jacket.


This left the side buttons a little more exposed. The real problem with the way the harness is designed is that the straps should go under the epaulettes (I guess that's a better way to call those things...) but they basically cover the buttons. So you have to try and position the straps to make them go under, but they rub against the tiny buttons on the shouders, and they come undone everytime you move the figure. Definetly the most annoying things button wise.

I had one epaulette that kept popping off the button during assembly, so there was probably little to no quality control on the size of the buttonholes.


While I struggled with the straps a stud came off. I don't think I am ever going to bother sticking it back in place.

That happened on mine as well. Some of those little nail art studs were barely glued on.


And not the buttons! I know many of you struggled so much with them. But for me, it just took 30 seconds to button them all up! Don't belive me? Just watch!

All I needed was that magic tool from DID.

I wouldn't have managed without the DiD button hook!

Even then, due to the poor quality of the stitching one of the buttons pulled out. Luckily it wasn't one of the ones along the top which are necessary to keep the bib in place, so I just glued it to the jacket.
 
That is my biggest annoyance with the figure.

I always planned to have him holding the Mauser, but he can only do it for a day at most. However far I push his finger through the trigger guard, the pistol always ends up at his feet.

:gah:

Well, what do you know. The pistol was found laying on the ground this morning :D looks like our Rocketeer is a pacifist!
 
Ran through my figure. Right now using BB pack. If I keep it on I will weather it. Using Hendi Cheung jacket. Wish the color was just a bit lighter. Added flames from a mandalorian figure. Thinking I might just use cotton and some LED lights for the back. Helmet is from the Medicom. I updated the body to one with a neck post I cut the head down to fit. He really does look great with my adventure crew of Rick O'Connell Indiana Jones and Allan quarterman.
16623120275426411187860726542574.jpg16623122979598516329747069770100.jpg16623124198068567142417114220543.jpg
 
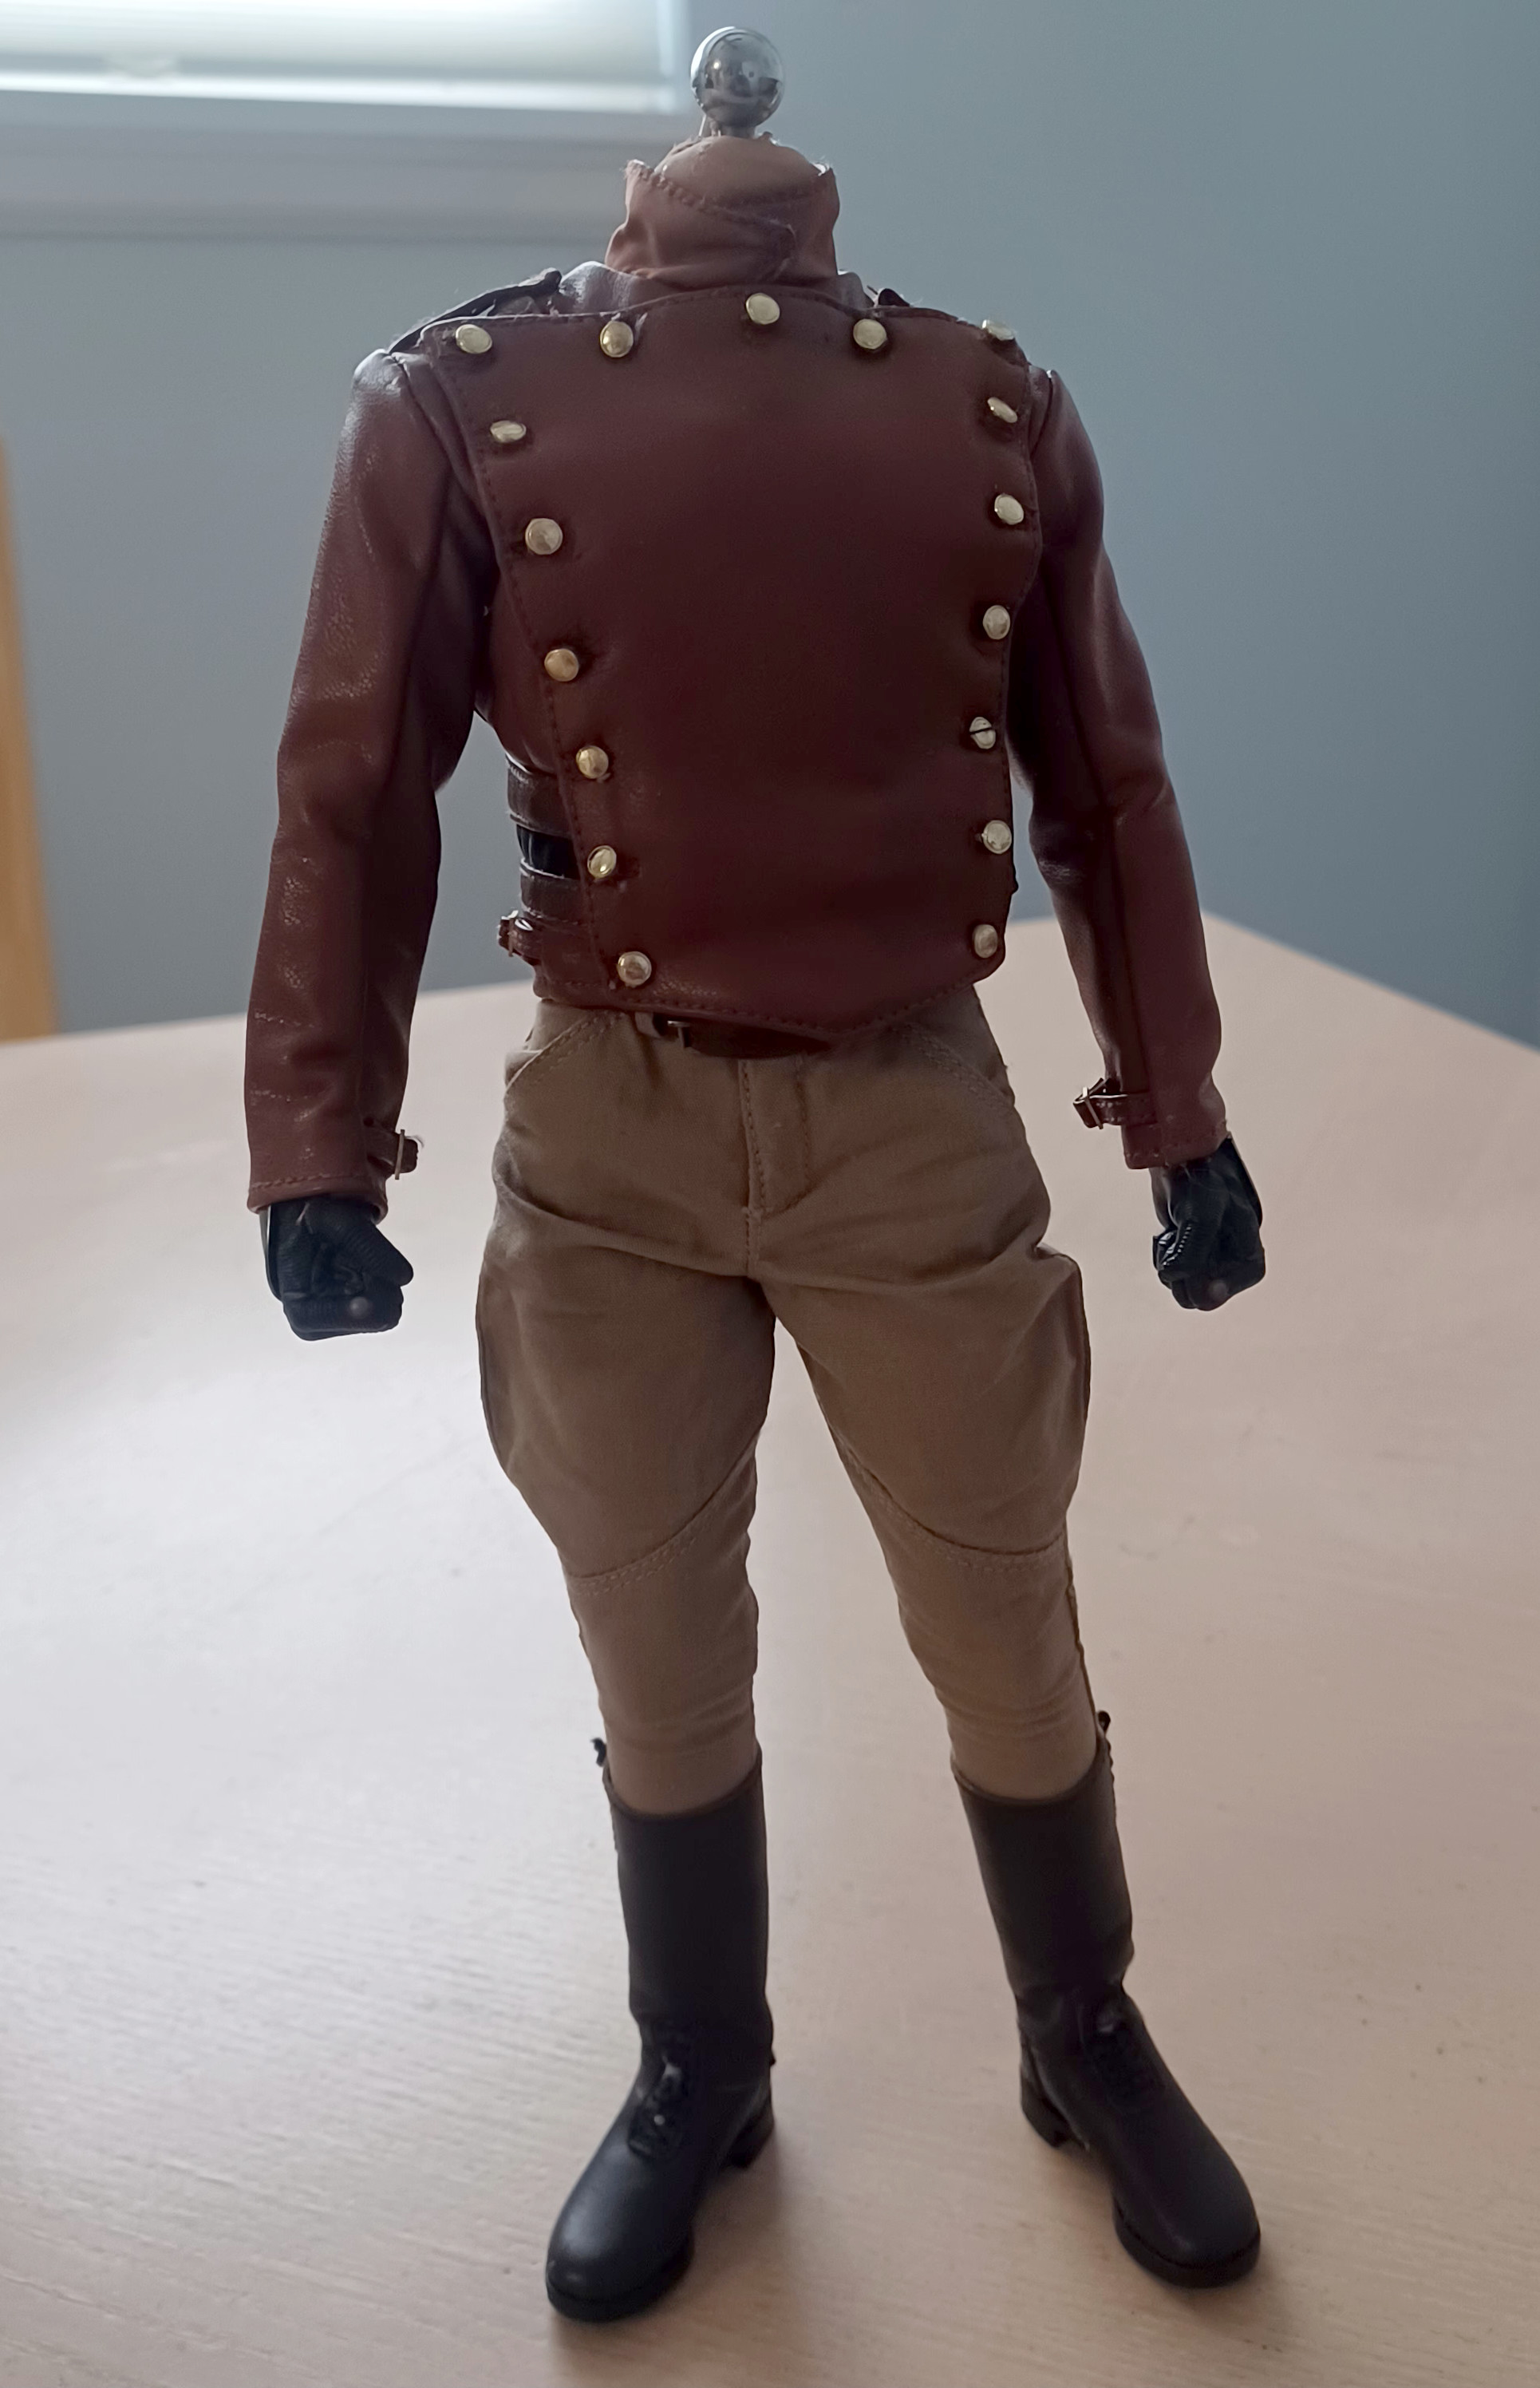
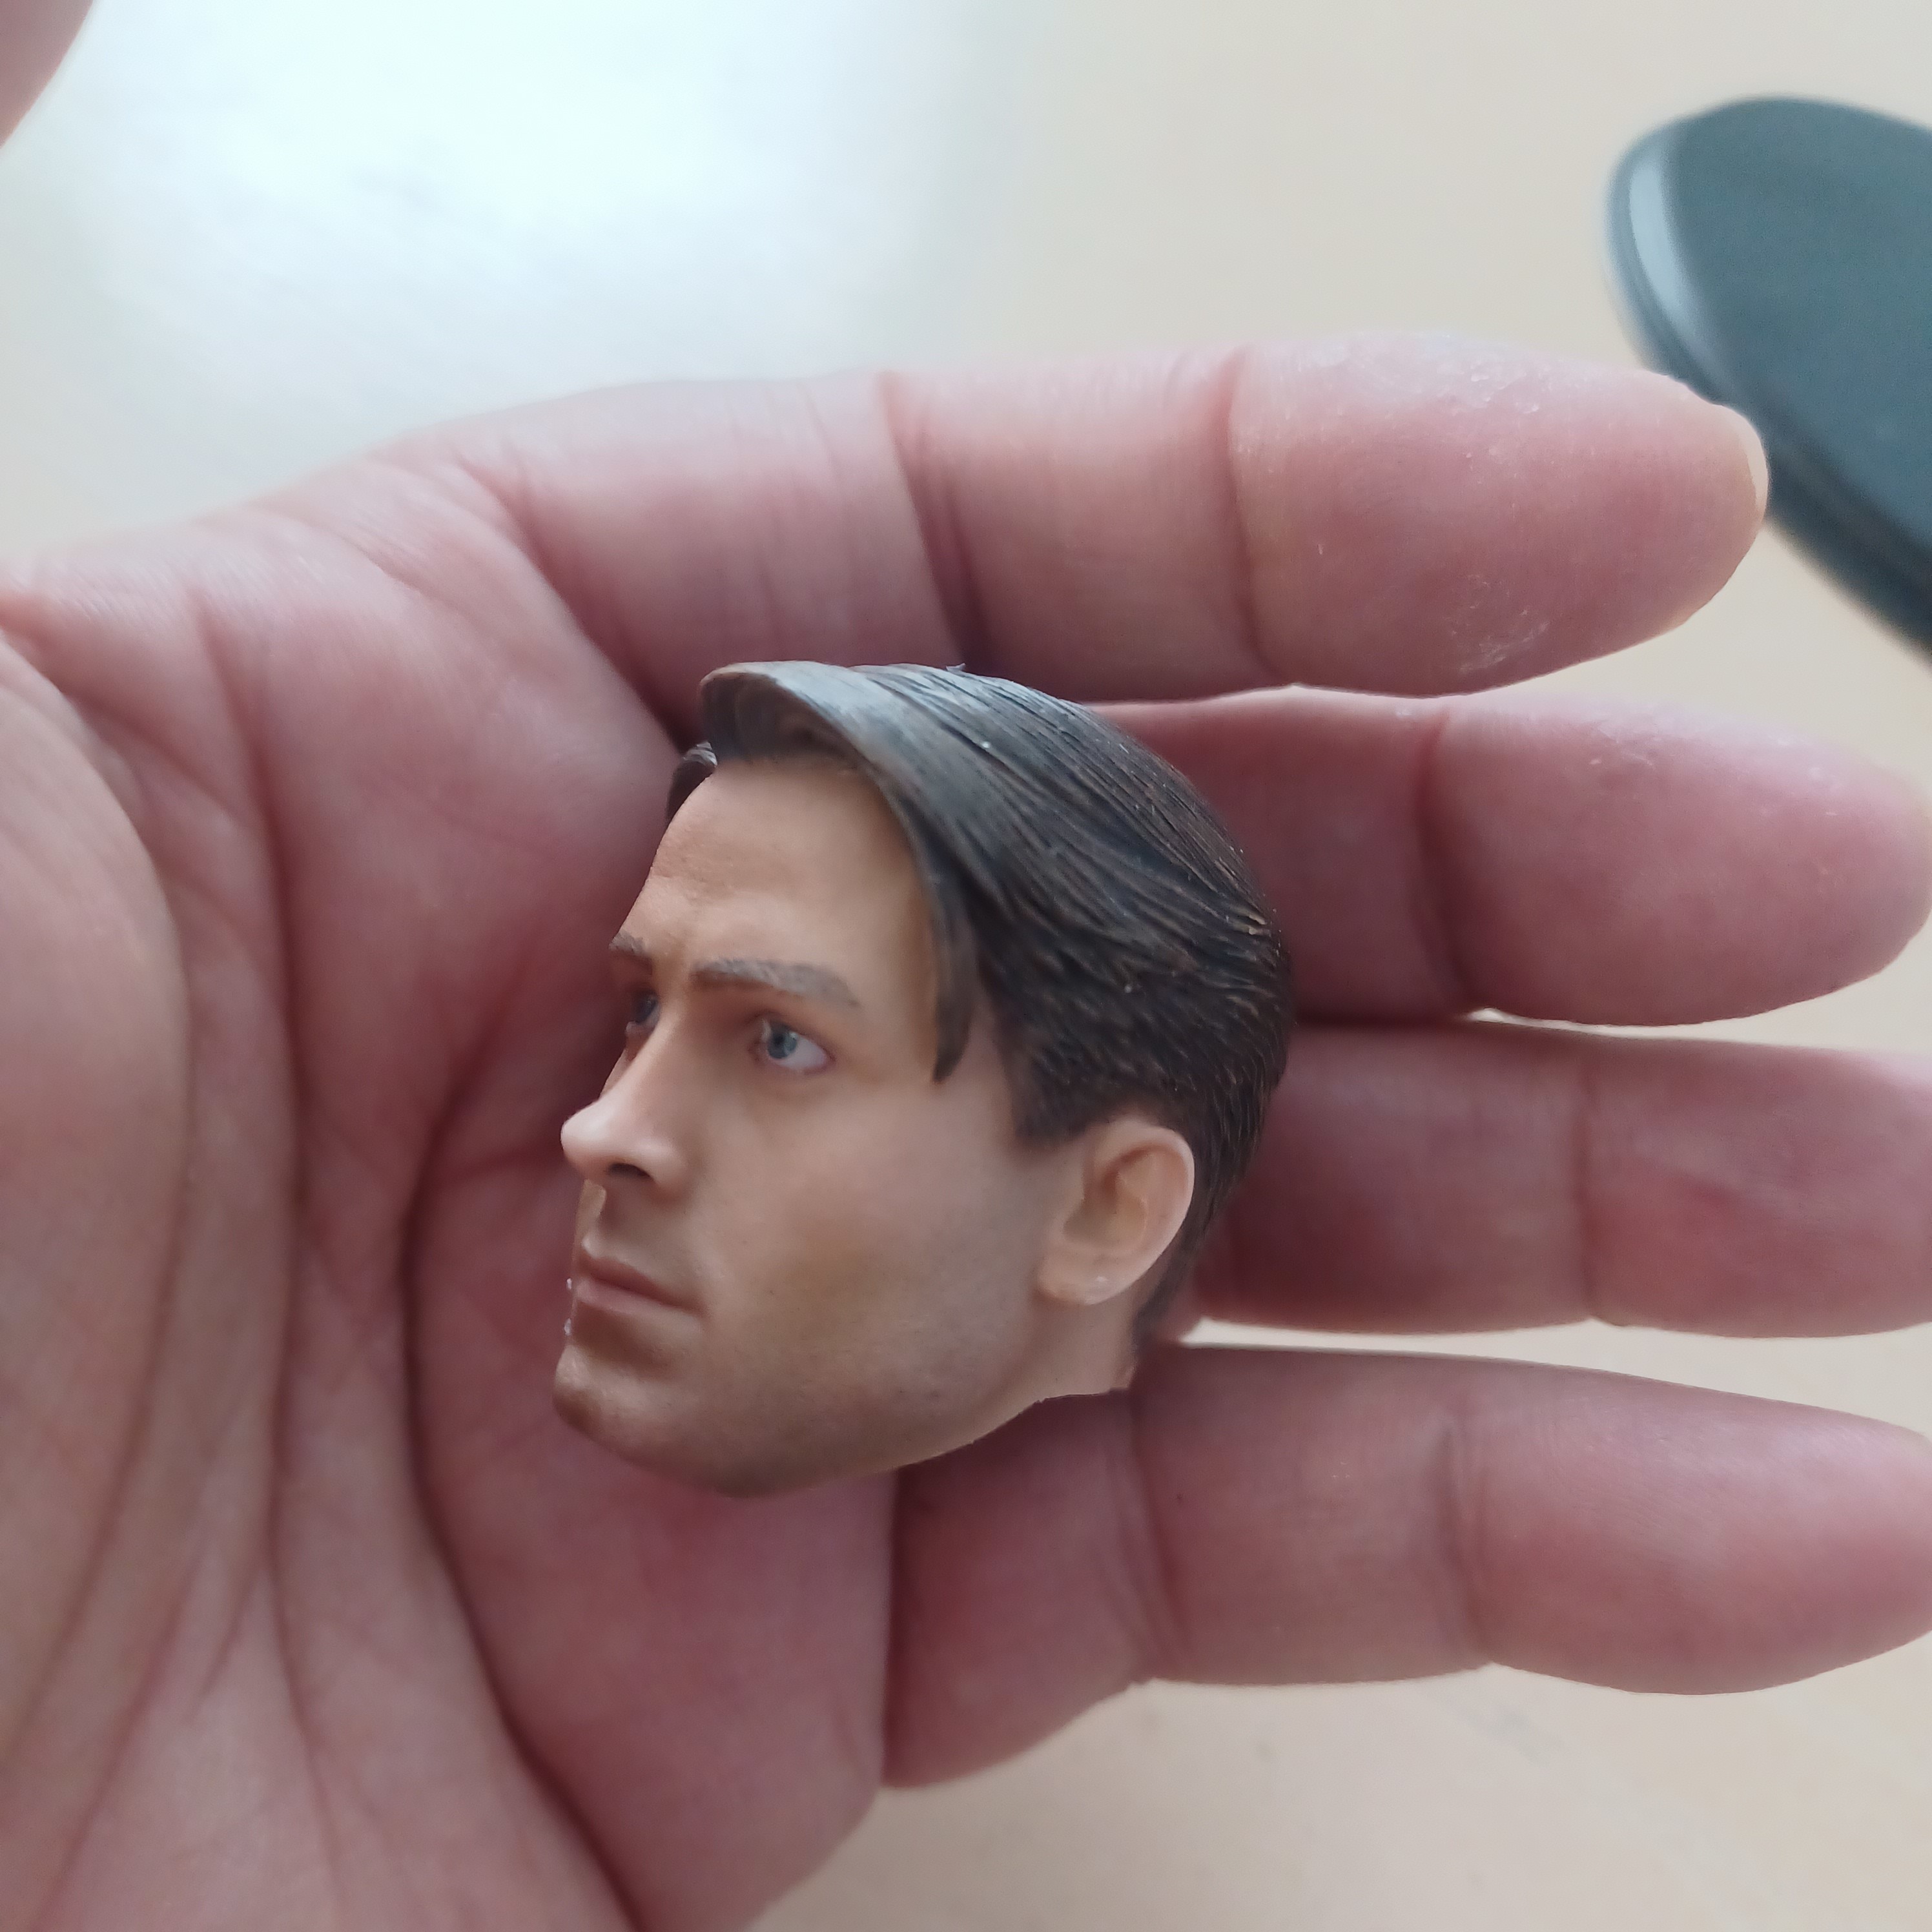
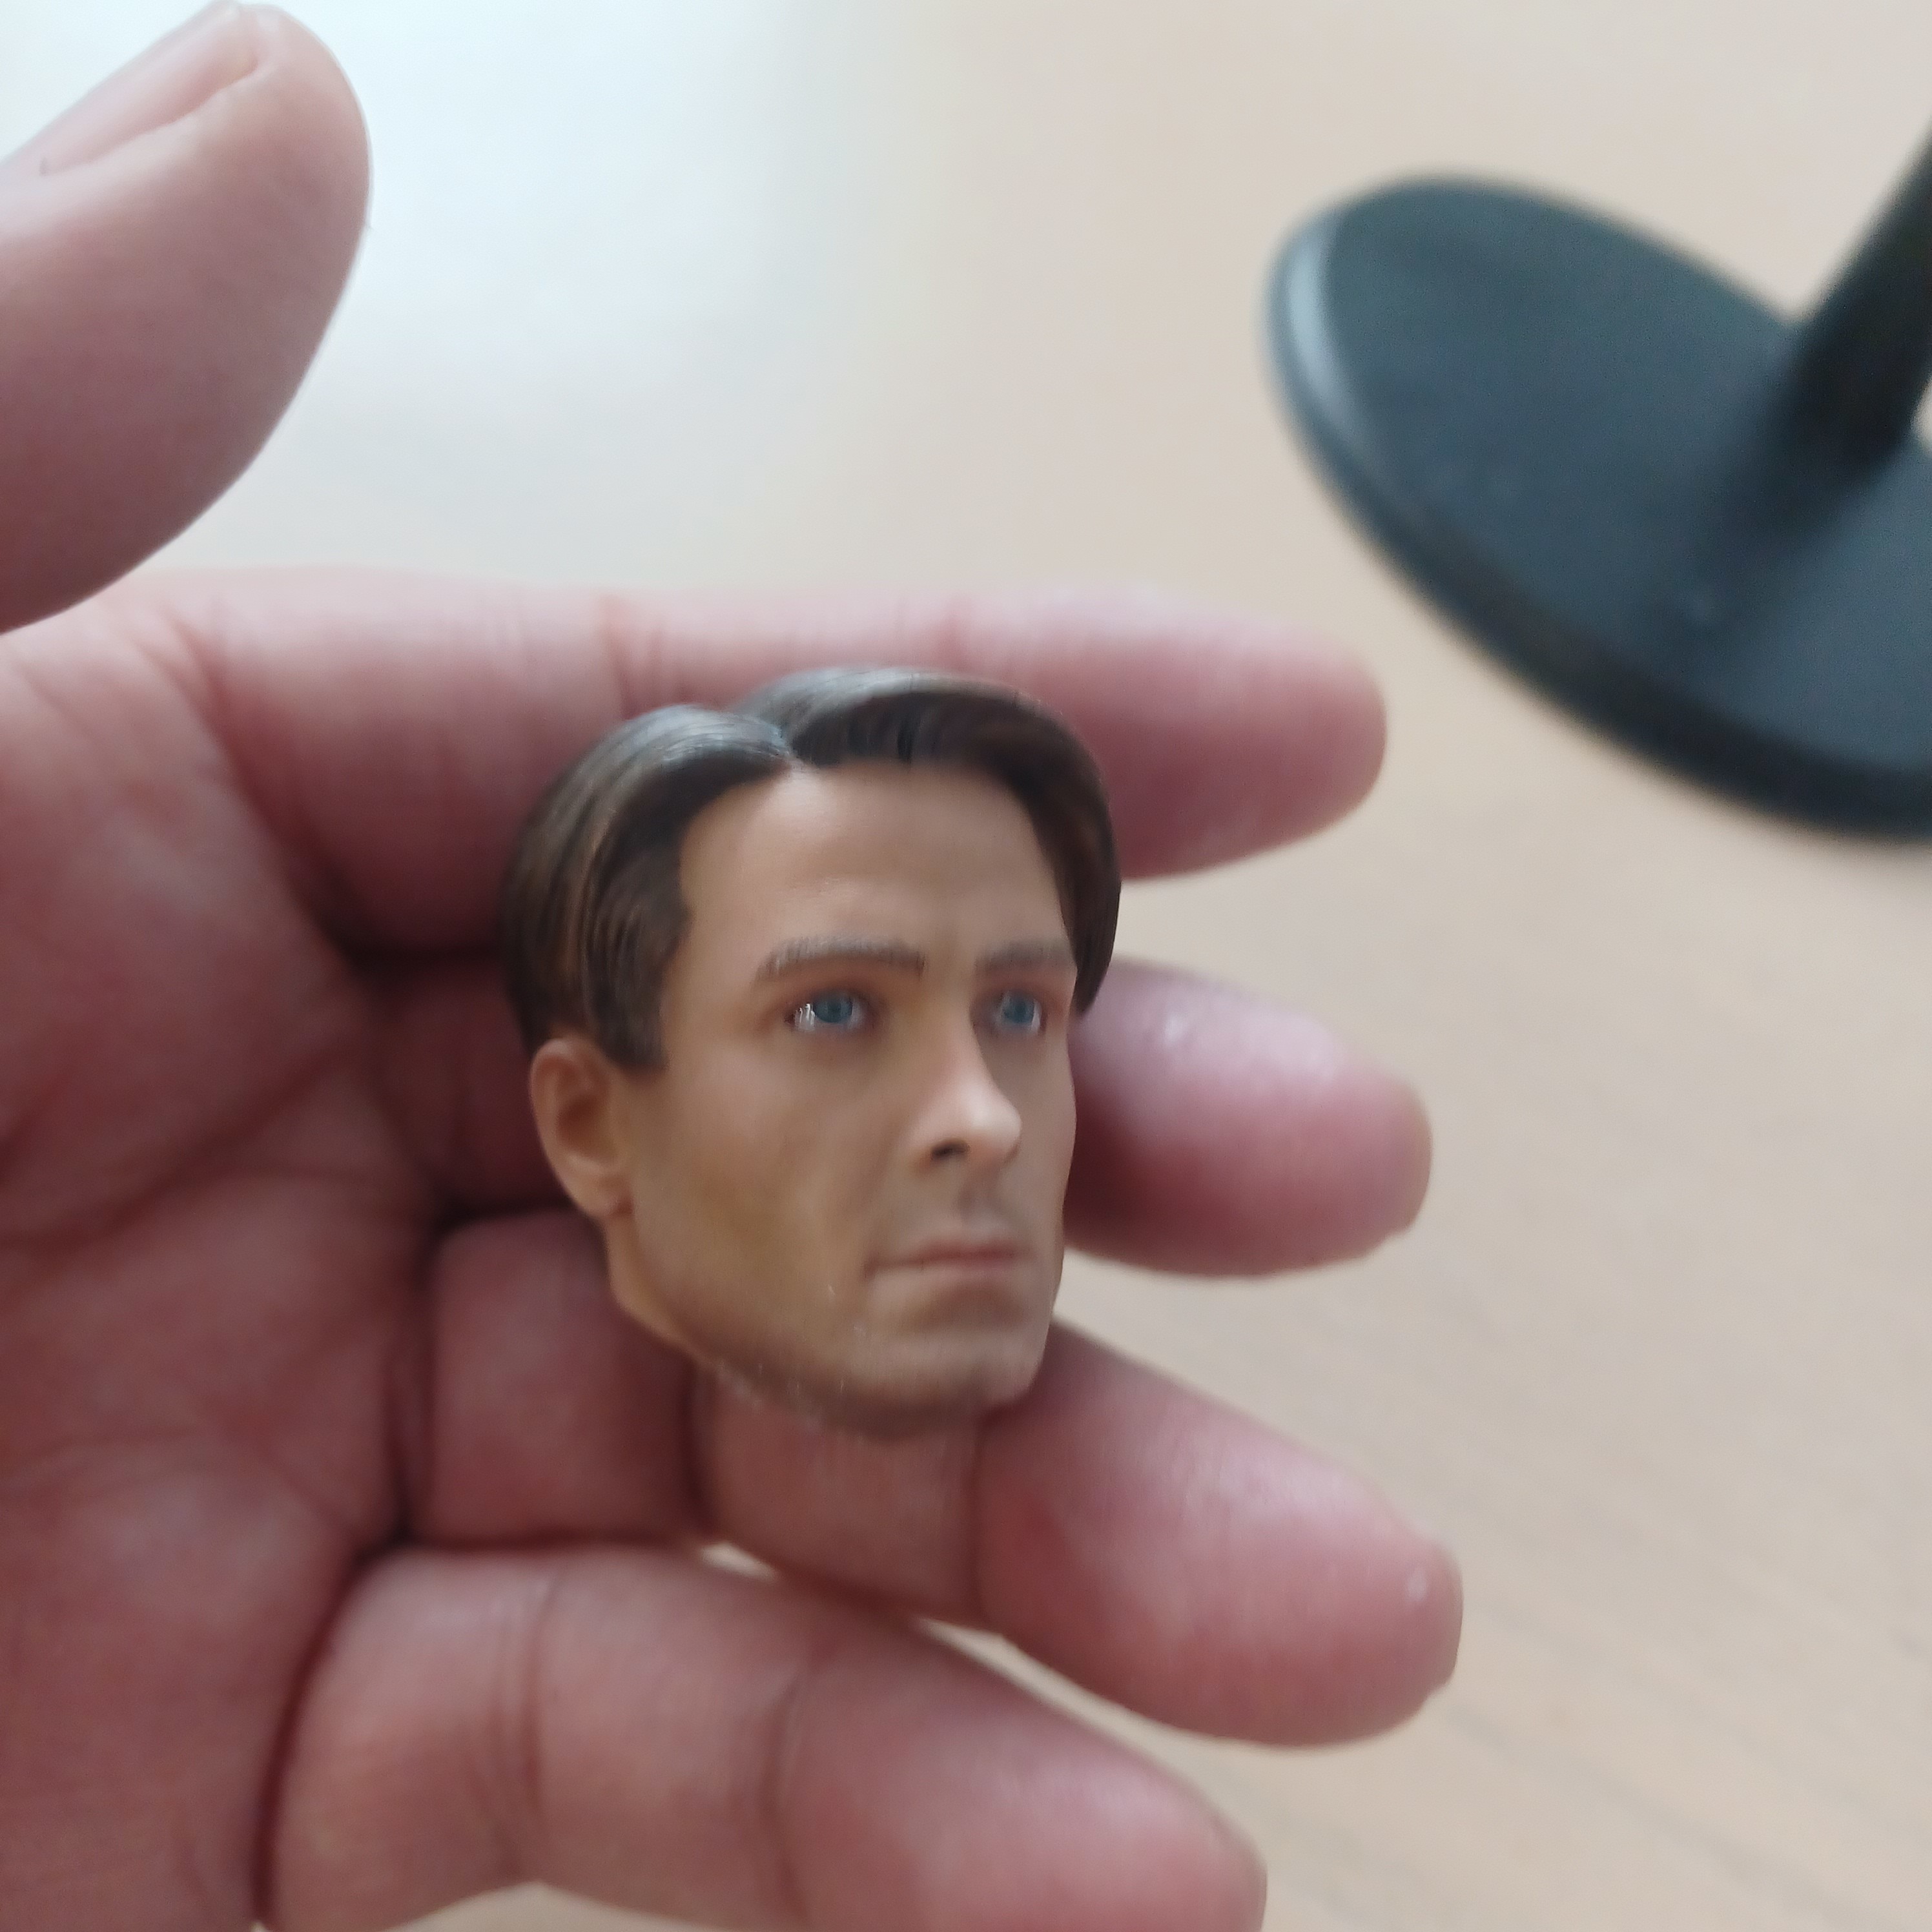
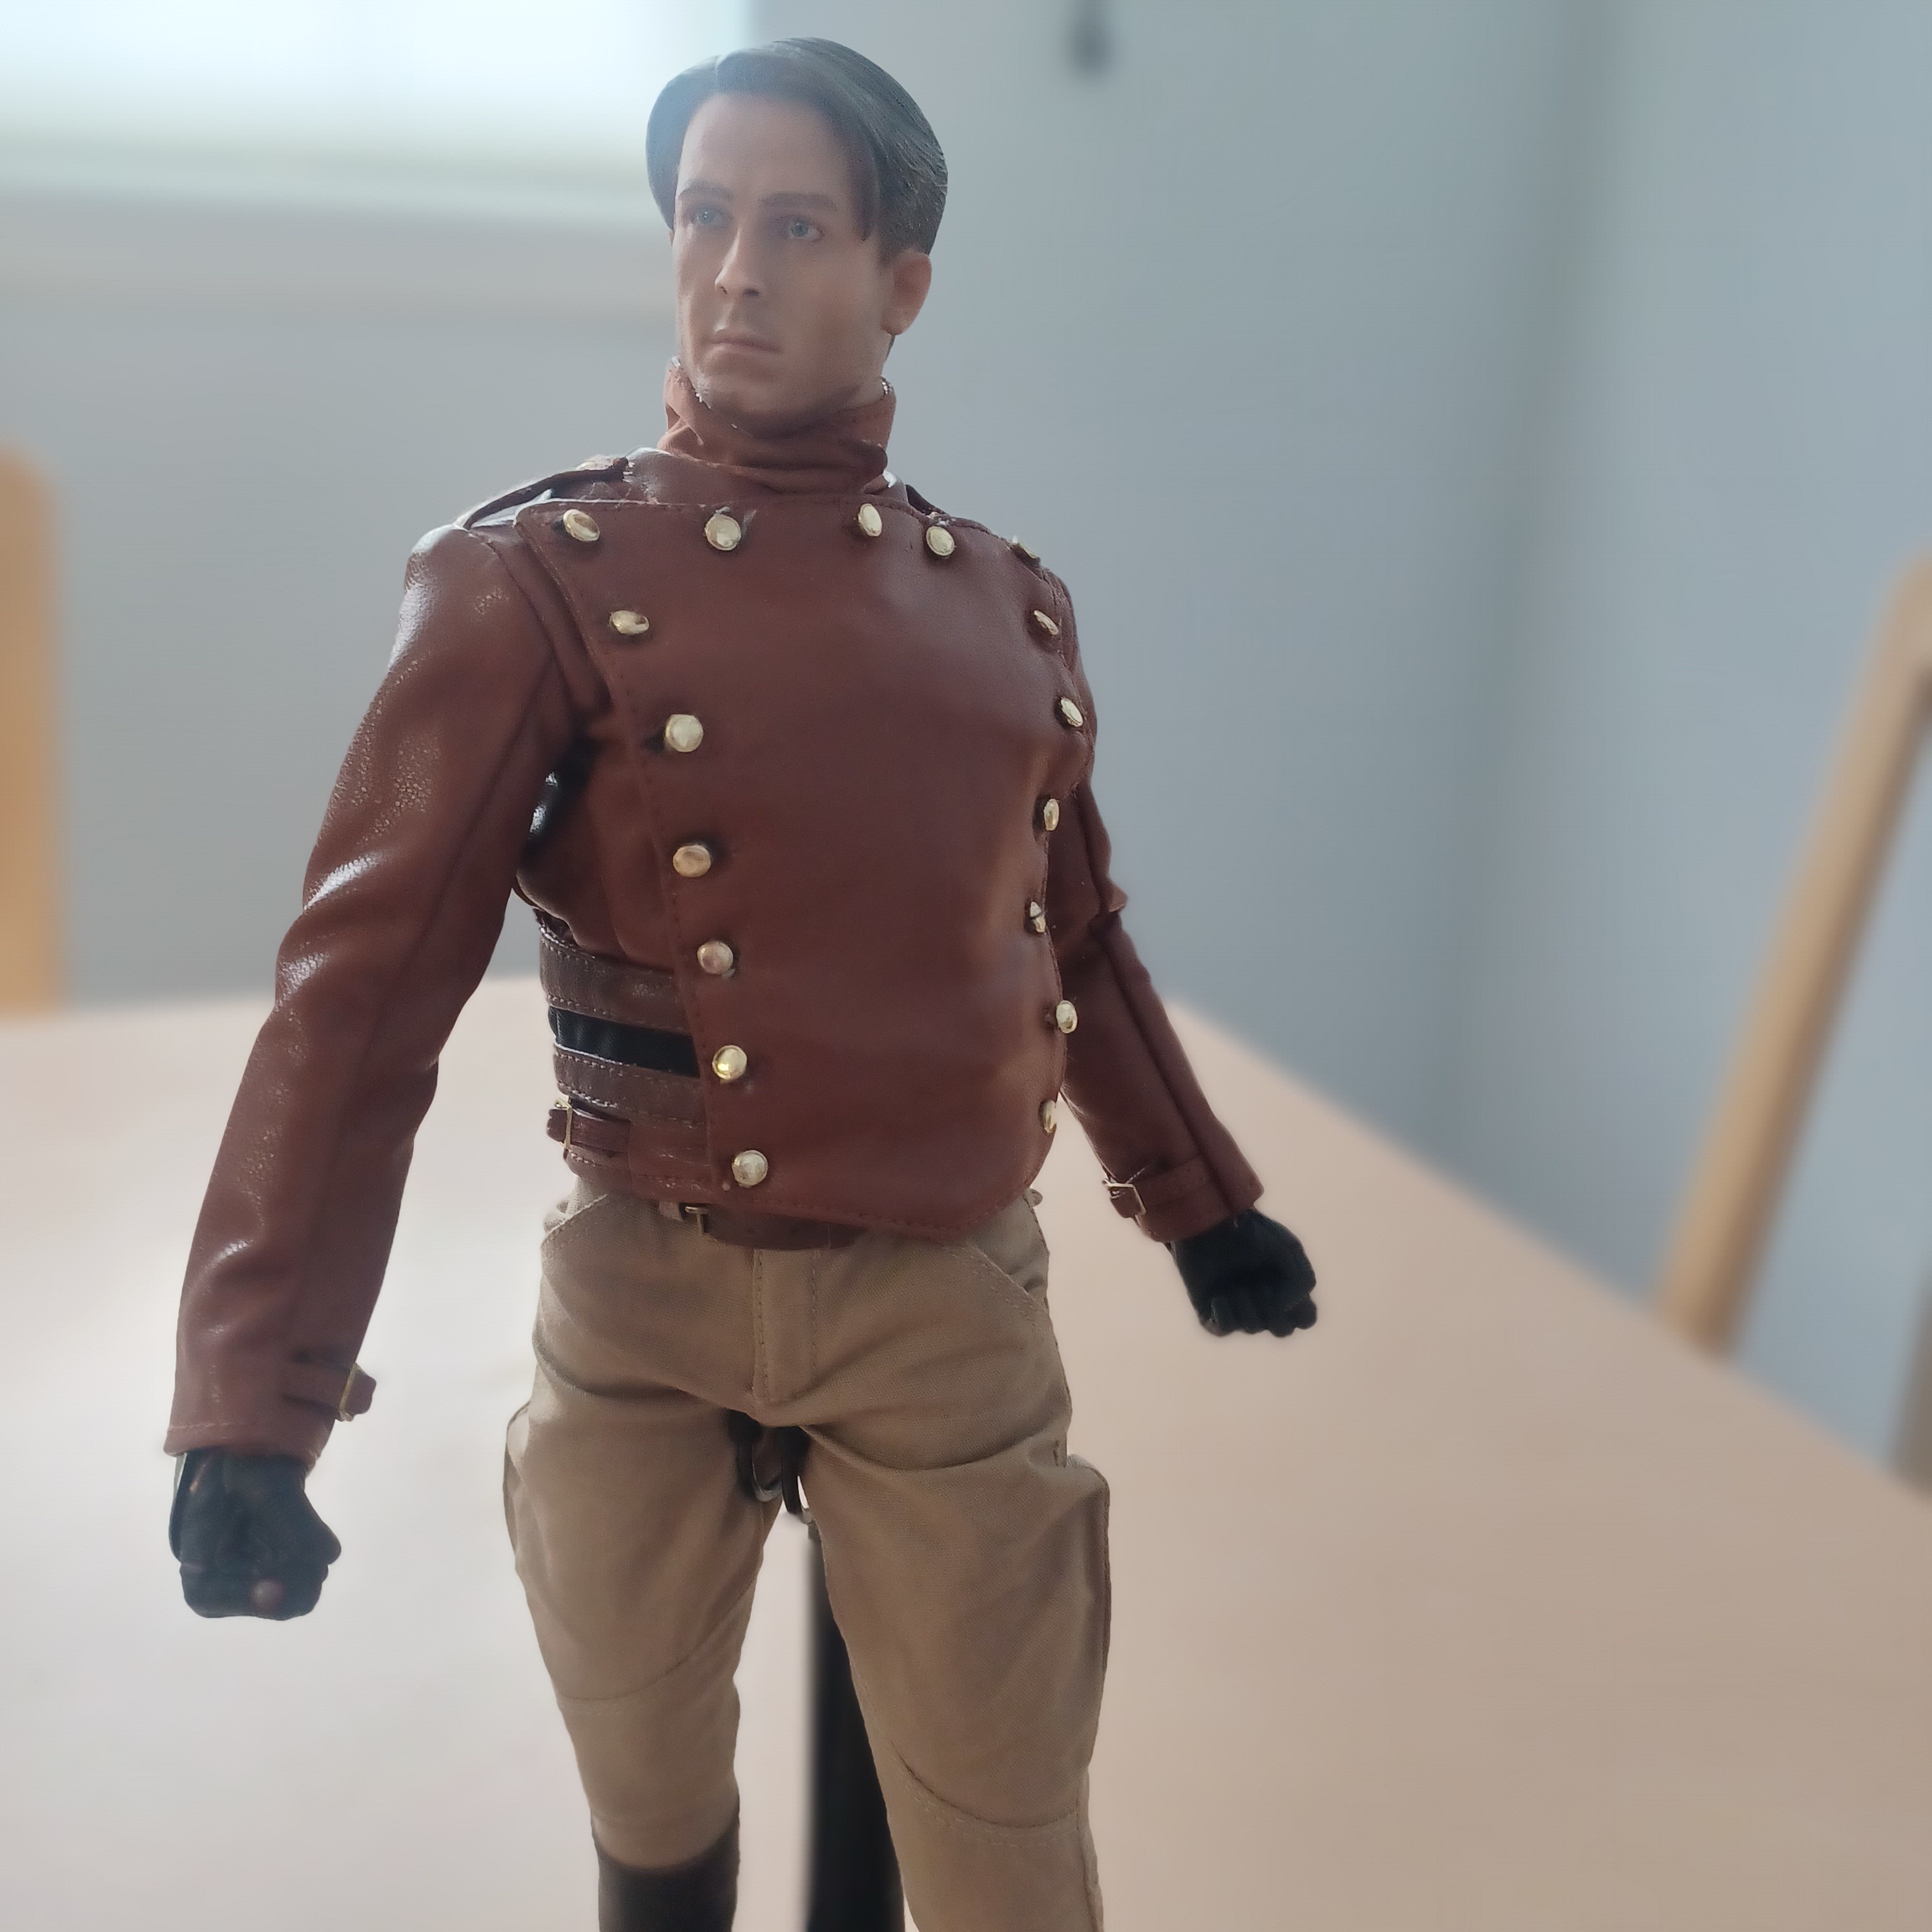
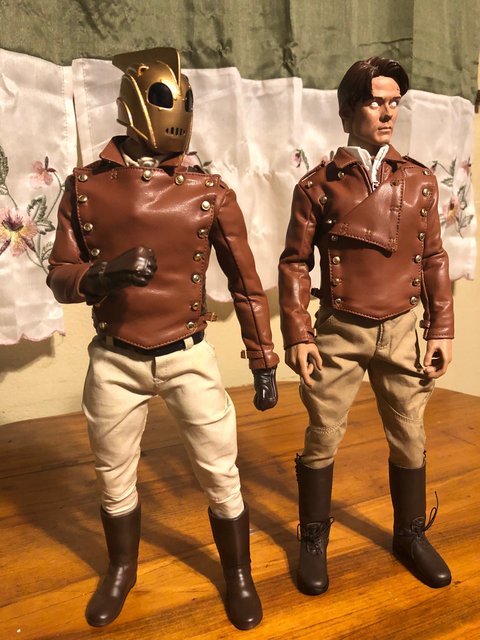
My version 1 Medicom jacket finally went into a degrading state. I ended up buying 2 jackets, 1 shirt, 1 pair of pants, and 1 pair of boots. I replaced the jacket on my medicom. I've finally gotten the head I need for this, it's not finished being painted. With me snagging an extra outfit, I decided to have one just like Cliff Secord without the rocket pack. Each one has a different body but I think I'm going to get the same body I used for Cliff so they match. The rocketpack is a tad on small size on the current body.

IMG-1510.jpg

Switched heads
IMG-1521.jpg
 
Have finally received mine with the flame base however the battery was removed from the base before shipping. Does anyone know which battery to use? tks
 
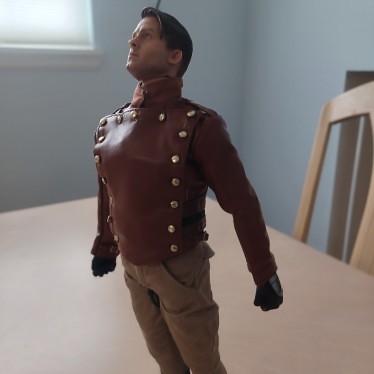
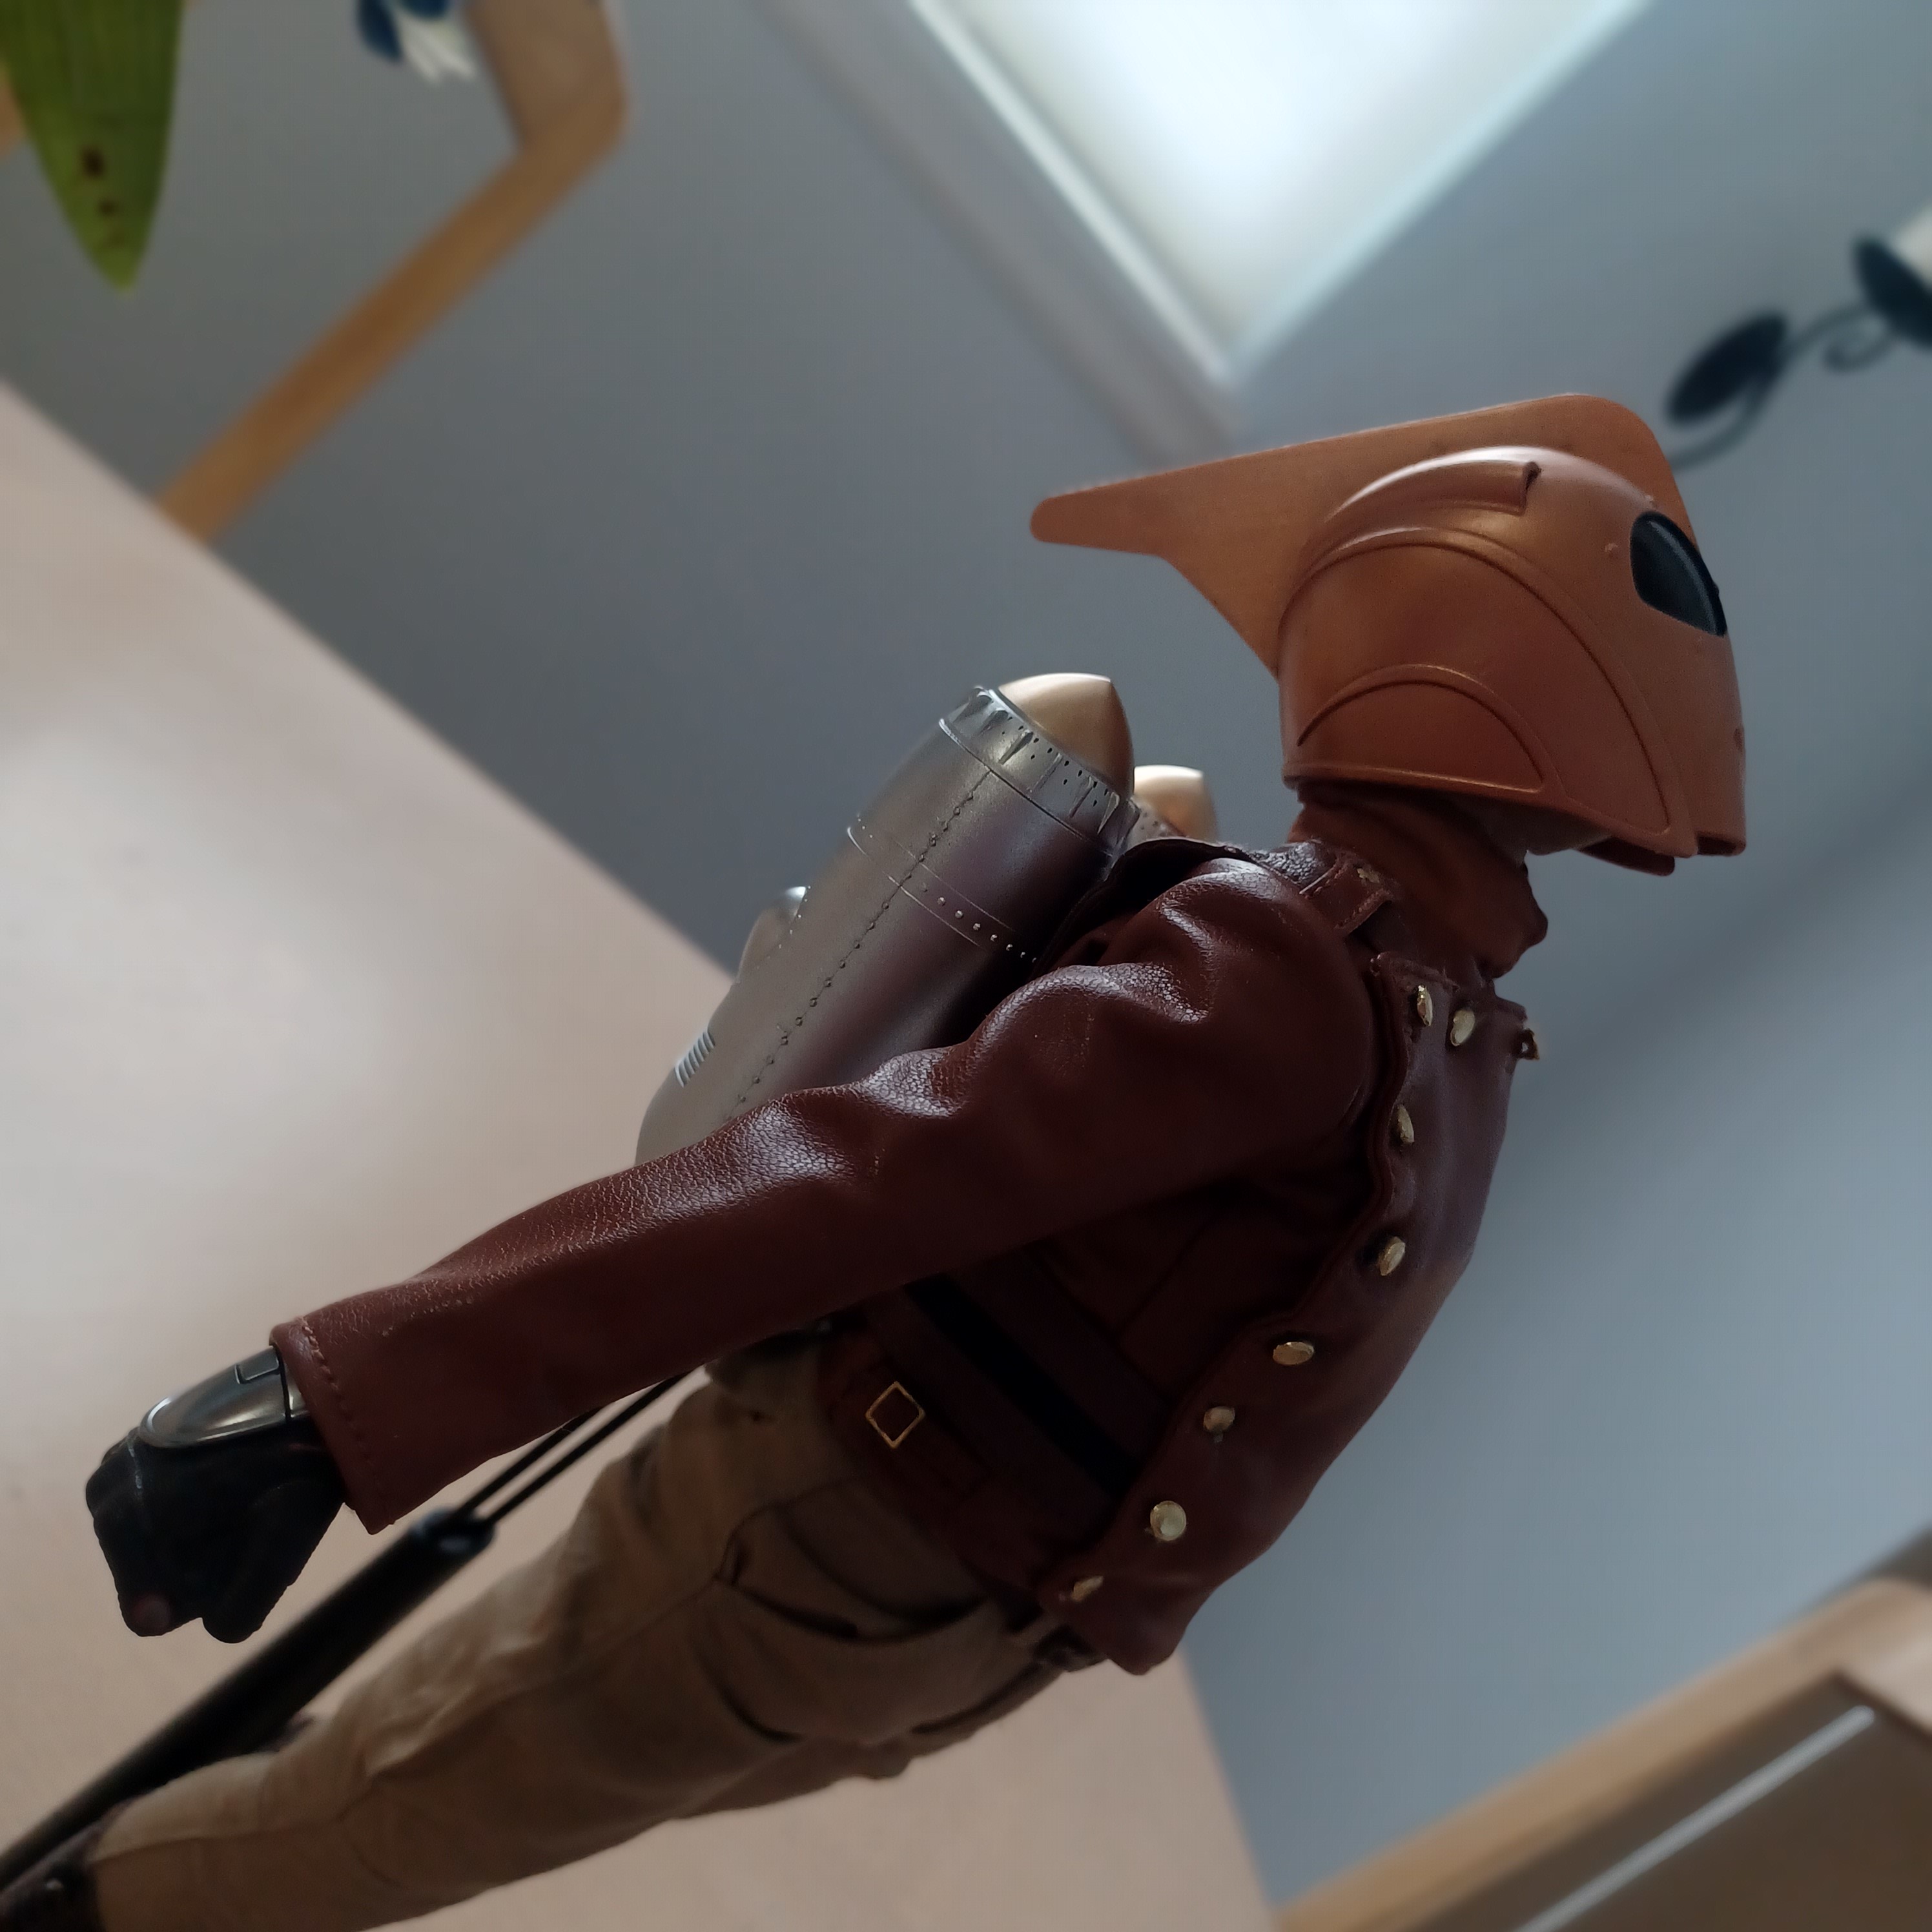
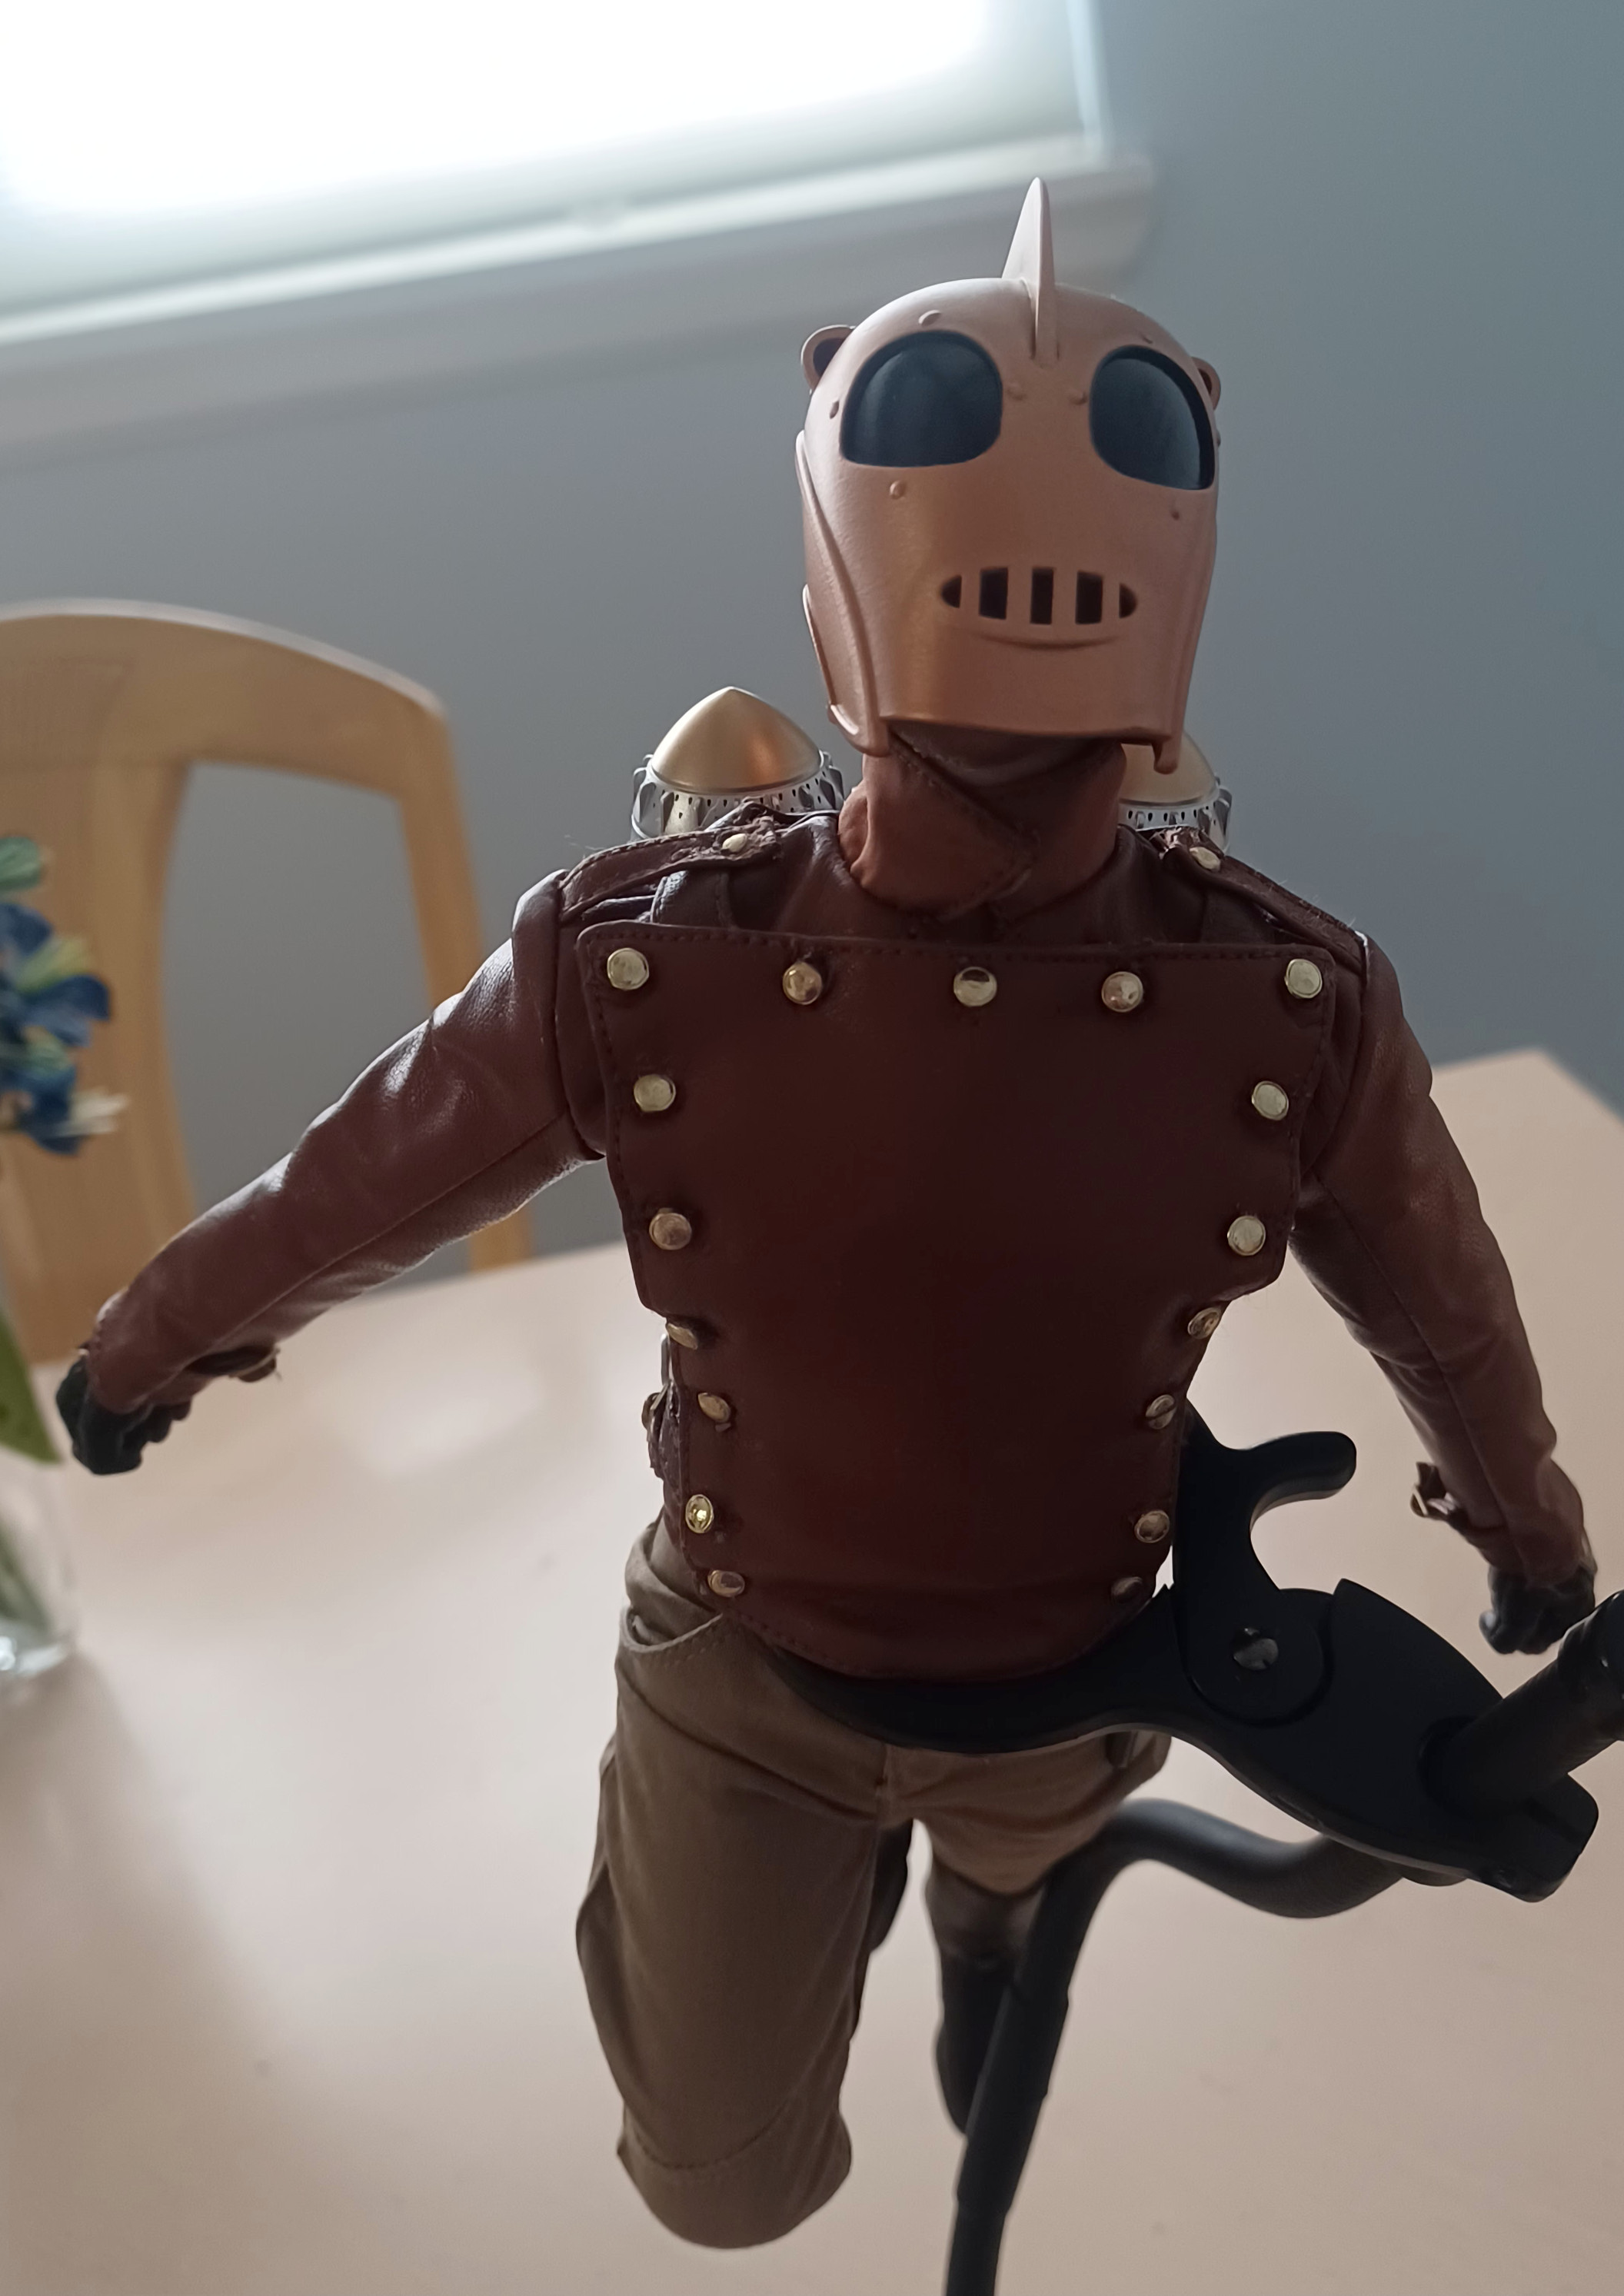
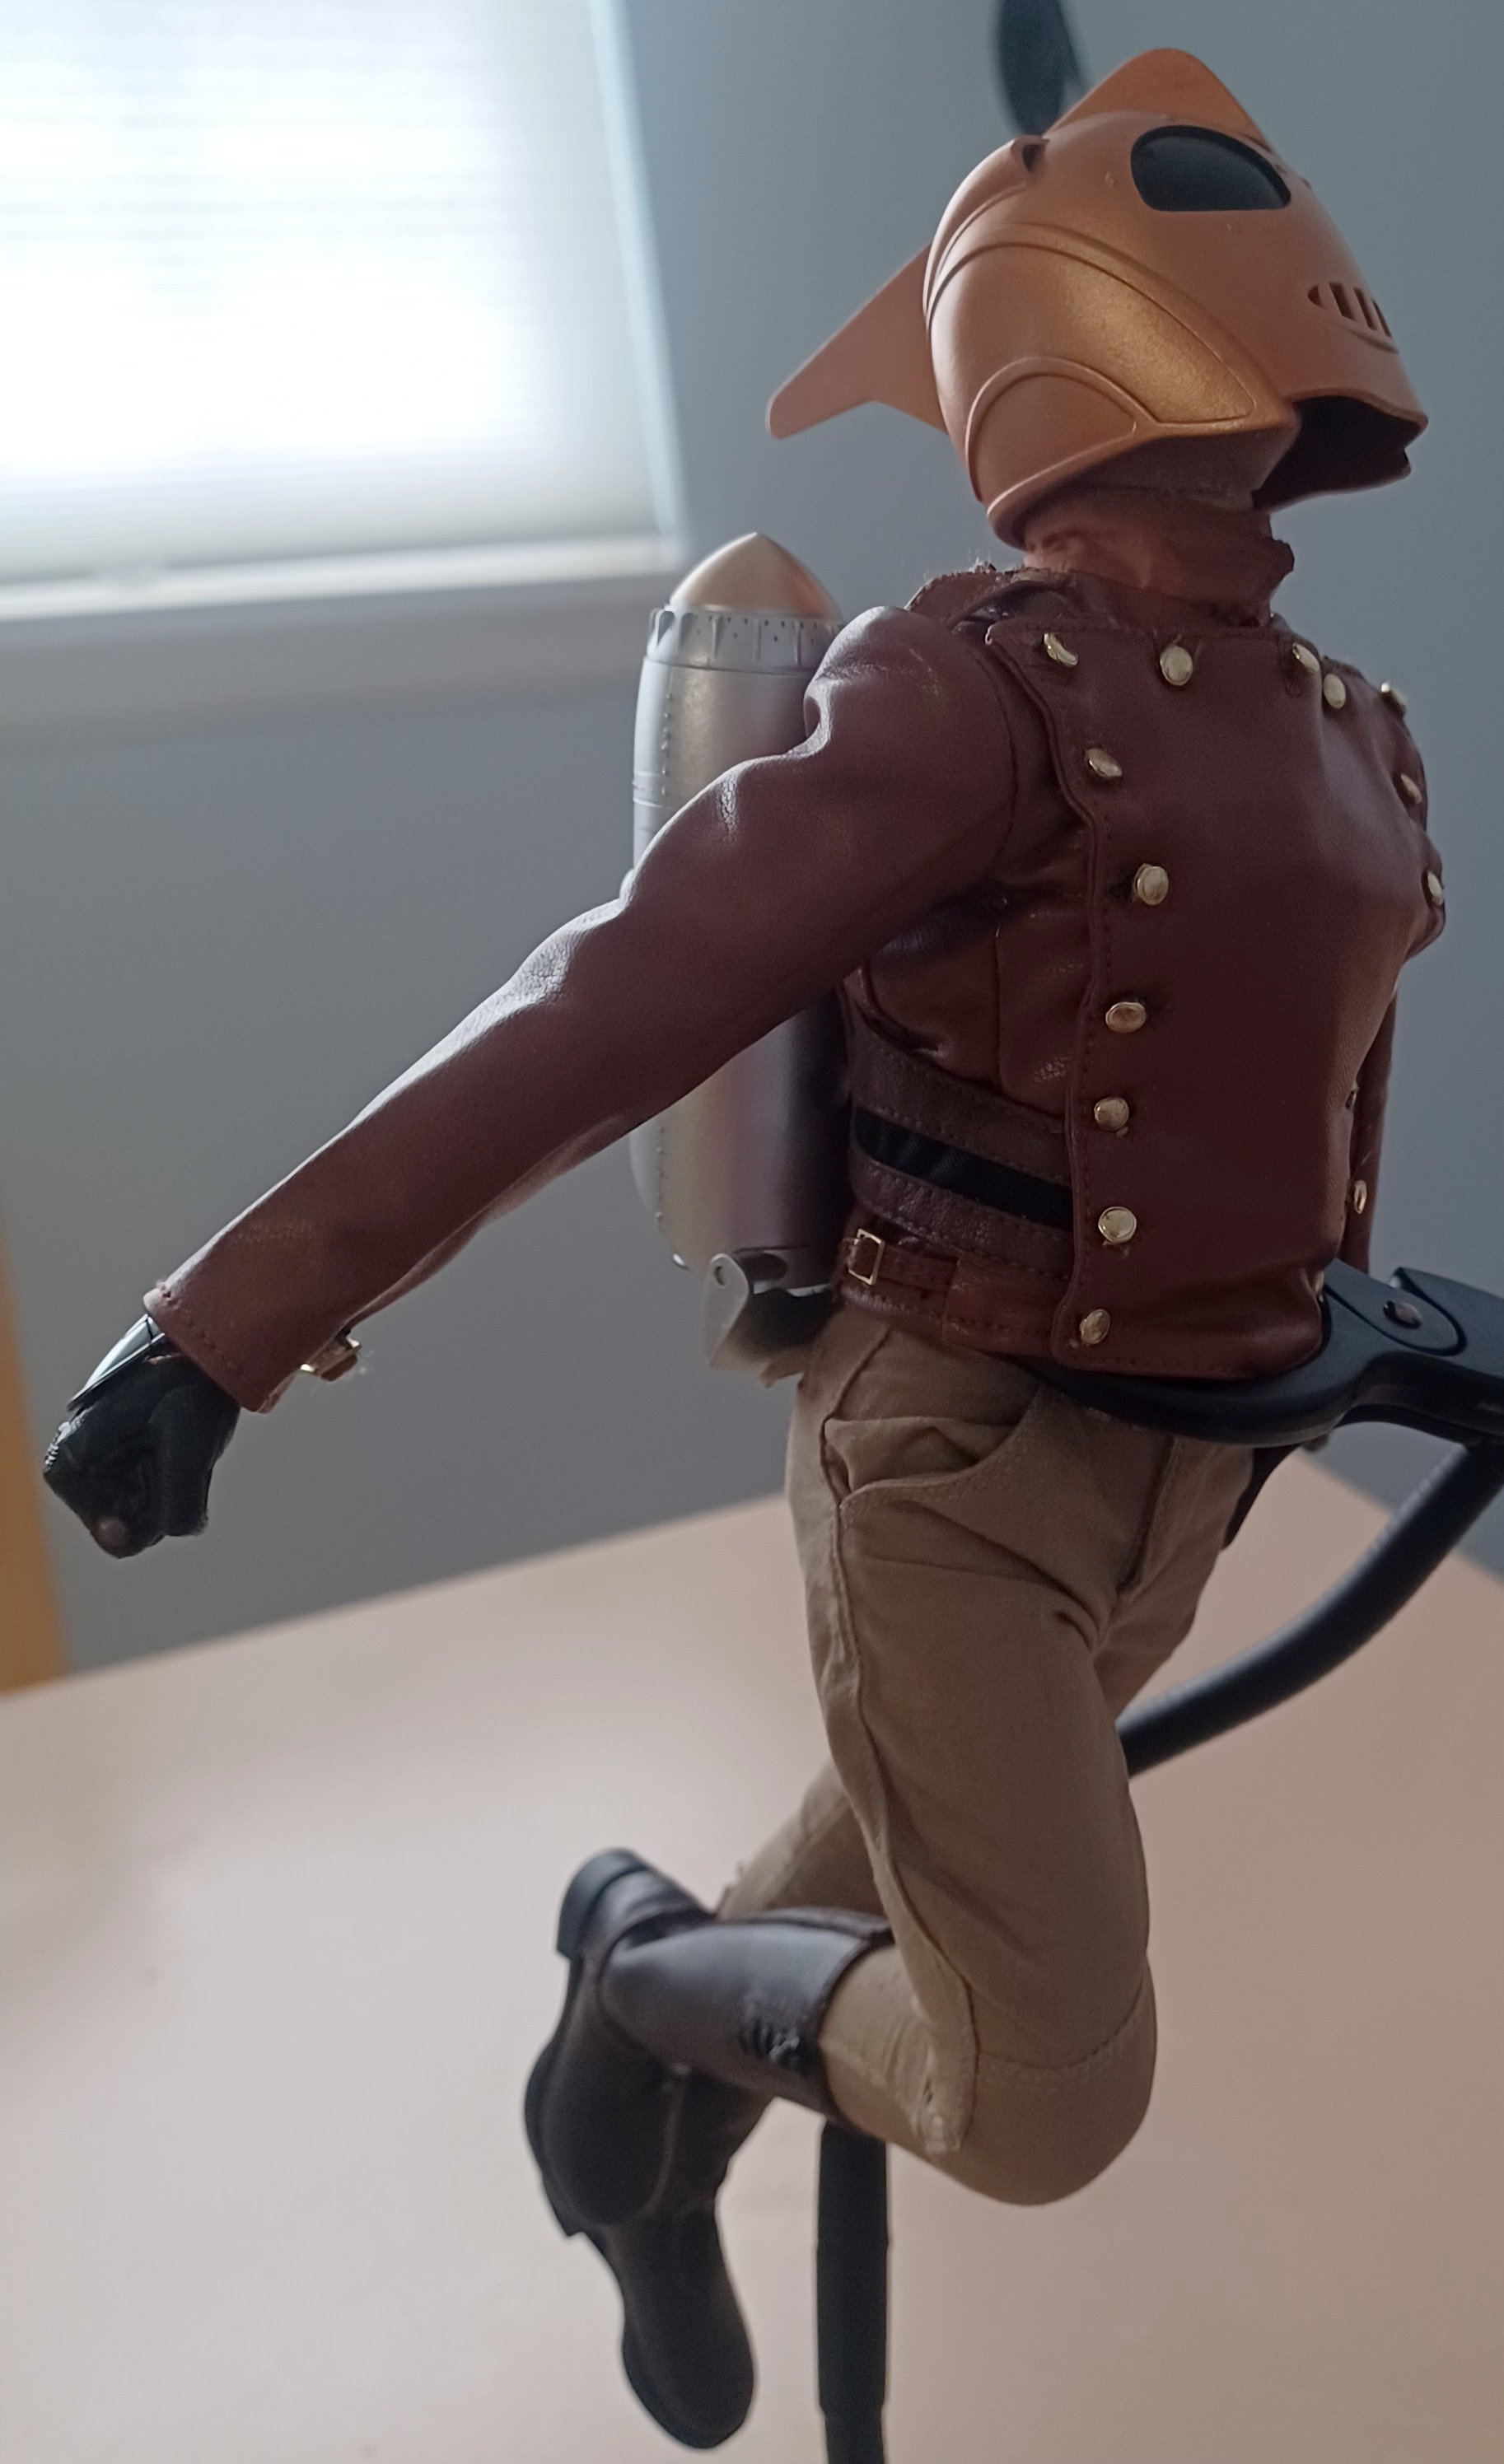
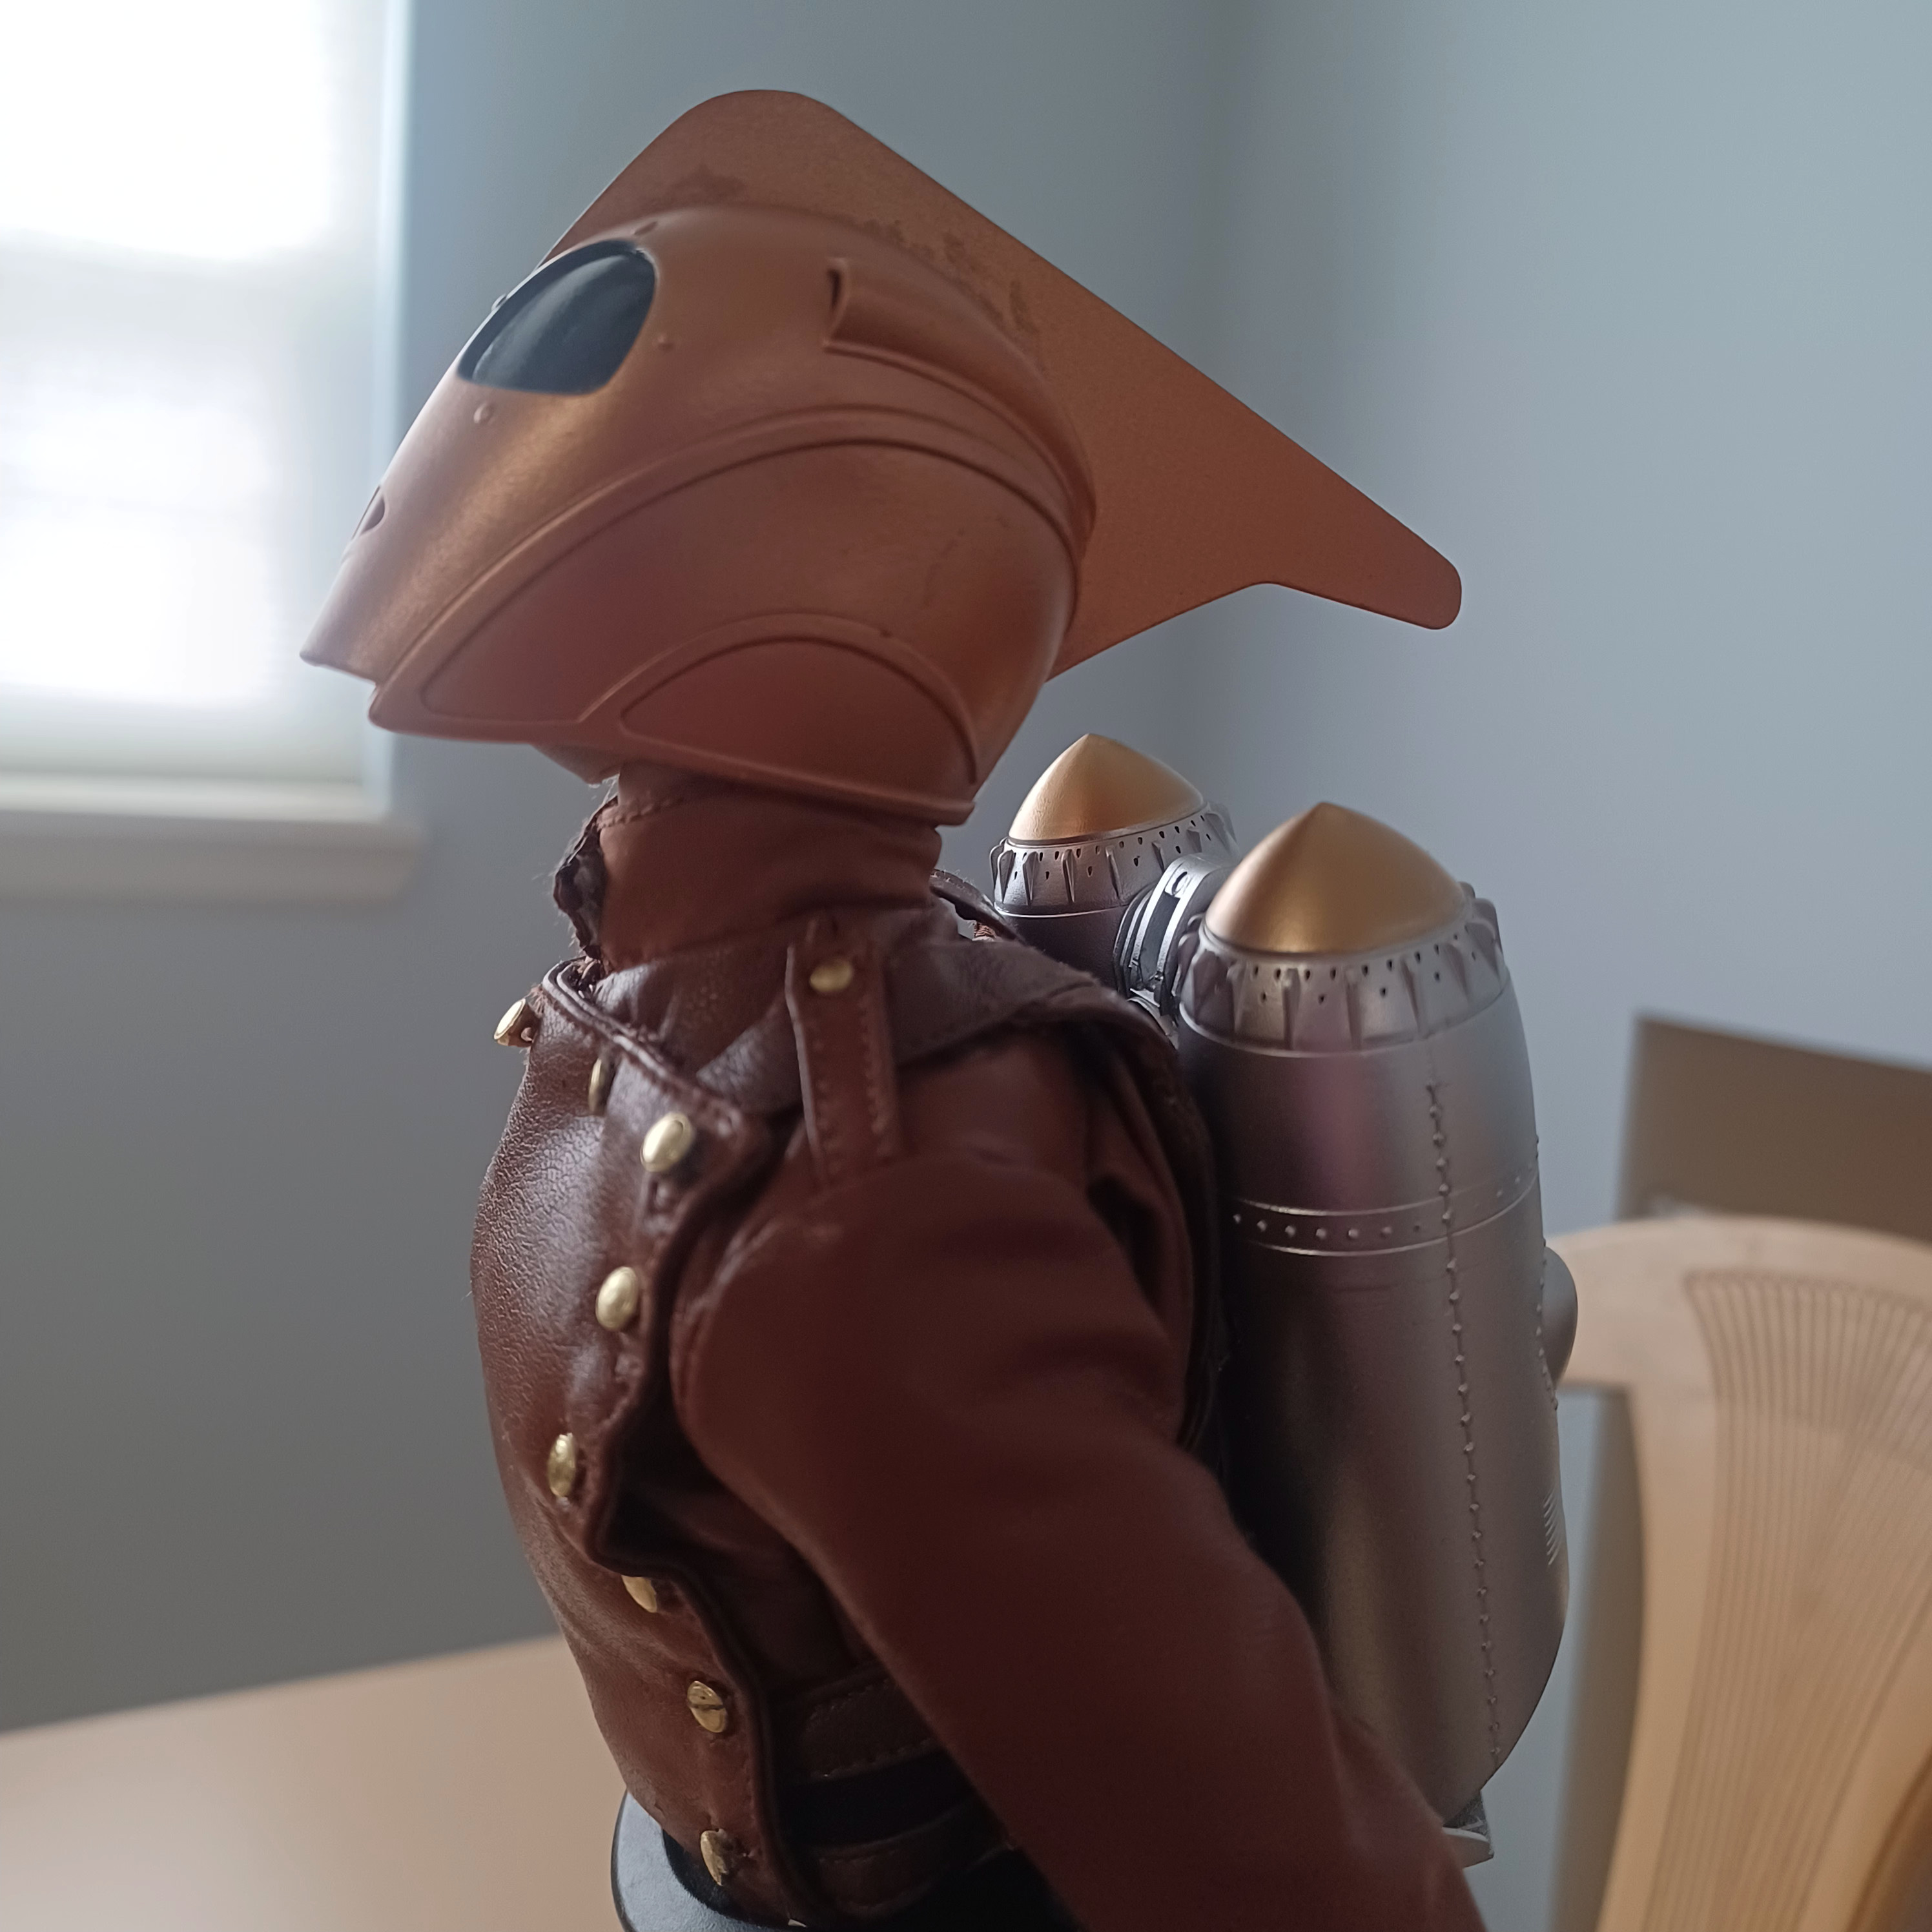
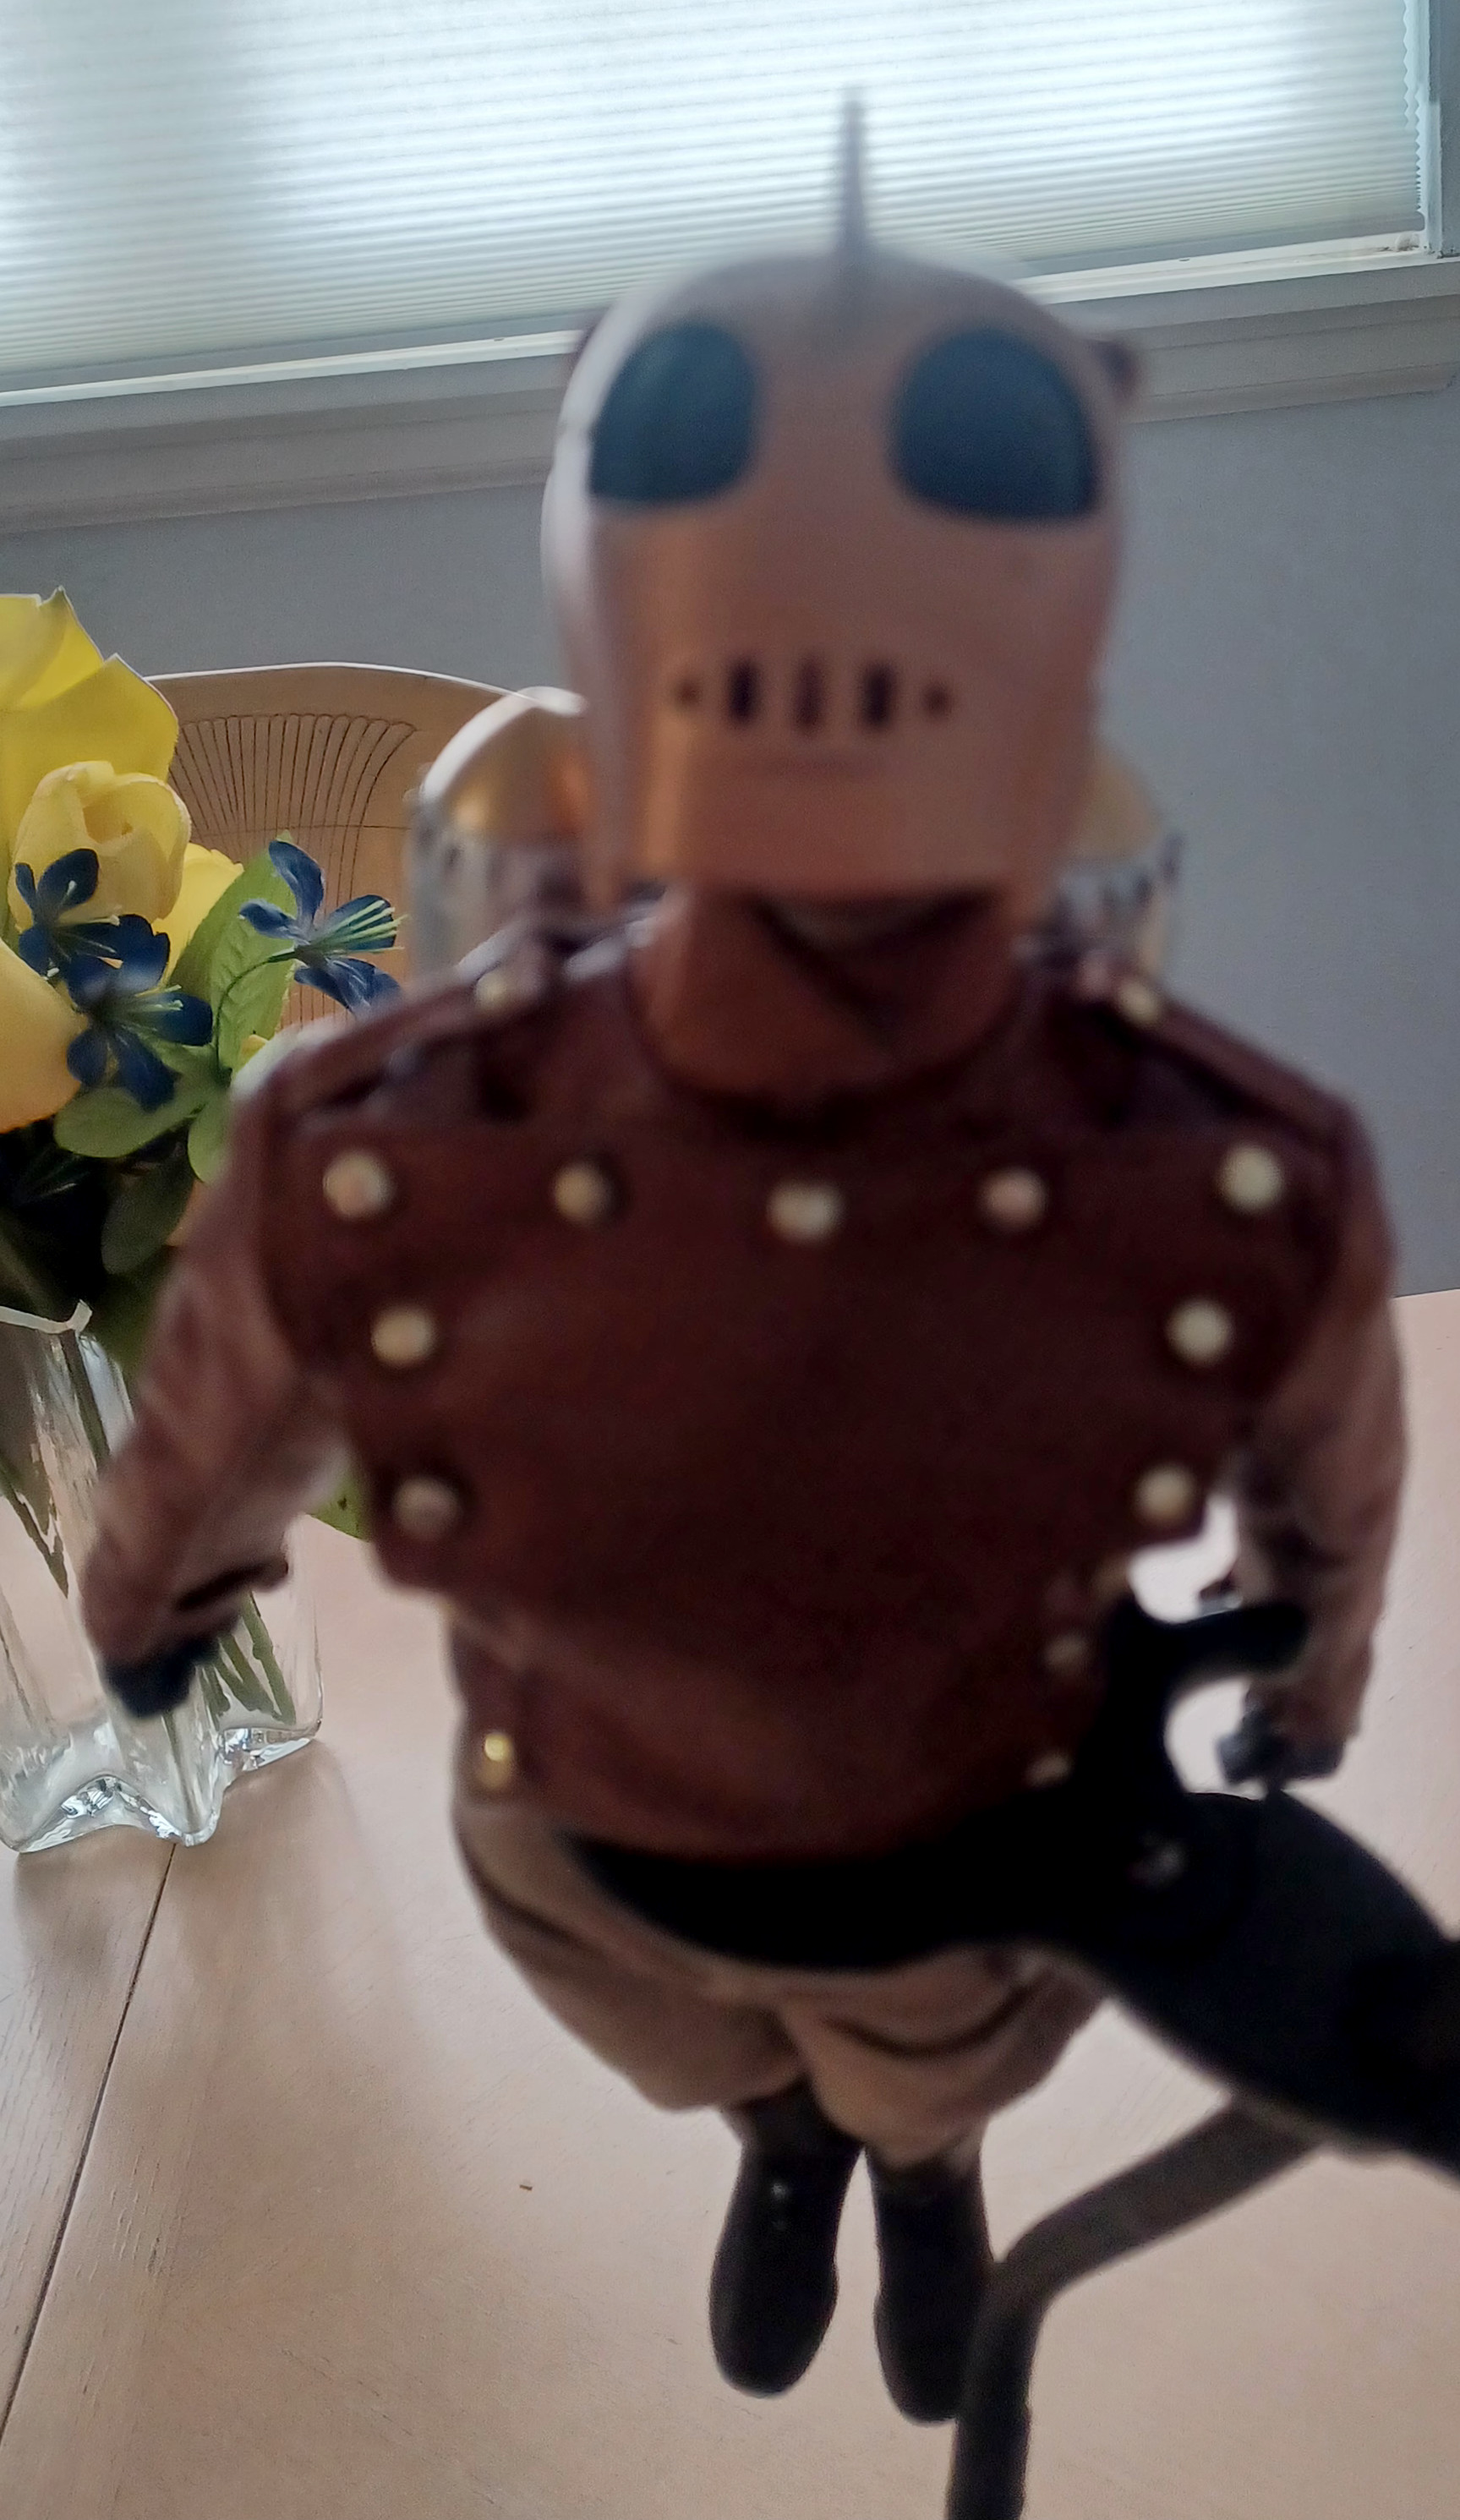
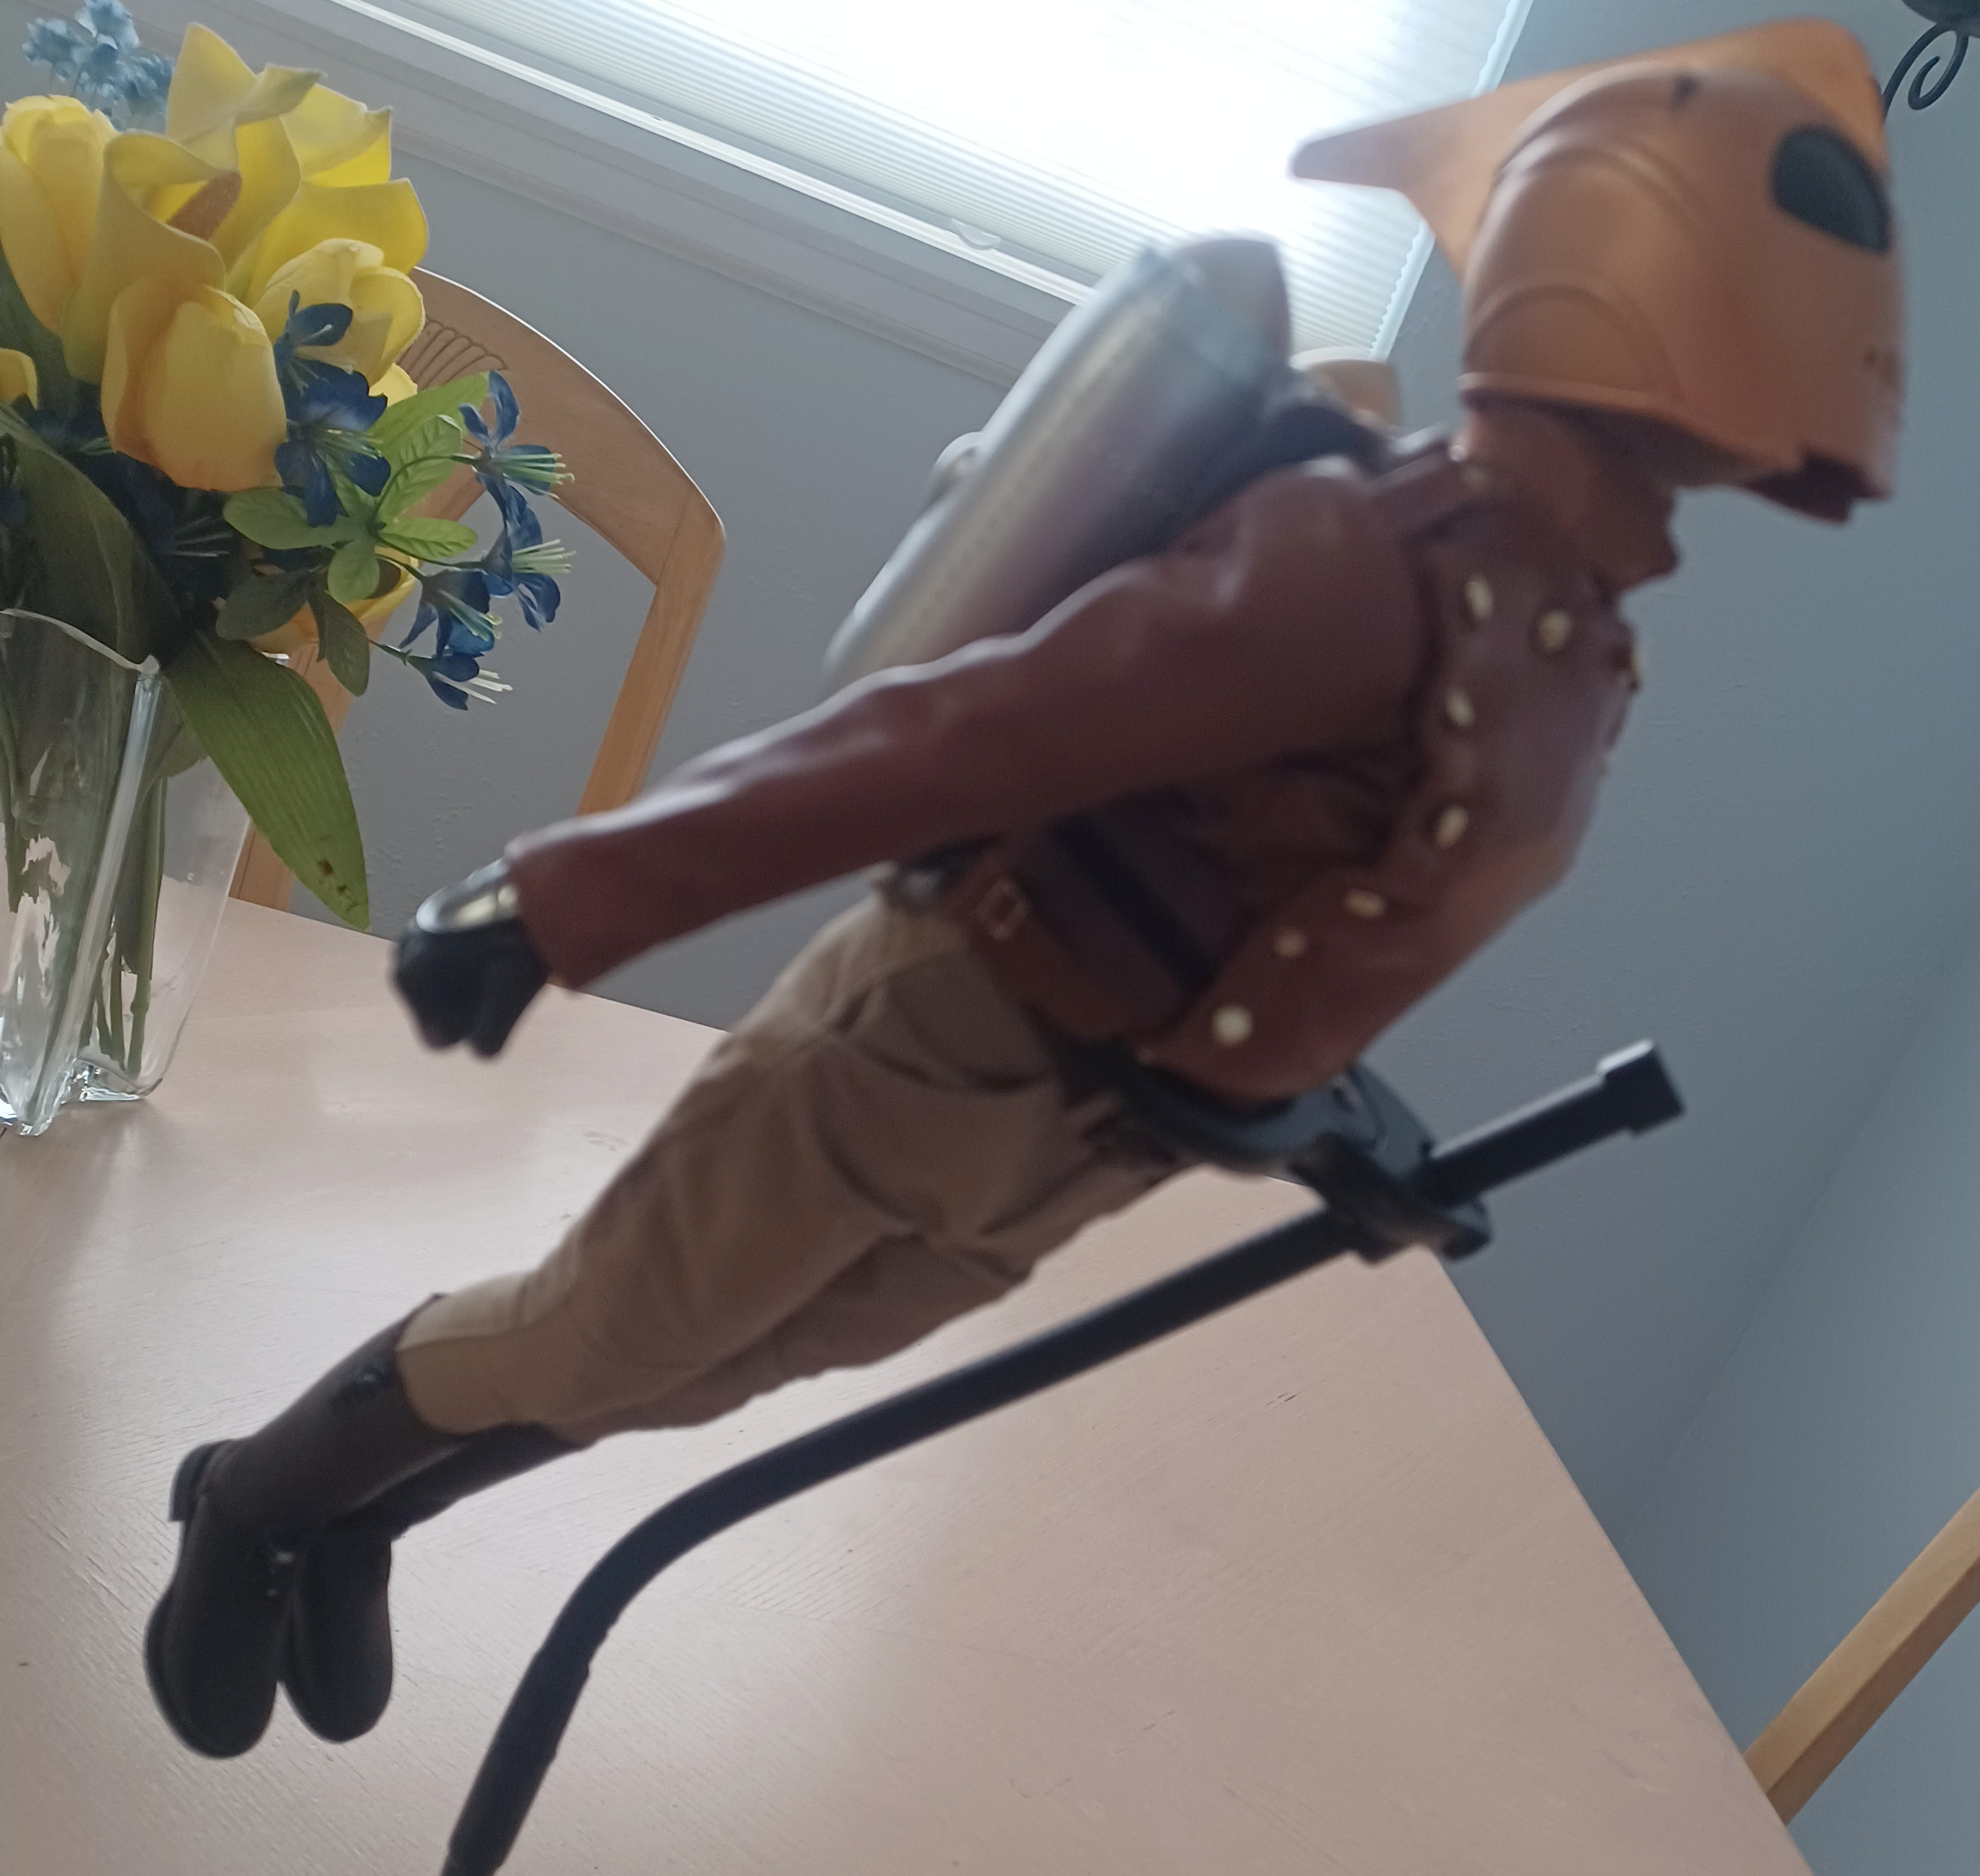
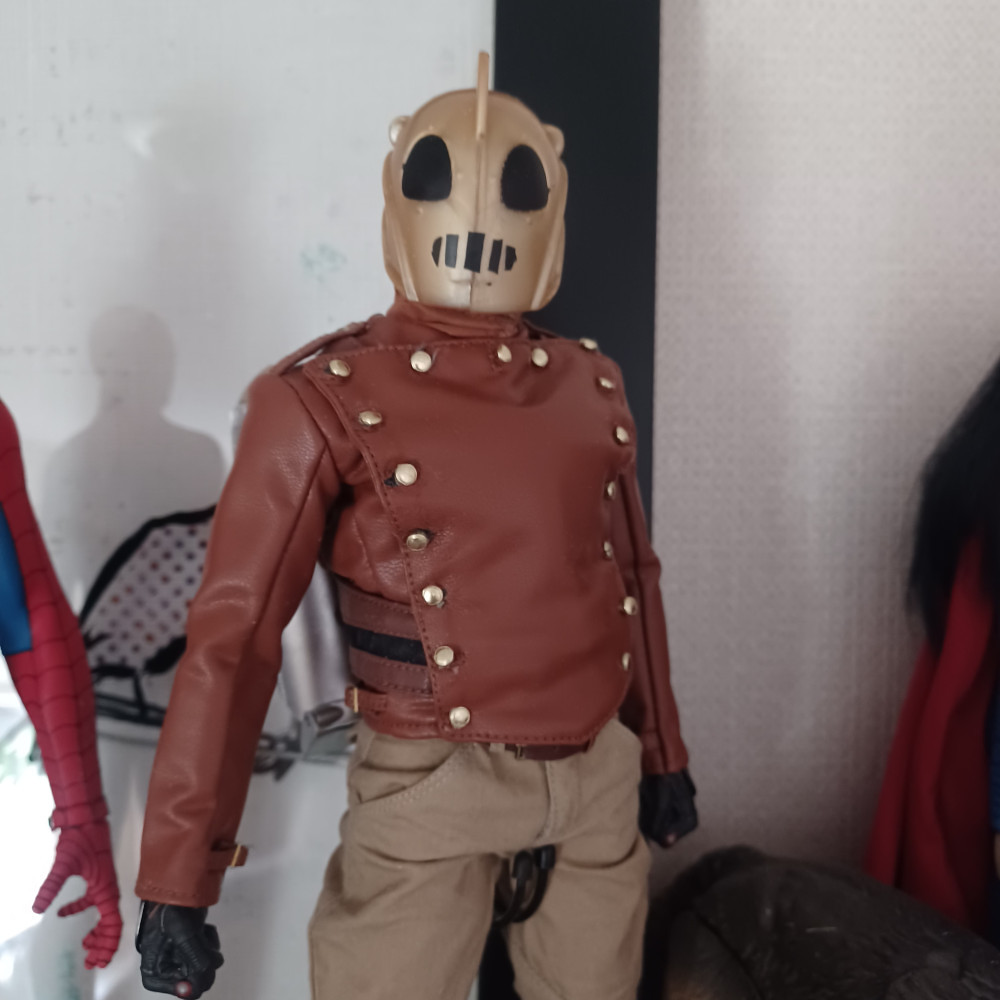
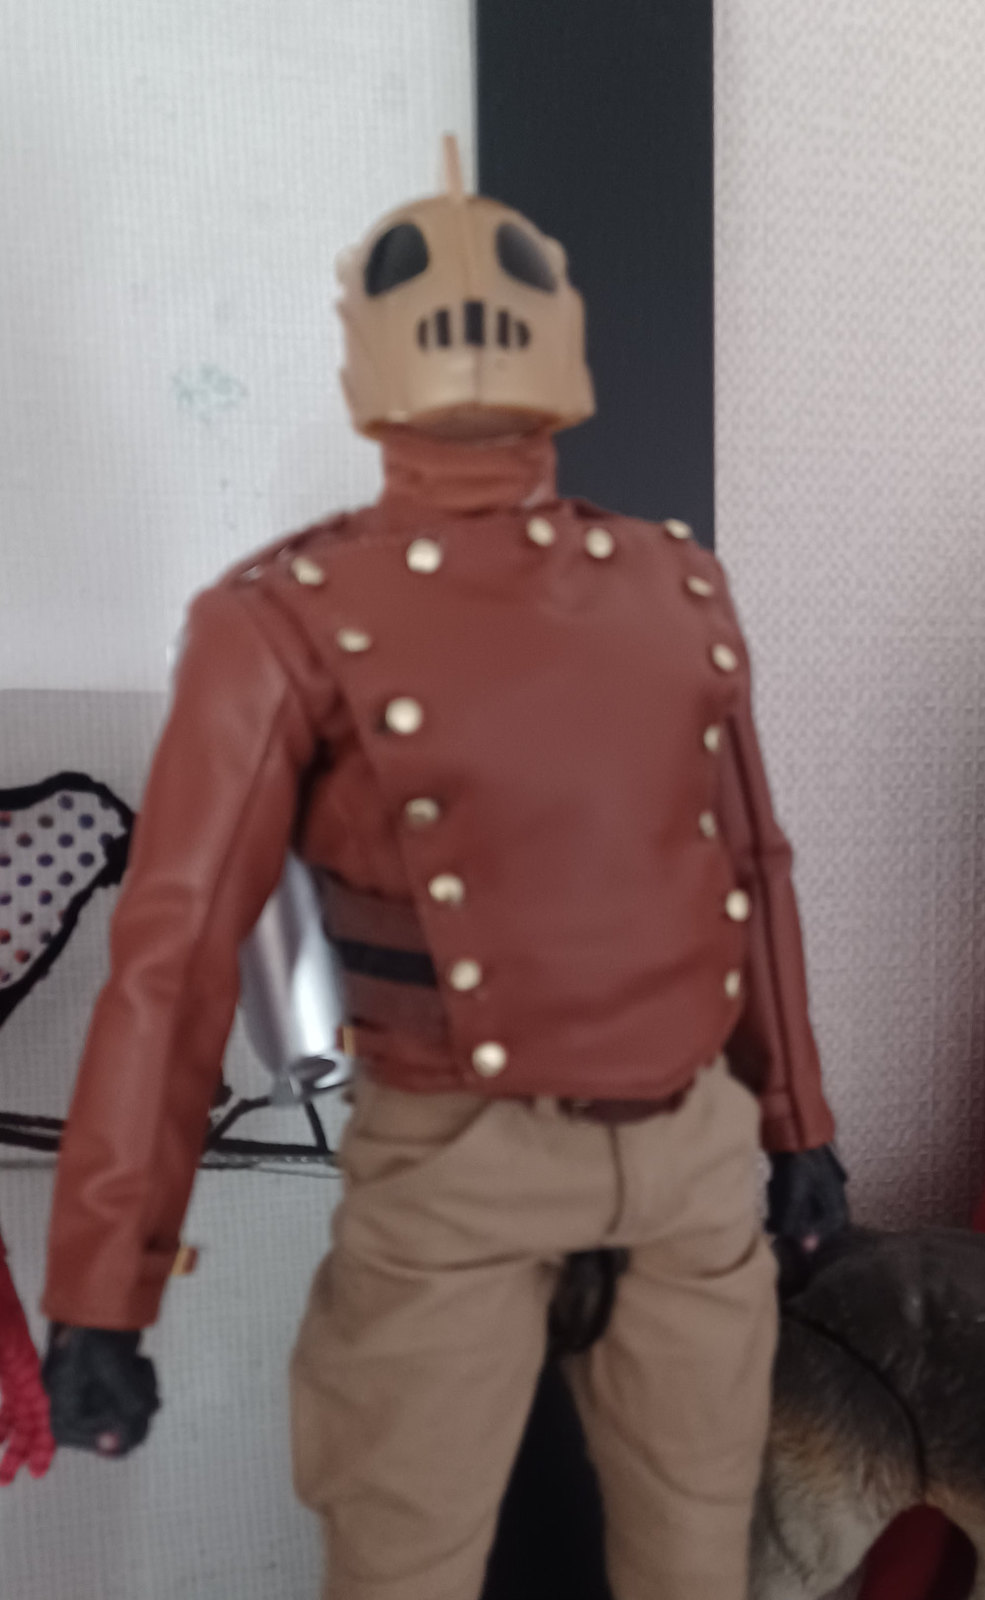
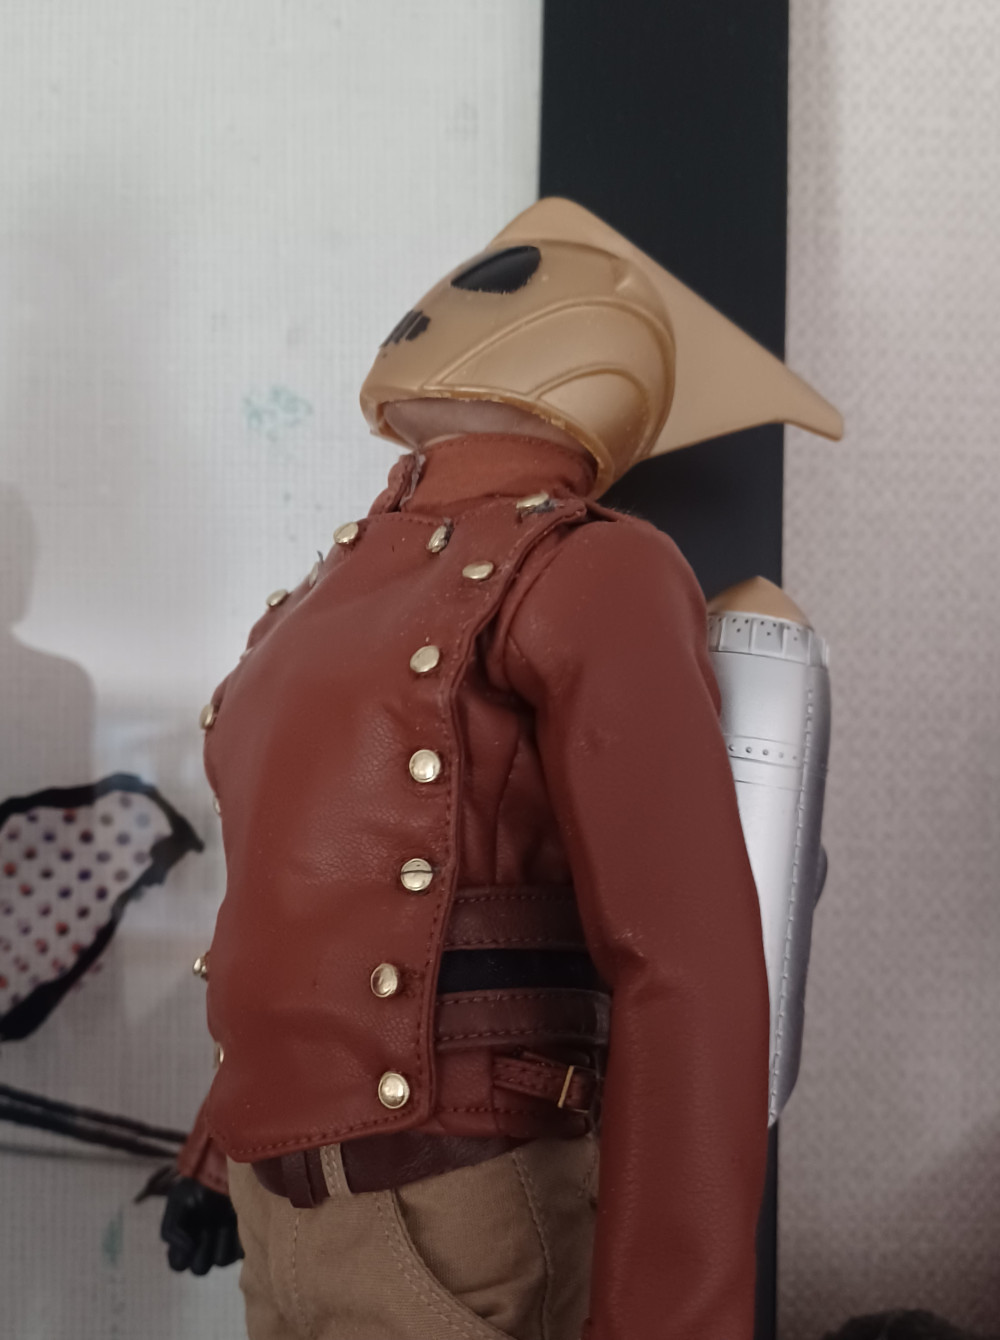
With New Smaller Helmet that I got off ebay for under $10. I also purchased and head that I could dremel to put the helmet on,

20220818_143932 by A.F.M. Productions, on Flickr

20220818_144006 by A.F.M. Productions, on Flickr

20220818_144031 by A.F.M. Productions, on Flickr

20220828_144015 by A.F.M. Productions, on Flickr

20220828_144024 by A.F.M. Productions, on Flickr

20220828_144043 by A.F.M. Productions, on Flickr
Ouch - the helmet looks melted. The helmets one of the essential parts of his look, the eyes are immediately drawn to the helmet and uhhhh…
 
Back
Top