Boba Fett Customizations/Modifications: Image Thread

Collector Freaks Forum

Help Support Collector Freaks Forum:

This site may earn a commission from merchant affiliate links, including eBay, Amazon, and others.
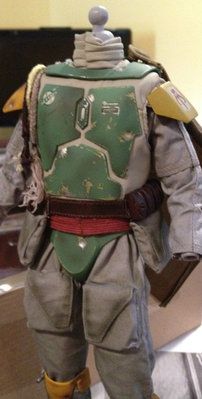
Why not just break them off the plate entirely and glue them onto the front of the vest?

That is what I was gonna try and do.
 
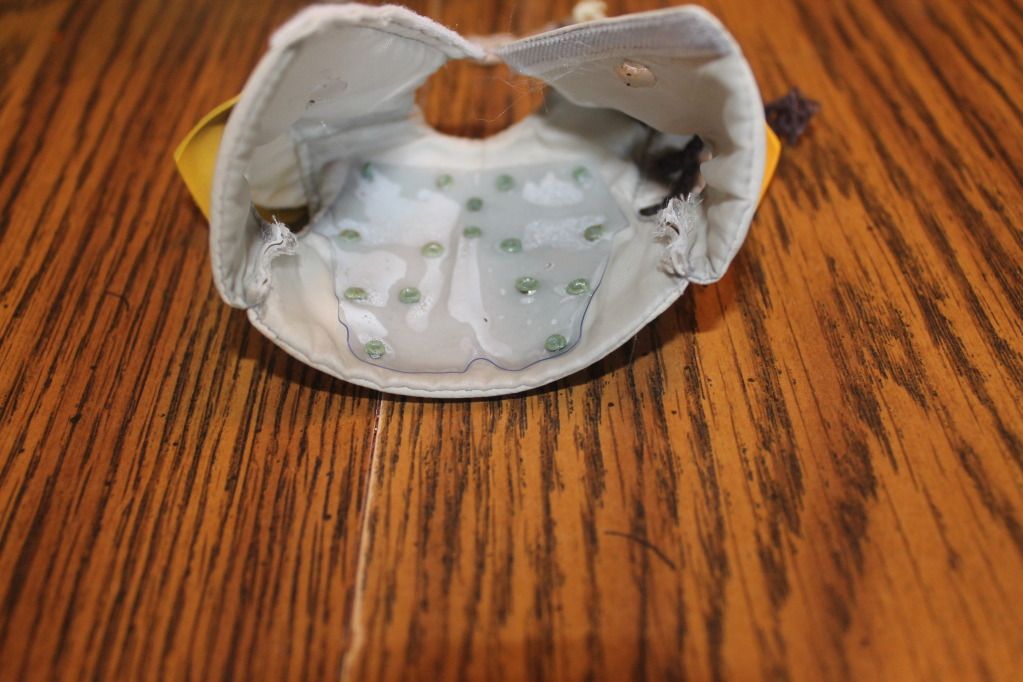
That inside clear plate is a very weird solution IMO...
That's one of the things I love about the Medi Fett, is that the chest plates are attached nicely to the fabric...
With that said, great mods!
Looks so much better!
 
Is the plastic under the vest held on by metal or plastic rivots?

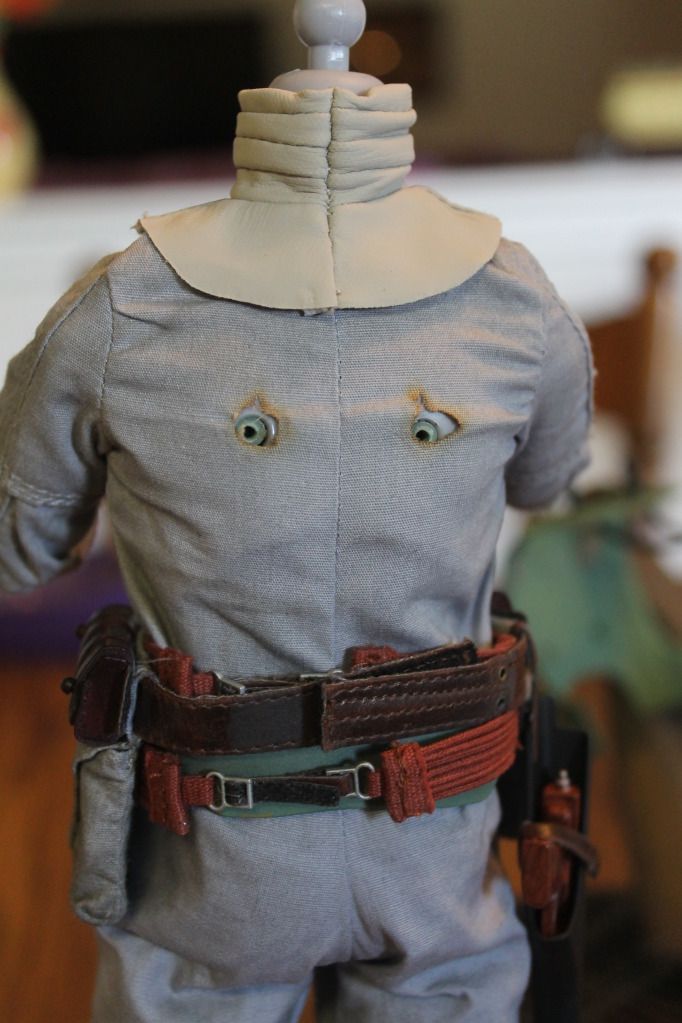
Also, the screws on the back...is that rust or paint (in the pic below)?!?
IMG_0803.jpg

Hard to tell but it looks to me like they might have used something hot to make the holes to keep the fabric from fraying.
 
Hard to tell but it looks to me like they might have used something hot to make the holes to keep the fabric from fraying.

Ah, yes, good point! Thanks Natrix!

Now if someone can please answer the rivot question?
 
Here's what Silent Surfer had to say about removing the rivets and clear plastic and gluing the armor directly onto the vest:

I considered that, but I think the vest material isn't trustworthy enough to glue onto. I picture the vest material shedding its 'skin' eventually.
 
Ah, yes, good point! Thanks Natrix!

Now if someone can please answer the rivot question?

I wouldn't mess with the rivets...that's the only thing holding the armor on. One thing I might try this afternoon is cinching the vest tighter and using a safety pin or other fabric fastener to keep it in place. The pin should lie flat against the back armor.

Or maybe grab something like this:

22145368i_01.jpg
 
Ah, yes, good point! Thanks Natrix!

Now if someone can please answer the rivot question?

pretty sure it's plastic as it looks as if they used some kind of heat source to melt it/ "weld" it after the liner was attached.
 
Ok, thanks guys!

VASith - yeah, the velcro strips - I was going to do something similar. With plastic rivets they would be easier to extract with an x-acto knife.

Gotta wait to see it in person, though.
 
I did try the hot water trick over lunch, but was unable to get it pliable enough to get the curve I wanted. So some improvement over the stock, but not complete. I left it in hot water for 5, 10, 20 and then 30 seconds and at none of those times did the underlying plastic melt or warp uncontrollably... but the ab armor also failed to become as pliable as I wanted; so I'll go a bit longer after work and see what happens.

This was the first test; a bit better but not 100% satisfied.

e5438be5.jpg
 
:lecture True!

I can't wait to get my hands on this thing! I'm thinking of leaving the back, clear plastic on the interior vest, but cutting it along the armor plates, so basically the interior clear plastic will look like the green armor. Then I'm heating that abdomen plate and curving that sucker!
But, I'm getting mine from my local shop so.... :impatient:

copycat................:wink1:
 
Re: 1/6th Scale Sideshow Boba Fett Figure

proceed at your own risk!
IMG_0804.jpg


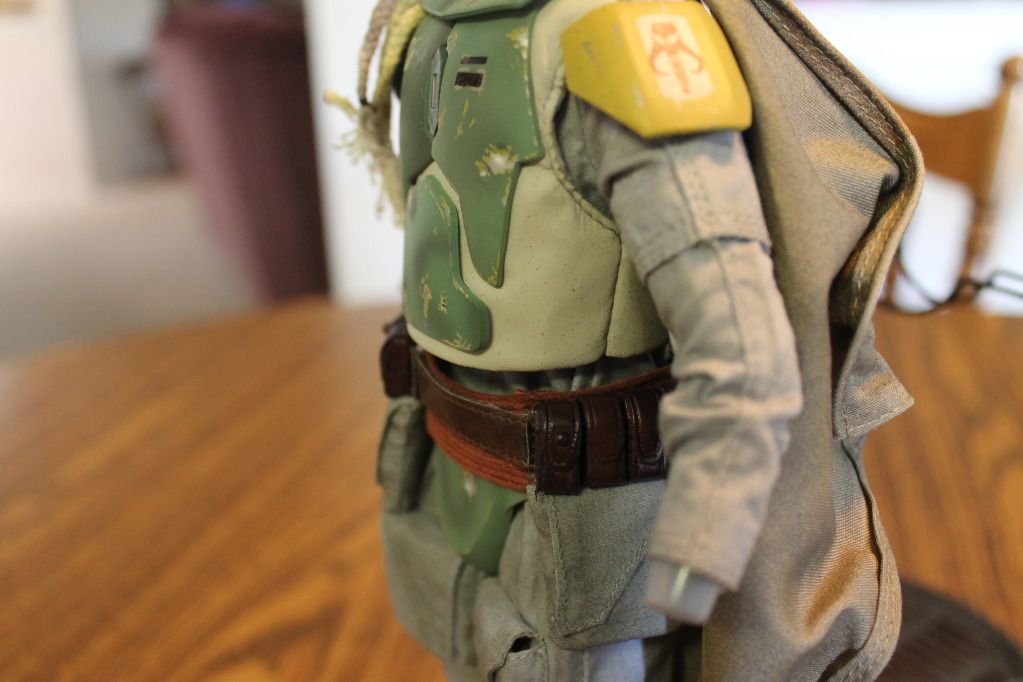
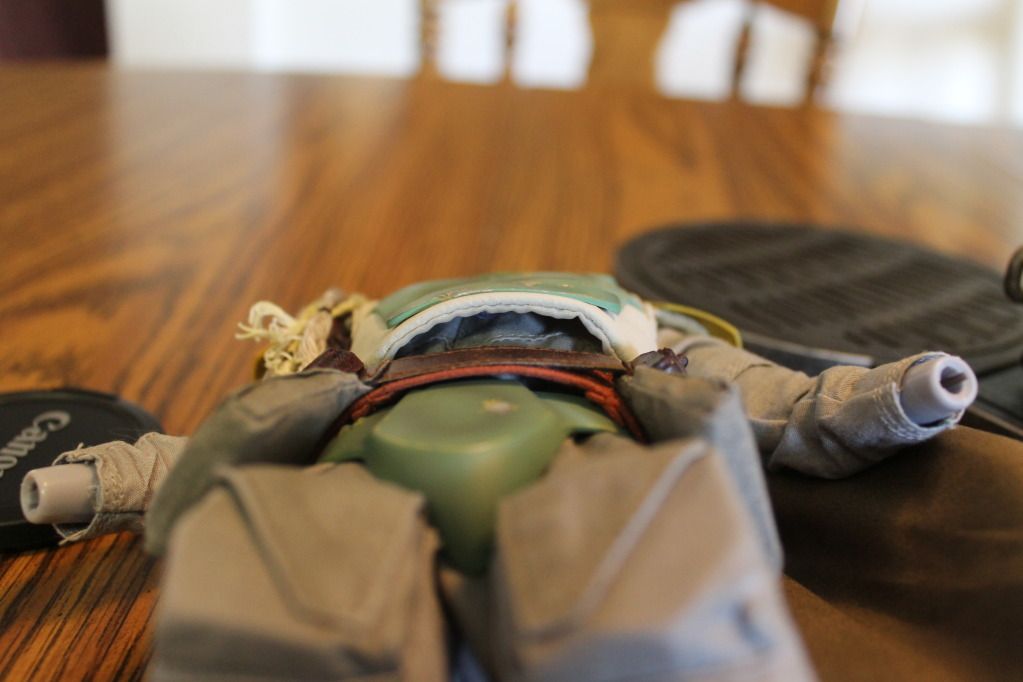
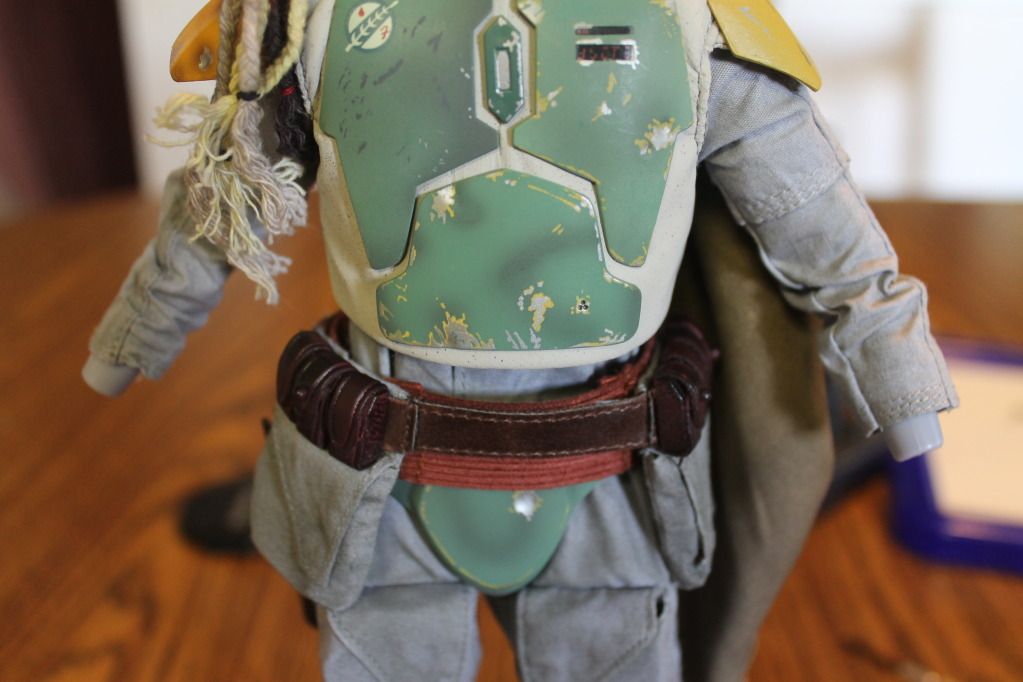
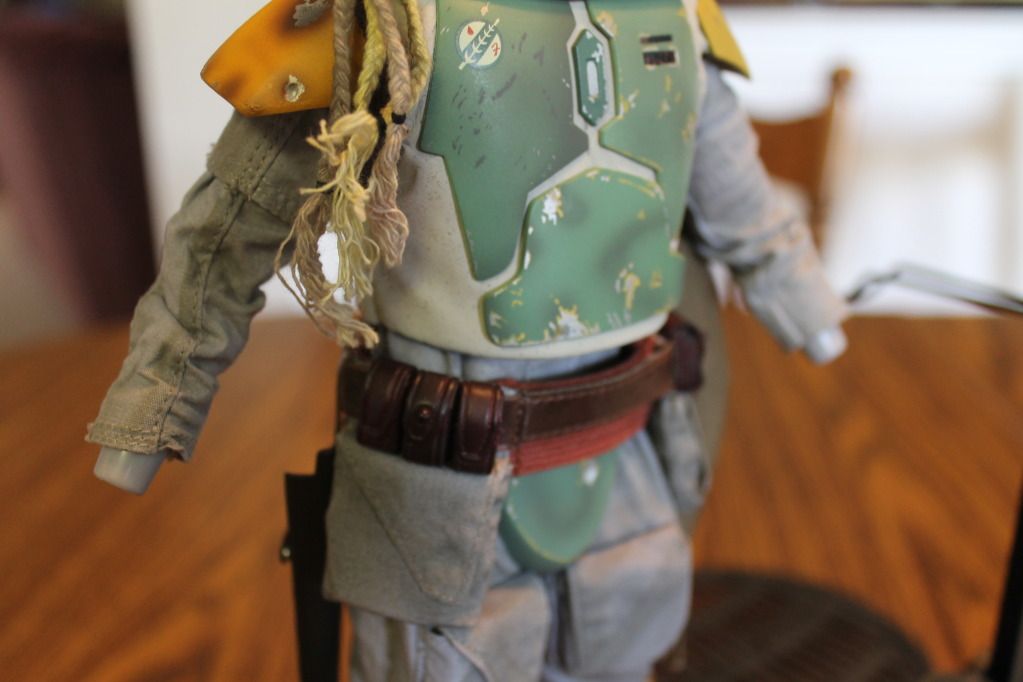
Anyway, with some curvature in the ab plate, I decided to put him all back together after letting things cool and dry and this is the result:
IMG_0806.jpg


IMG_0807.jpg


IMG_0808.jpg


IMG_0809.jpg

To me, this method make him look more "screen accurate" and a better look overall. and is very easy...
I think that the wather should be very hot, and put the vest for 5-10 seg... maybe trying to put on the wather only the ab armor, with the clear plastic facing up will prevent it to melt :p
I can't whait to have this on hand to do some futzzzzz
 
Has anyone tried taking a small wire brush and combing it through the ends of the scalps? It might break up the strand's end and soften the fibers so they don't look like unraveled string.

Just an idea.
 
Back
Top