weltmaster
Super Freak
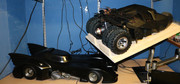
Those who have a Tumbler might know there are some weak areas on the model, especially on the flaps.
There are pistons and antennas that are easily broken.
Good news if you lost your Antenna or piston, I just scanned those parts.
Be aware, I scanned and printed only the larger size piston, not the shorter one.
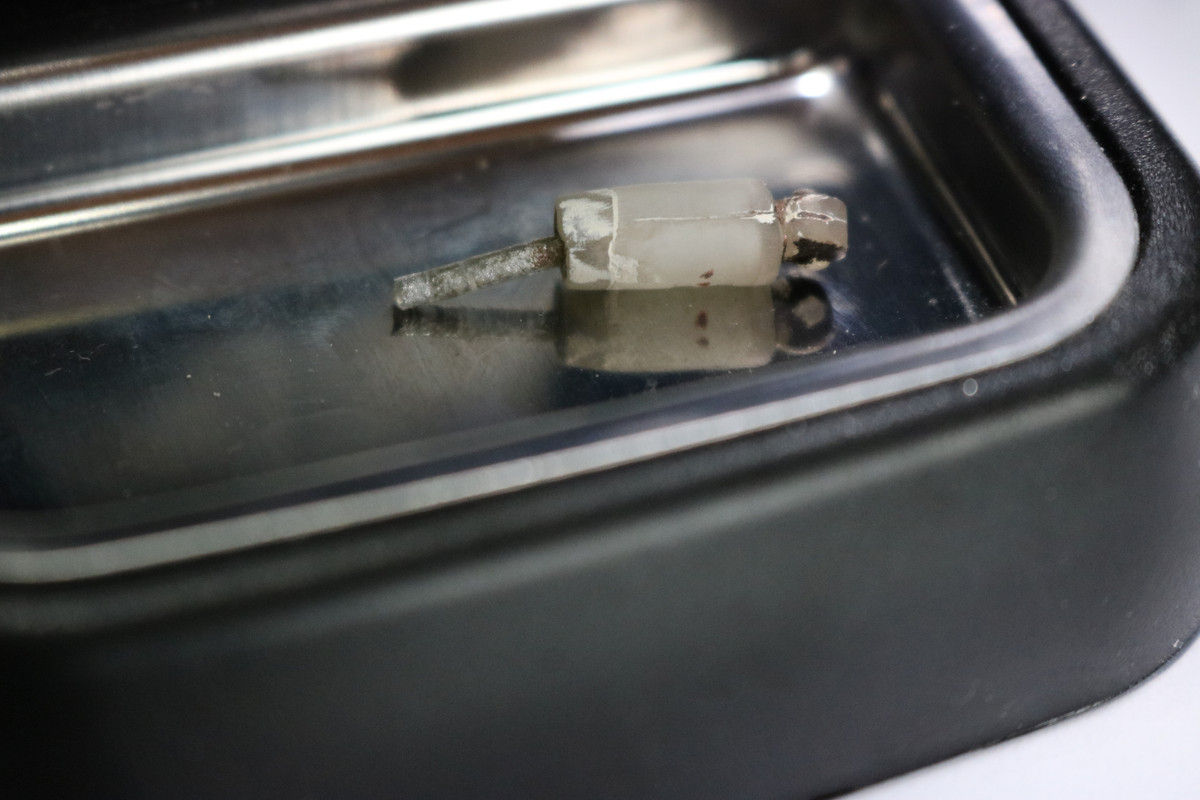
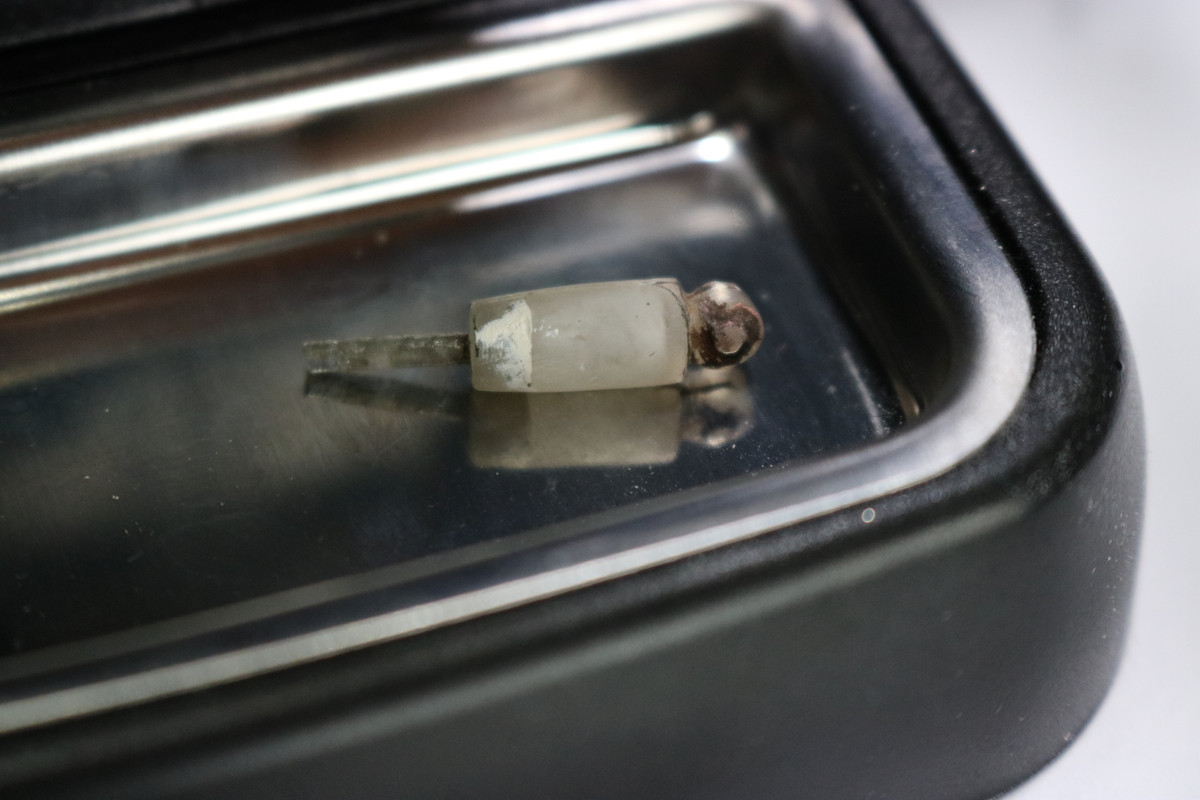
And the Antenna, only managed to print the head, not the rod because its too thin to print.
I used a toothpick as rod for the antenna")
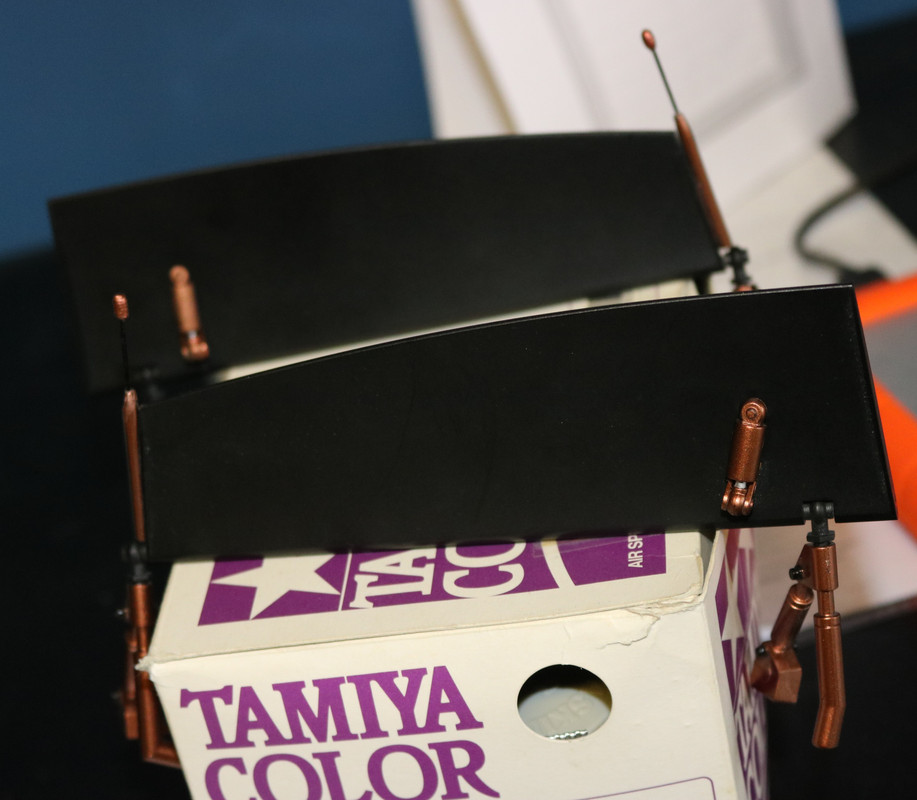
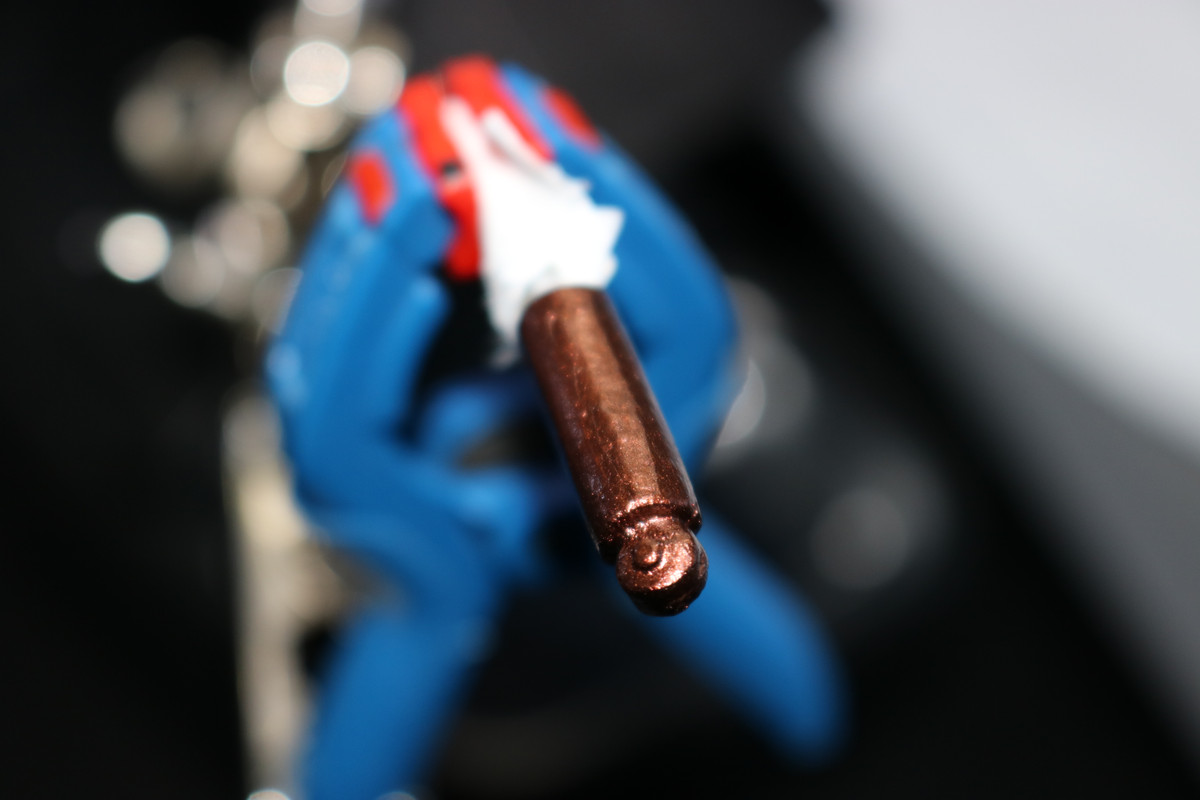
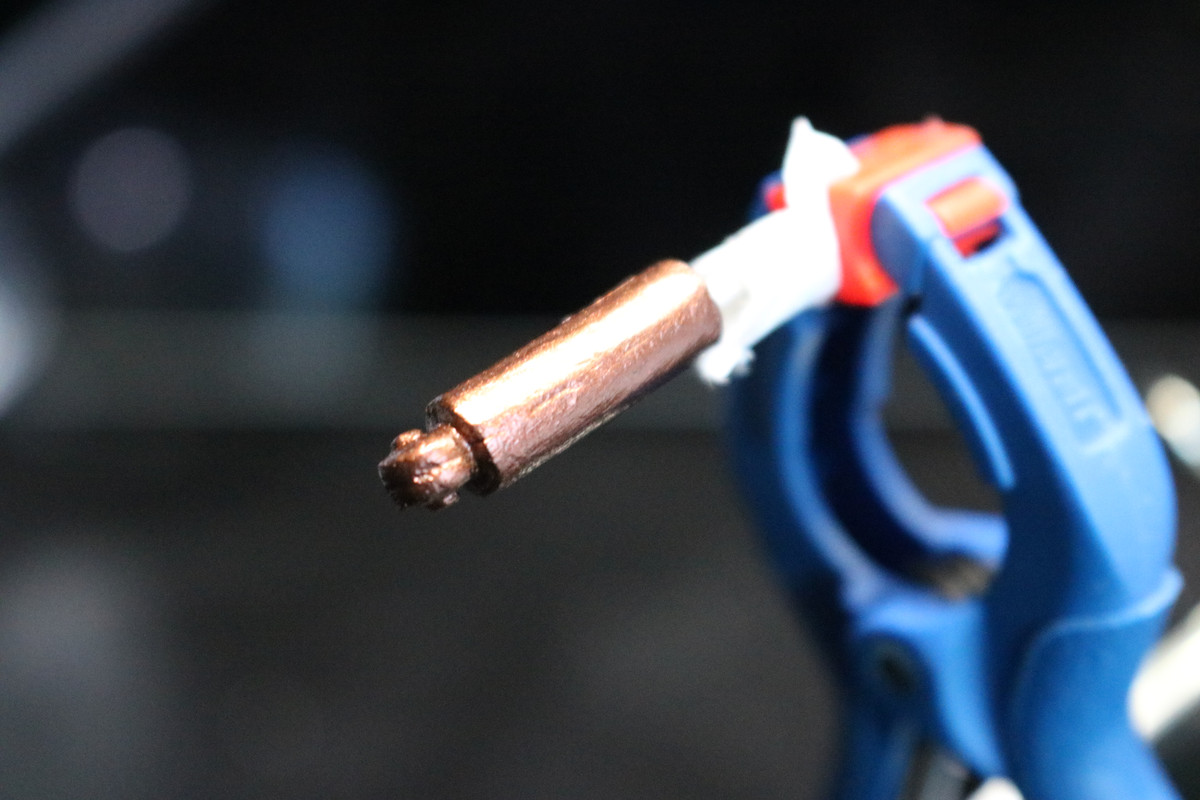
Colorwise was a little bit of experimenting.
I used 805 Koper from "Amsterdam Acryl"
But with a tad of black from left over Tamiya acrylic paint.
Its not perfect, but it blends in fairly well with the rest.
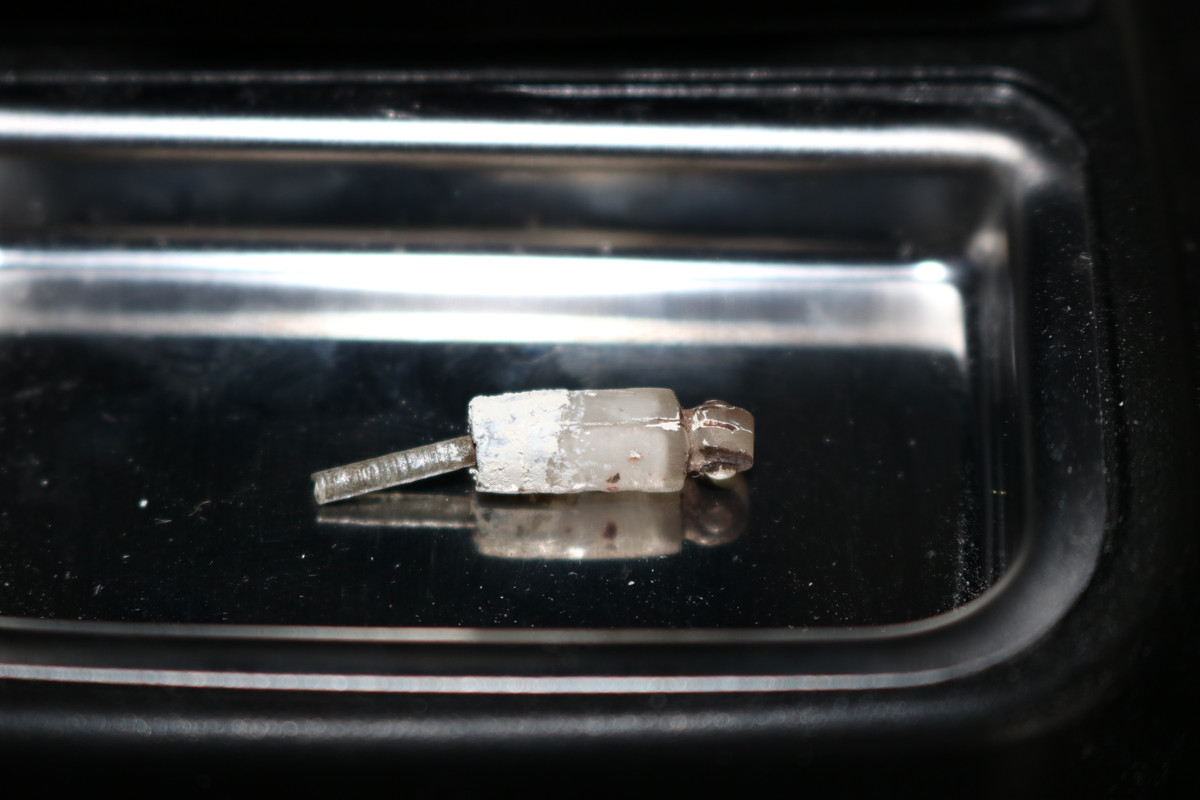
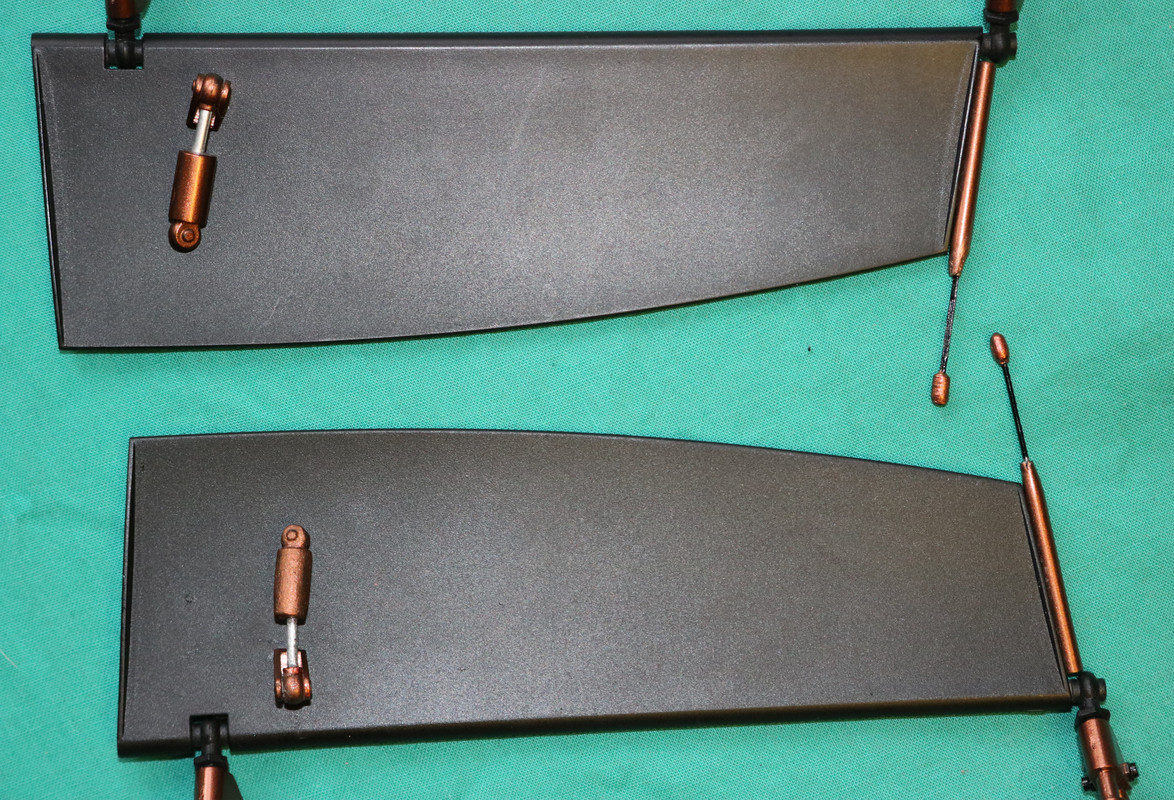
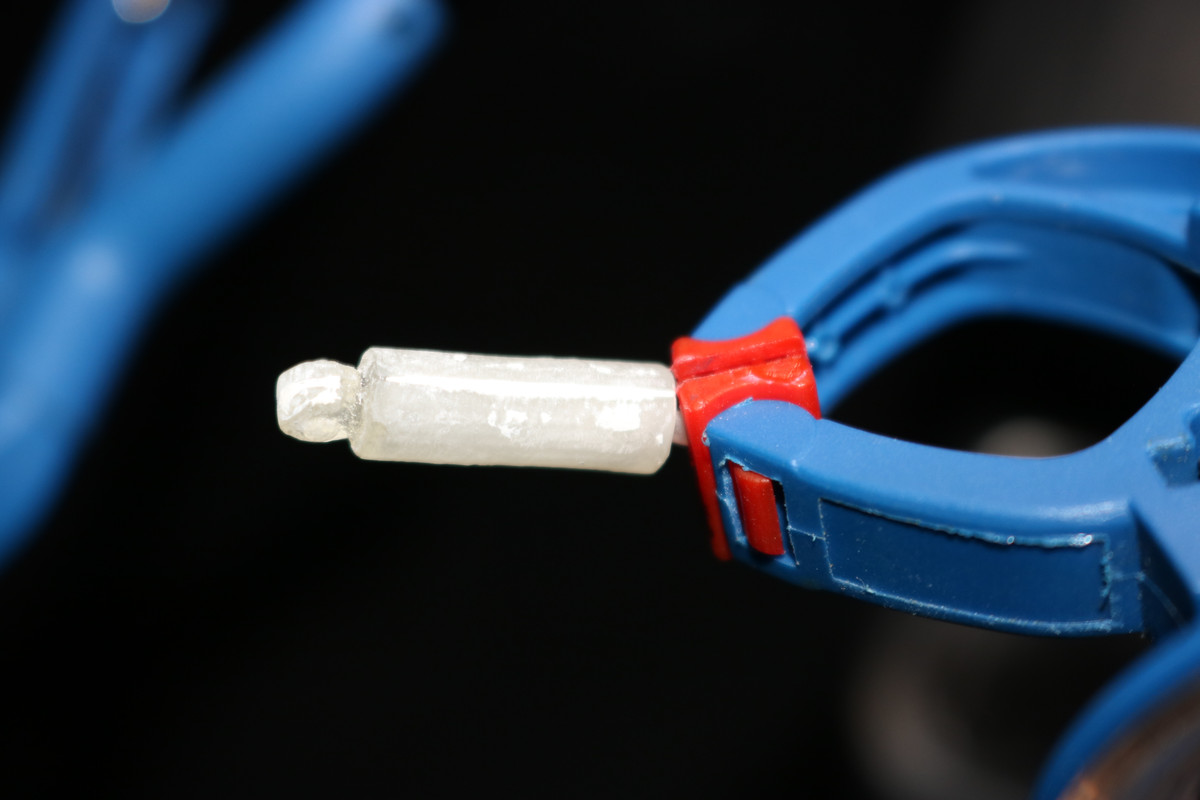
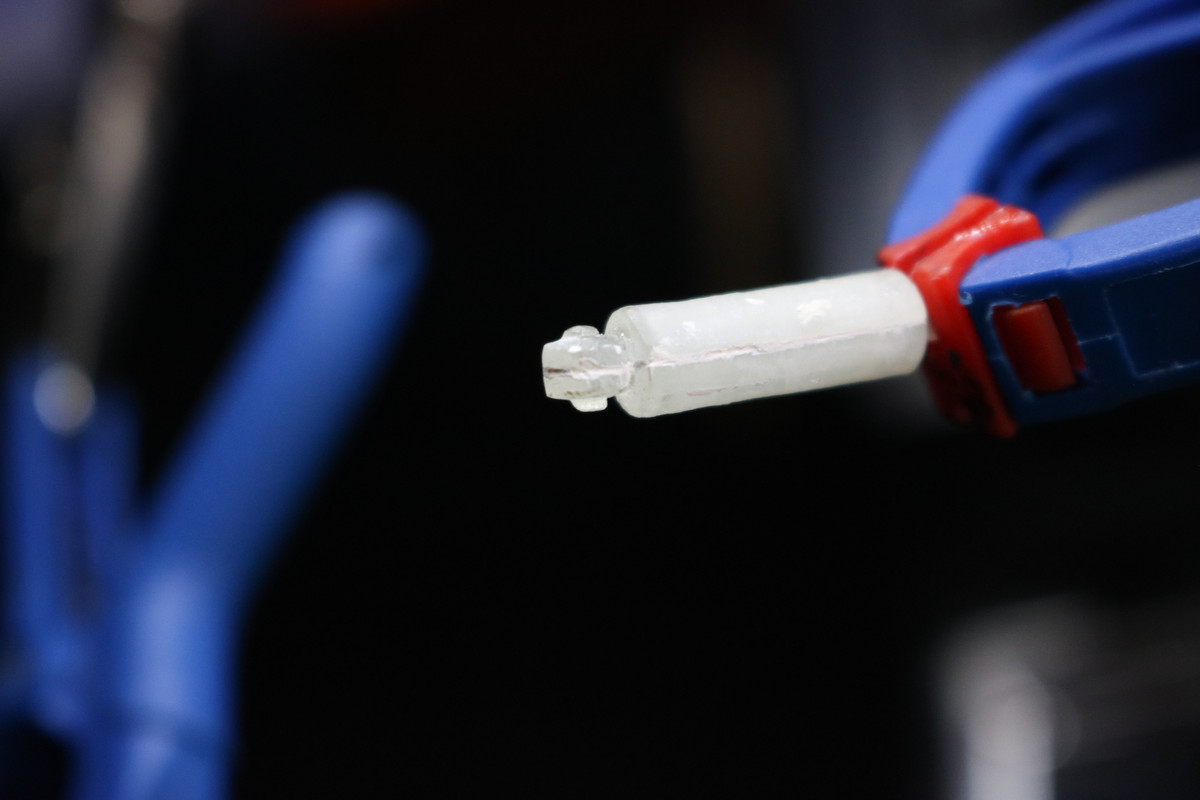
The pistons were printed in 3 parts: 2 halves of the body and the shaft itself.
Again, the piston printed here, is the longer one, so you will have to cut the body shorter if you need the shorter one and full up the side where the shaft slides in and out...
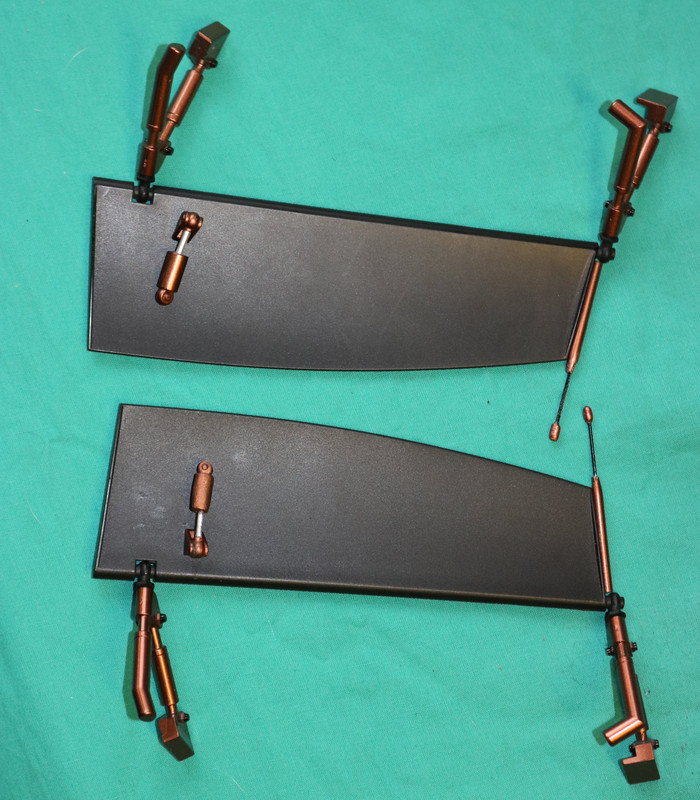
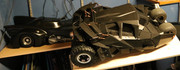
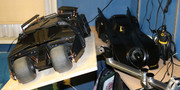
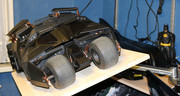
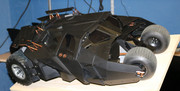
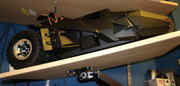
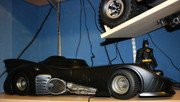
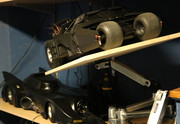
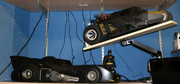
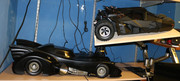
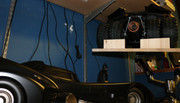
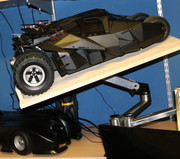
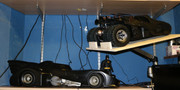
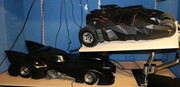
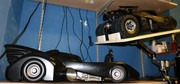
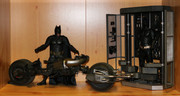
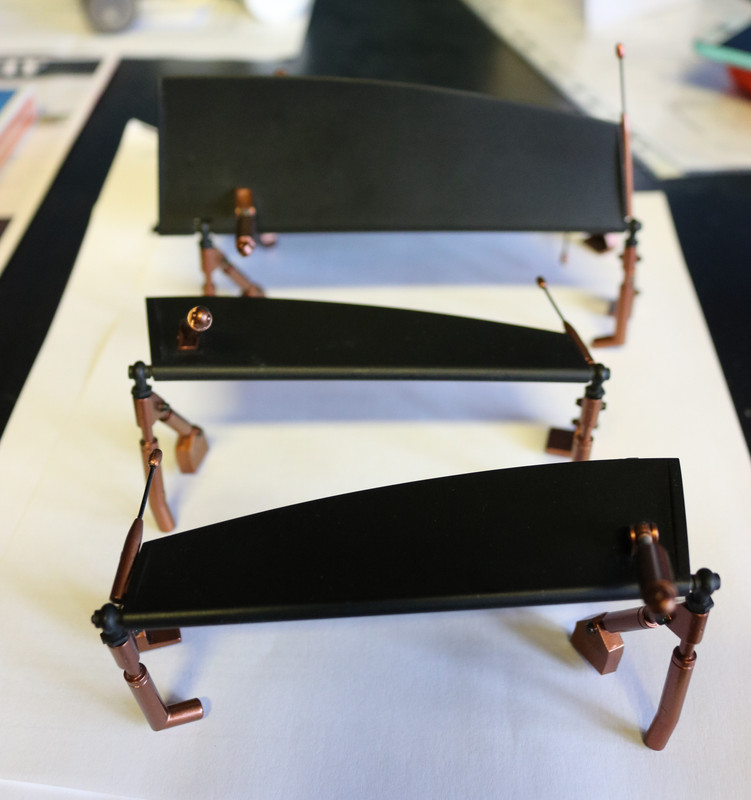
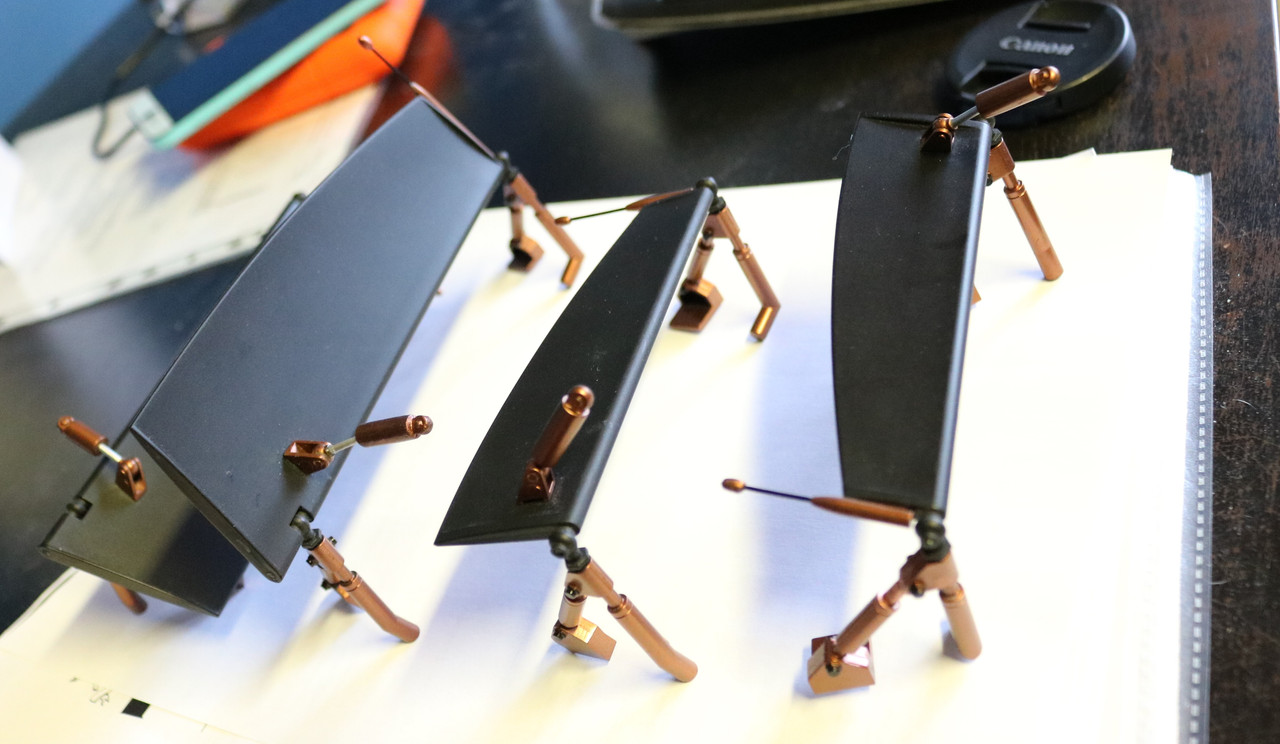
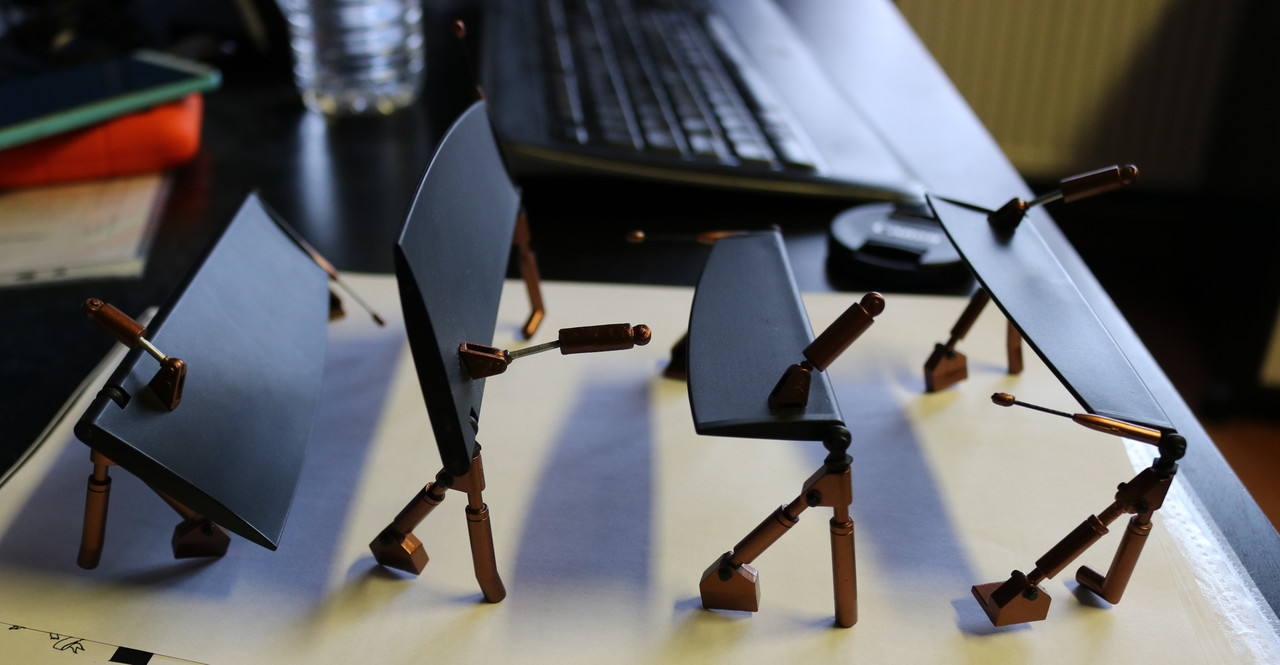
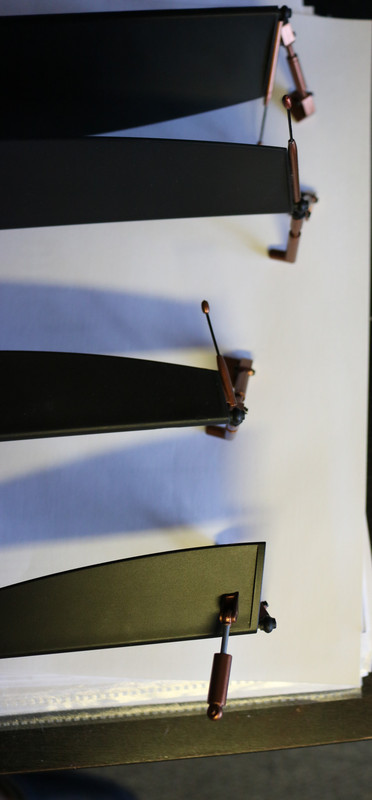
Some pictures.
here everything is attached to the flaps:
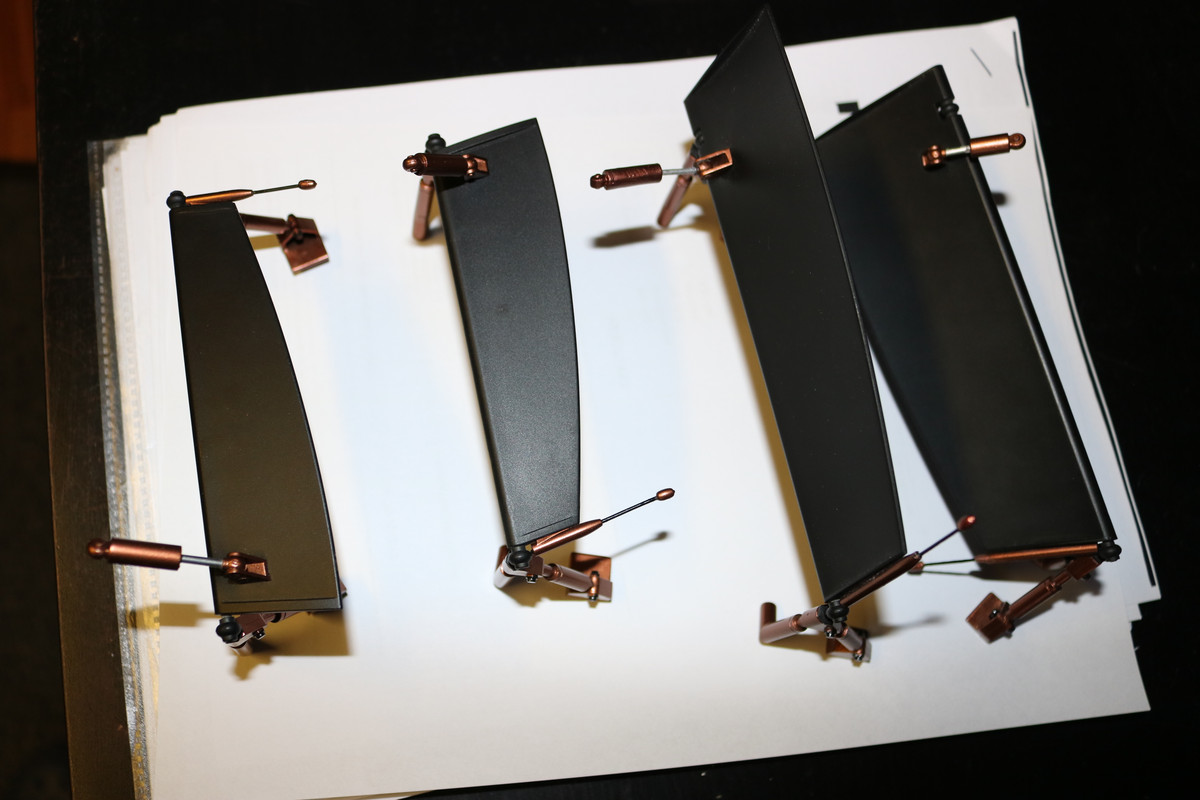
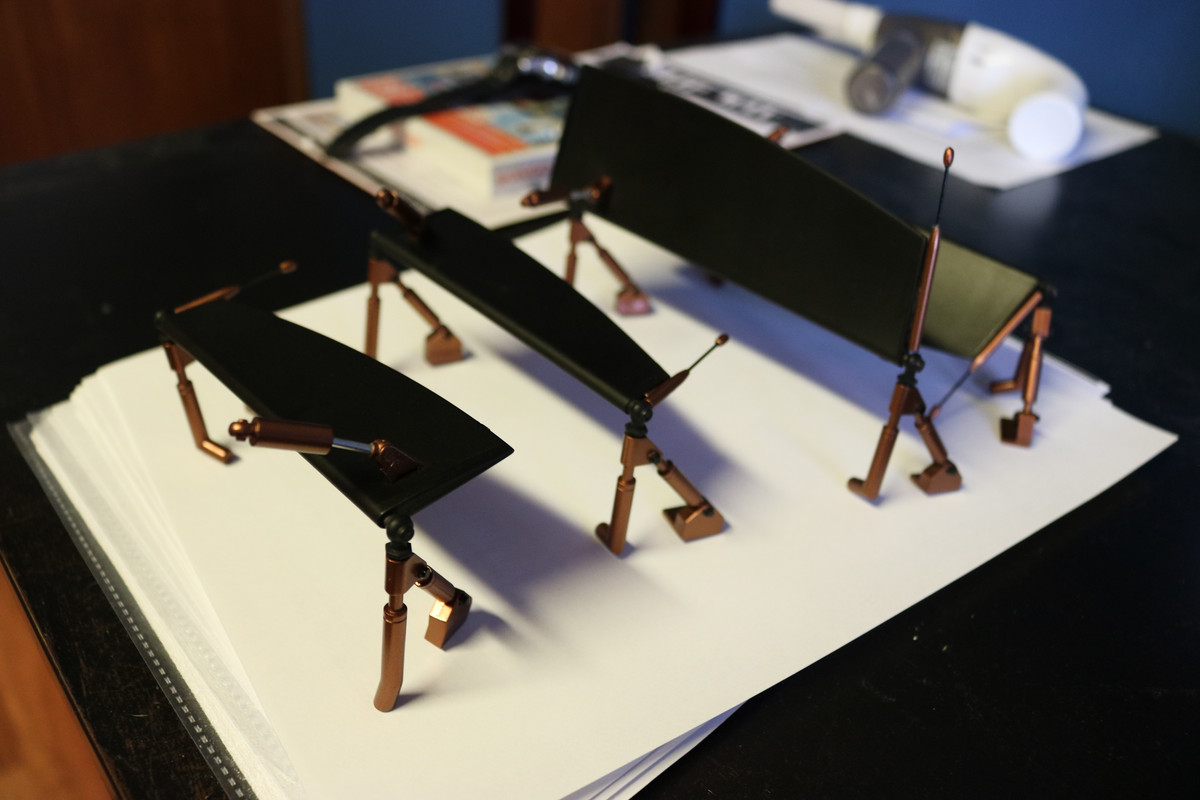
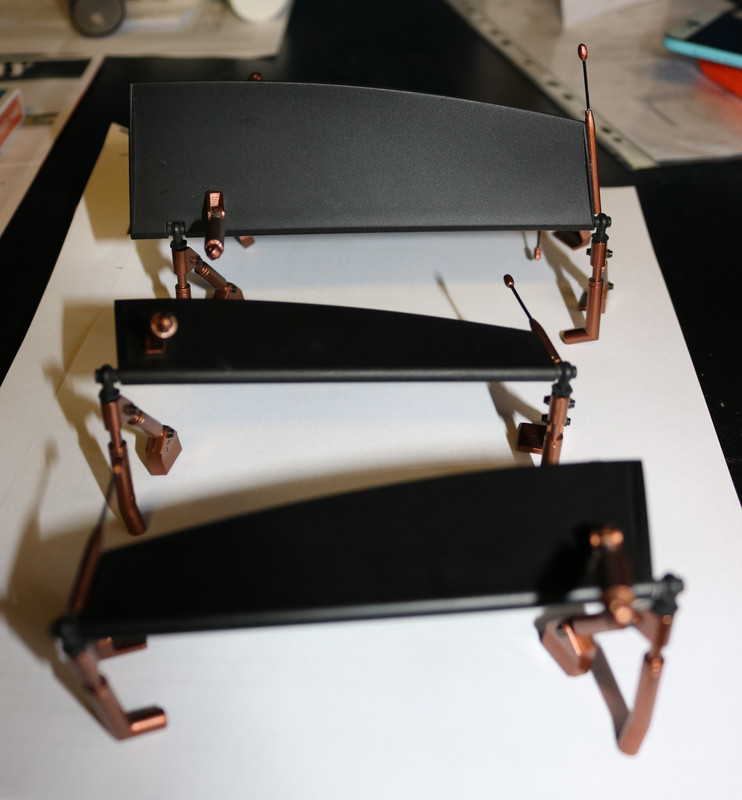
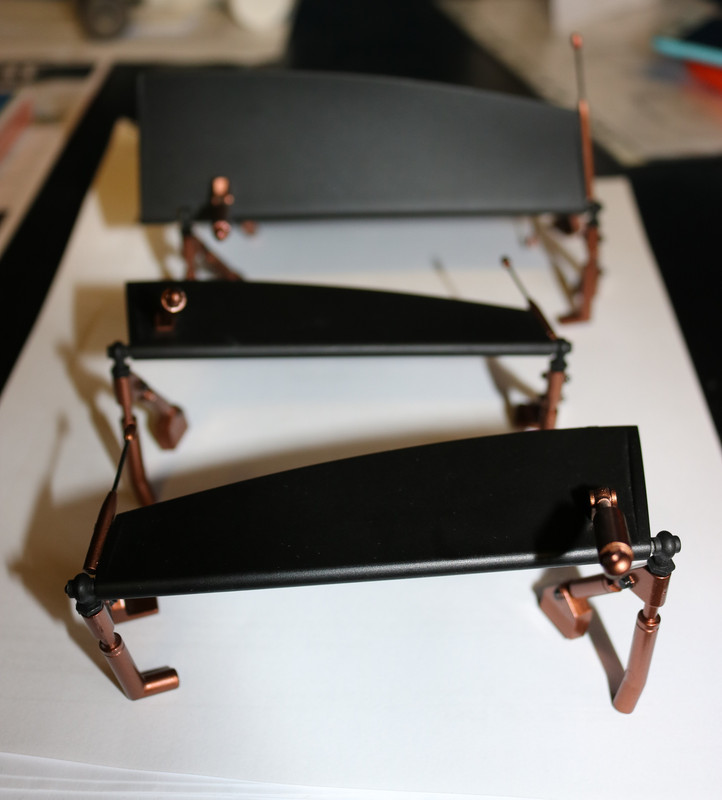
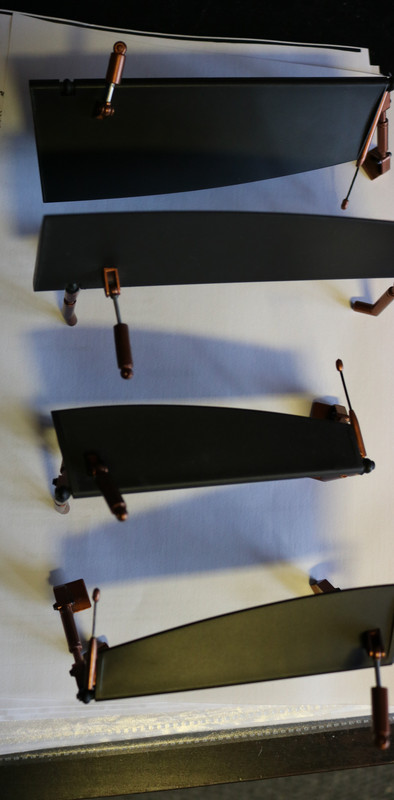
I have all the parts in 3D files (.stl extension), so you dont have to scan anything, just print it on a 3D printer.
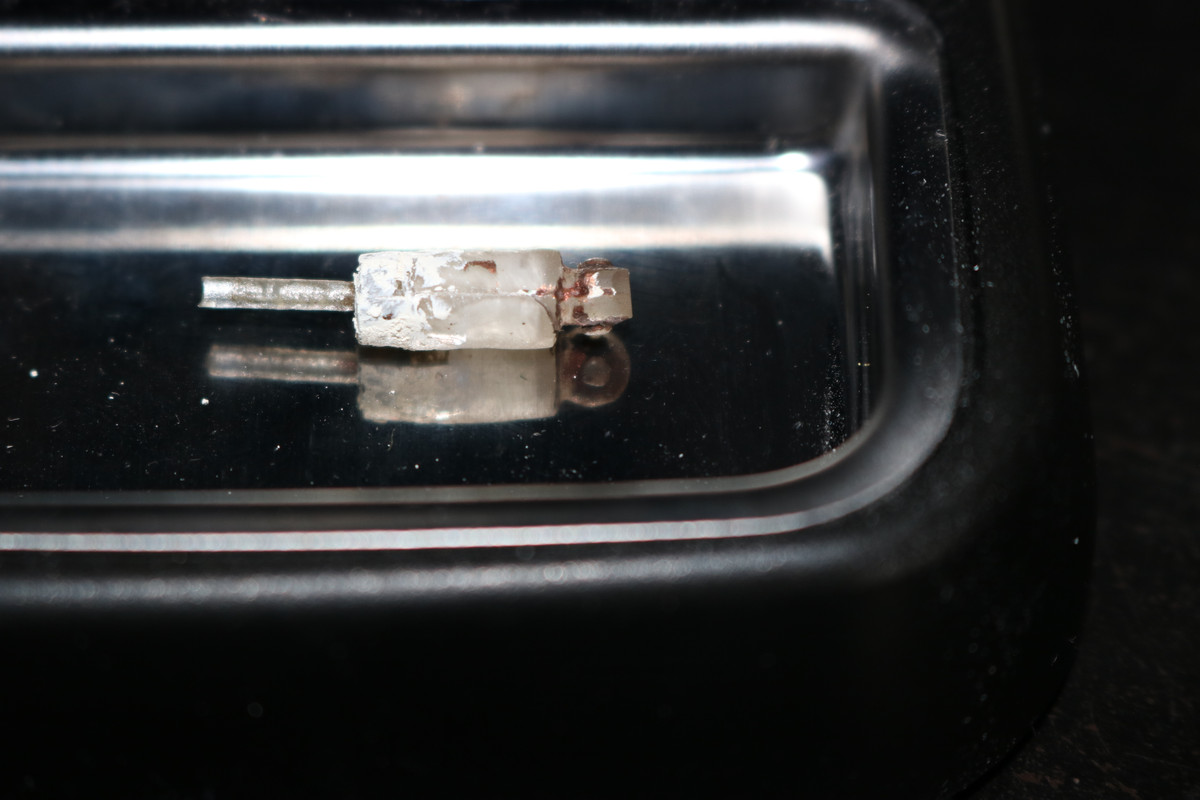
I did have to sand the halves and the opening for the shaft so it would slide smoothly.
You can do a better job sanding the actual piston, because you can see on mine, the finish isnt very smooth, but again, in the bigger picture, it blends in well.
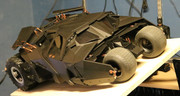
I will post picture of everything installed on the Tumbler somewhere begin March....
I'm asking 5$ for the 3D files, so just send me a pm or message when interested.
There are pistons and antennas that are easily broken.
Good news if you lost your Antenna or piston, I just scanned those parts.
Be aware, I scanned and printed only the larger size piston, not the shorter one.
And the Antenna, only managed to print the head, not the rod because its too thin to print.
I used a toothpick as rod for the antenna
Colorwise was a little bit of experimenting.
I used 805 Koper from "Amsterdam Acryl"
But with a tad of black from left over Tamiya acrylic paint.
Its not perfect, but it blends in fairly well with the rest.
The pistons were printed in 3 parts: 2 halves of the body and the shaft itself.
Again, the piston printed here, is the longer one, so you will have to cut the body shorter if you need the shorter one and full up the side where the shaft slides in and out...
Some pictures.
here everything is attached to the flaps:
I have all the parts in 3D files (.stl extension), so you dont have to scan anything, just print it on a 3D printer.
I did have to sand the halves and the opening for the shaft so it would slide smoothly.
You can do a better job sanding the actual piston, because you can see on mine, the finish isnt very smooth, but again, in the bigger picture, it blends in well.
I will post picture of everything installed on the Tumbler somewhere begin March....
I'm asking 5$ for the 3D files, so just send me a pm or message when interested.
Last edited: