Here is a list of the items I used
1 x Drill For Running Wires Through The Bottom
1 x Roll Of Electrical Tape
1 x Detolf Cabinets from Ikea www.ikea.com/us/en/catalog/products/1…
2 x Vinyl Inside Corner Wall Panel Moulding https://www.lowes.com/pd/Sequentia-0-7-in-x-8-ft-Vinyl-Inside-Corner-Wall-Panel-Moulding/3060135
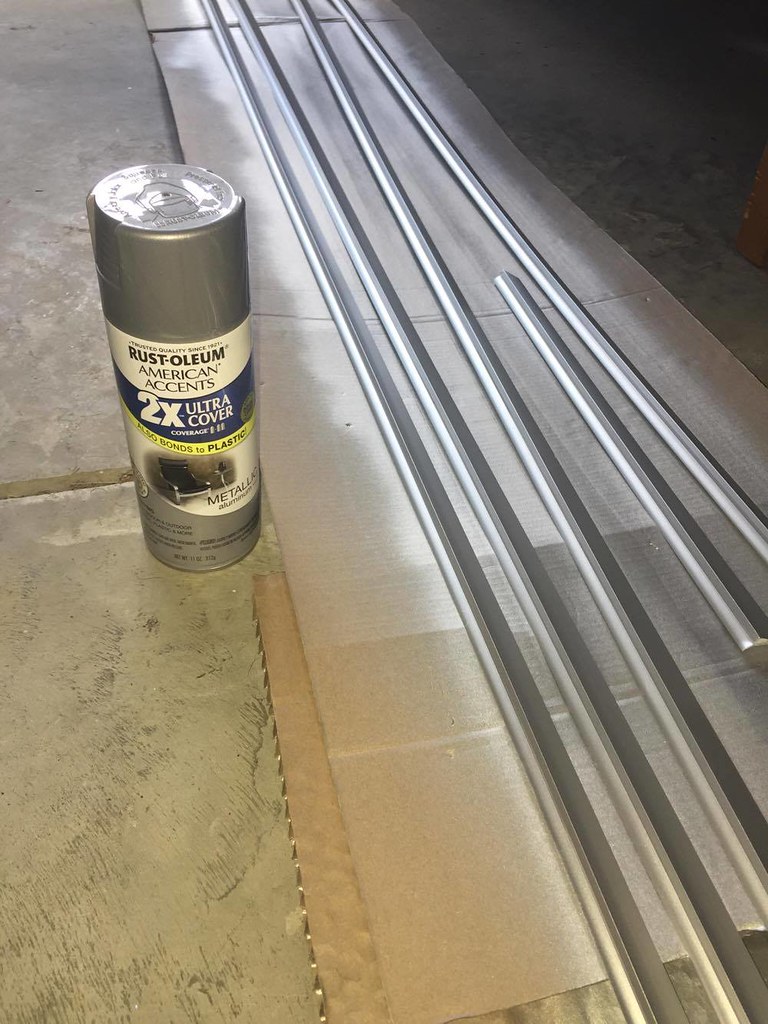
1 x Can of Aluminum Enamel Spray Paint (Any Brand Will Do, Stay Away From High Gloss)
3 Feet of Velcro (The More The Better)
LED 5050 Strip Light Kit - https://www.amazon.com/gp/product/B01DBP1T28/ref=oh_aui_detailpage_o00_s00?ie=UTF8&psc=1
I Purchased This Set Because I'm Doing 2 Cabinets Side By Side
I Prefer The Non-Waterproof Model For This Project, They Are Easier To Work With Around The Corners.
Total Cost Of Build Including Cabinet - $110 Plus Tax
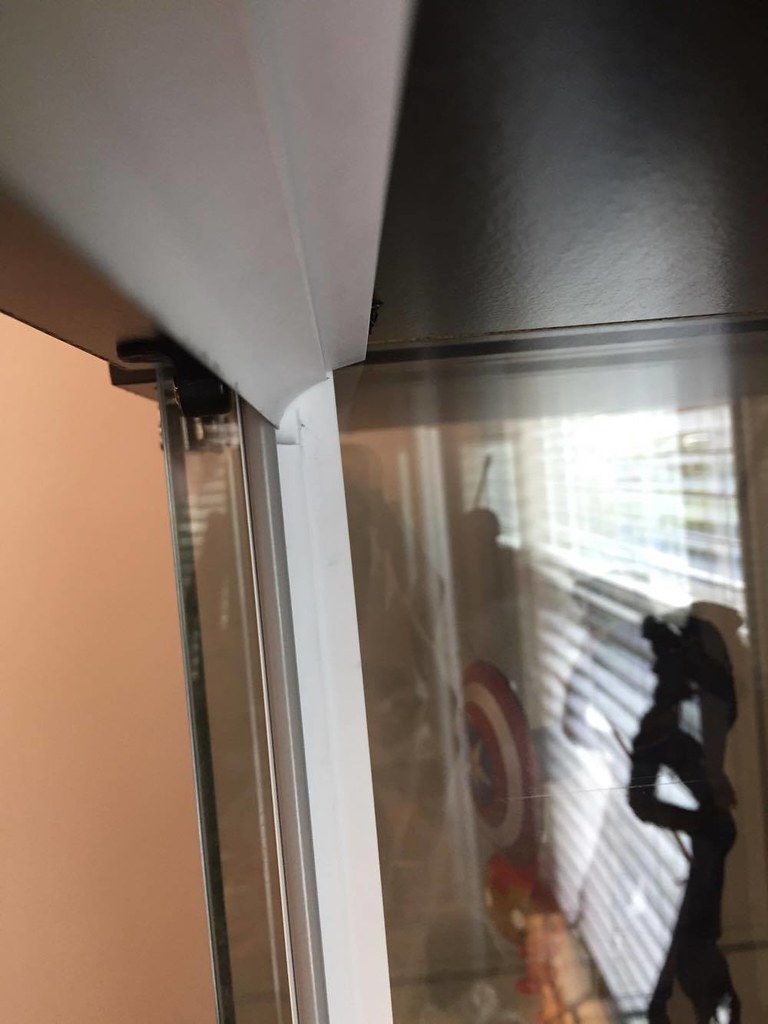
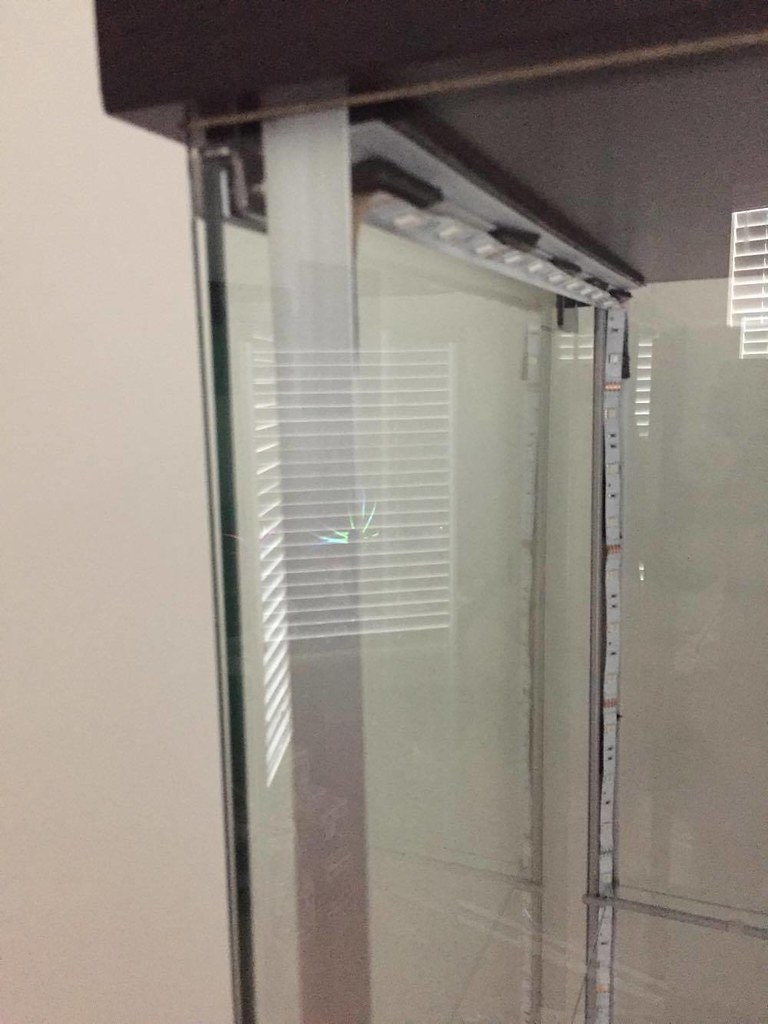
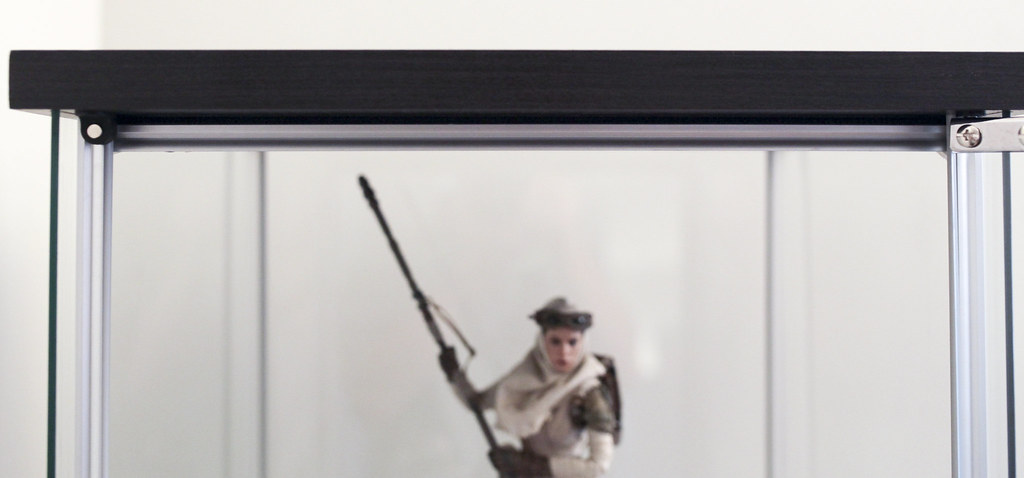
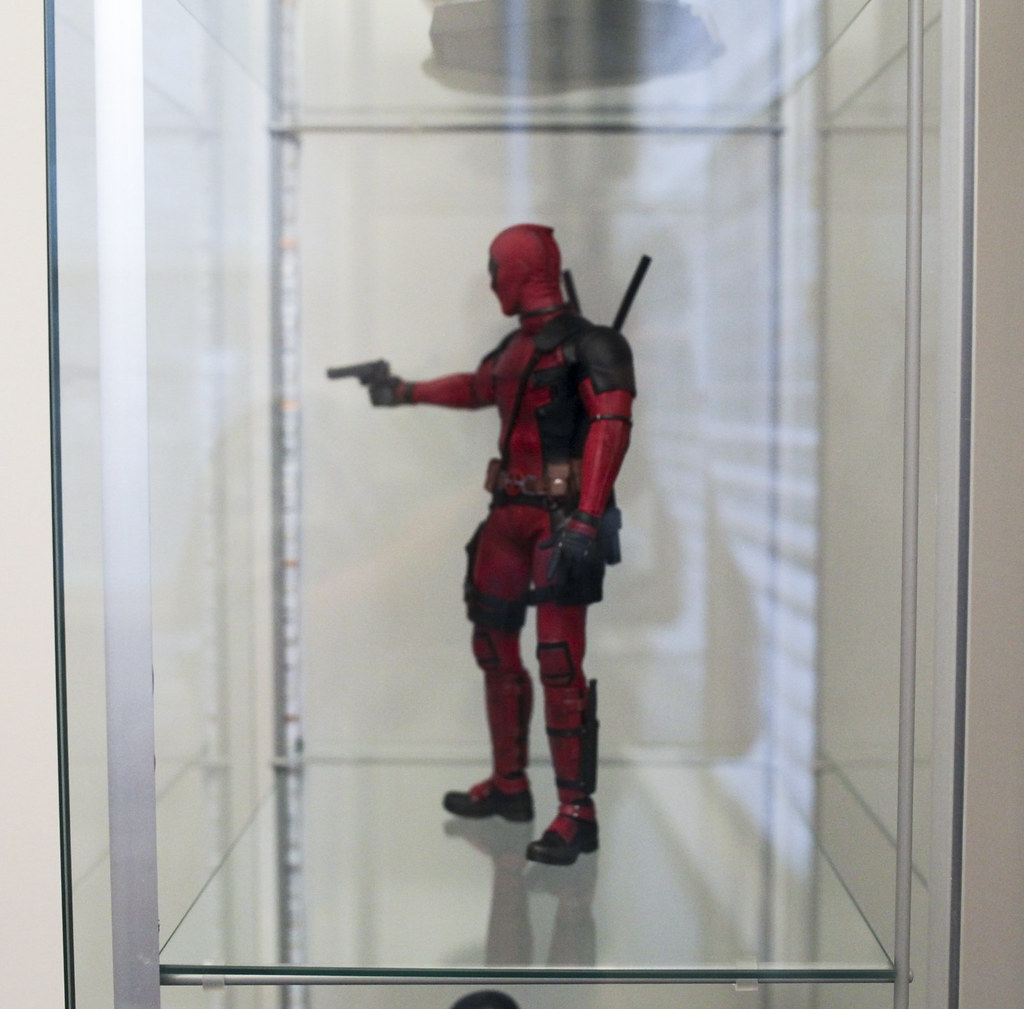
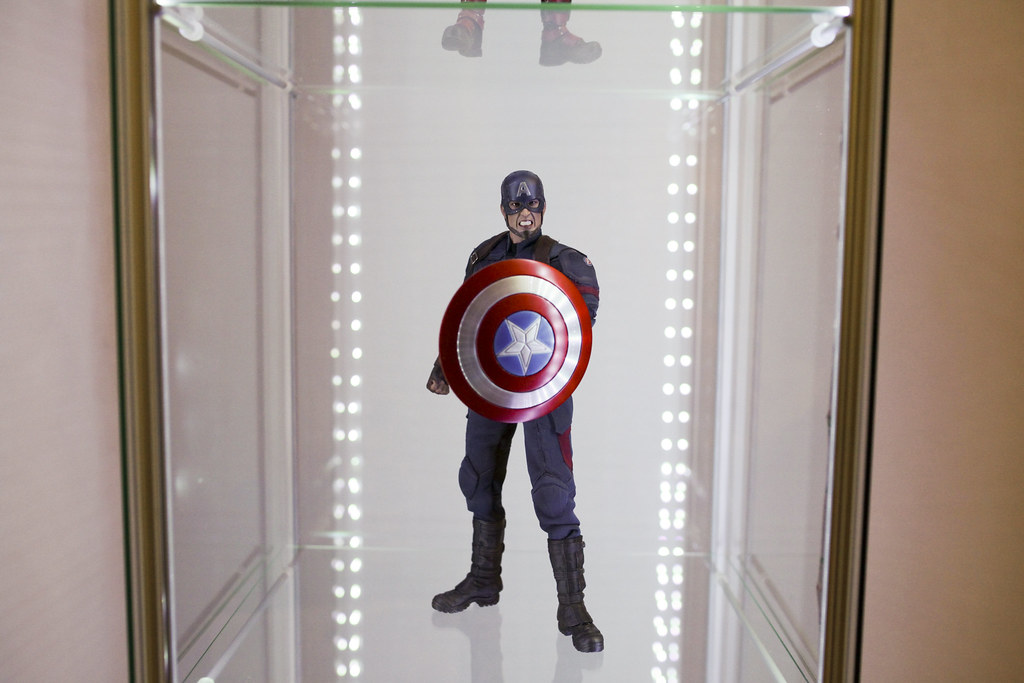
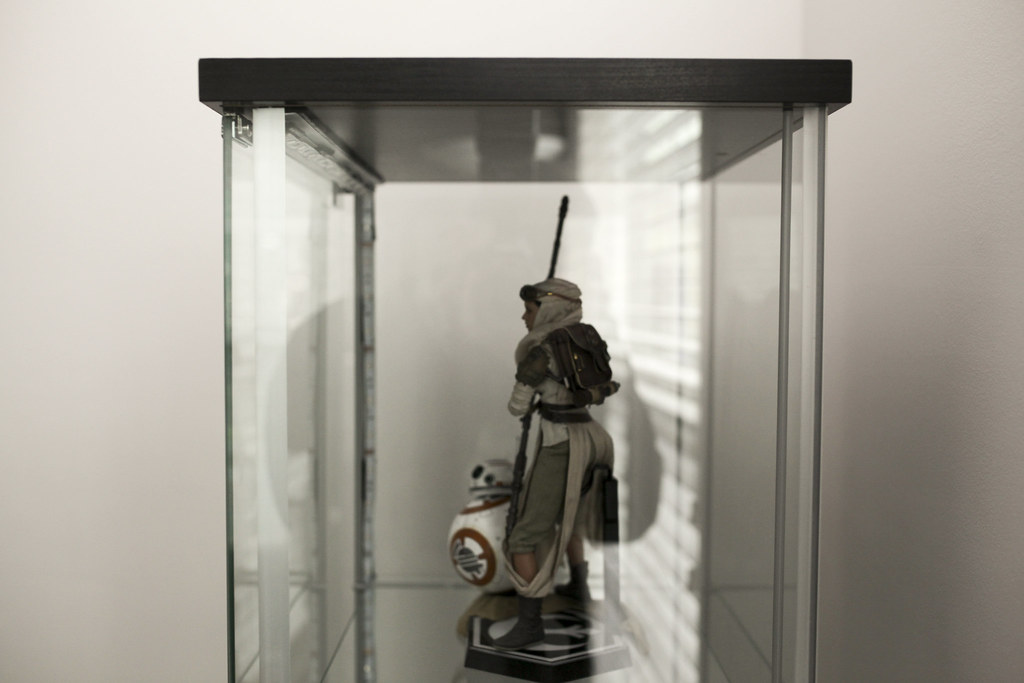
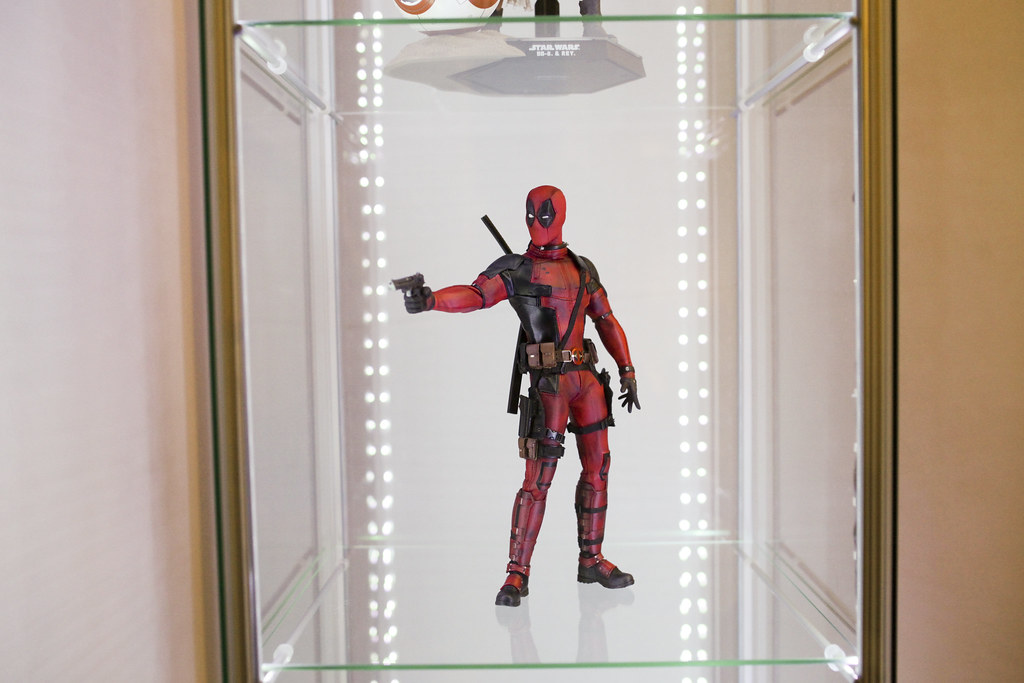
My goal was to have solid coverage of light throughout the cabinet, but not be able to see the lighting from the front. It was important for it to be clean. As of right now I do have 1 more thing to do, but I had time to post this, so here it is.
1. Take the Vinyl Moulding and measure a piece for each vertical side, and 1 for the top.
2. Paint to match
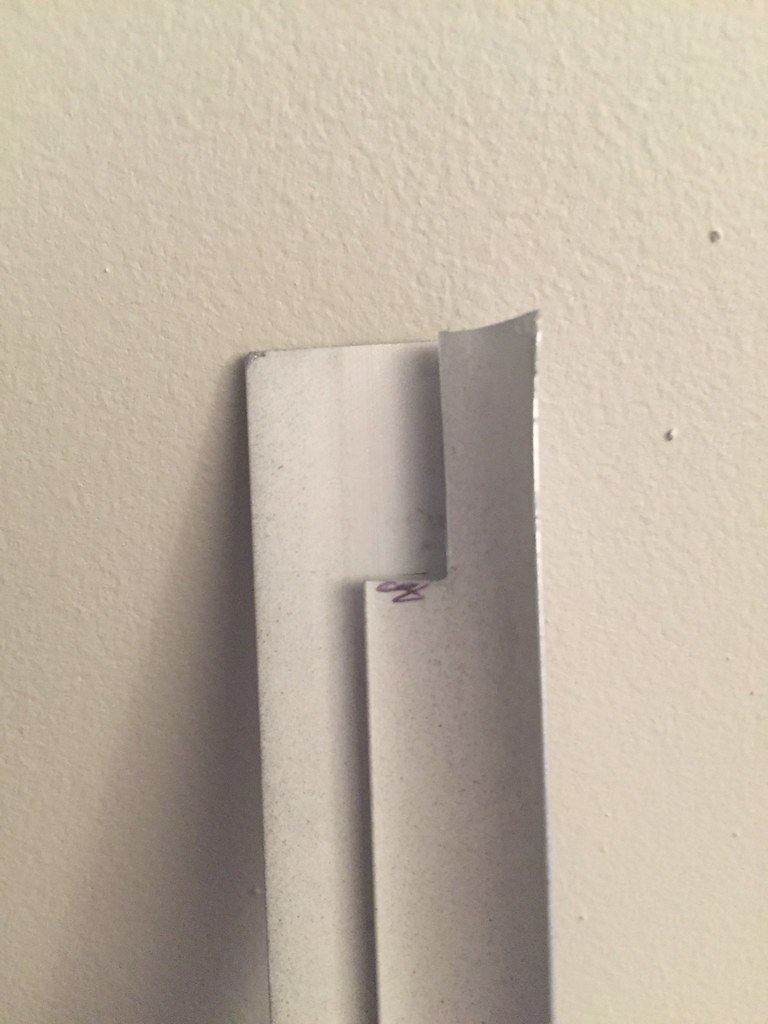
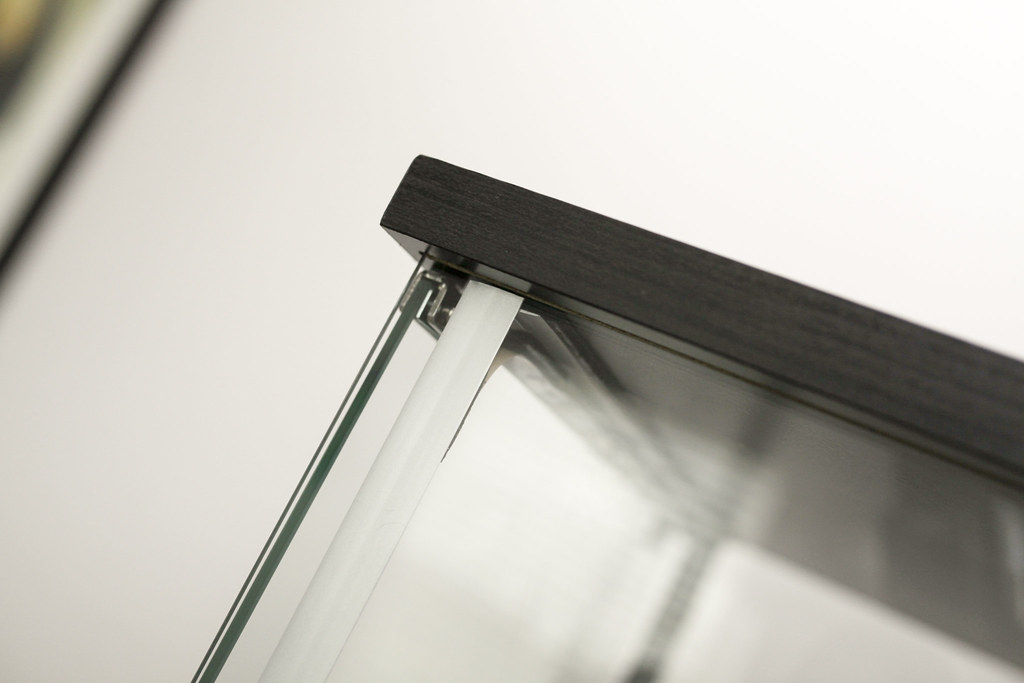
3. You will need to notch out a small portion of the top of each vertical piece. This will allow the top horizontal piece to fit properly
4. Cut a strip of Velcro and apply to the top piece to attach to the top of the cabinet and top moulding piece
5. Slide the 2 vertical pieces into place. If cut the proper length, you won't need anything to keep them in place.
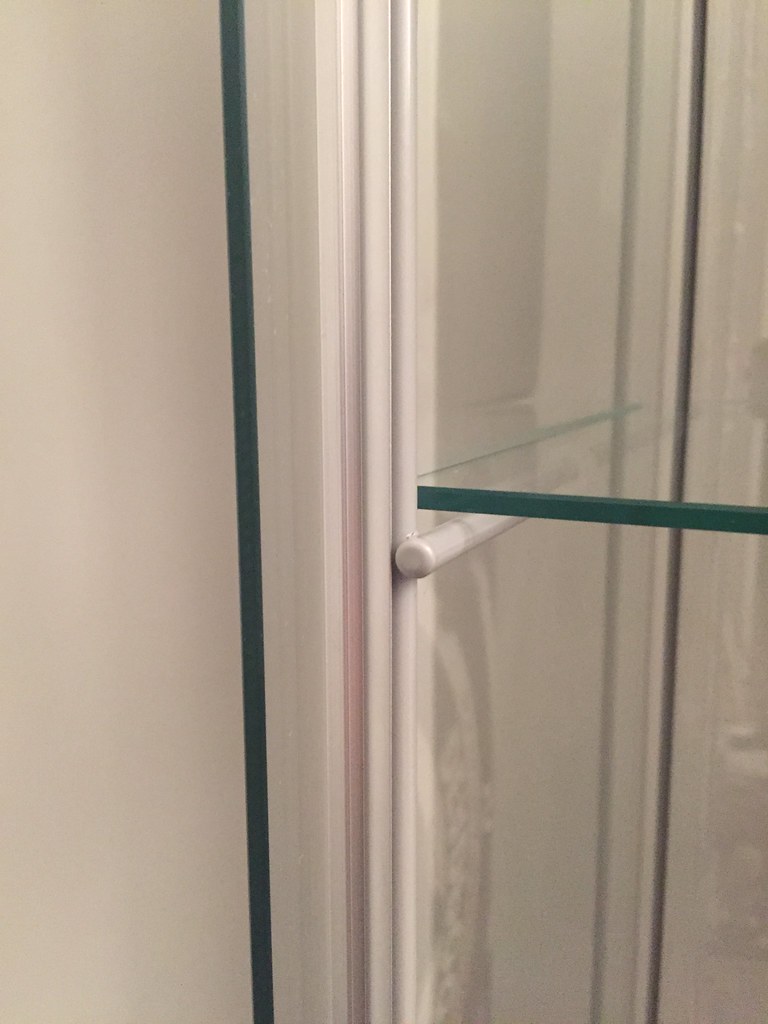
6. Using the velcro cut into about 1" pieces, and then cut vertically in half, attach the LED strip to the Moulding. I recommend using scotch tape along the top section to hold the LED's in place until the glue on the Velcro sets.
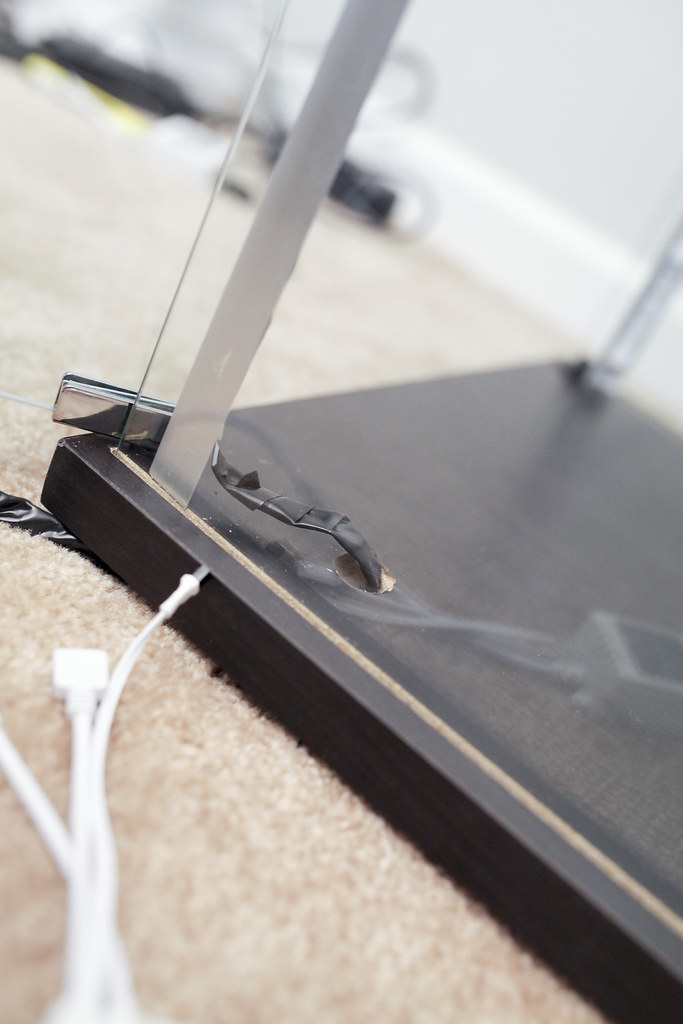
7. Drill a hole in the bottom of the cabinet for the power end of the light to run through.
IMPORTANT - DRILL TOP DOWN, NOT FROM THE BOTTOM UP. The exit hole of the drill will damage the finish causing it to flake. I learned the hard way.
I will be resolving this by making a larger hole to install a desktop grommet.
I also will be adding a few more velcro pieces and perhaps some superglue to the LED/Vertical pieces to keep them tight.
1 x Drill For Running Wires Through The Bottom
1 x Roll Of Electrical Tape
1 x Detolf Cabinets from Ikea www.ikea.com/us/en/catalog/products/1…
2 x Vinyl Inside Corner Wall Panel Moulding https://www.lowes.com/pd/Sequentia-0-7-in-x-8-ft-Vinyl-Inside-Corner-Wall-Panel-Moulding/3060135
1 x Can of Aluminum Enamel Spray Paint (Any Brand Will Do, Stay Away From High Gloss)
3 Feet of Velcro (The More The Better)
LED 5050 Strip Light Kit - https://www.amazon.com/gp/product/B01DBP1T28/ref=oh_aui_detailpage_o00_s00?ie=UTF8&psc=1
I Purchased This Set Because I'm Doing 2 Cabinets Side By Side
I Prefer The Non-Waterproof Model For This Project, They Are Easier To Work With Around The Corners.
Total Cost Of Build Including Cabinet - $110 Plus Tax
My goal was to have solid coverage of light throughout the cabinet, but not be able to see the lighting from the front. It was important for it to be clean. As of right now I do have 1 more thing to do, but I had time to post this, so here it is.
1. Take the Vinyl Moulding and measure a piece for each vertical side, and 1 for the top.
2. Paint to match

3. You will need to notch out a small portion of the top of each vertical piece. This will allow the top horizontal piece to fit properly

4. Cut a strip of Velcro and apply to the top piece to attach to the top of the cabinet and top moulding piece
5. Slide the 2 vertical pieces into place. If cut the proper length, you won't need anything to keep them in place.

6. Using the velcro cut into about 1" pieces, and then cut vertically in half, attach the LED strip to the Moulding. I recommend using scotch tape along the top section to hold the LED's in place until the glue on the Velcro sets.
7. Drill a hole in the bottom of the cabinet for the power end of the light to run through.
IMPORTANT - DRILL TOP DOWN, NOT FROM THE BOTTOM UP. The exit hole of the drill will damage the finish causing it to flake. I learned the hard way.
I will be resolving this by making a larger hole to install a desktop grommet.
I also will be adding a few more velcro pieces and perhaps some superglue to the LED/Vertical pieces to keep them tight.


