dmpsk8
Super Freak
- Joined
- Sep 24, 2011
- Messages
- 992
- Reaction score
- 9
Hi All,
I thought I'd slap together a quick tutorial about making my besta & billy shelves a little more dust-proof. Really these are just dust resistant, as they aren't totally air tight. Some small amounts of dust will still find their way inside even using this method, but it will be minor.
This is something I've wanted to tackle for awhile. Over time, I've seen a small amount of dust collect in my bestas, especially on the upper shelves. Feel free to post your own dust-proofing tips to this thread if you have any.
Step 1. Choose you gasket
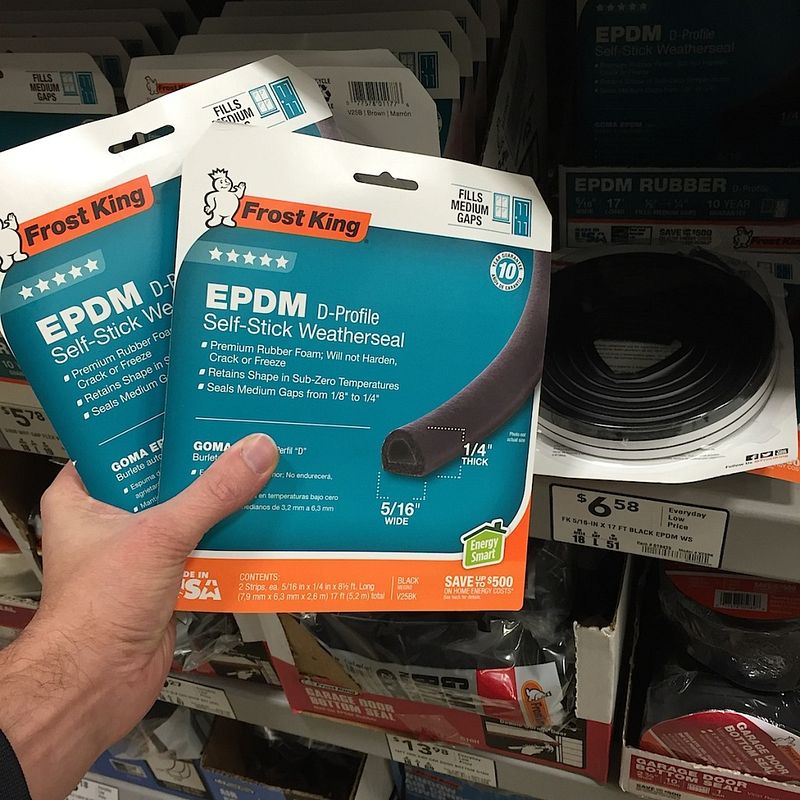
You're going to need something self adhesive and easily workable. I went with small rubber Frost King gaskets. I picked these up at Lowes for $6.58 per 17' pack. They are usually kept near the doors and widows section. Now, there are thicker options that might work well too. This decision really depends on the doors you are using. I'm using the old glass Tombos, and need something minimal. Doors with wider frames might benefit from larger gaskets. I would probably avoid the foam ones due to their porous nature, and the fact that that foam will decay over time.
Step 2. Measure twice
The next step is simple enough, but will vary depending on how crazy you want to get. I decided to only seal the top surface of my doors. This is where the vast majority of the dust was getting in. The gaskets we're cut approximately 21.5" wide for my Bestas, and 14" wide for my Billys. These dimensions are per "cube" and not for cabinets of double or triple width. Your mileage may vary.
Depending on what doors you have, the hinges will move differently. The Tombos (and others) swing back onto themselves when in the open position. Remember to leave room for them to swing back, and cut you gaskets so they don't get in the way.
Briefly wipe down your shelves so that the surfaces in question are clean before the next step.
Step 3. Tack the gaskets in place temporarily
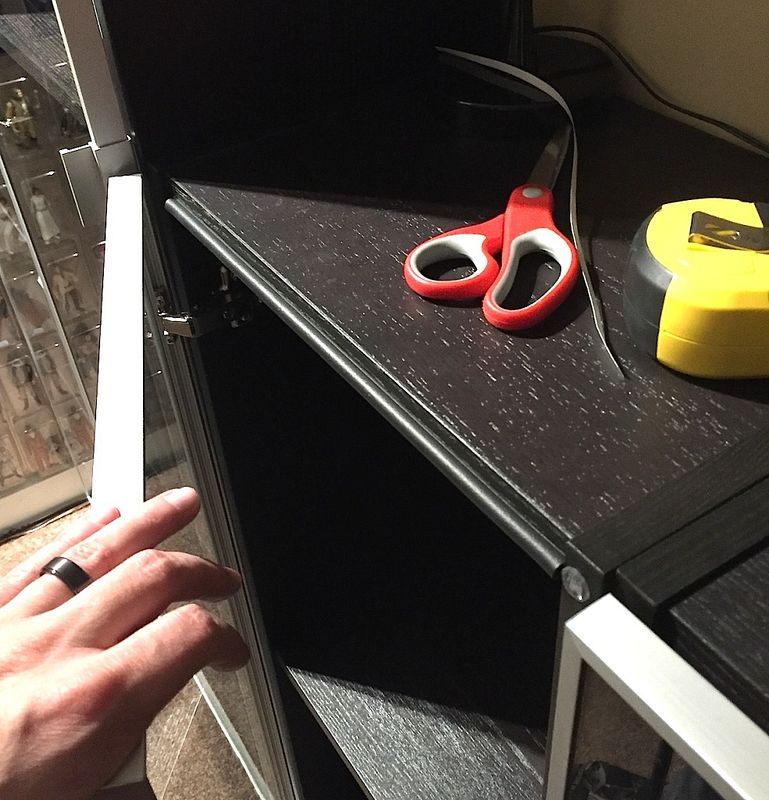
Now that you have a gasket measured for a particular shelf, it's time to tack in place. DO NOT press all the adhesive down tight yet. You want to make sure the doors can open freely, and that they can close flush.
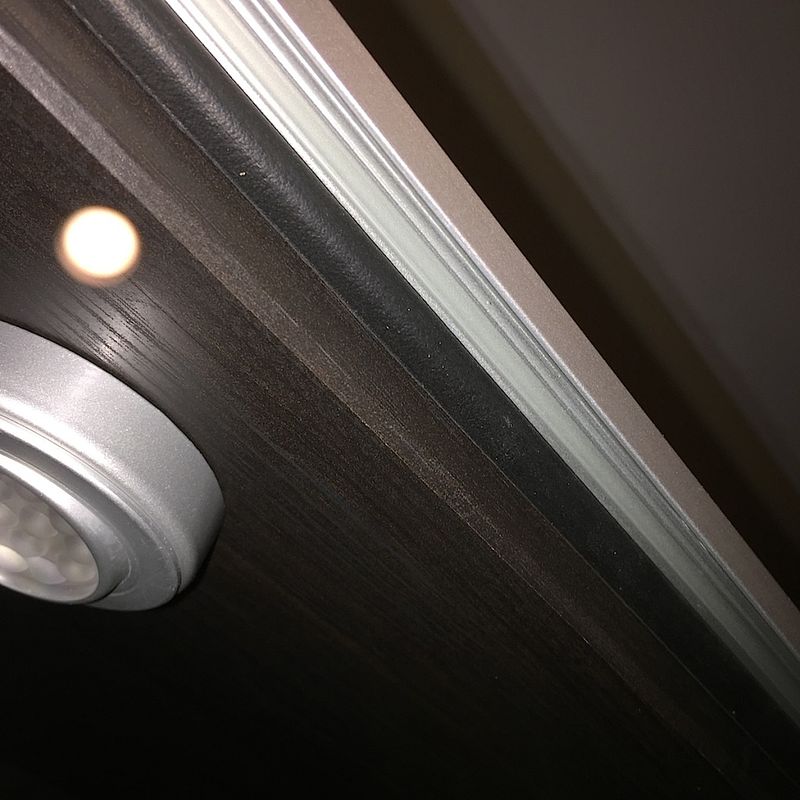
This is trickier than it sounds, haha. Thick or wonky gaskets can cause your doors to close unevenly. With my gaskets, I wanted the metal edge of the door to close just over top of the gasket. Getting everything lined up right takes a few tries. Pop the gasket off and gently re-stick as necessary.
Step 3.5. Adjust your doors
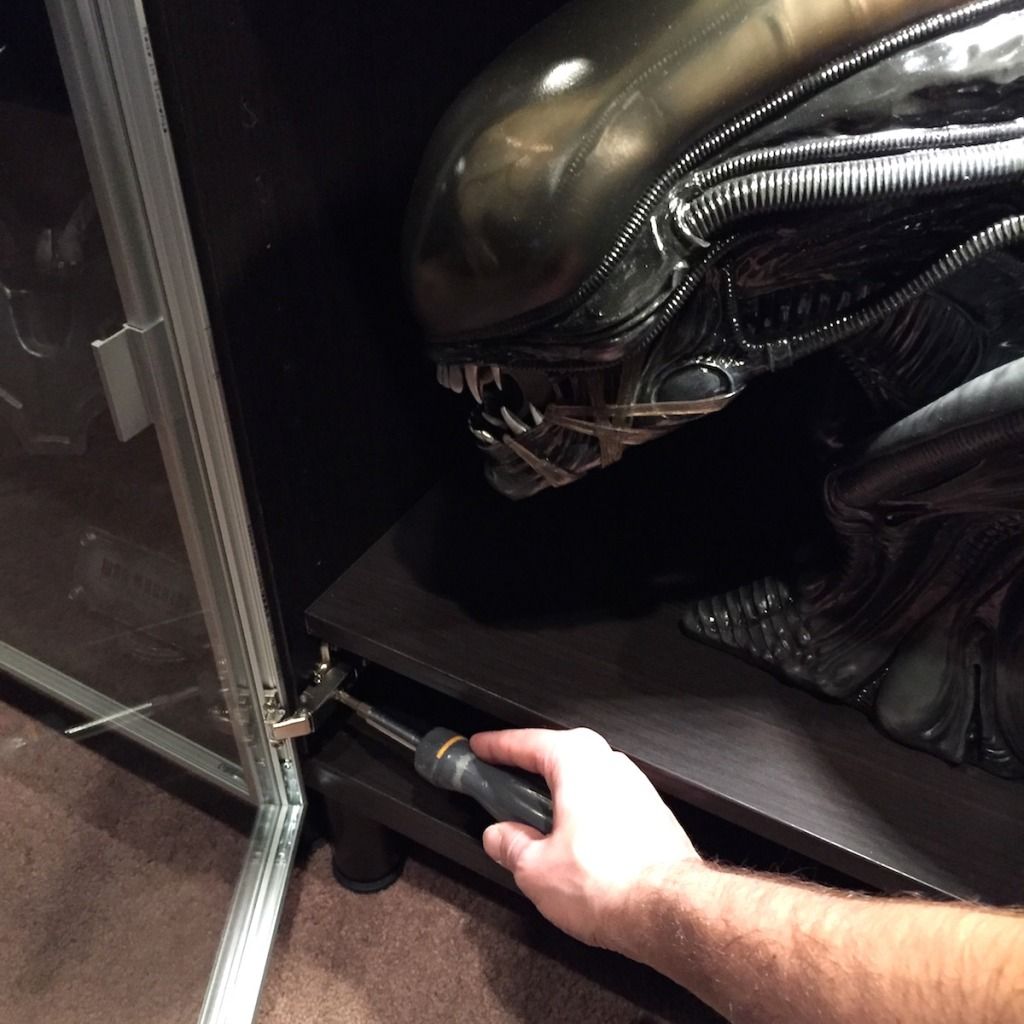
Depending on your setup, you may need to adjust your door hinges to make everything sit flush and square. Only a couple of mine needed tweaked. On most IKEA hinges, the front screw controls left-right position, and the rear controls depth. Happy fiddling.
Step 4. Press the gaskets to stick them on for good
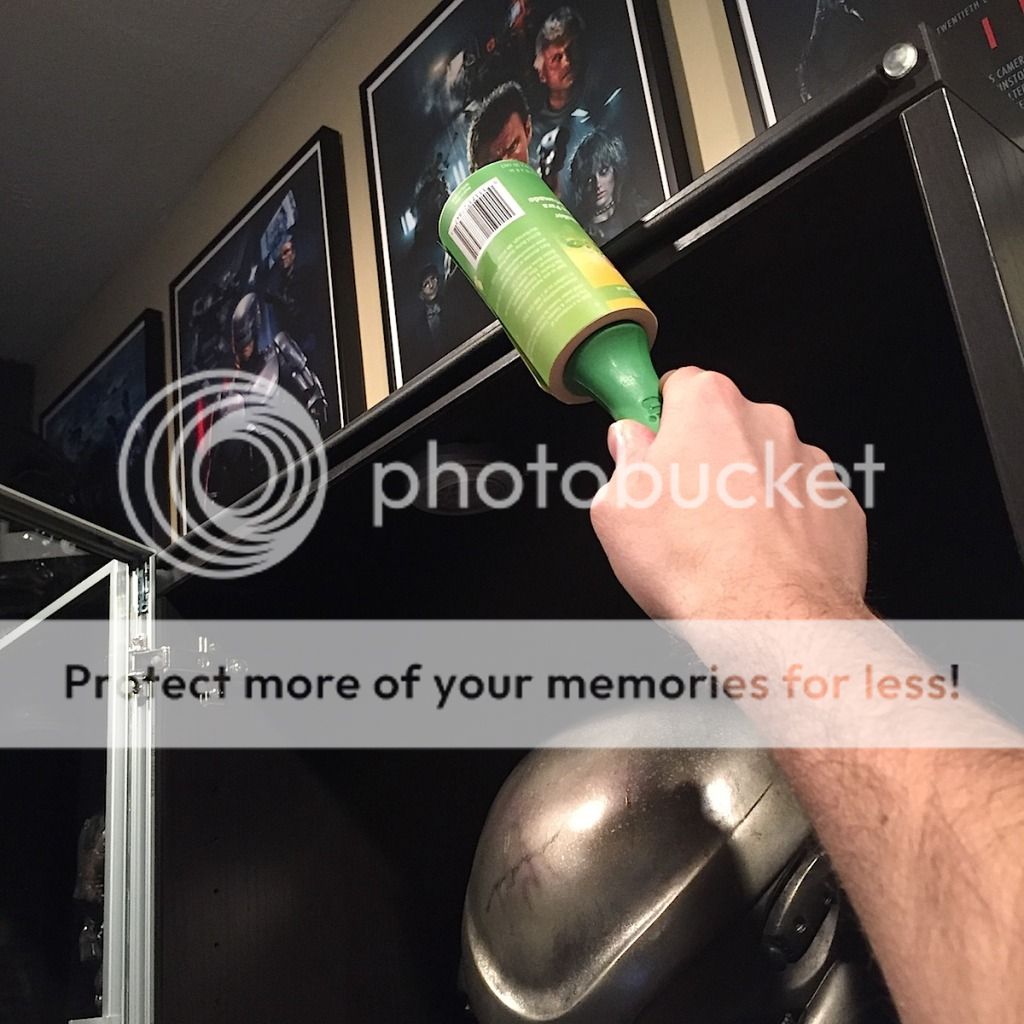
Once you're happy with the placement of the gaskets, it's time to stick them on tight. I used a lint roller (cover on!) to roll over the gasket and add even pressure. Do this a few times when installing, and hit them again the next day. This will help prevent them from popping off initially.
Step 5. Sit back and enjoy less dust
Using this technique along the top of your shelves will cut down most of your dust. Using it around the entire shelf frame will help even more. If you decide to add a gaskets to the entire frame, make sure you leave room on the hinge side for your door to open. Some gaskets will prevent this.
Hopefully this helps someone out there. Good luck and please share your dust-proofing tips!

I thought I'd slap together a quick tutorial about making my besta & billy shelves a little more dust-proof. Really these are just dust resistant, as they aren't totally air tight. Some small amounts of dust will still find their way inside even using this method, but it will be minor.
This is something I've wanted to tackle for awhile. Over time, I've seen a small amount of dust collect in my bestas, especially on the upper shelves. Feel free to post your own dust-proofing tips to this thread if you have any.
Step 1. Choose you gasket
You're going to need something self adhesive and easily workable. I went with small rubber Frost King gaskets. I picked these up at Lowes for $6.58 per 17' pack. They are usually kept near the doors and widows section. Now, there are thicker options that might work well too. This decision really depends on the doors you are using. I'm using the old glass Tombos, and need something minimal. Doors with wider frames might benefit from larger gaskets. I would probably avoid the foam ones due to their porous nature, and the fact that that foam will decay over time.
Step 2. Measure twice
The next step is simple enough, but will vary depending on how crazy you want to get. I decided to only seal the top surface of my doors. This is where the vast majority of the dust was getting in. The gaskets we're cut approximately 21.5" wide for my Bestas, and 14" wide for my Billys. These dimensions are per "cube" and not for cabinets of double or triple width. Your mileage may vary.
Depending on what doors you have, the hinges will move differently. The Tombos (and others) swing back onto themselves when in the open position. Remember to leave room for them to swing back, and cut you gaskets so they don't get in the way.
Briefly wipe down your shelves so that the surfaces in question are clean before the next step.
Step 3. Tack the gaskets in place temporarily
Now that you have a gasket measured for a particular shelf, it's time to tack in place. DO NOT press all the adhesive down tight yet. You want to make sure the doors can open freely, and that they can close flush.
This is trickier than it sounds, haha. Thick or wonky gaskets can cause your doors to close unevenly. With my gaskets, I wanted the metal edge of the door to close just over top of the gasket. Getting everything lined up right takes a few tries. Pop the gasket off and gently re-stick as necessary.
Step 3.5. Adjust your doors
Depending on your setup, you may need to adjust your door hinges to make everything sit flush and square. Only a couple of mine needed tweaked. On most IKEA hinges, the front screw controls left-right position, and the rear controls depth. Happy fiddling.
Step 4. Press the gaskets to stick them on for good
Once you're happy with the placement of the gaskets, it's time to stick them on tight. I used a lint roller (cover on!) to roll over the gasket and add even pressure. Do this a few times when installing, and hit them again the next day. This will help prevent them from popping off initially.
Step 5. Sit back and enjoy less dust
Using this technique along the top of your shelves will cut down most of your dust. Using it around the entire shelf frame will help even more. If you decide to add a gaskets to the entire frame, make sure you leave room on the hinge side for your door to open. Some gaskets will prevent this.
Hopefully this helps someone out there. Good luck and please share your dust-proofing tips!


