Hot Toys ESB FETT tips tricks and other cool mods

Collector Freaks Forum

Help Support Collector Freaks Forum:

This site may earn a commission from merchant affiliate links, including eBay, Amazon, and others.
Ahoy!
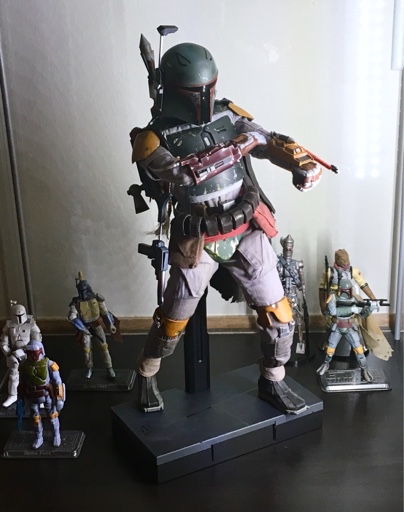
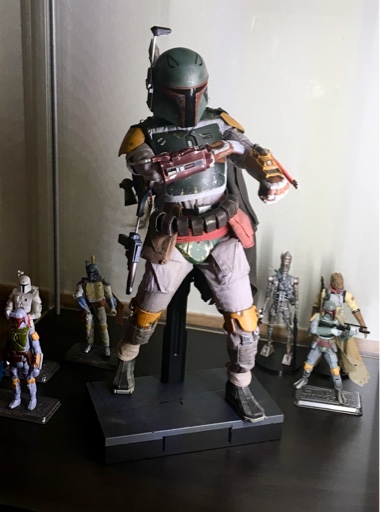
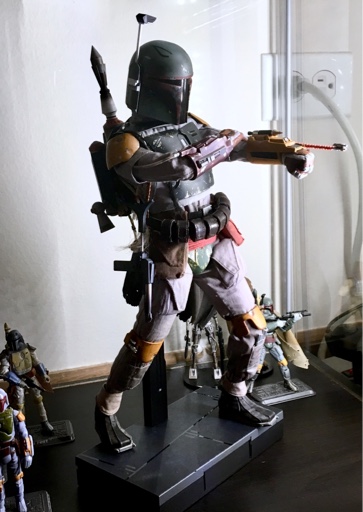
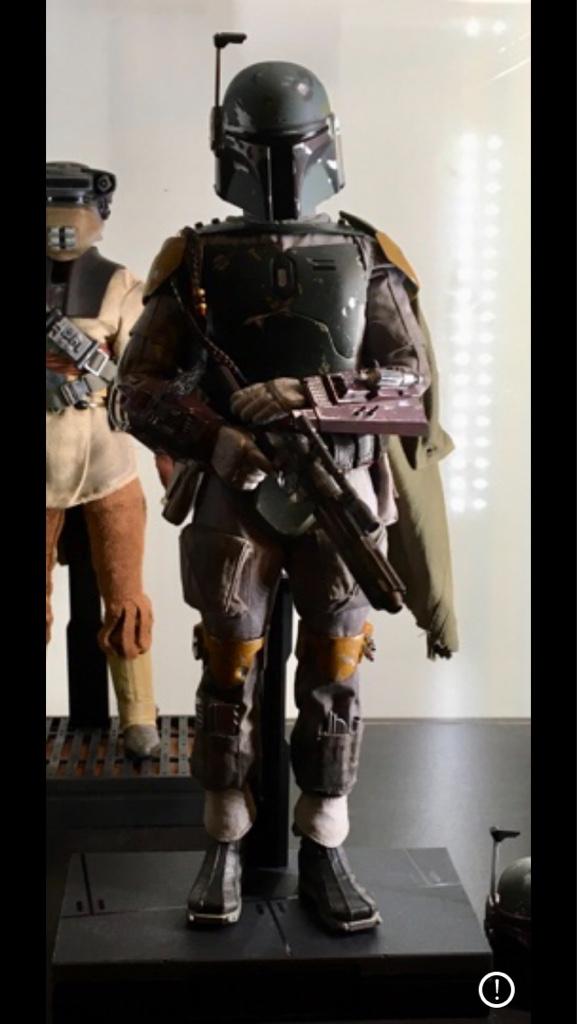
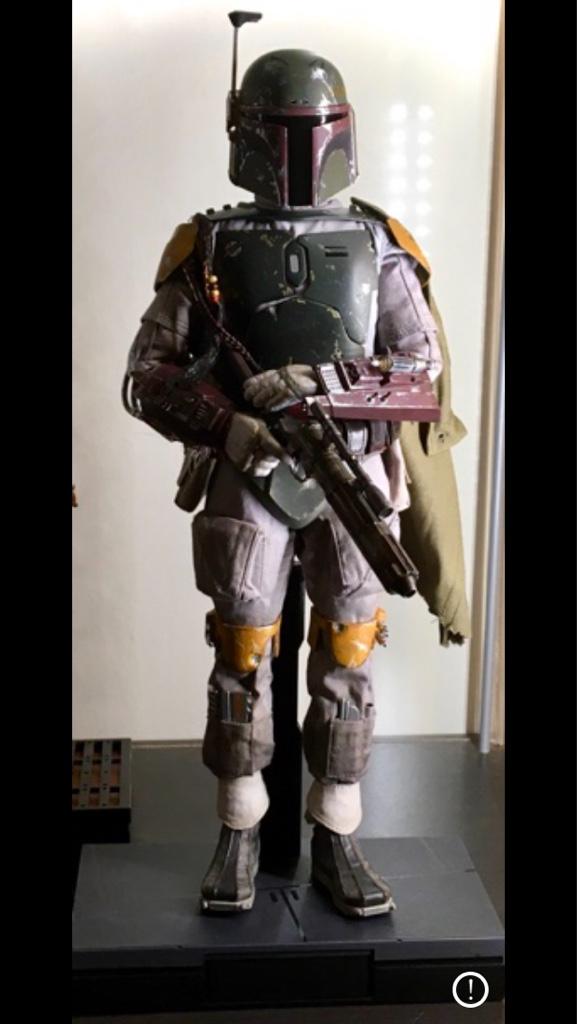
Here are some quick shots to show scale, taken from about 4 feet away to help eliminate distortion (except for the helmet close up),

I'll take some more angles of the helmet when I have more time...
Also, Fett isn't wearing the fat suir.
 

Attachments

  • fett3.jpg
    fett3.jpg
    502.7 KB
  • fett1.jpg
    fett1.jpg
    254 KB
  • fett2.jpg
    fett2.jpg
    218.3 KB
Its strong enough for sanding, but be warned... I opted for the helmet 'without visor' option. Consequently, when it arrived the bottoms/points of the 'face' of the helmet were a little skewed from the packaging. I used a hair dryer and cold water bath to align it to the correct position. If I did it again, I'd go for the 'with visor' option and cut it out myself.

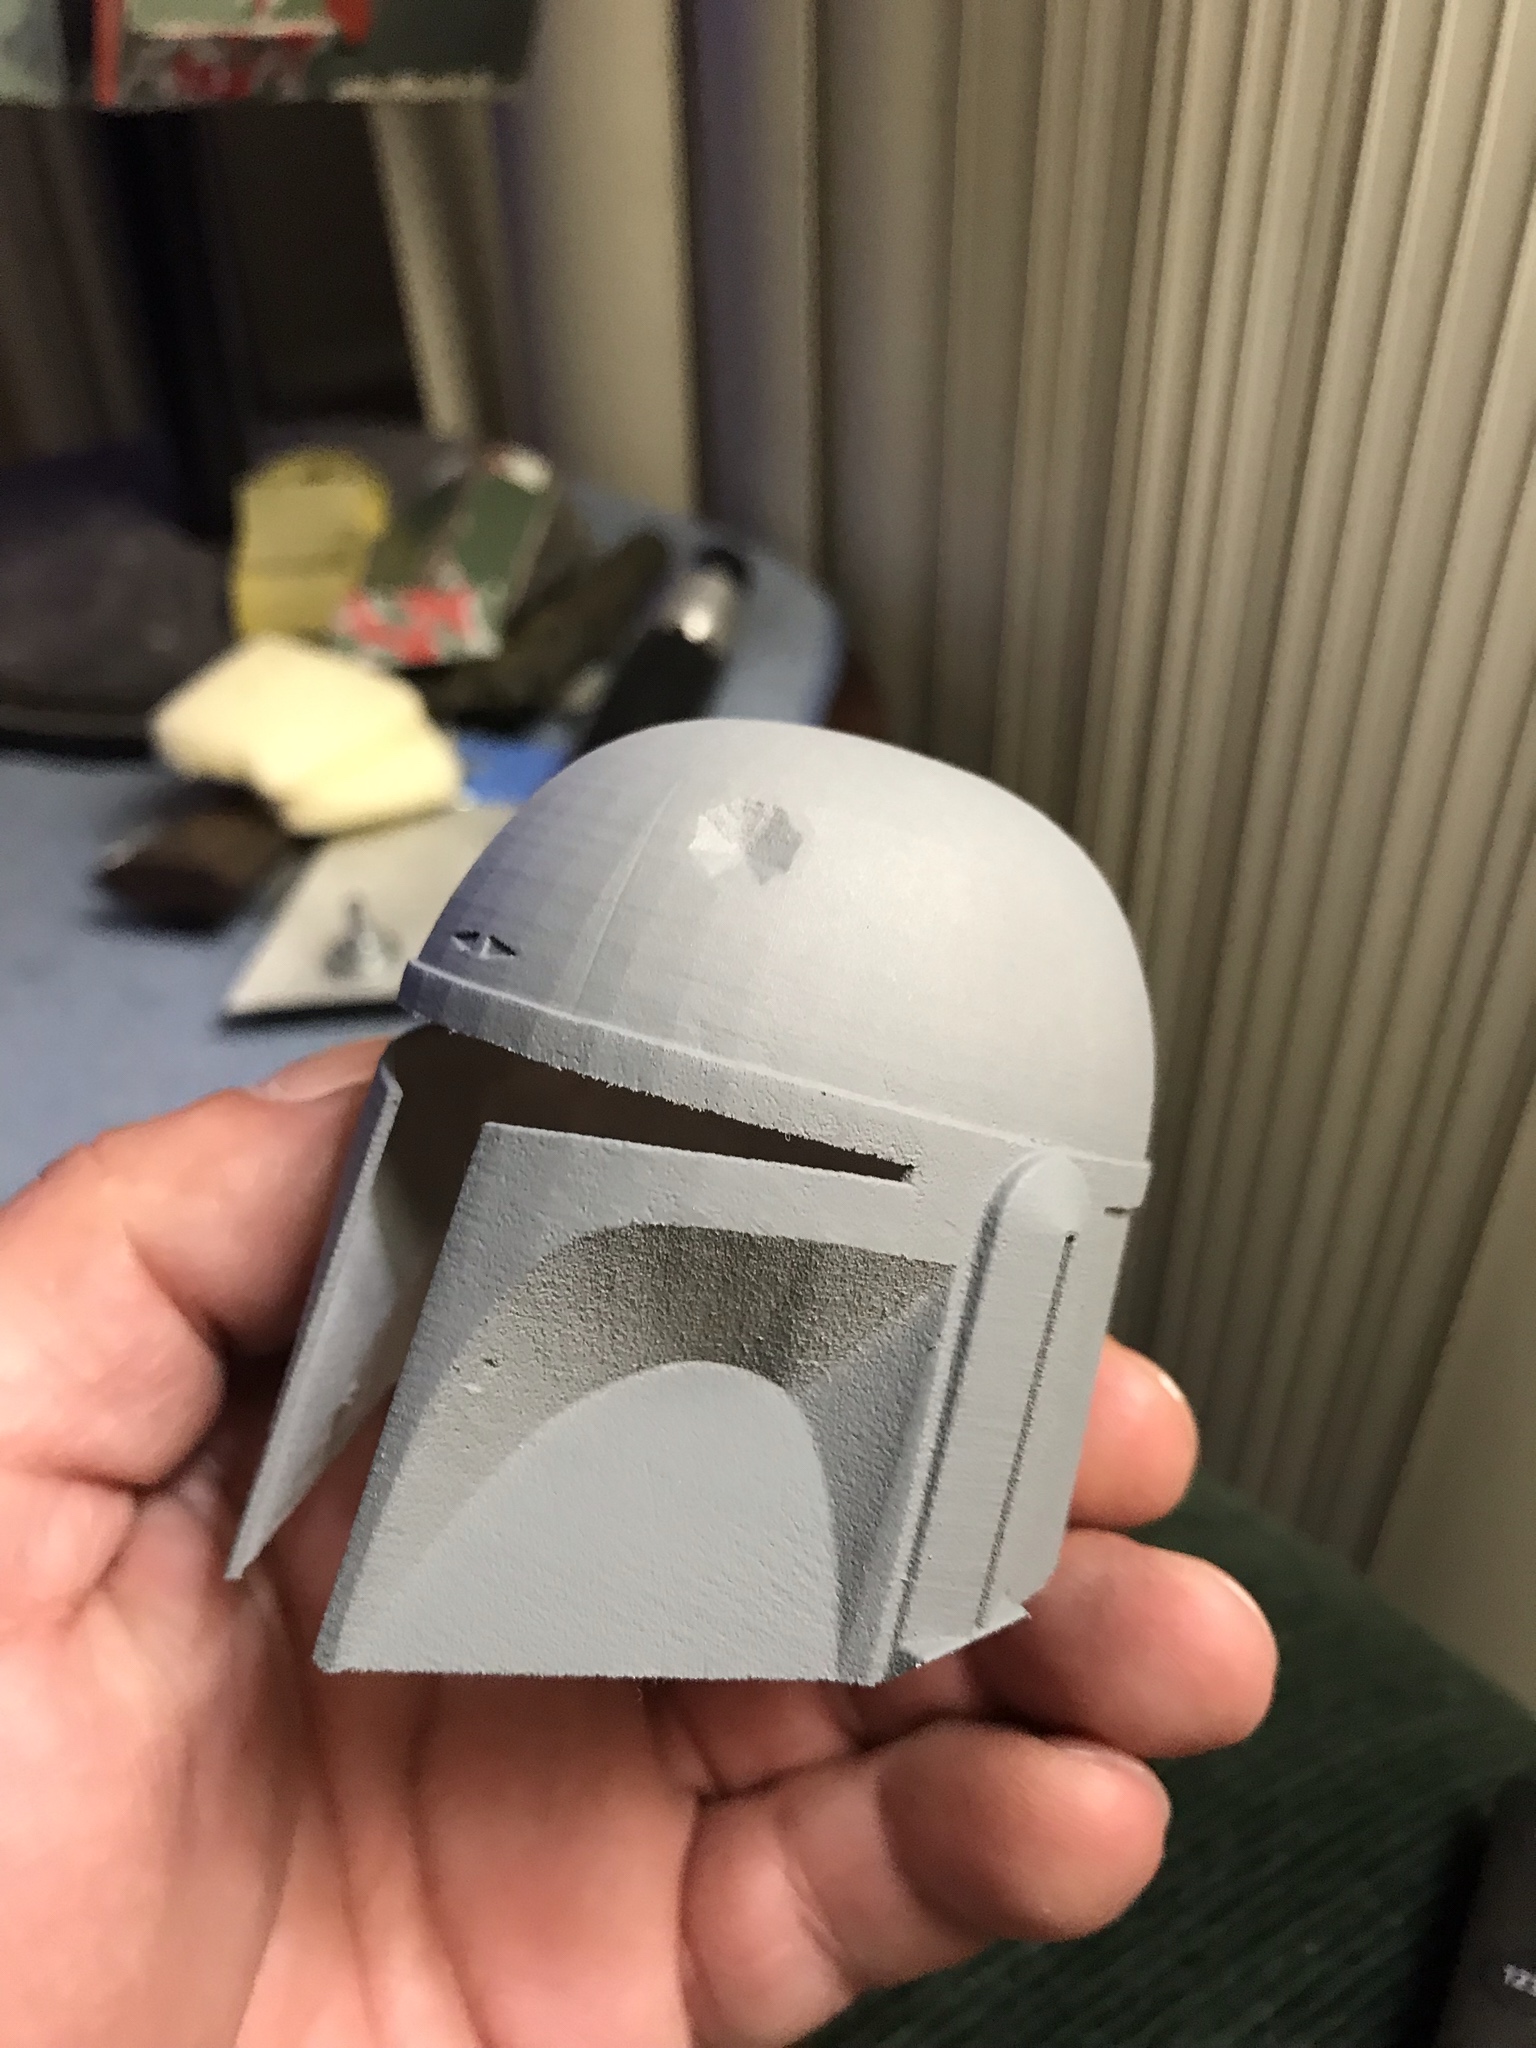
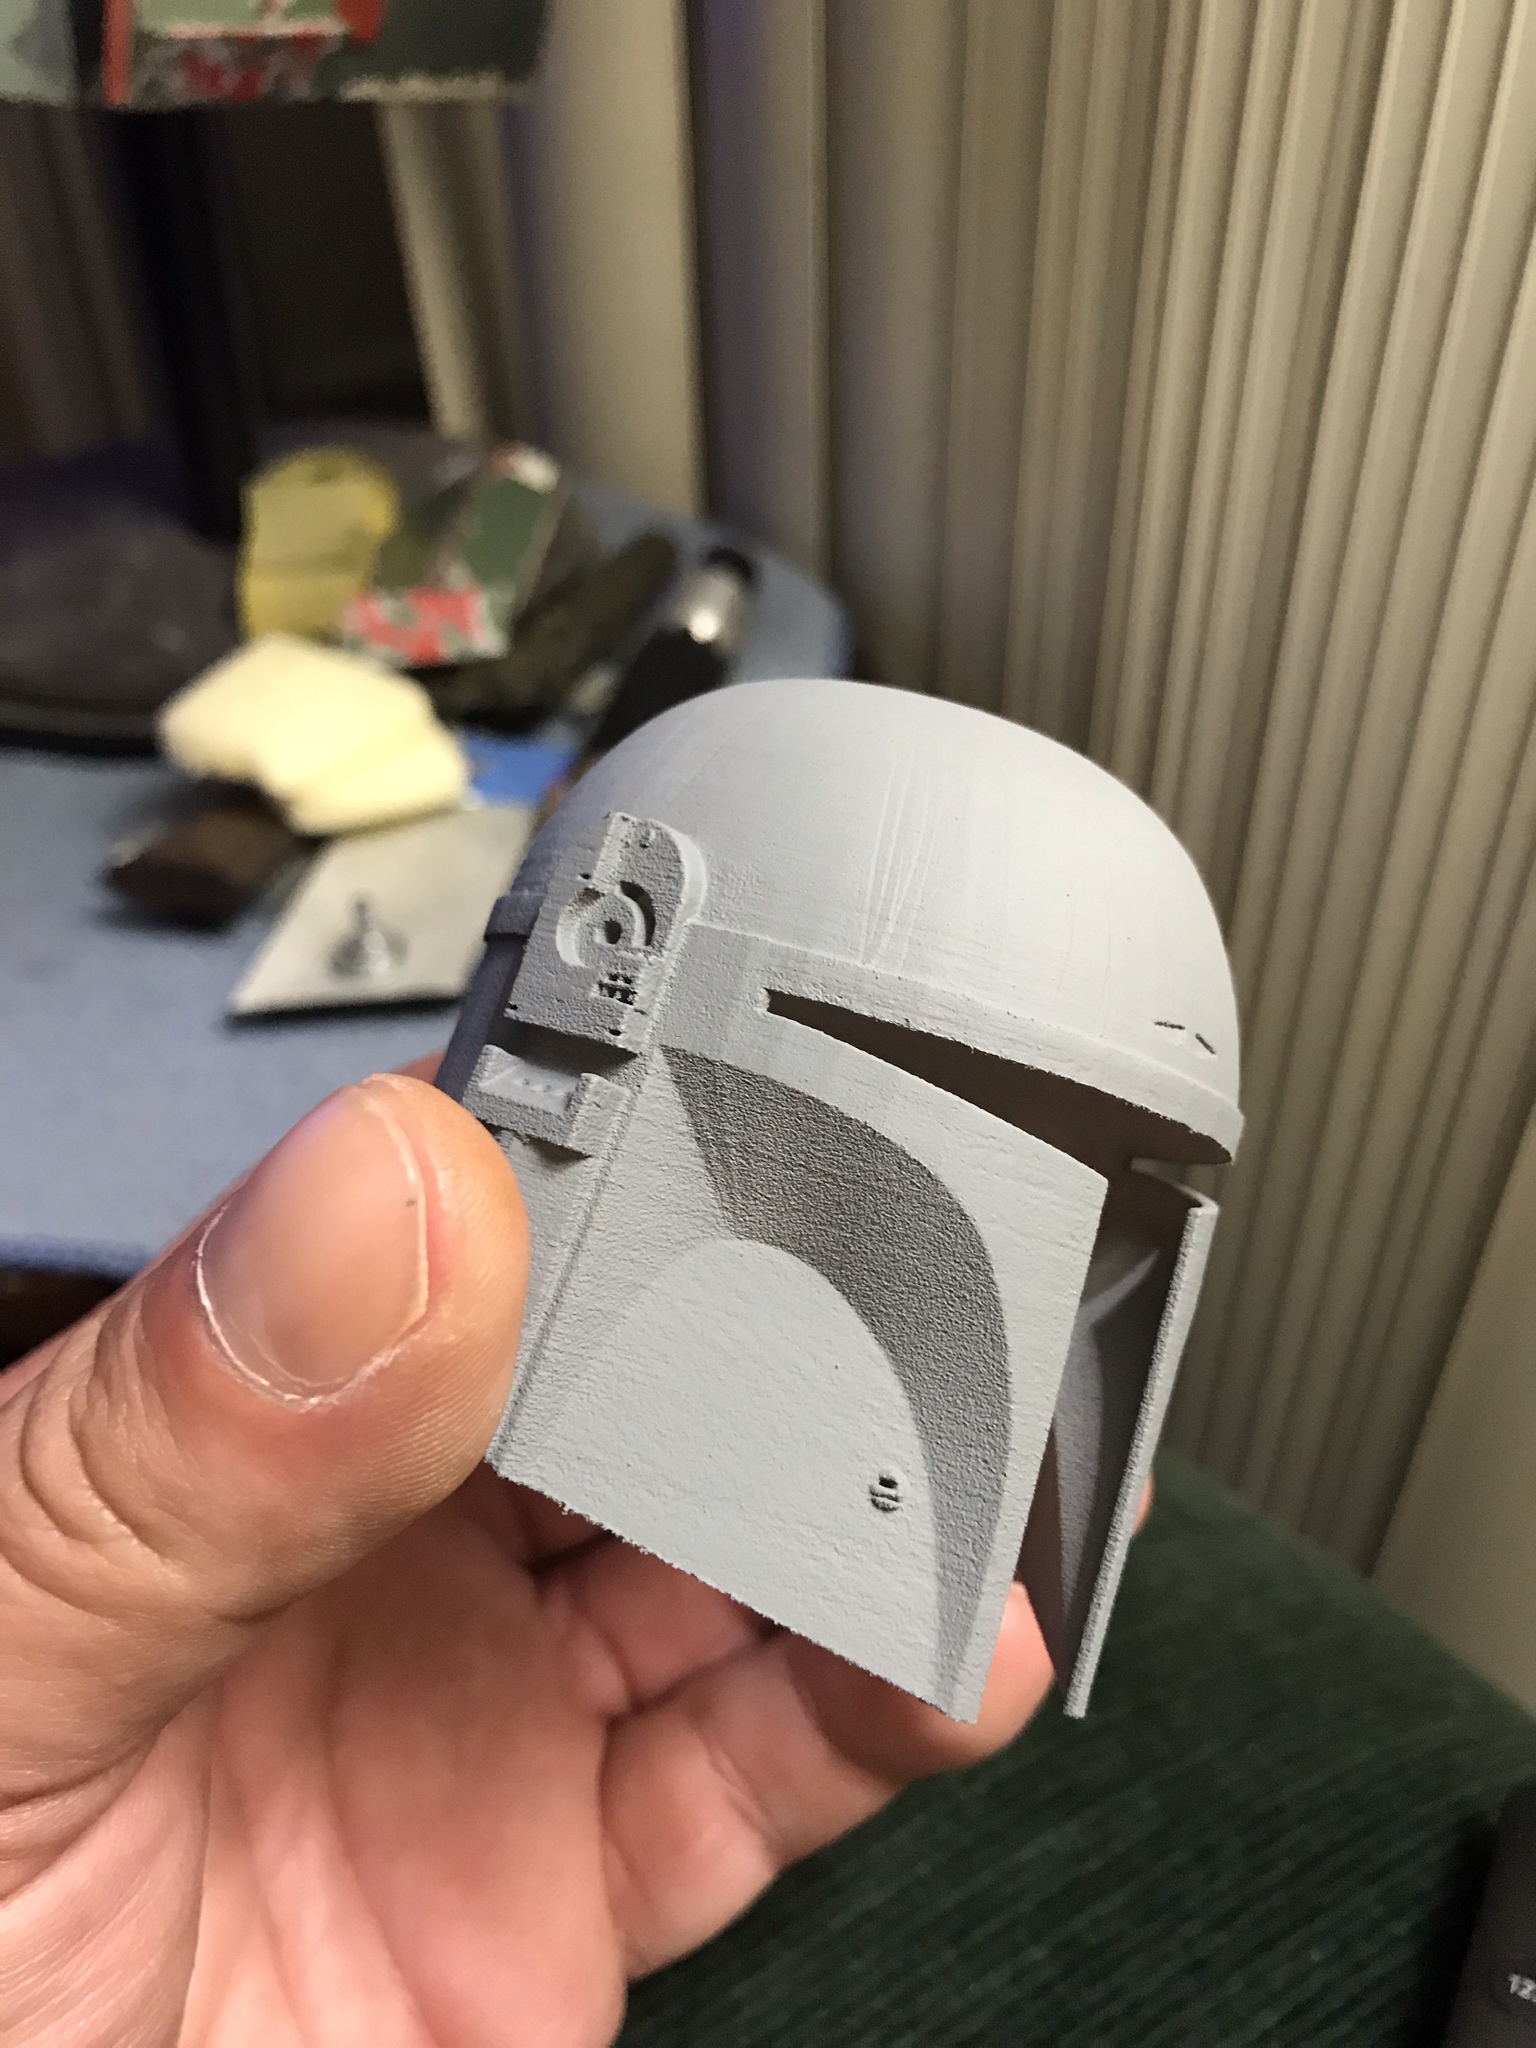
By the way, it is shipped white. I primed it to see the details/flaws.
 
iyYg2VG.jpg


zHwRsom.jpg


r5m8cnZ.jpg


2u9smeH.jpg


gMjauJt.jpg


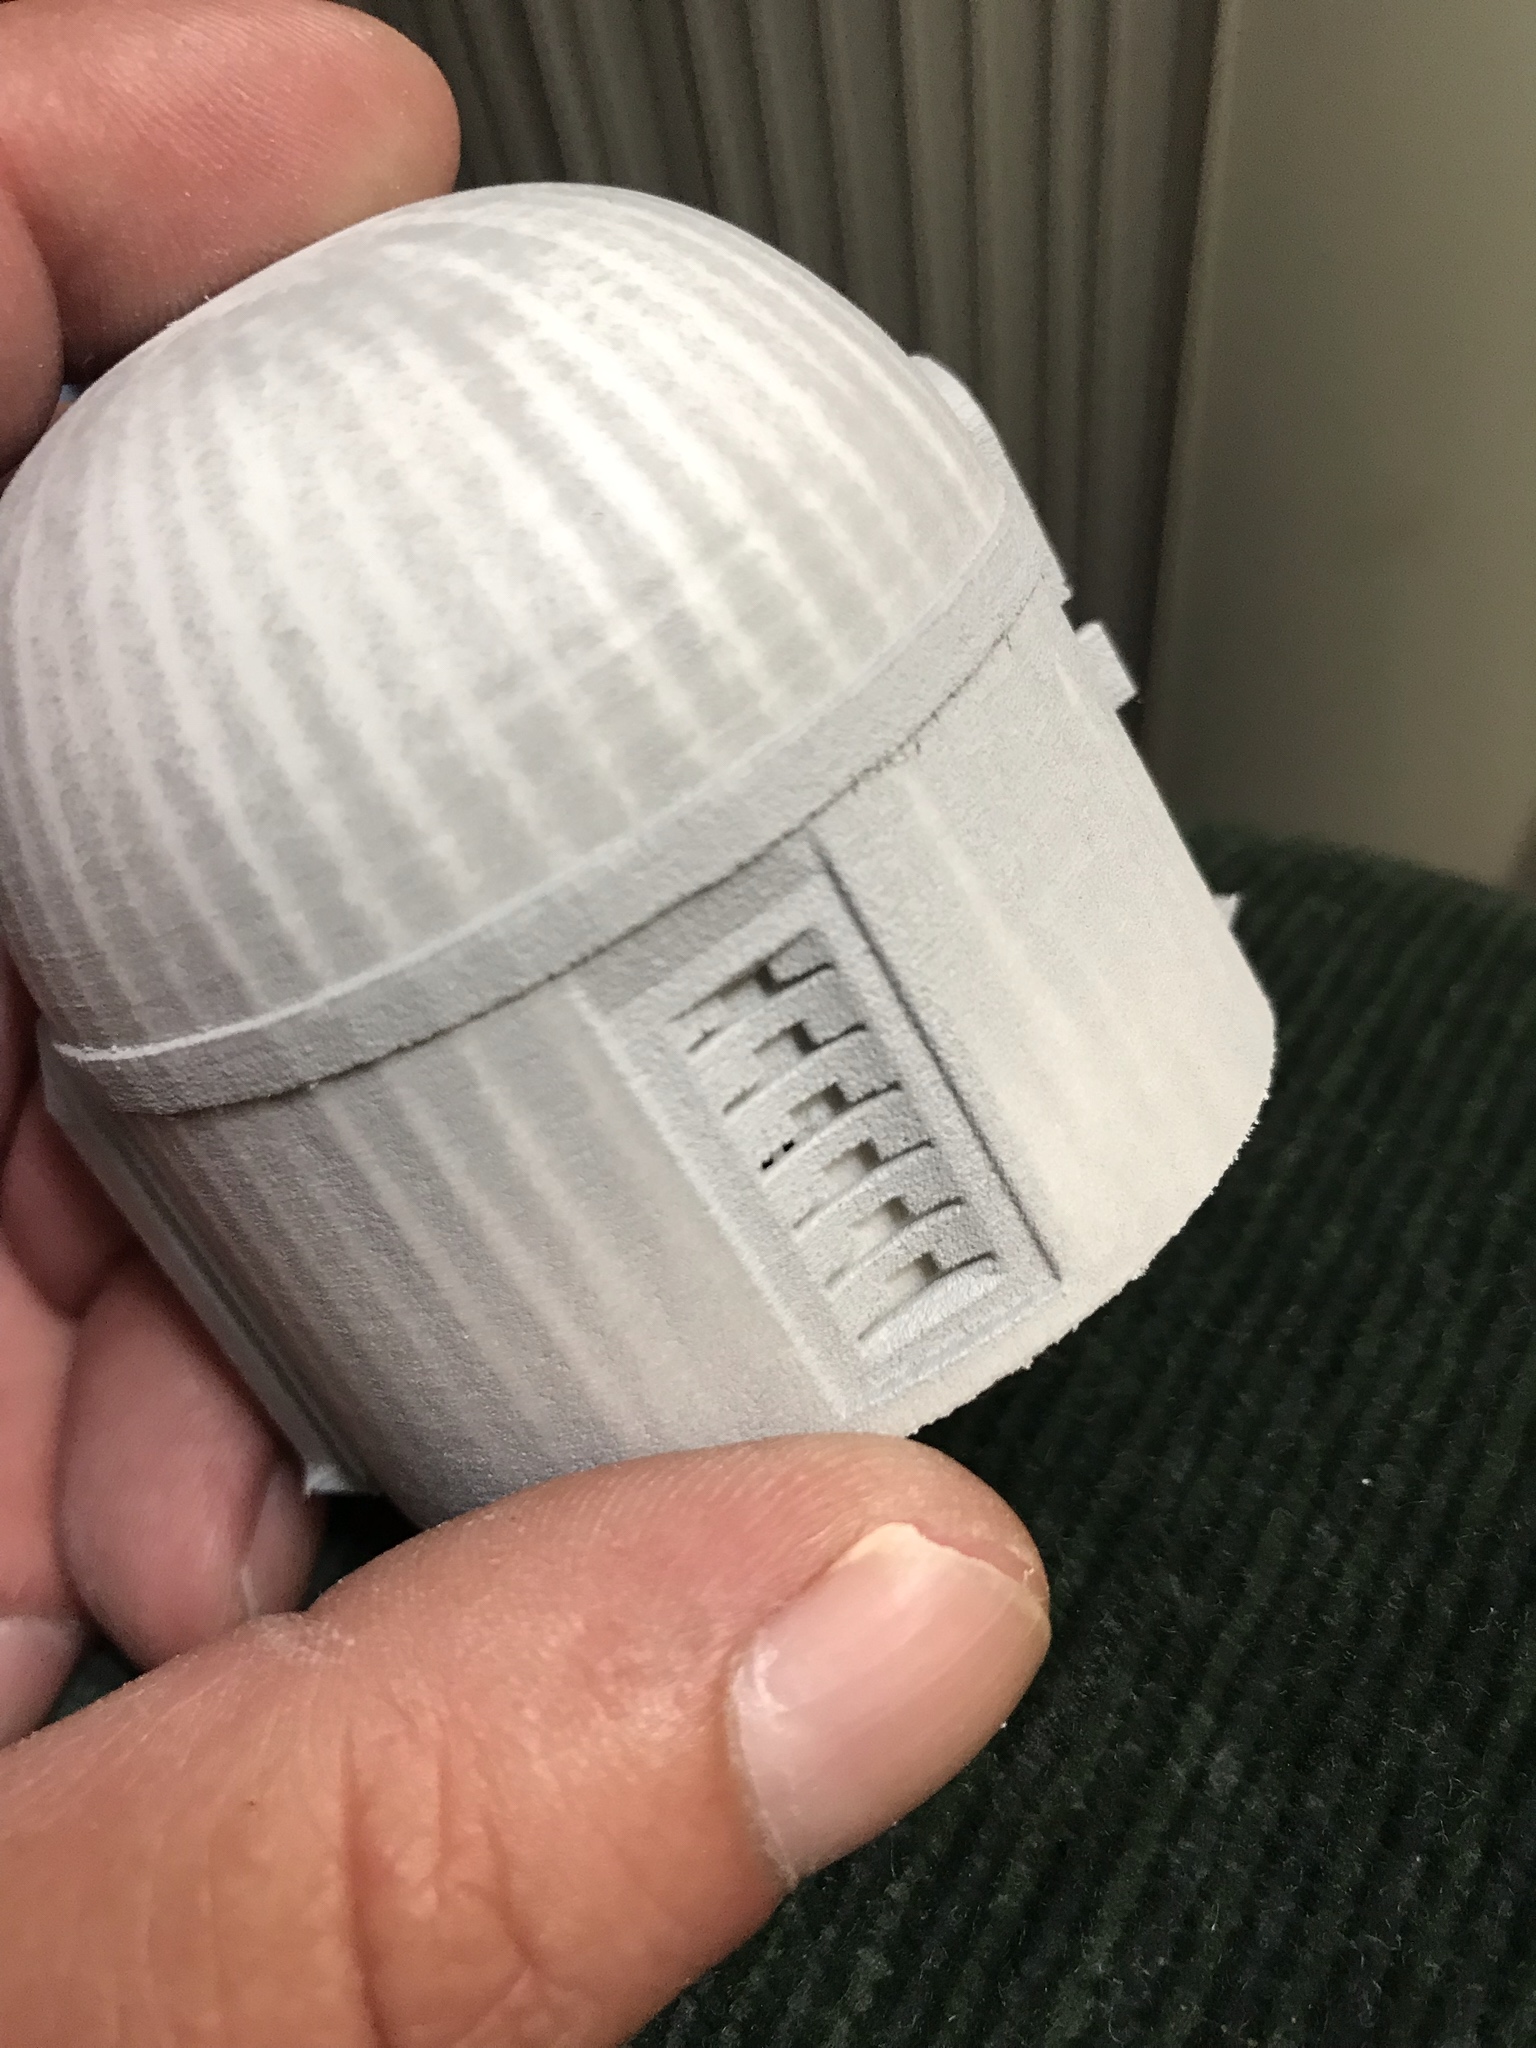
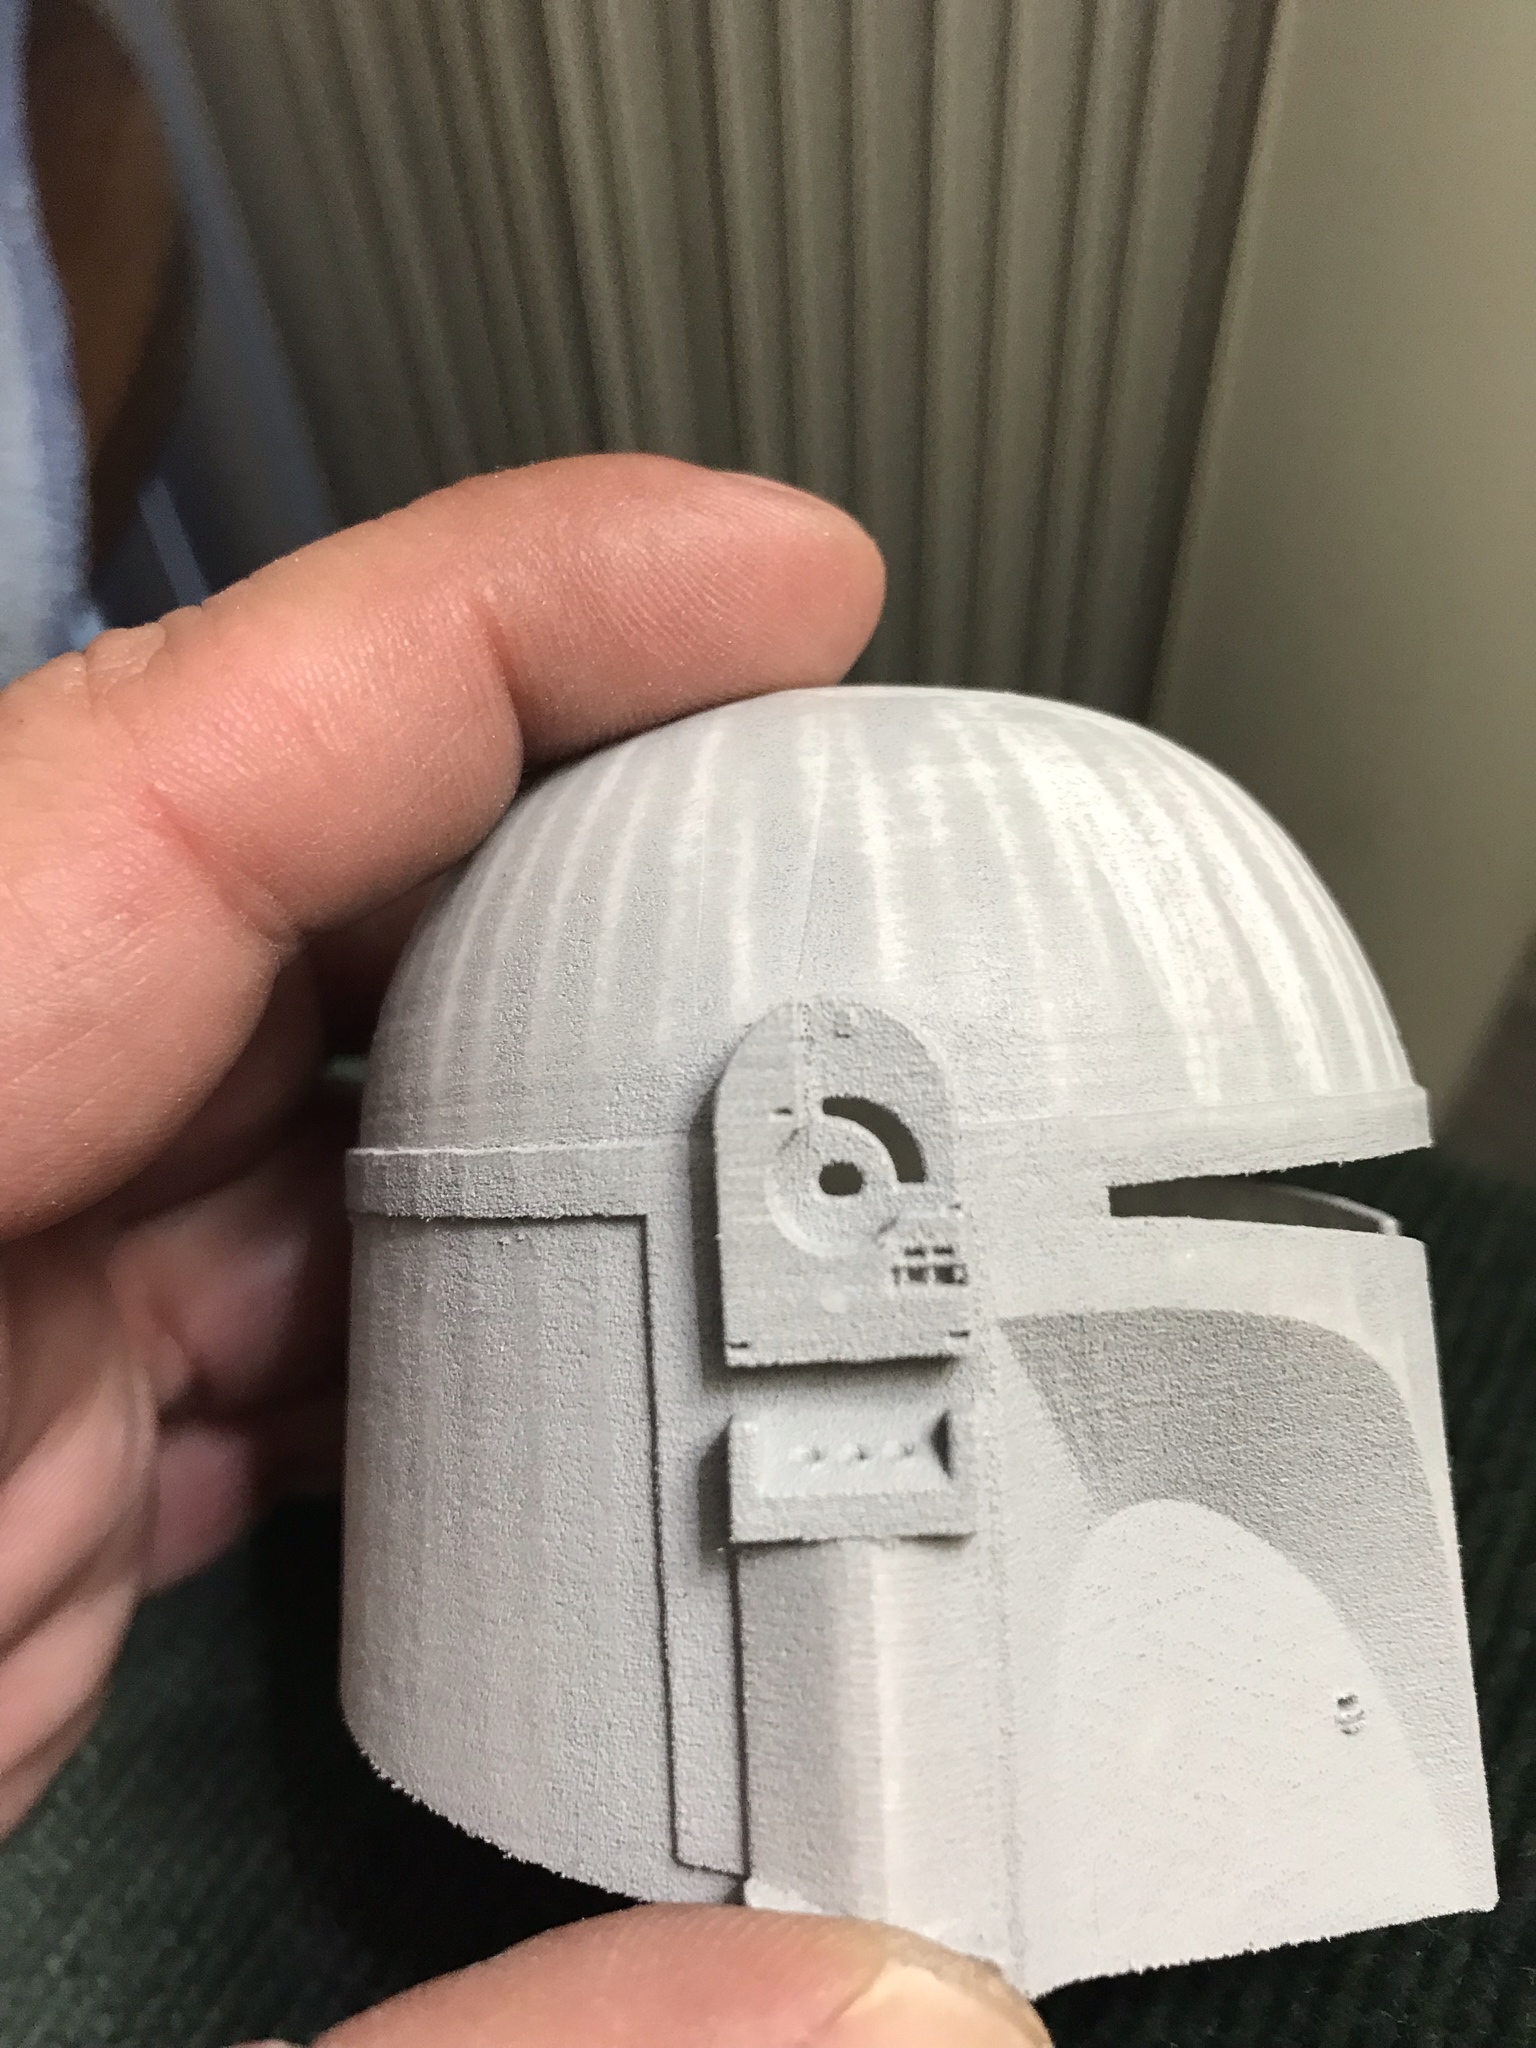
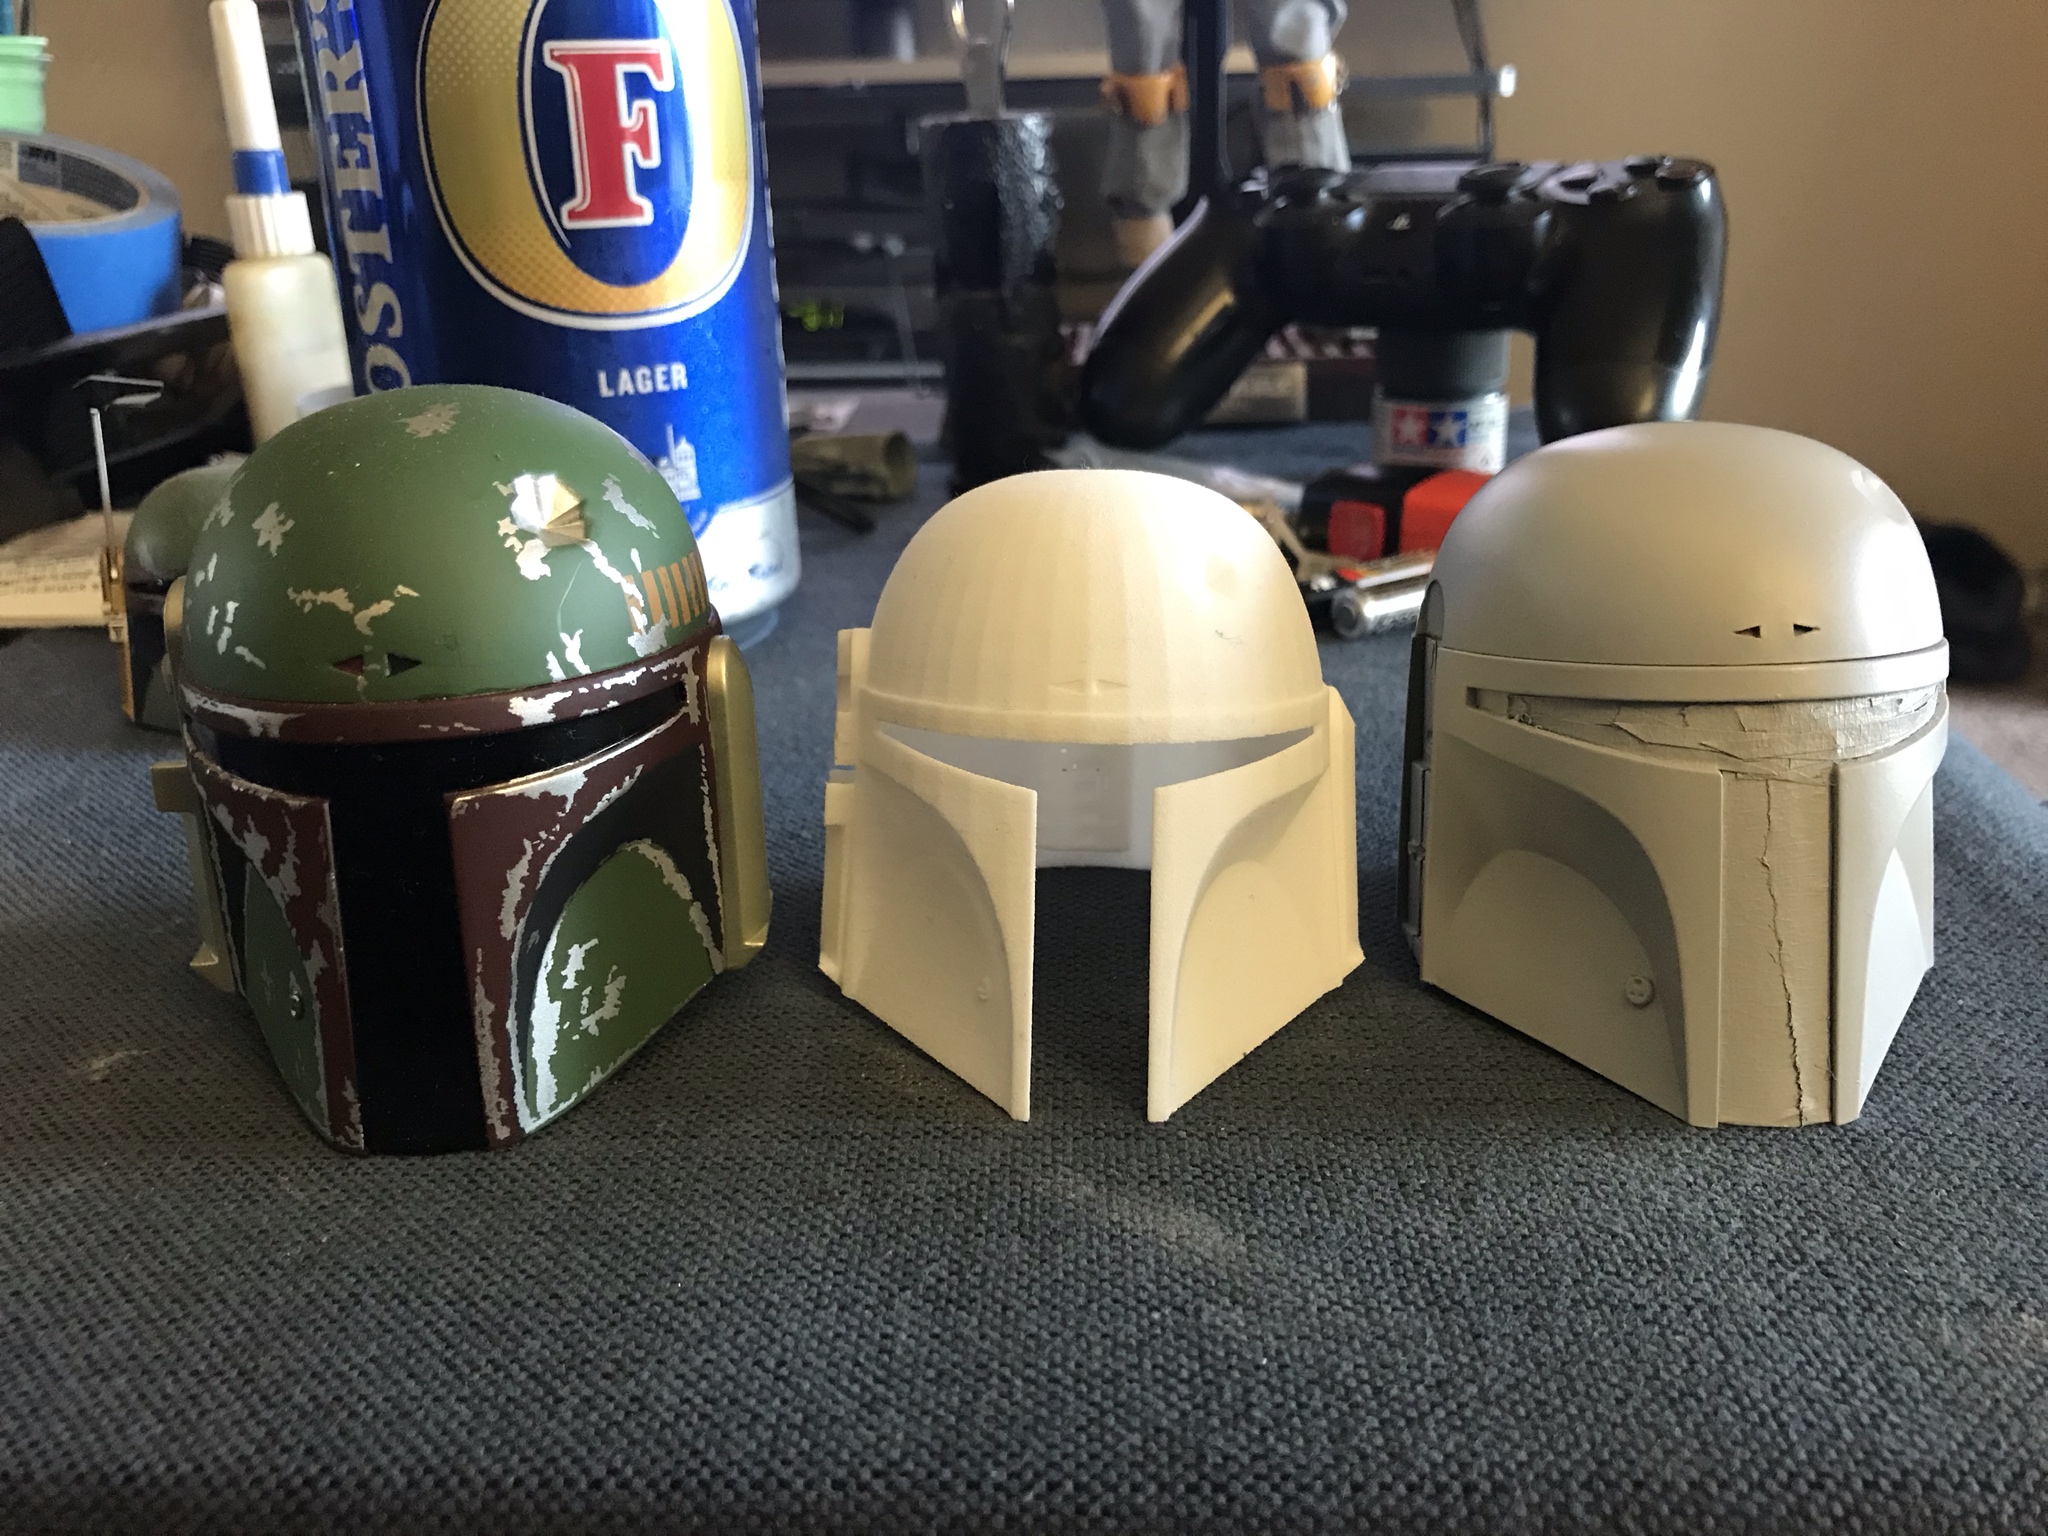
Same helmet as Ahab's, above. Yes, it's really that rough. Some material that is offered is higher quality, but for the 1/4 scale, this is the only material available. I spent about two hours, first with sandpaper, then a hobby knife, just trying to get the lines off of the dome. I eventually gave up on the helmet and just repainted the spare Hot Toys 1/4 helmet I had on hand.
 
Looking forward to seeing your progress agonistes86...but the HT bucket has so much wrong with it that it would easier to sculpt one from scratch.

I'm curious what all these inaccuracies in the HT are, as I'm still no expert on Fett. Since I'm already all-in, I'm starting to cut up the helmet and plan on resculpting some parts considerably.
I know you mentioned the overall size, though that's one thing I won't be able to affect unfortunately.

Some of my plans are: bring the ears much closer to the front of the helmet; as a result, make the horizontal part of the visor less wide; make the horizontal part more narrow as well; resculpt the part where the cheeks meet the ears; replace the visor to be more flush with the helmet.
 
gMjauJt.jpg


Same helmet as Ahab's, above. Yes, it's really that rough. Some material that is offered is higher quality, but for the 1/4 scale, this is the only material available. I spent about two hours, first with sandpaper, then a hobby knife, just trying to get the lines off of the dome. I eventually gave up on the helmet and just repainted the spare Hot Toys 1/4 helmet I had on hand.

That does look way too rough...as well as being disappointingly under scaled...
Is the other helmet SS?

I'm curious what all these inaccuracies in the HT are, as I'm still no expert on Fett. Since I'm already all-in, I'm starting to cut up the helmet and plan on resculpting some parts considerably.
I know you mentioned the overall size, though that's one thing I won't be able to affect unfortunately.

Some of my plans are: bring the ears much closer to the front of the helmet; as a result, make the horizontal part of the visor less wide; make the horizontal part more narrow as well; resculpt the part where the cheeks meet the ears; replace the visor to be more flush with the helmet.

The front of the helmet and visor are too rounded which is not so noticeable when viewed straight on...but when viewed from a side angle you can see that from the ears to the front is too wide and from the ears to the back is too narrow...this throws the whole shape off and it looks weird...what HT used for reference is still baffling...

The brim over the visor is also too narrow and the visor itself is a tad too wide...the only part they got right is the ear detail and paint apps/weathering which are pretty close to perfect...

Pics below might show what i mean better...i had to make some small allowances for the SS ears and back plate to fit the Marmit...so it's not perfect...but i think it's a lot closer in shape than HT attempt...

7.jpg8.jpg
 
That does look way too rough...as well as being disappointingly under scaled...
Is the other helmet SS?


The front of the helmet and visor are too rounded which is not so noticeable when viewed straight on...but when viewed from a side angle you can see that from the ears to the front is too wide and from the ears to the back is too narrow...this throws the whole shape off and it looks weird...what HT used for reference is still baffling...

The brim over the visor is also too narrow and the visor itself is a tad too wide...the only part they got right is the ear detail and paint apps/weathering which are pretty close to perfect...

Pics below might show what i mean better...i had to make some small allowances for the SS ears and back plate to fit the Marmit...so it's not perfect...but i think it's a lot closer in shape than HT attempt...

View attachment 468235View attachment 468234

Matrix, yes, the helmet order is 2007 Sideshow, Custom 1/4, Hot Toys 1/4.

xAA7h7p.jpg


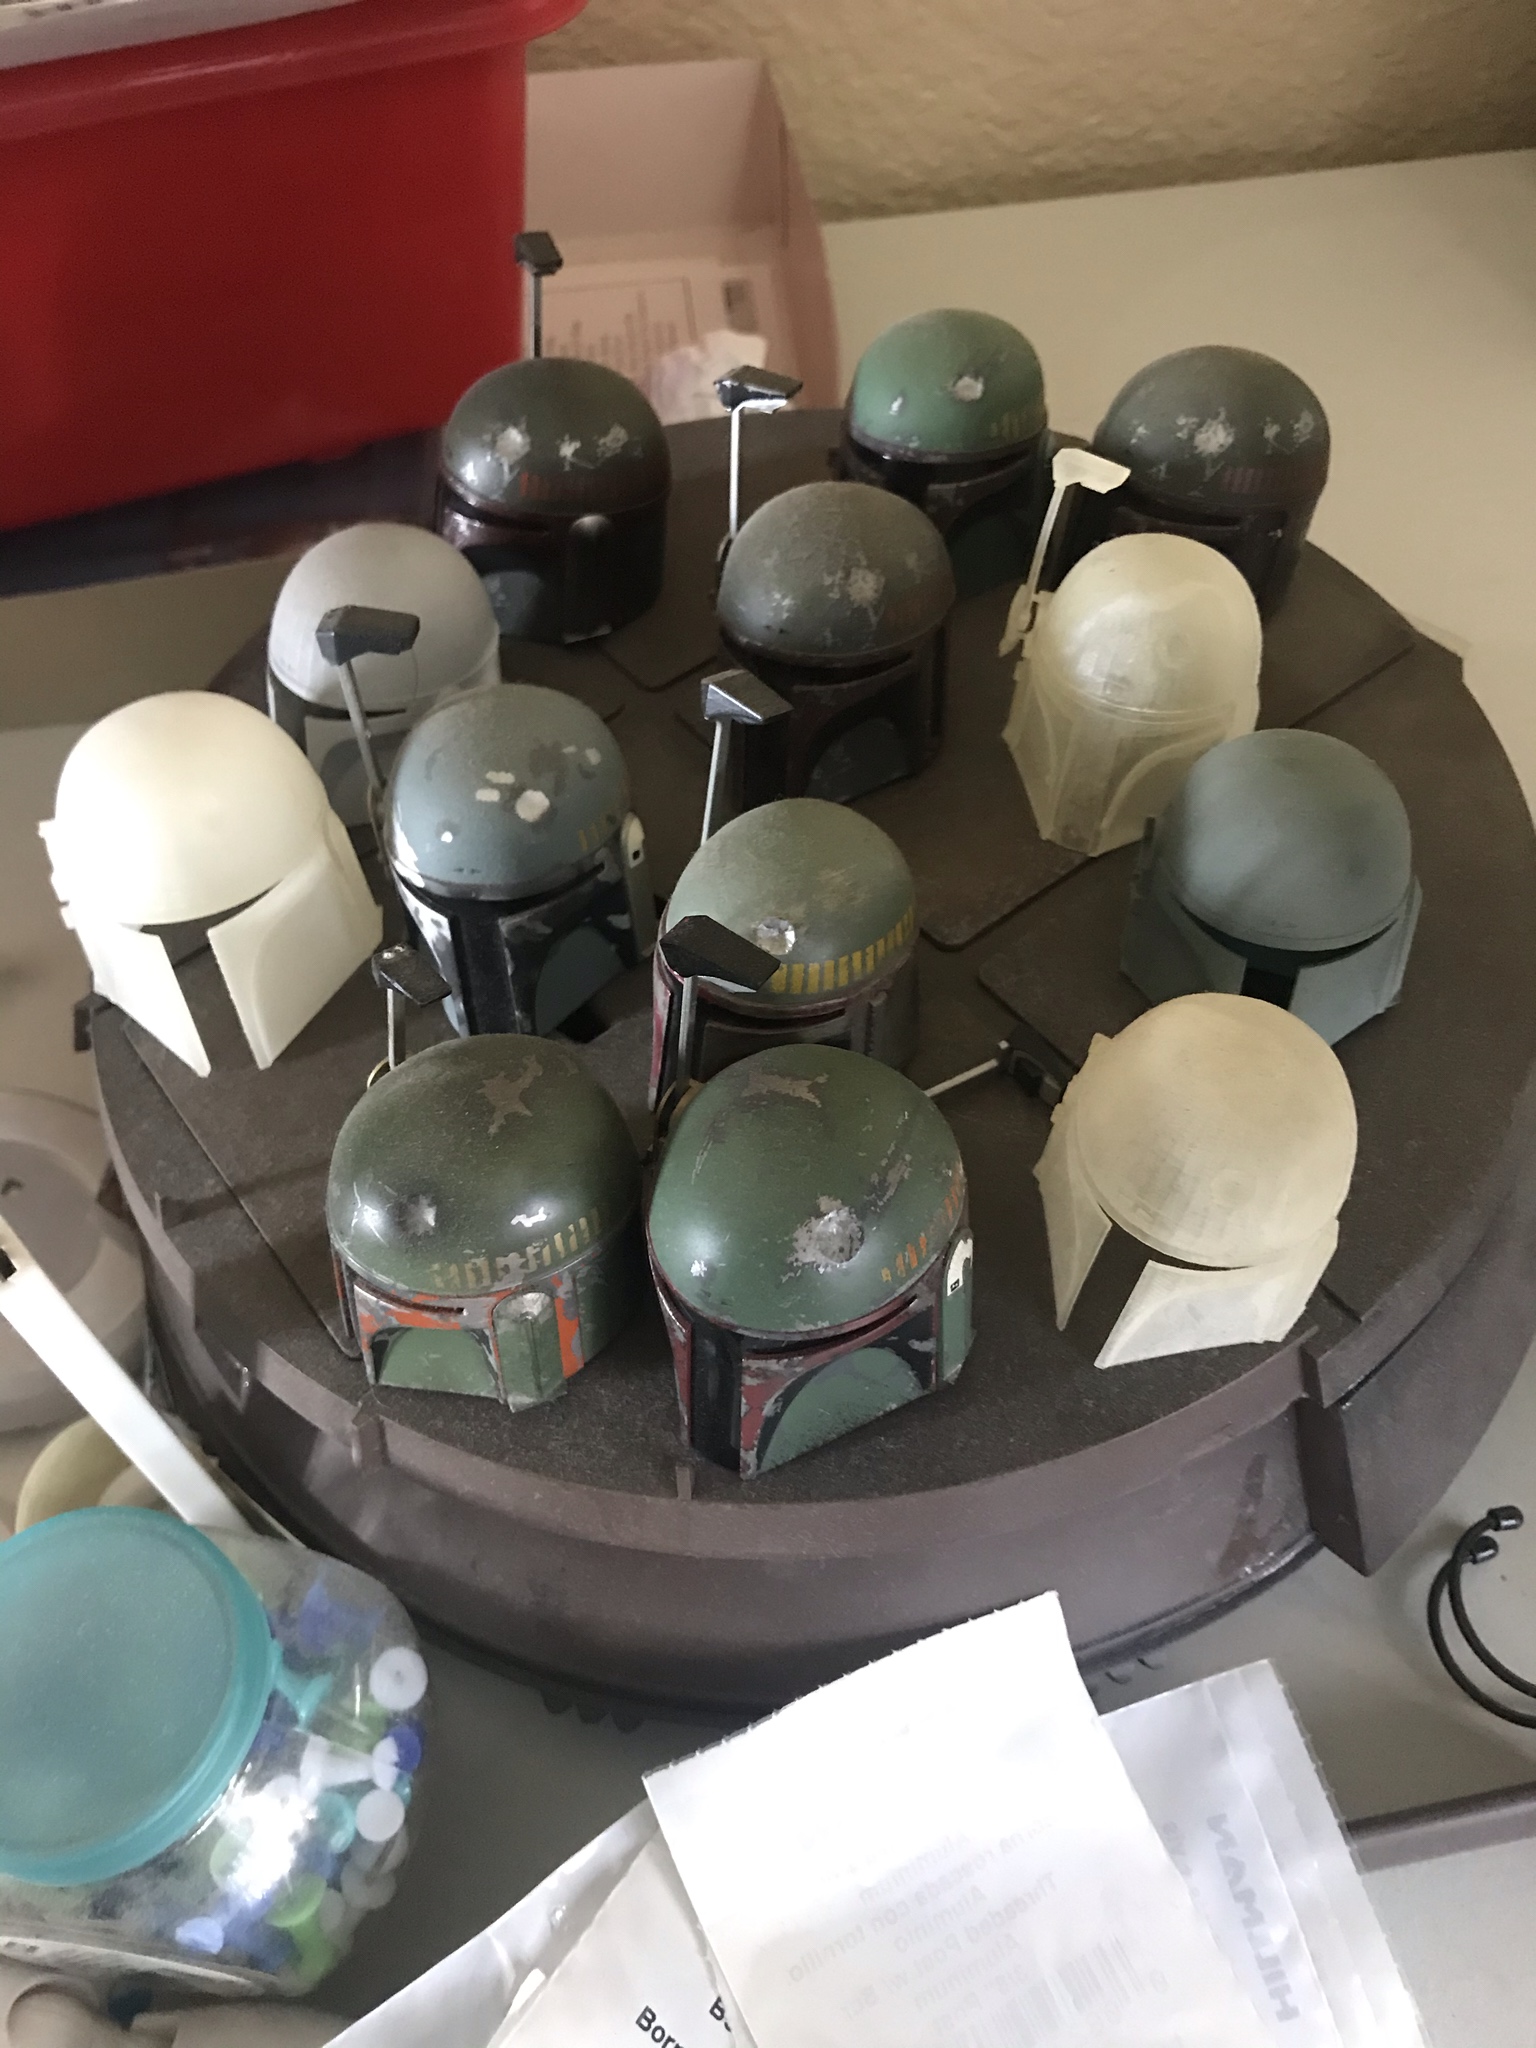
I honestly don?t recommend modifying any of the 1/6 helmets. There?s no way to make them accurate, at that scale, because for every improvement you make, you?ll be throwing off some other aspect of the helmet. And trust me, I?ve looked into this in depth. Here?s my Fett 1/6 collection of UNUSED helmets (this doesn?t count the 6 I?m actually using for display).

I6t2IoA.jpg
 
Well I decided to dive in and start work on this.

For the body I decided to go with McHaley's idea of using Medicom arms to narrow the shoulders so the shoulder armor lays flat. I'm happy with the rest of the stock body, so other than some strategic padding, I'm done with the body.

For the helmet I'm mostly sticking with Matrixs's method, I'm using the Hot Toys ear coverings though. It would've probably been much less of a headache if I used the Sideshow ear covers, but I really like the look of the Hot Toys ear coverings so l'm putting myself through the torture of trying to get them to work. Some styrene on the back was used to get the depth right.

I hate working with vinyl, because of how soft and flexible it is, it's so difficult to sand, and using a hobby knife to carve is worse because you need the control of a surgeon to make a straight line. I opted to use the hobby knife to shave in thin layers. It still sucks but it works.

Believe it or not, I've spent the whole weekend working on this and It looks like I've hardly done anything LOL! and it looks like the hard part is going to be gluing the sides of the face plate to the ear covers. That's ultimately the only place where the vinyl will be attached to the hard plastic that 1/6 scale helmets are made of. I'm having a tough time getting the vinyl of the back of the face plate flat and straight enough to make a nice smooth surface to glue the vinyl face to the hard plastic of the ear coverings. I don't want to have to cut away more of the vinyl, but I may have to to insert thin styrene strips to make a nice flat surface for gluing the face to the ear coverings.

Overall I think the shape and proportions are really nice. Much closer than Hot Toys or Sideshow. So I guess I'm going to continue to torture myself! :thud:

In all seriousness I'm really having fun with this project. I haven't had this much fun since working on the ANH Vader.

Anyway here's some WIP pics.

Open 1.jpgOpen 2.jpgWIP 1.jpgWIP 2.jpgWIP 3.jpgWIP 4.jpgFett Body 1.jpgFett Body 2.jpg
 
Well I decided to dive in and start work on this.
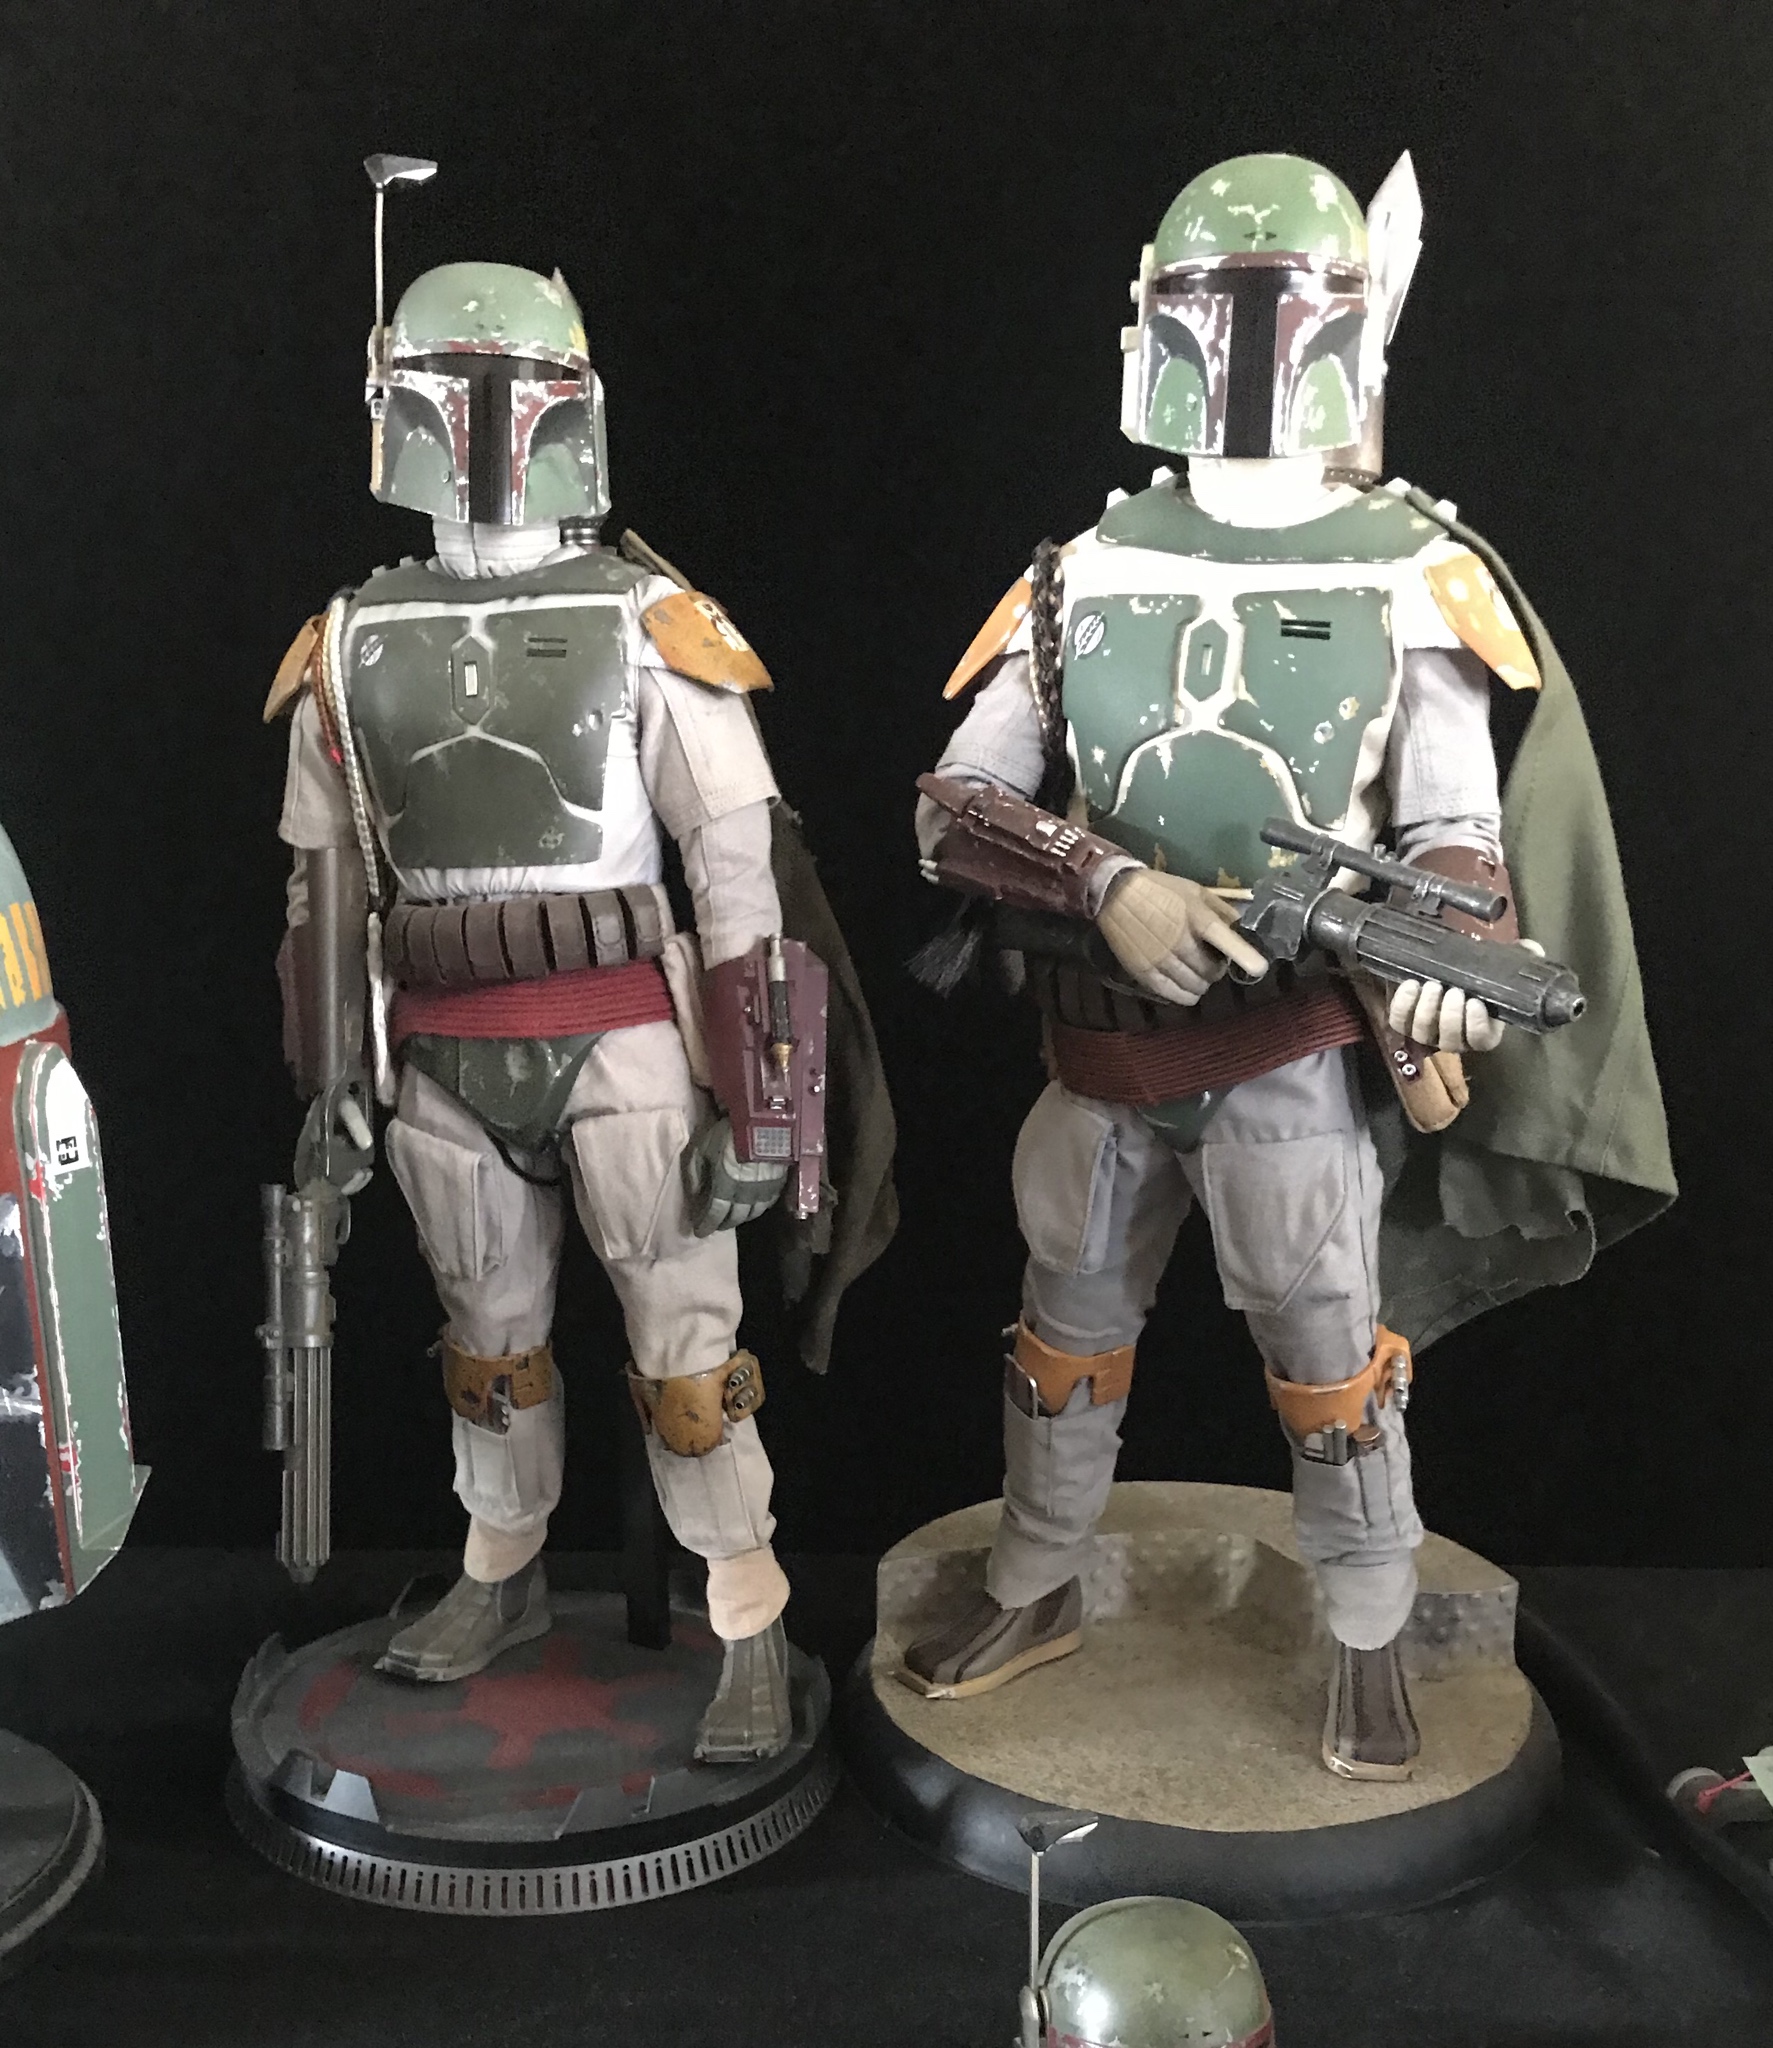
For the body I decided to go with McHaley's idea of using Medicom arms to narrow the shoulders so the shoulder armor lays flat. I'm happy with the rest of the stock body, so other than some strategic padding, I'm done with the body.
Looks good so far! The stock body with Medi arms works great when you are not using the Hot Toys helmet. The only reason I Frankensteined a larger body, was to accommodate the HT largish bucket. I used the stock body with Medi arms for my ROTJ custom and it looks great with slightly smaller helmets. Here is a pic with the Marmit bucket and the Mythos.
e70cc67d02bb6fa48db44f96b0bb44ec.jpg
69149fd98230b9aa7ef1b1393223c0f0.jpg

This is how I cut the padding for the stock body. It holds the waist armor, belt, etc., while leaving the chest area unpadded so it lays flat.
9921b549c104109c20cabfadc293a629.jpg
 
Last edited:
Thanks!

The larger body for the larger helmet makes a lot of sense.

That RotJ Fett looks great!

I am using the Avengers: Captain America waist padding which is essentially the same thing, just without the crotch area. One of the more... um... unusual, modifications I've ever had to consider is Fett's back side where the crotch armor strap goes right up his crack. For that mod I need to rely on the butt sculpt under the clothes, and any padding would get in the way.

Looks good so far! The stock body with Medi arms works great when you are not using the Hot Toys helmet. The only reason I Frankensteined a larger body, was to accommodate the HT largish bucket. I used the stock body with Medi arms for my ROTJ custom and it looks great with slightly smaller helmets. Here is a pic with the Marmit bucket and the Mythos.
e70cc67d02bb6fa48db44f96b0bb44ec.jpg
69149fd98230b9aa7ef1b1393223c0f0.jpg

This is how I cut the padding for the stock body. It holds the waist armor, belt, etc., while leaving the chest area unpadded so it lays flat.
9921b549c104109c20cabfadc293a629.jpg
 
You guys are hardcore.......anytime I think about dabbling into customs, I take a look at real talent and tell myself, 'NOPE!'


I look forward to more pics!!
 
Did a little more work today. Helmet is glued together. The vinyl wants to bow out in one tiny spot by about a millimeter or so. Luckily the banged-up nature of Fett makes it easy to "hide the crimes." In the final pic you may notice a chin barely visible, because the helmet fits over a head sculpt. I'm working on modifying the perfect reveal head sculpt, which I will show you guys when it's further along. It's something special, I think you guys are going to like it (unless you are Prequel fans, because it's not a modified Jango HS).

Once the glue has cured I need to fill all the gaps with filler puddy, and replace the vents on the back with the Hot Toys version which is more accurate. Then I need to file away the back of the top three vents and add the calculator circuit board. I'm also planning on replacing the black visor with the Hot Toys visor, but we'll see how that goes.

It's really coming along nicer than I could have imagined. I really want to thank Matrix69 and McHayleyArt for the tips and inspiration. You guys work is always the benchmark that I'm working towards.

Back Vent 1.jpgGlued Helmet 1.jpgGlued Helmet 2.jpgGlued Helmet 3.jpgGlued Helmet 4.jpgGlued Helmet 5.jpg
 
Looking great, WTC! Maybe before you paint take a cast of the finished helmet. It would be great to have someone really go deep for accuracy like what you are doing then have a cast available for people to buy so all the work doesn't need to be repeated.

I do love the Marmit helmet overall, I just wish the sculpt was a bit sharper. Both their Fett and their sandie/stormie sculpts were brilliant, just a little on the soft side.

I also like how you're redoing the back of the helmet, not only for the grill accuracy reason but the stock Marmit always seems like it needs just a bit more volume to it (esp. if you widen the flair slightly.) The new back might provide that.
 
I'd be real interested to see someone add the light to the jetpack somehow
 
I'd be real interested to see someone add the light to the jetpack somehow

It?s funny you should mention that. I was just thinking about that the other night.

Jetpack Light 1.jpgJetpack Light 2.jpg

I was thinking I could 3D print a transparent model of it in amber resin and paint everything except the little slots that the light comes out of.

Then rig an led into the base of it inside the jet pack, so that the light will travel up the inside and only be visible through the slits that are unpainted.

Theres probably a way to rig one of the jet nozzles so that when It's rotated it turns the light on and off. There?s even a panel on the back side of the real prop that would make a perfect battery compartment. That's probably what it was for in the first place.

Jetpack Light 3.jpg

That's my idea anyway.


Sent from my iPhone using Tapatalk
 
Back
Top