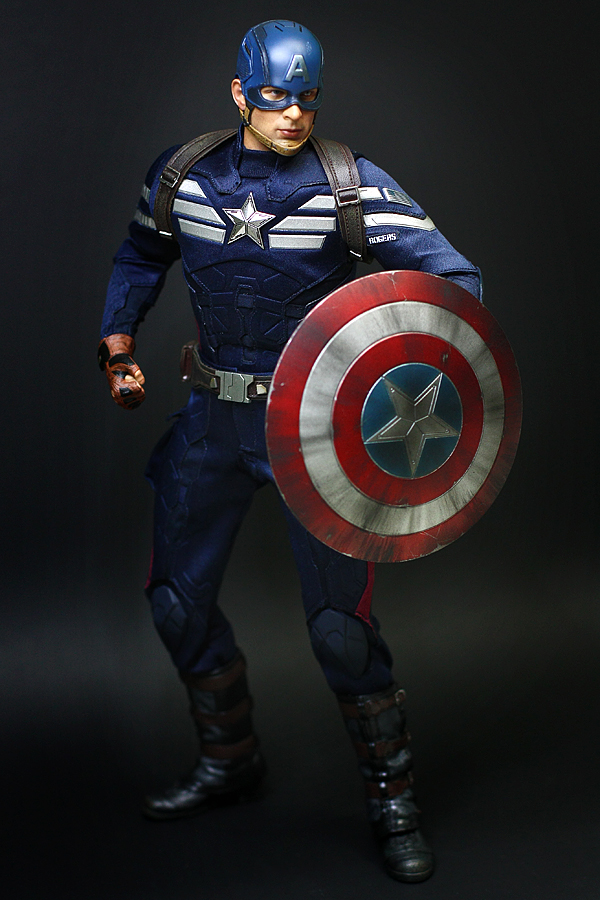
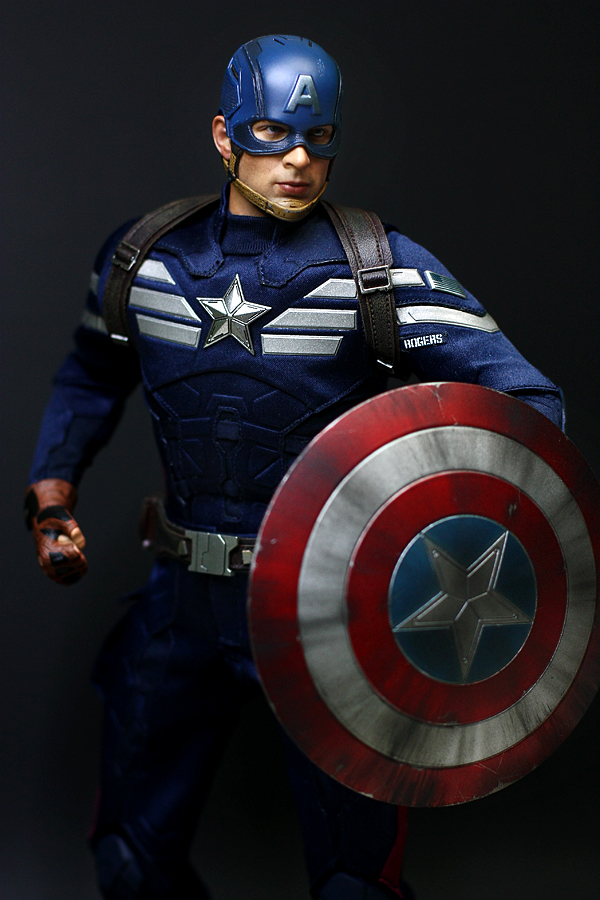
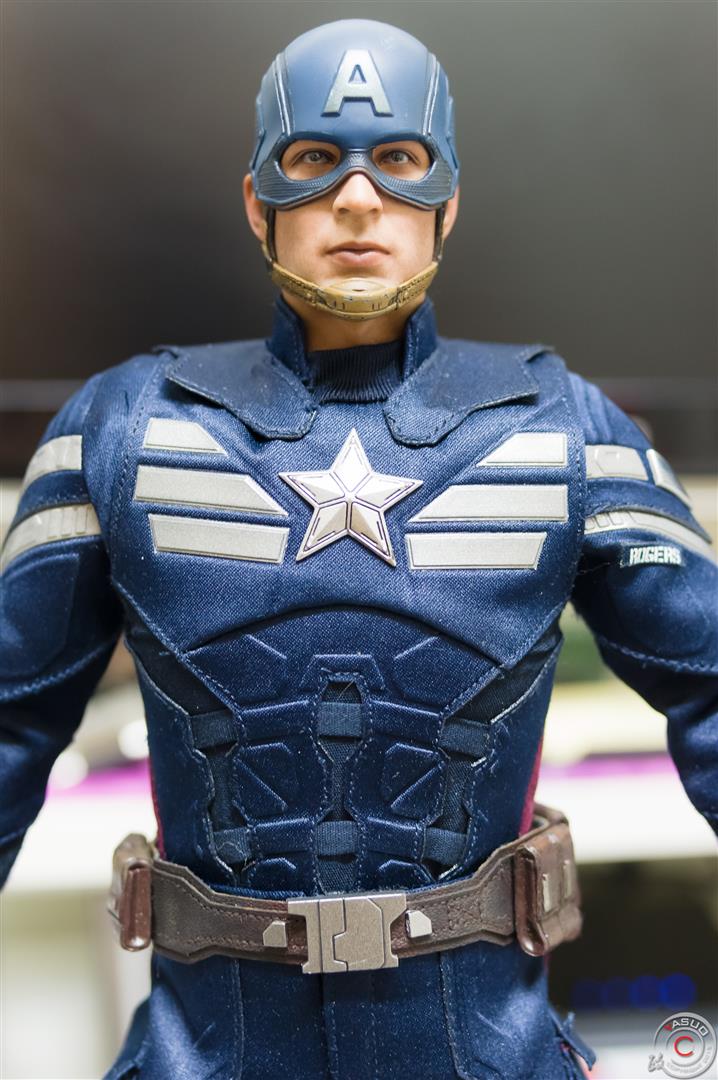
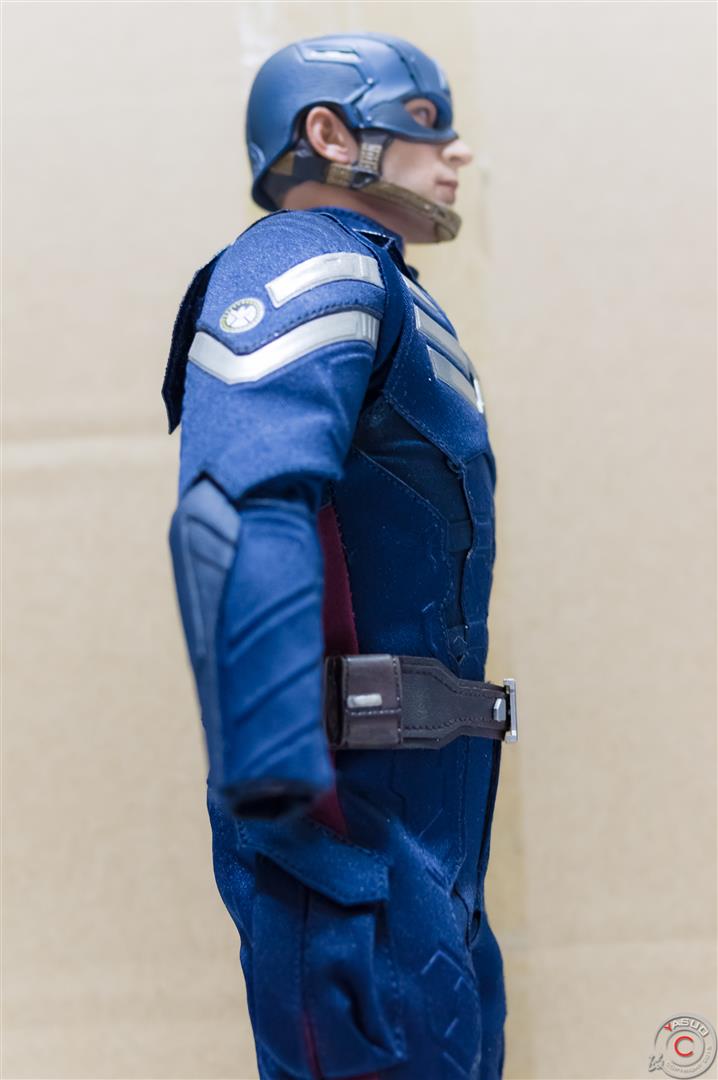
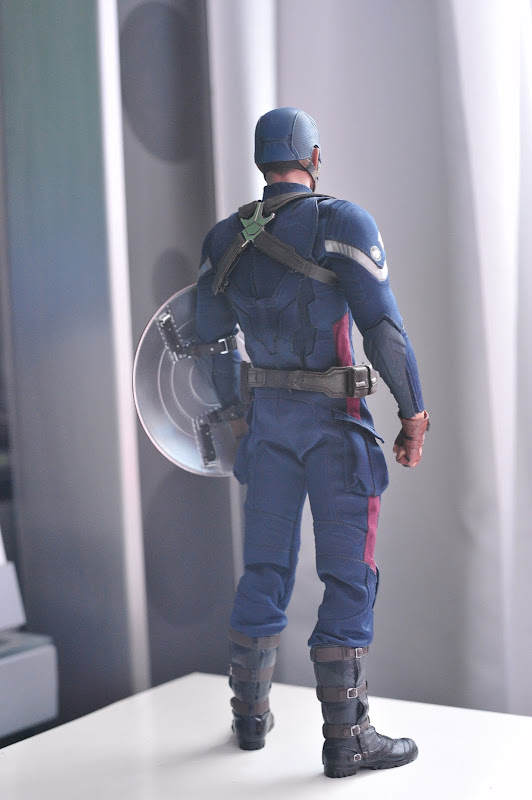
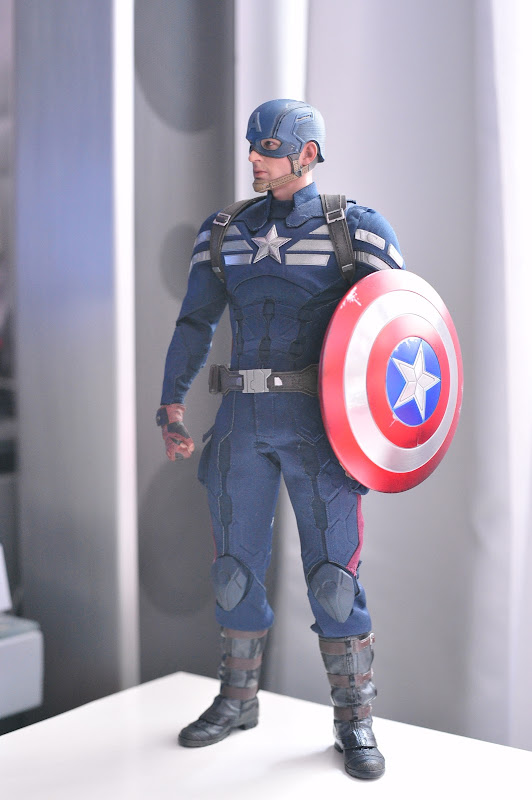
Hot Toys MMS243 - 1/6th scale Captain America & Steve Rogers

Collector Freaks Forum

Help Support Collector Freaks Forum:

This site may earn a commission from merchant affiliate links, including eBay, Amazon, and others.
They will accomadate your request given the circumstances. Its not the customers fault a whole bunch of items got pushed back to the same time. I have about 6 items including 3 pfs that are due to arrive in the same month because of the port strike. I have no doubt they will allow me to transfer the nrd, so i can buy the other 5 items that arrive that month.

:lol:lol:lol I would expect no sympathy from them
 
16175722400_9180e1d4a0_o.jpg


16177210297_d77269abe9_o.jpg
 
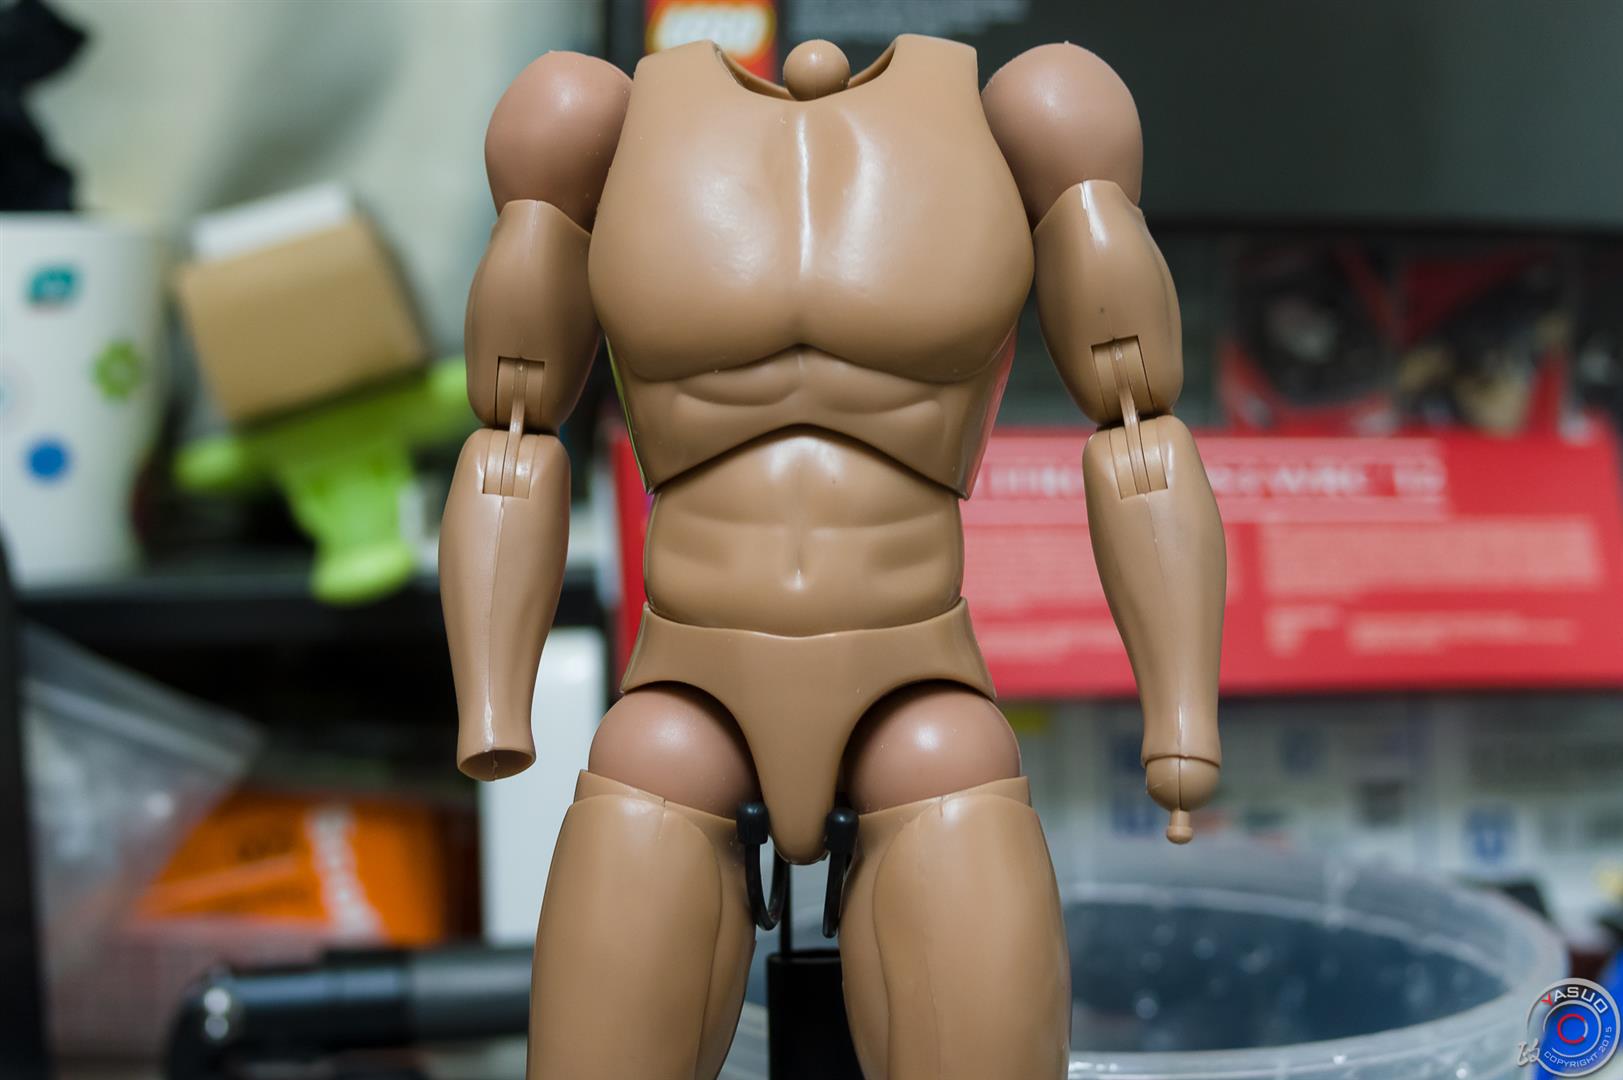
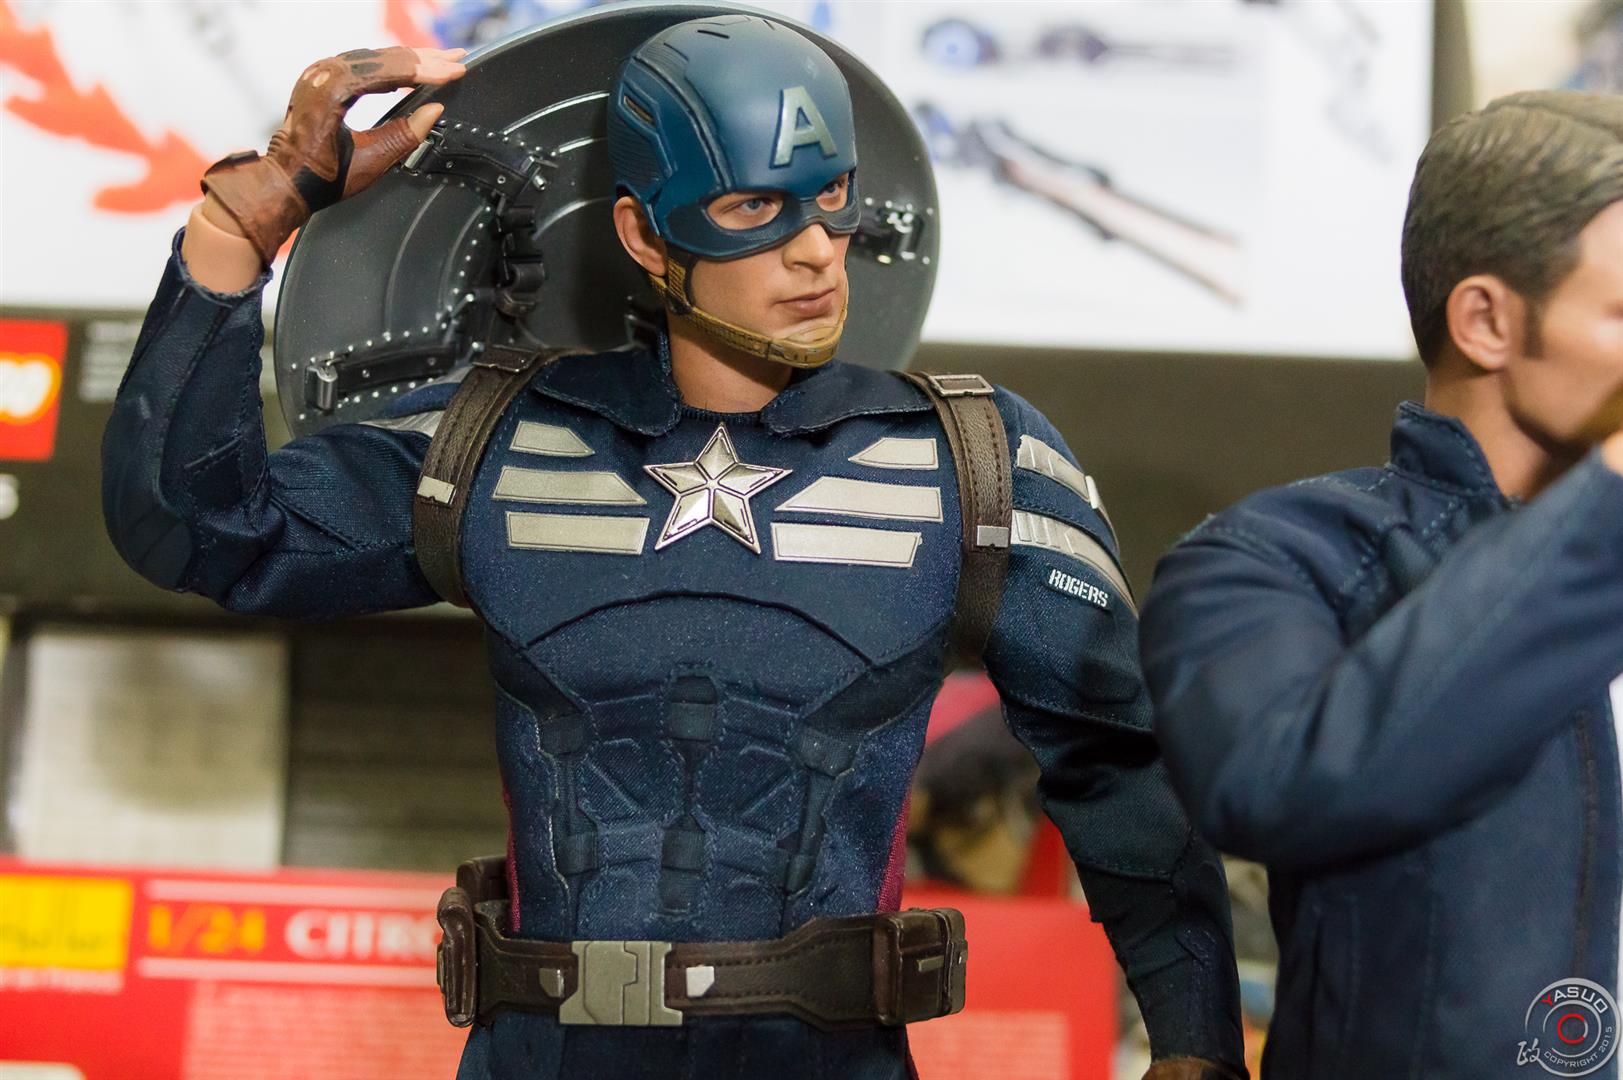
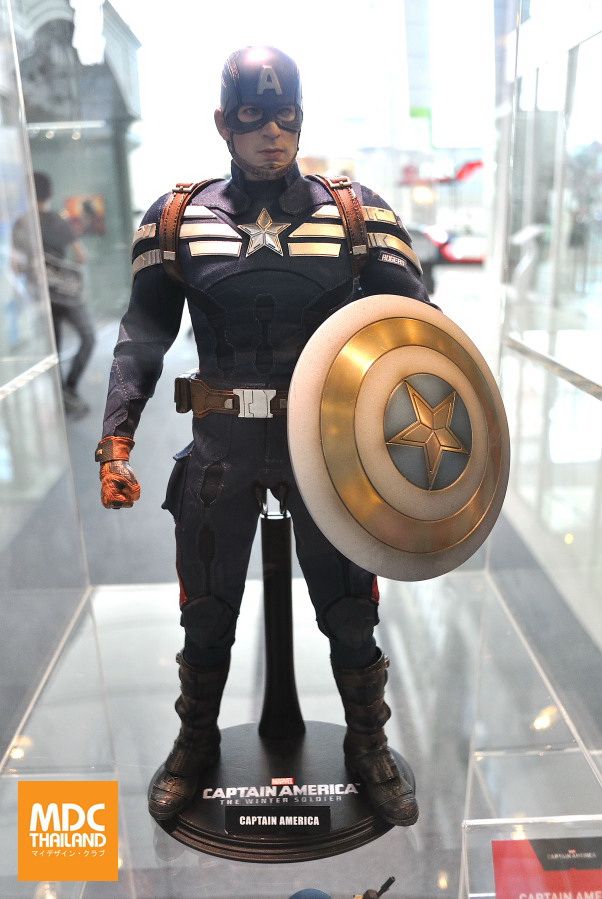
Just sharing my modified Captain, I thought I could avoid the modifications since it may be camera angle issues but it really doesn't look so right out of the box. And I'm quite unsatisfied with the Winter Soldier series so far, seems like almost every figure has some sort of issues.

Out of the box
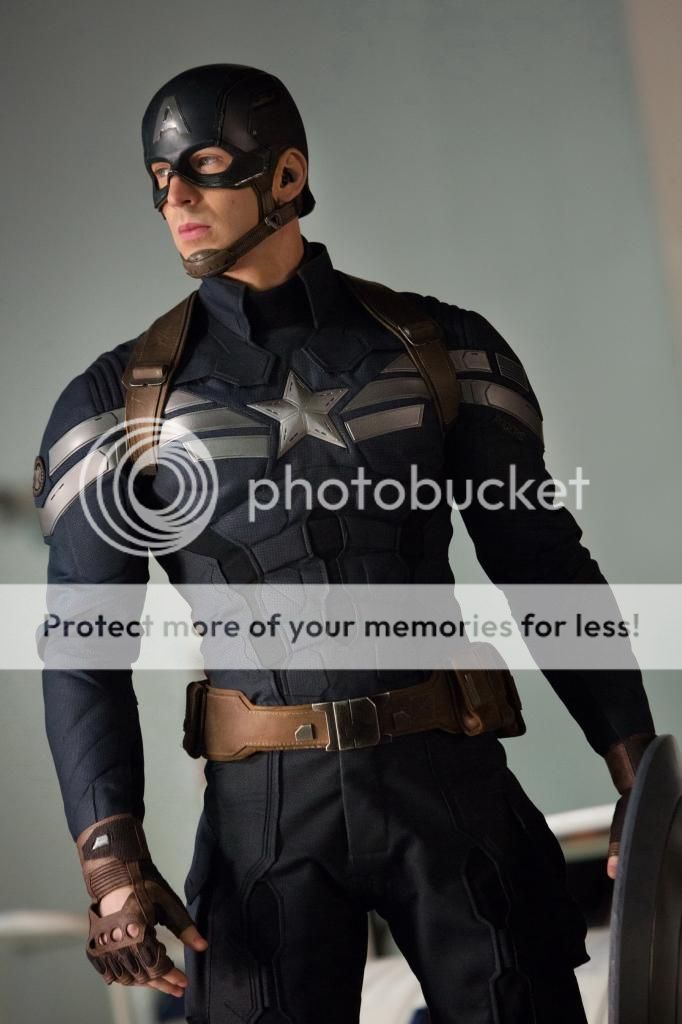
The figure looks really flat and has not much definition on the chest area. It's my opinion though.
f8Gbgc4.jpg

zPy5wjr.jpg


Modifying
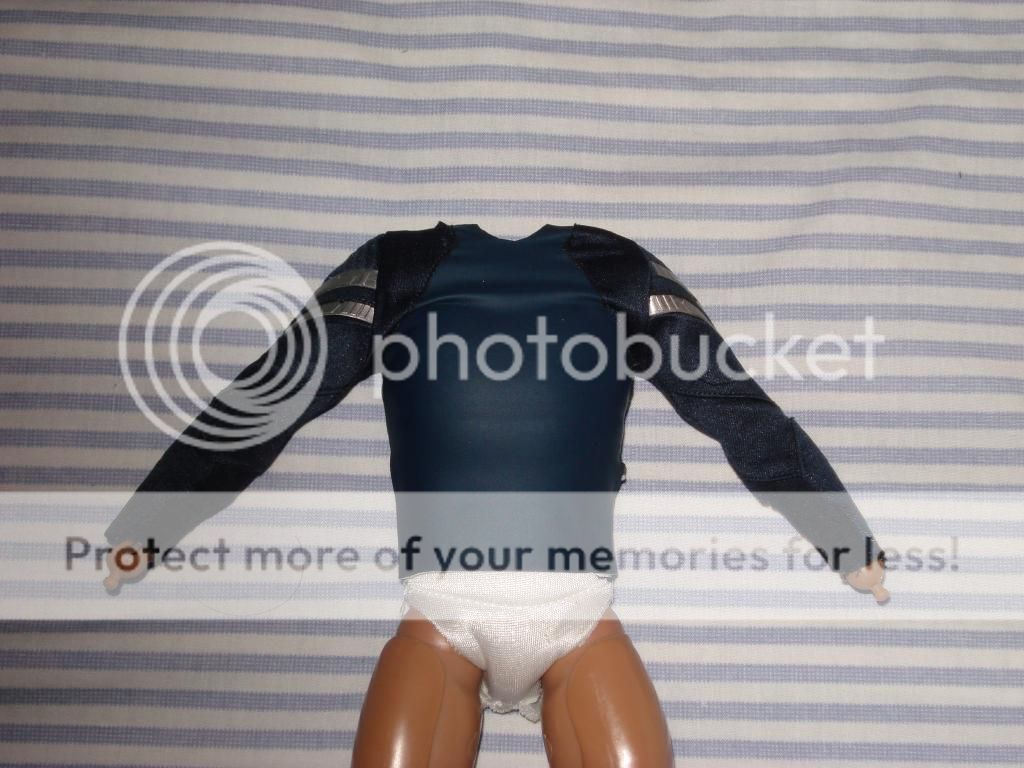
I struggled to take out the undershirt even with the tutorial, it's really tight and the main reason that's causing the arms to flare up like a chimpanzee. And my undershirt has splotches of superglue all over the place, wtf.
kqinM2S.jpg


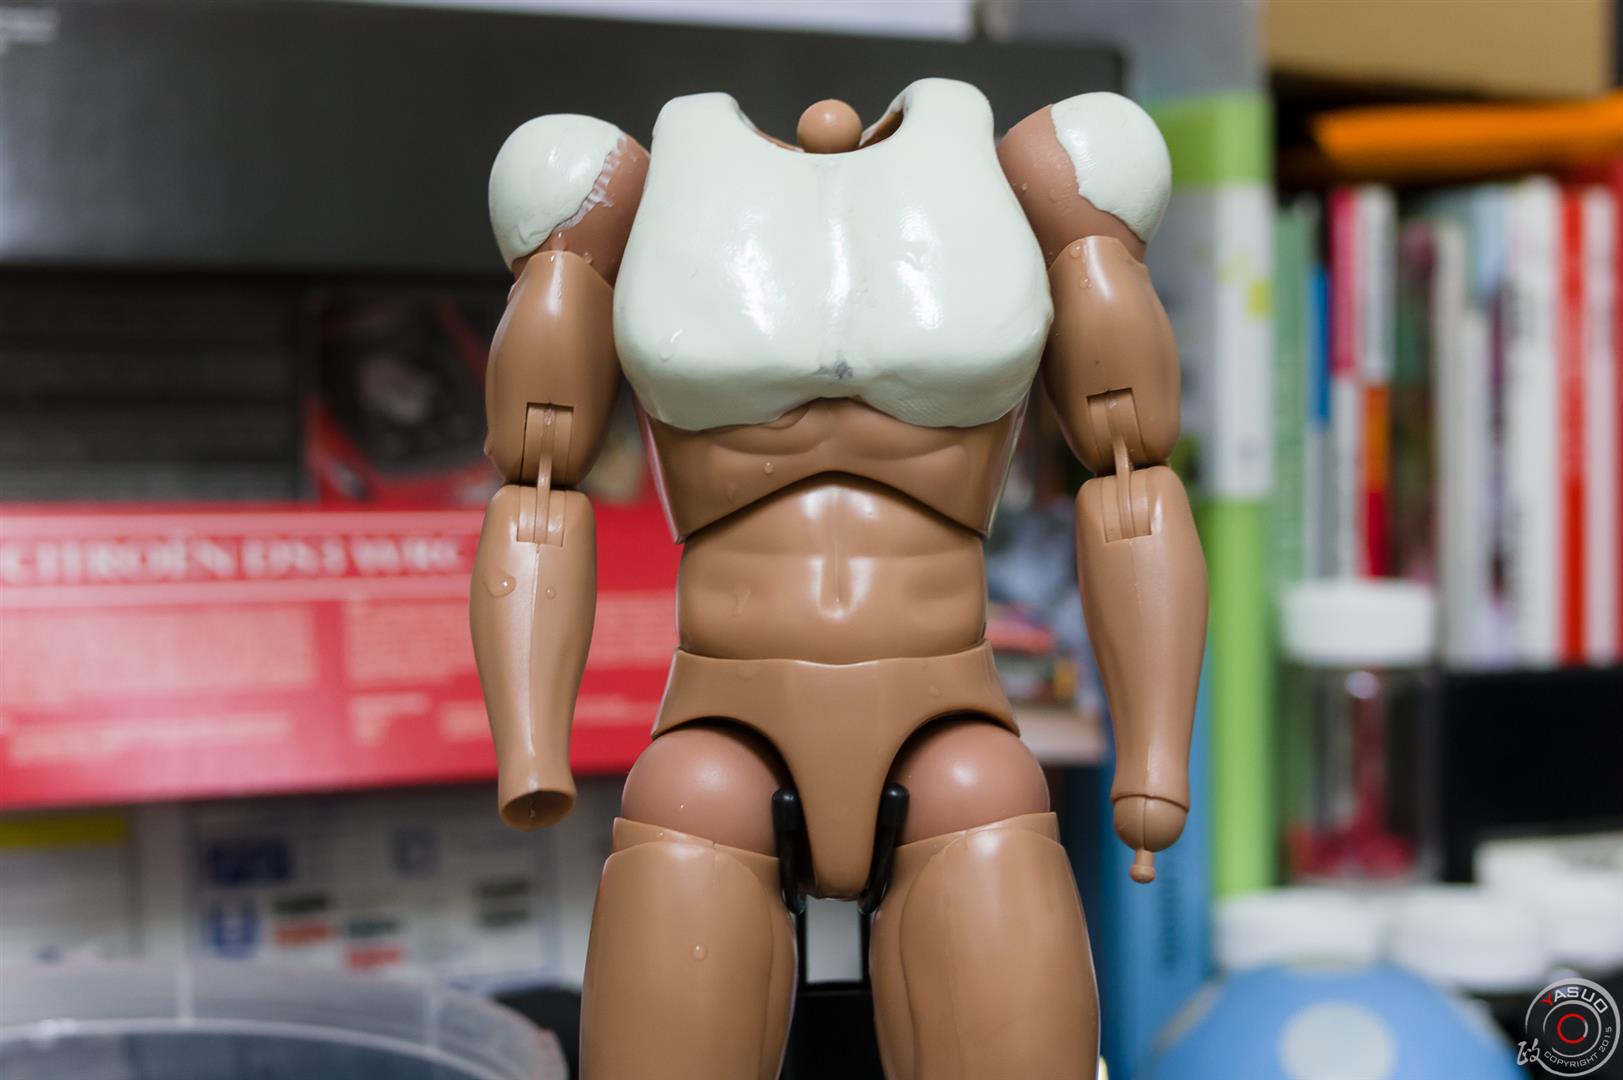
Using epoxy putty, (I used Tamiya, a whole pack of it in fact.) I layer the chest and shoulder slowly. I have to lightly sand the area first to get some grip (real important since the putty will peel off if you don't do that) It's a slow process and and you have limited working time with the putty (a few hours at most), I spent like about 4 hours shaping the chest, which I feel is the most important area. Remember to leave the putty in the water so it doesn't sticks to you like superglue. Makes it easier to work with also.

Occasionally I would check the progress by comparing images and making sure it still looks buff instead of man ****s.
7XEBJwP.jpg


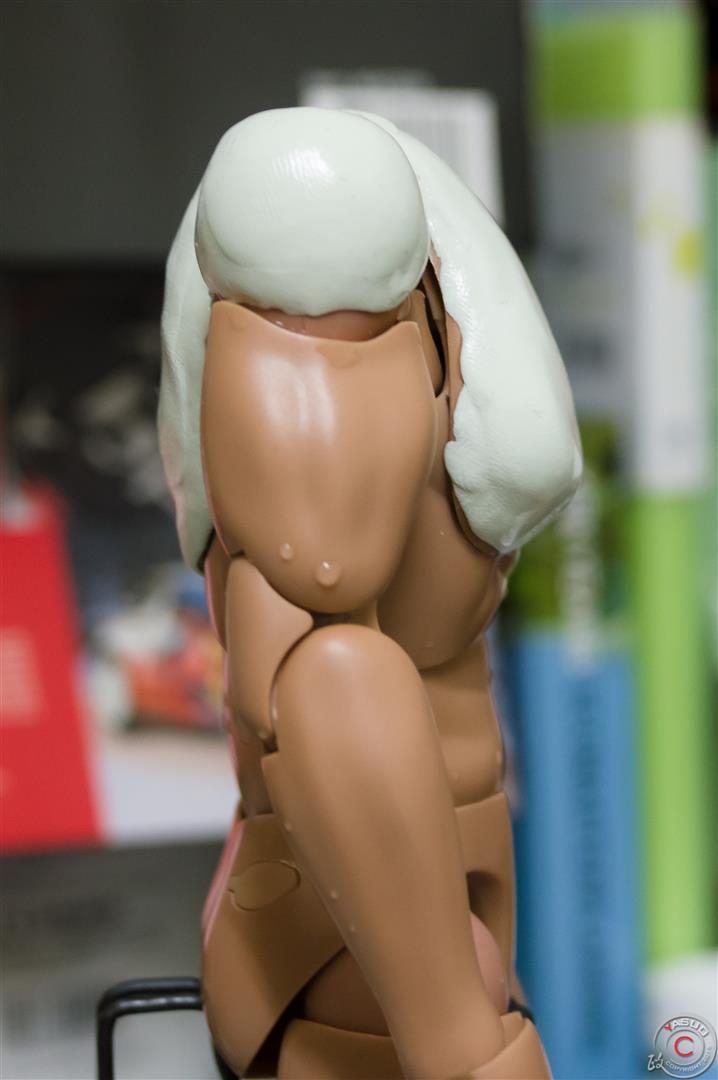
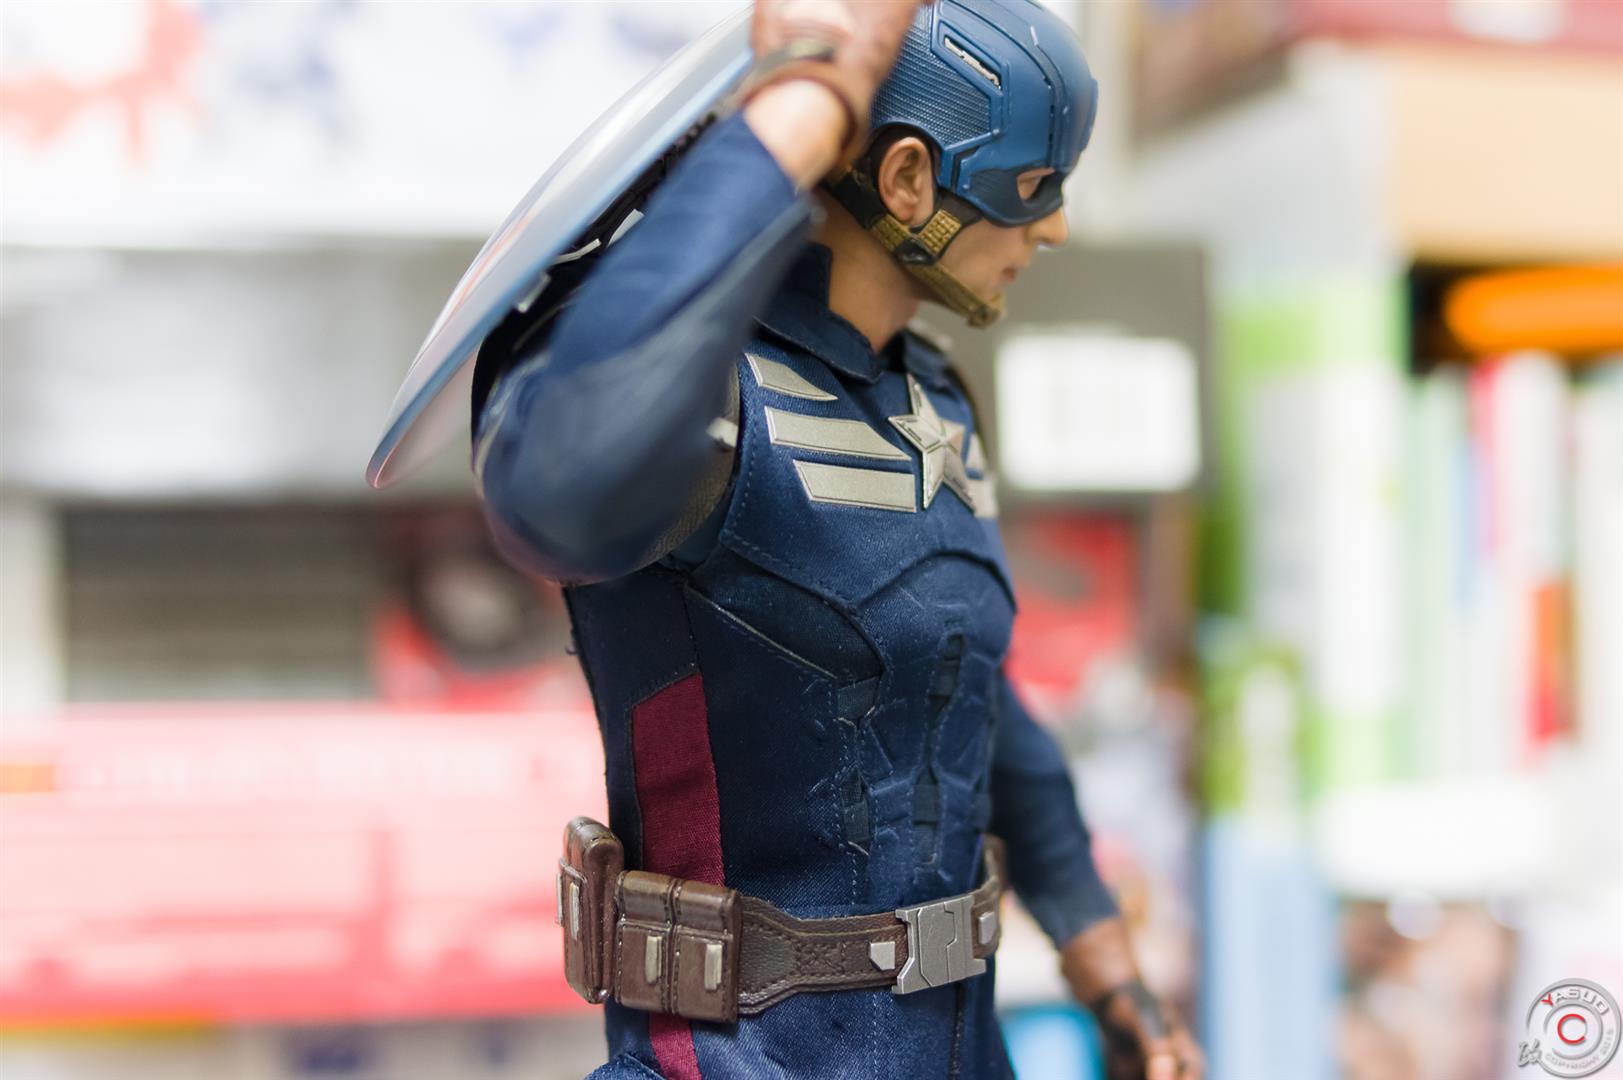
Side view, looks more buff instead of just flat.
a1xRXLq.jpg


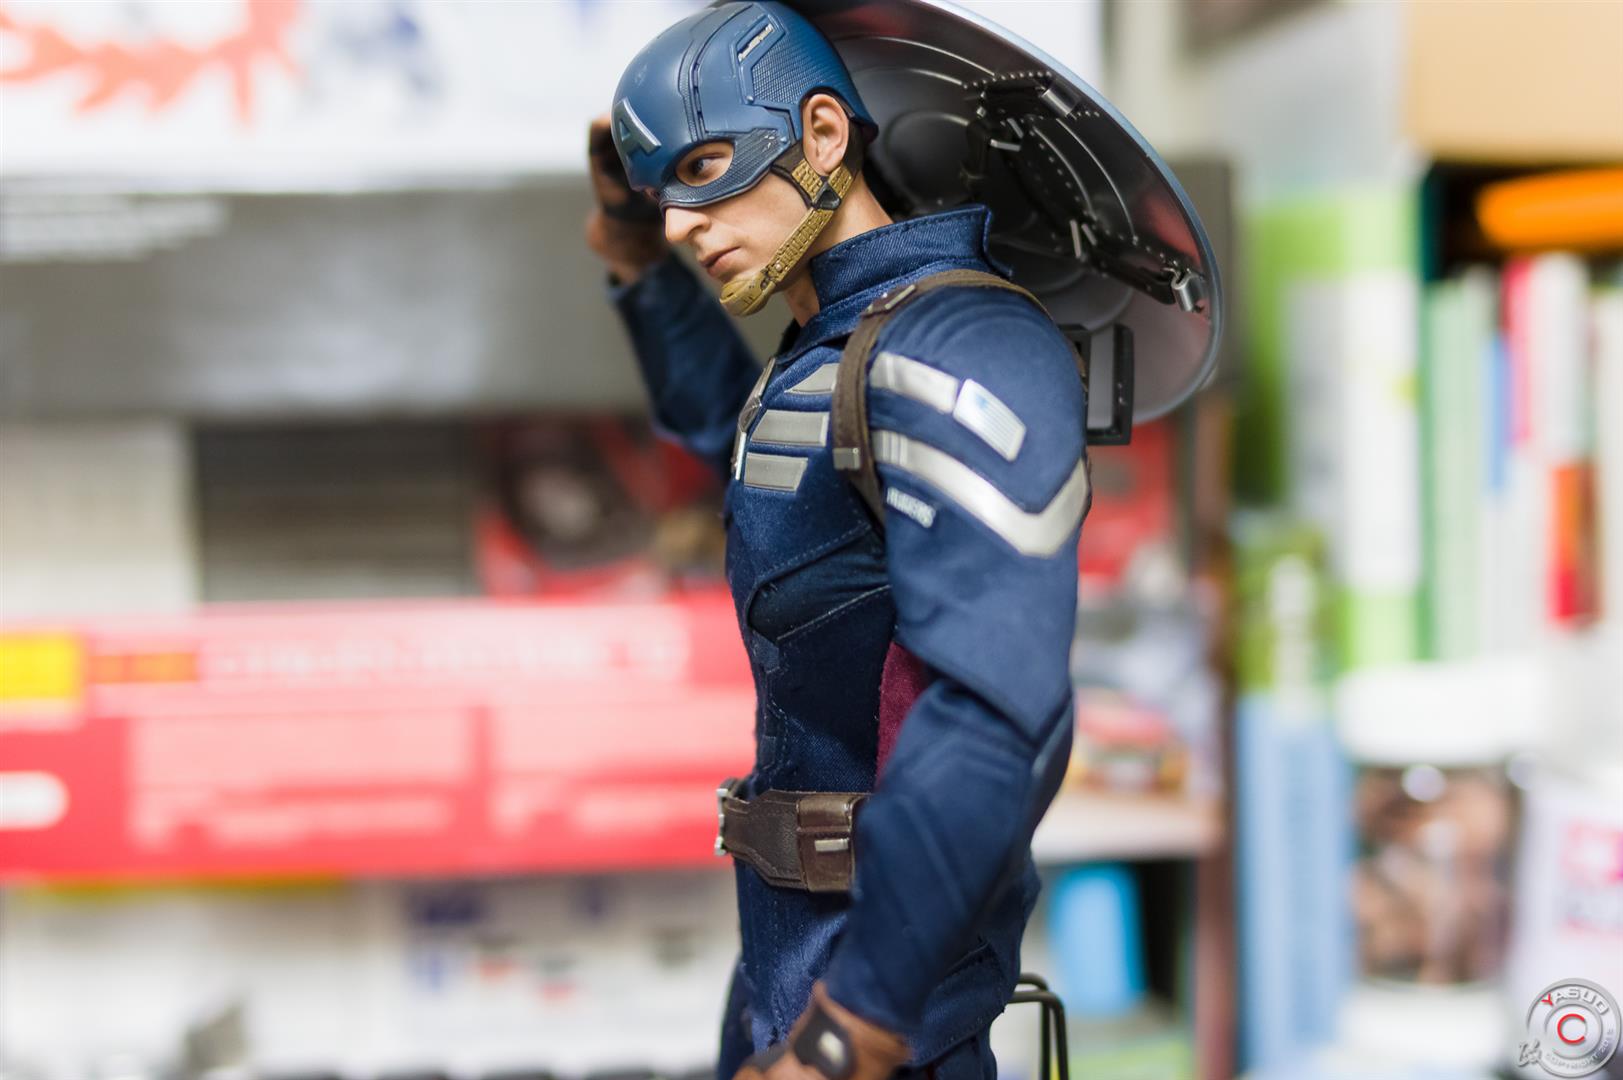
Finished
Besides the sculpting, I also took the time to make some adjustments to the undershirt, cut 2 lines on the front and leave the back as it is to allow some flexibility. Now I can do this without looking forced.
xmZas3g.jpg

egwk8qb.jpg


All in all, the modifications do make the figure looks more like the prototype. BUT I'm really unhappy with how Hot Toys are basically forcing us to do something to their figures which they should have done right in the first place.

Hope this helps anyone looking to do some modifications.
 
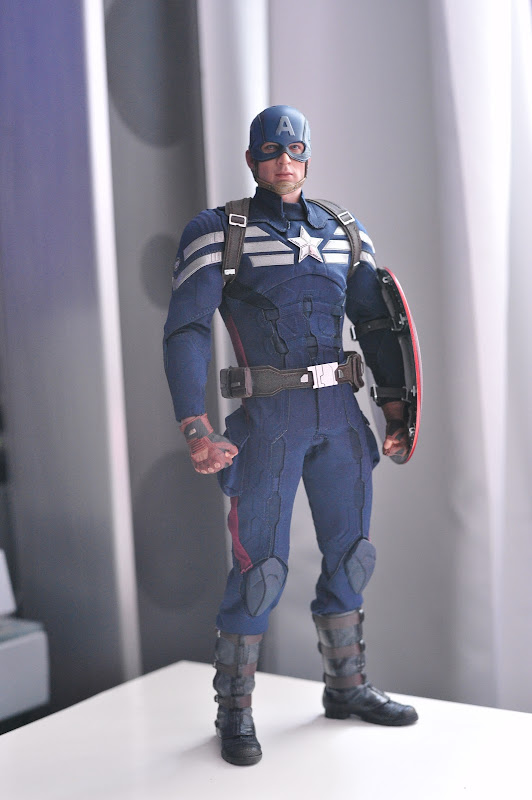
Centrocal: Sure, here's the front, not changing poses for now since I'm tired. Will do a more indepth photo taking once I have some time.

PnTuY4L.jpg
 
Thanks!
It's one of those custom cheap shields from ebay that I painted to look battle damaged.

Really great work there... had a look on Ebay and those shields must be no longer available anymore, shame but oh well I would never be able to create something like yours!


Just wow, really makes me regret not choosing this over other things I have bought lately... I could easily build a small collection of Cap / Iron Man duos, this would look amazing paired next to Silver Centurion! Have them back to back teamed up for AoU and their solo films and then a face off for Civil War!

Oh well, maybe I will get the chance before he vanishes!
 
Really great work there... had a look on Ebay and those shields must be no longer available anymore, shame but oh well I would never be able to create something like yours!


Just wow, really makes me regret not choosing this over other things I have bought lately... I could easily build a small collection of Cap / Iron Man duos, this would look amazing paired next to Silver Centurion! Have them back to back teamed up for AoU and their solo films and then a face off for Civil War!

Oh well, maybe I will get the chance before he vanishes!

This is the one he used I believe. I have 2 of them, they are great shields much better than the hot toys ones. Only downside is the blue around the star is a little light. I definitely recommend this shield though.

Custom 1 6 Metal Alloy Shield for Hot Toys Captain America Gold Age New Stock | eBay
 
Hey Yasuo, nice work! I am wondering did u end up removing the white suit after the mod? Thanks
 
Man the STRIKE suit just does not look good to me, kinda bummed as I wanted this set.

So if anyone wants to sell the civilian Cap, let me know.
 
He looks wide enough for me (even the helmeted head looks a bit short neck wise imo).

As it has been said before, I think that the problem is the tailoring/cloth of the suit and inner suit that doesn't show any body or muscle shape making the torso look quite flat.

I took some pics of Cap with my other CA:TWS crew, I'll post some soon.

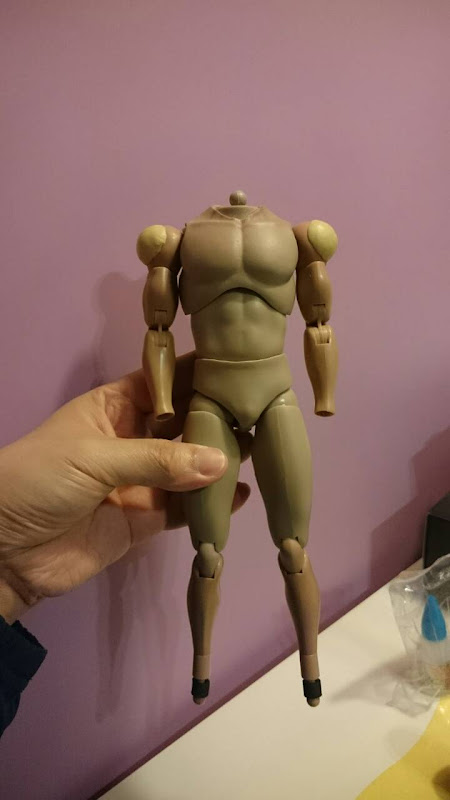
I use to think it was just the tailoring but when I look at this body here in the pic below it is obvious that it is way too small, the lat muscles lack any bulge as they are as flat as a board.


The fact is they should of used the CR Superman body where the lat muscles are bugling out and have a round shape, thus creating the V shape look of the torso.

1419931156879.jpg


ARI_0929.JPG


ARI_0927.JPG


ARI_0930.JPG
 
Last edited:
Just sharing my modified Captain, I thought I could avoid the modifications since it may be camera angle issues but it really doesn't look so right out of the box. And I'm quite unsatisfied with the Winter Soldier series so far, seems like almost every figure has some sort of issues.

Out of the box
The figure looks really flat and has not much definition on the chest area. It's my opinion though.
f8Gbgc4.jpg

zPy5wjr.jpg

The fat suit is mainly responsible for the lack of bulk in that area but I guess it doesn't hurt to make them even bigger. :wink1:


Modifying
I struggled to take out the undershirt even with the tutorial, it's really tight and the main reason that's causing the arms to flare up like a chimpanzee. And my undershirt has splotches of superglue all over the place, wtf.
kqinM2S.jpg

Yeah I hate that tutorial.


Using epoxy putty, (I used Tamiya, a whole pack of it in fact.) I layer the chest and shoulder slowly. I have to lightly sand the area first to get some grip (real important since the putty will peel off if you don't do that) It's a slow process and and you have limited working time with the putty (a few hours at most), I spent like about 4 hours shaping the chest, which I feel is the most important area. Remember to leave the putty in the water so it doesn't sticks to you like superglue. Makes it easier to work with also.

Occasionally I would check the progress by comparing images and making sure it still looks buff instead of man ****s.
7XEBJwP.jpg


Side view, looks more buff instead of just flat.
a1xRXLq.jpg

Thanks for your in depth explanation but how do you shape the shoulders as good as that?


Finished
Besides the sculpting, I also took the time to make some adjustments to the undershirt, cut 2 lines on the front and leave the back as it is to allow some flexibility. Now I can do this without looking forced.
xmZas3g.jpg

egwk8qb.jpg


All in all, the modifications do make the figure looks more like the prototype. BUT I'm really unhappy with how Hot Toys are basically forcing us to do something to their figures which they should have done right in the first place.

Hope this helps anyone looking to do some modifications.

Can you show us where you cut those lines along the shirt? Like can you draw them on this pic?


Centrocal: Sure, here's the front, not changing poses for now since I'm tired. Will do a more indepth photo taking once I have some time.

PnTuY4L.jpg


You did some great modifications but if I am honest bro, the torso still looks bad as it still looks too straight. Did you put the fat suit back on the body? The biggest problem I have with this figure is the shape of the torso, other than putting this suit on another body, I don't think the torso can be fixed. Maybe you can use that putty and sculpt the lats to look like the lats on the Reeve's body. :dunno
 
Last edited:
Sorry for the late replies:

Feronz: I cut the fat suit up so that the panties area (or crotch, whatever rocks your boat) can be fitted back to give the trousers some lift. It's quite easy to remove the fat suit without tearing it up, the stitching is the at the bottom of the crotch so a nick with the needle and scissors should undo it. That's the only fat suit that went back to the body.

Darkavatar: the suit itself is loose, when I meant loose, it meant its not tight fitting. The tailoring is plain wrong, and sans extensive re tailoring, I'm afraid there's only so far you can do to make the body V-shape. I might try to make it look more V-shape when I have the time by sticking some blu tack in strategic areas to allow the suit adhered to the inner shirt. The lines is as described by another user here, which is to cut a inverted V down the front, but I only did the front and not the back because I find that it makes it too loose and allows the suit to fall out during certain poses.

For the shoulders and chest, there's no hard and fast rules. The trick is to layer it slowly, nudging the shape to form instead of forcing the shape on. I kept a bowl of water, cut the putty into pieces and only mixed them when I need it to prevent them from hardening. The water is used to store the putty and keep it malleable while I used the water to reduce the stickiness. It takes hours because I start small and in small places and slowly work them up. Be prepared to spent hours working on it if needed. I spent about 5 continuous hours working on the sculpting so yea.
 
Darkavatar: the suit itself is loose, when I meant loose, it meant its not tight fitting.

I know bro, I have the figure.... well the body and suit, but it is just not the tailoring, it is the material they used. I can not understand what Hot Toys was thinking when they made the suit. I mean a rubber shirt that pulls the other arm up when you move one arm? :cuckoo:

And that stupid hard vest that makes it very difficult to get any shape out of it, unless you pull back on it your self.

The tailoring is plain wrong, and sans extensive re tailoring, I'm afraid there's only so far you can do to make the body V-shape. I might try to make it look more V-shape when I have the time by sticking some blu tack in strategic areas to allow the suit adhered to the inner shirt.

Yeah I know the tailoring sucks and you will never get that perfect V shape like this.


But Hyats mod is pretty much identical to Hot Toys proto, where the suit just branches out and that is what I am trying to achieve.


Here is my one with the suit pulled as tight against the body.


I removed the fat suit from the lower half and pulled back the suit around the waist. This created a narrow waist and the torso started to branch out a bit to create some sort of V shape but it was a subtle one.


The lines is as described by another user here, which is to cut a inverted V down the front, but I only did the front and not the back because I find that it makes it too loose and allows the suit to fall out during certain poses.

Yeah I found out that to but I did both the front and back. I wish I never did that mod now. :thud:

For the shoulders and chest, there's no hard and fast rules. The trick is to layer it slowly, nudging the shape to form instead of forcing the shape on. I kept a bowl of water, cut the putty into pieces and only mixed them when I need it to prevent them from hardening. The water is used to store the putty and keep it malleable while I used the water to reduce the stickiness. It takes hours because I start small and in small places and slowly work them up. Be prepared to spent hours working on it if needed. I spent about 5 continuous hours working on the sculpting so yea.

Thanks for the info, sounds like it requires a lot of patience but also talent as I doubt I would ever be able to sculpt those shoulders as symmetrically as you did. :clap
 
Last edited:
The body swap is too cost prohibitive for me and I don't think it makes that much of a difference if sculpting can take care 85% of the issues.

I don't have much talent... I just... look at the screen and compare and contrast, there's a lot of time before the putty completely hardens so if it feels off I would stop and adjust till it looks good. I also part out the putty equally so what amount goes on the left shoulder is the same as the right shoulder.

I just did a bit of blu taking in certain places (mostly lower back and front) and it looks even more form fitting, will post photos tomorrow if I have some time.
 
The body swap is too cost prohibitive for me and I don't think it makes that much of a difference if sculpting can take care 85% of the issues.

Oh I agree but as long as you can do that. For me it is not about cost it is about skill as that CR neck mod looks really hard to do.

I don't have much talent... I just... look at the screen and compare and contrast, there's a lot of time before the putty completely hardens so if it feels off I would stop and adjust till it looks good. I also part out the putty equally so what amount goes on the left shoulder is the same as the right shoulder.

IDK man still looks hard to do.

I just did a bit of blu taking in certain places (mostly lower back and front) and it looks even more form fitting, will post photos tomorrow if I have some time.

I look forward to seeing them. :wink1:
 
In spite of the problems, I'll still order the stealth suit because I loved that suit in the movie. I was going to get the set but now knowing that AOU Cap will have the extra head sculpt I might pass. Still undecided.
 
In spite of the problems, I'll still order the stealth suit because I loved that suit in the movie. I was going to get the set but now knowing that AOU Cap will have the extra head sculpt I might pass. Still undecided.

I would wait and see how Avengers AOU Cap turns out, and then decide :wink1:
 
Back
Top