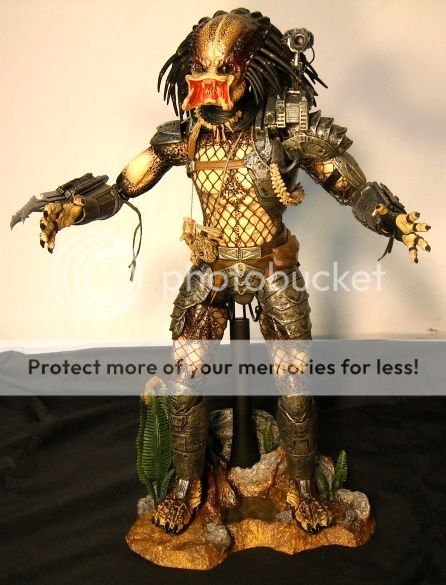
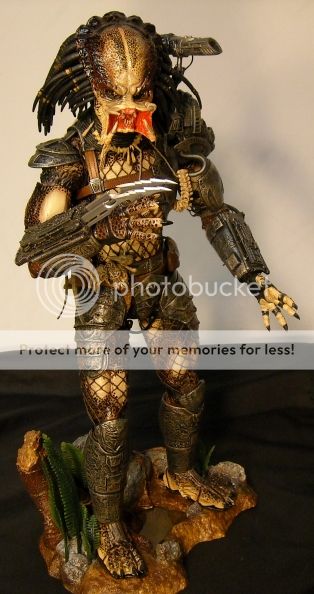
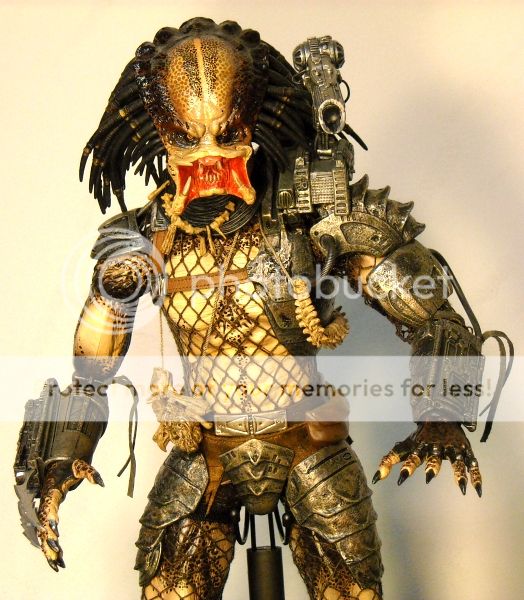
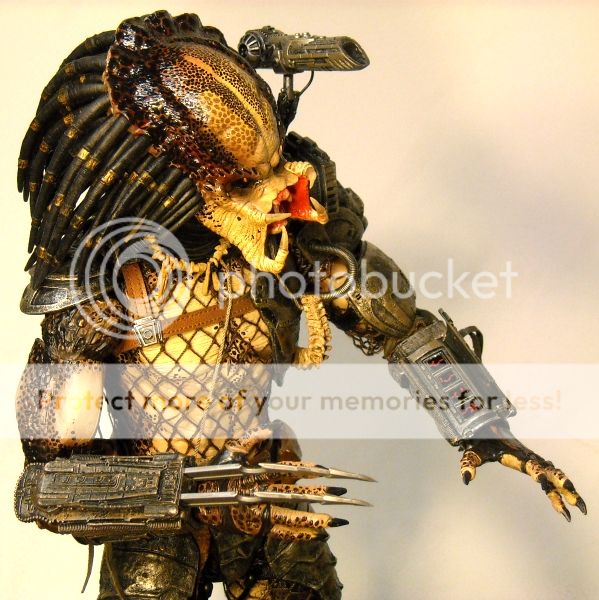
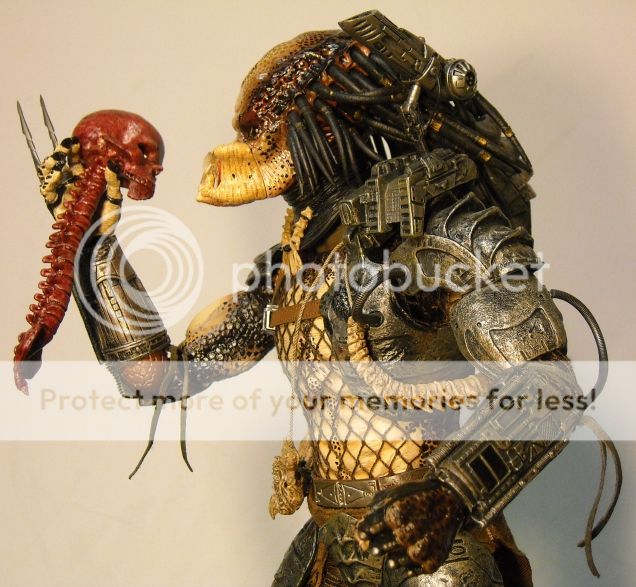
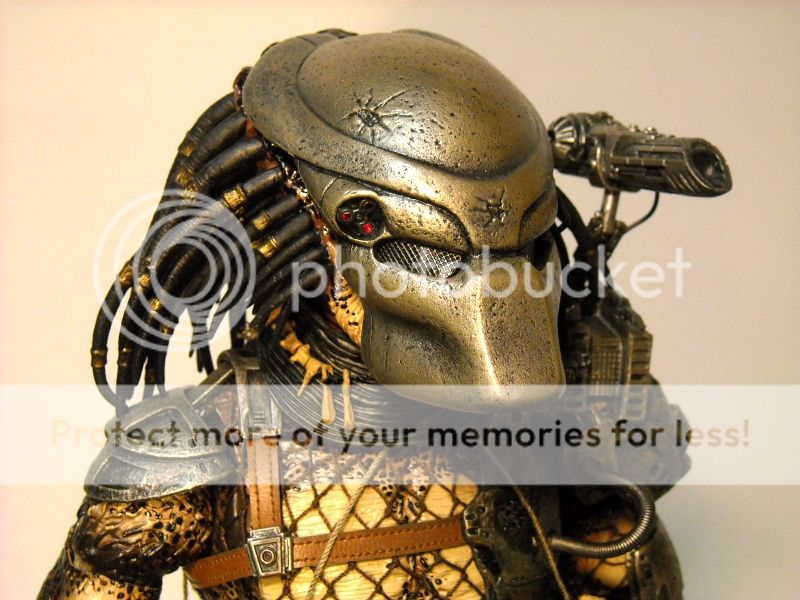
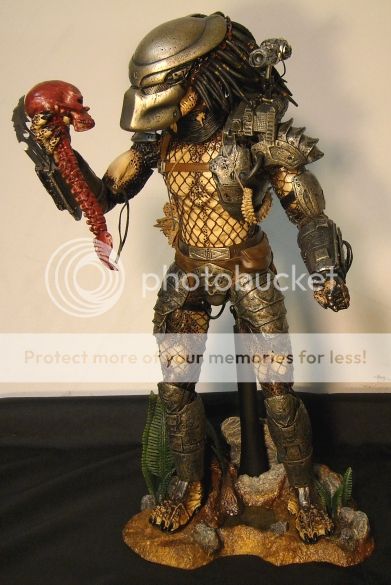
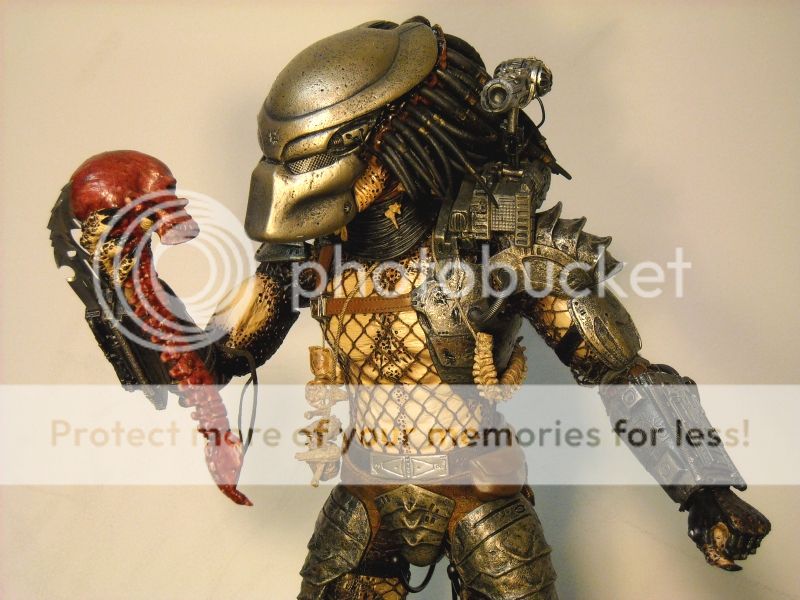
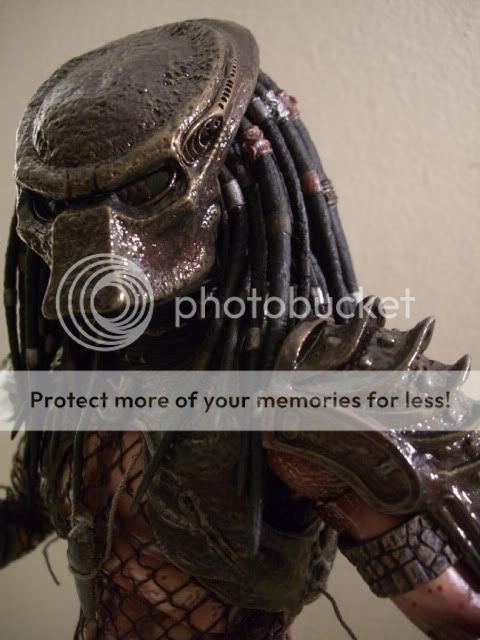
HT original Predator- photo thread

Collector Freaks Forum

Help Support Collector Freaks Forum:

This site may earn a commission from merchant affiliate links, including eBay, Amazon, and others.
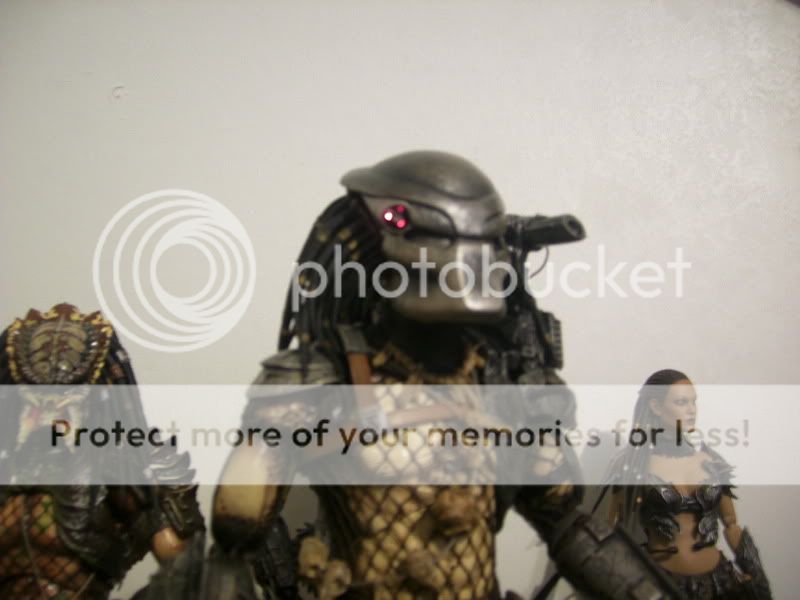
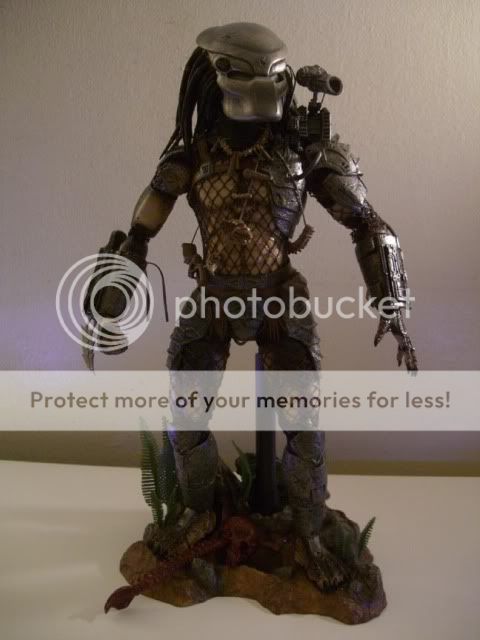
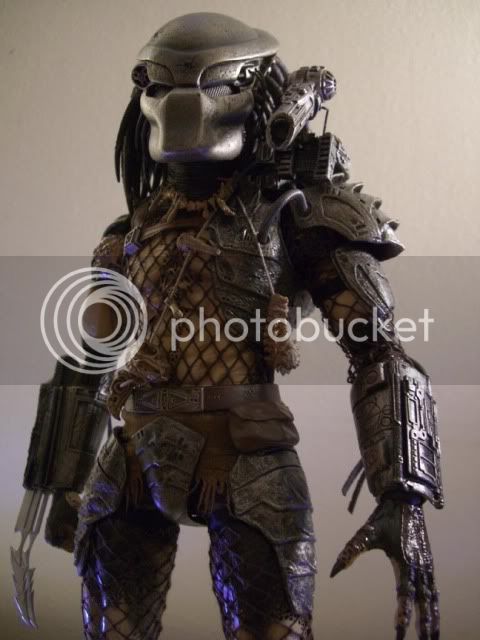
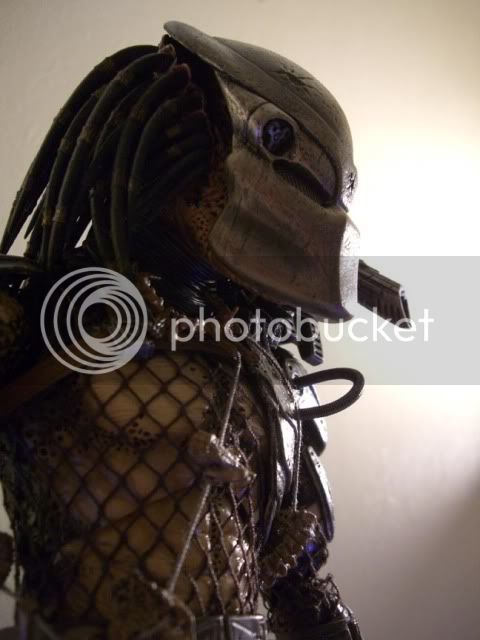
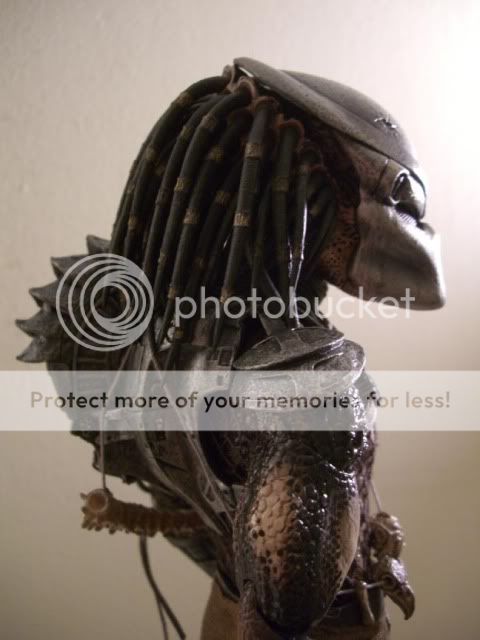
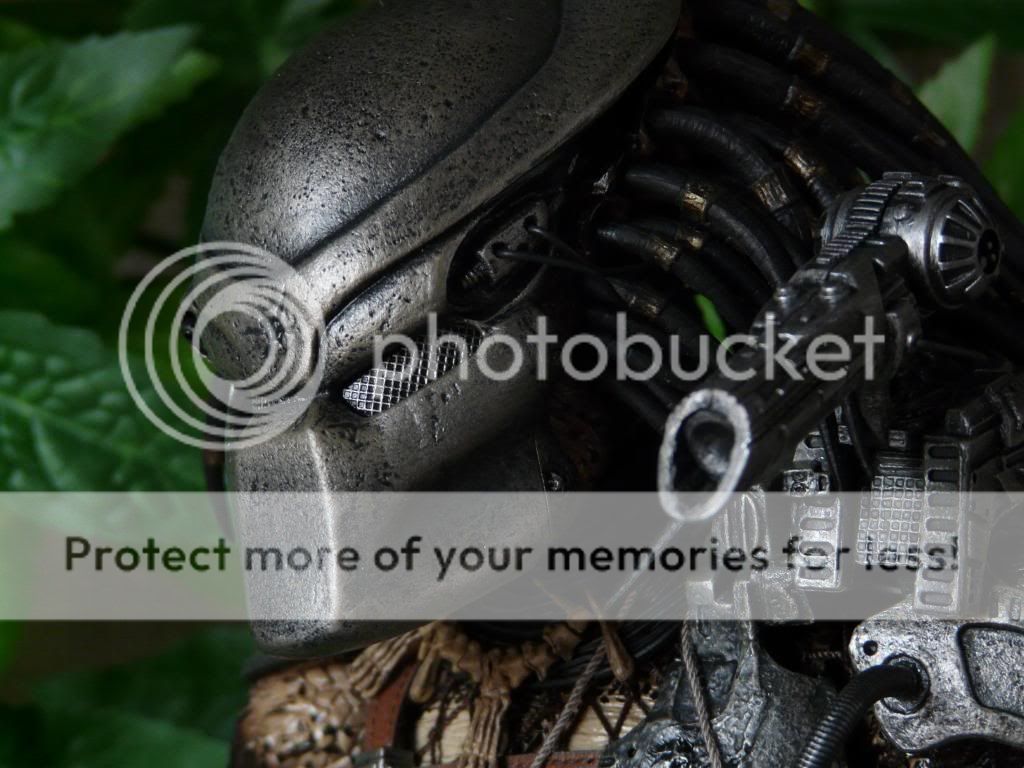
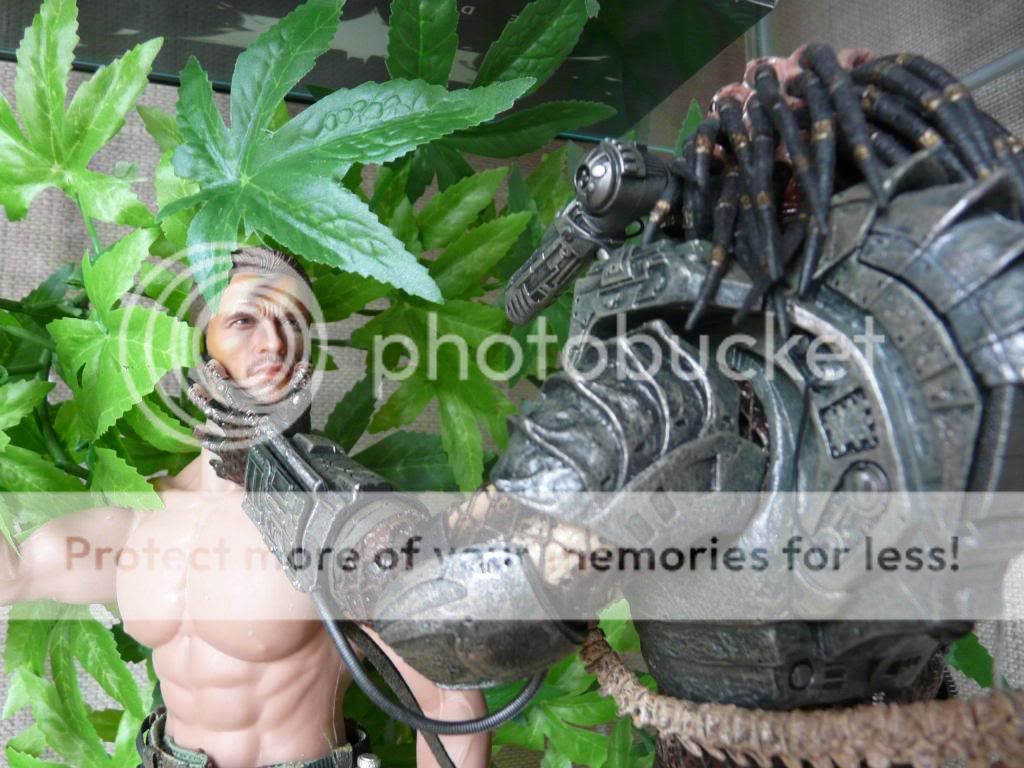
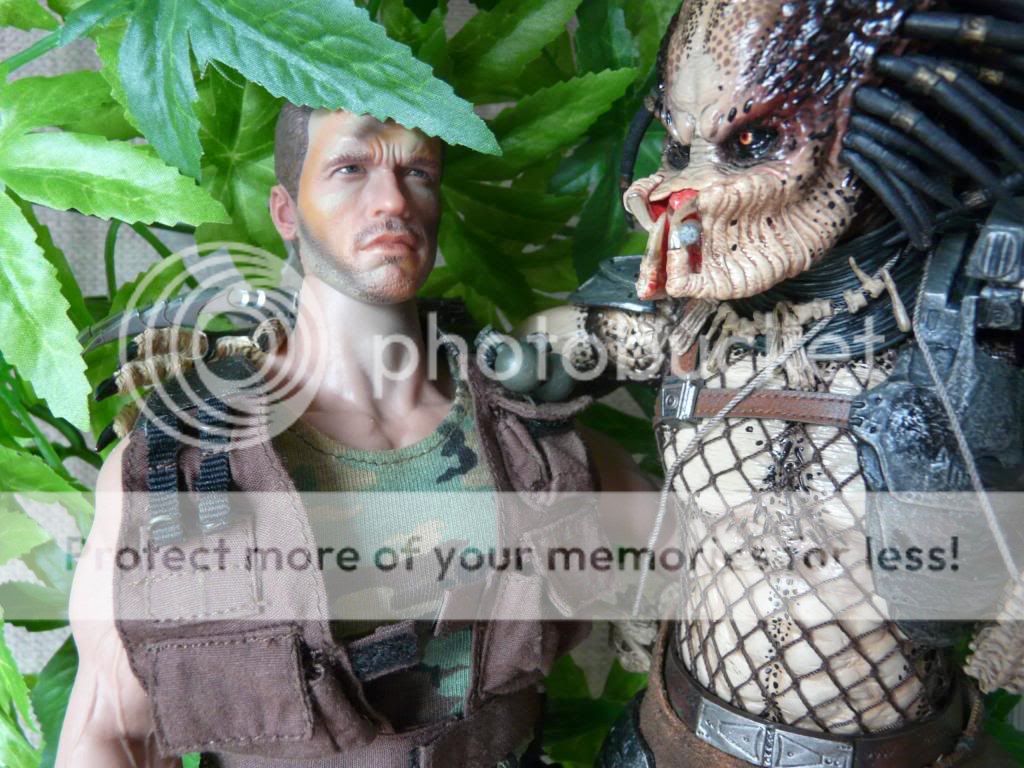
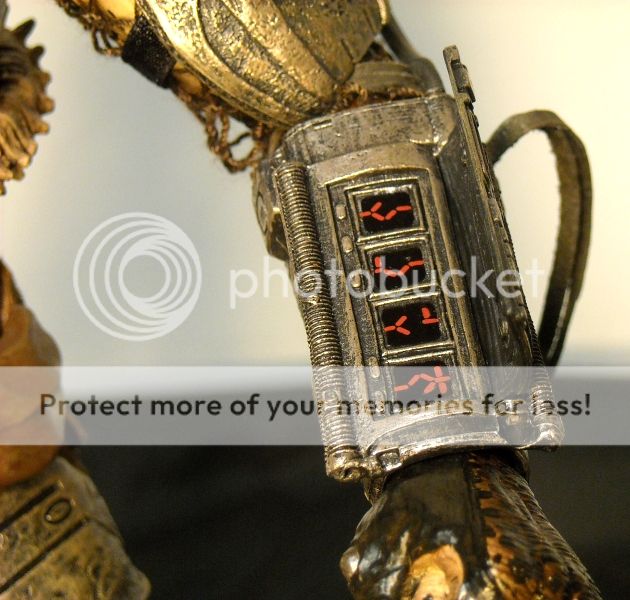
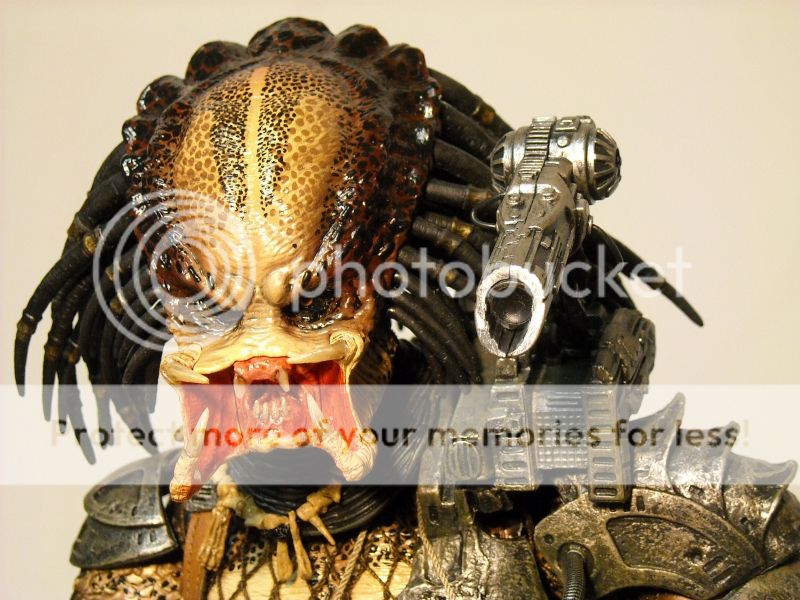
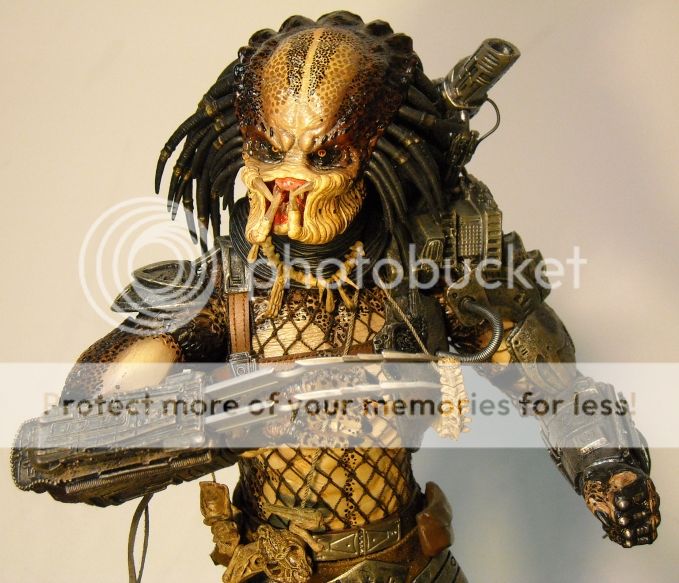
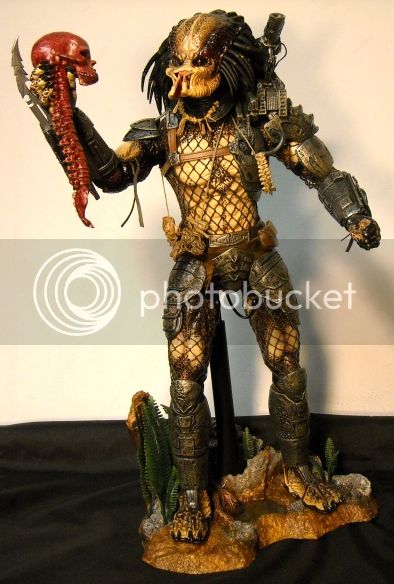
A few pics of my P1 with ex bio lit up. Sorry for the poor pic quality. :eek:

DSCI0194-1.jpg


DSCI0182.jpg


DSCI0187.jpg


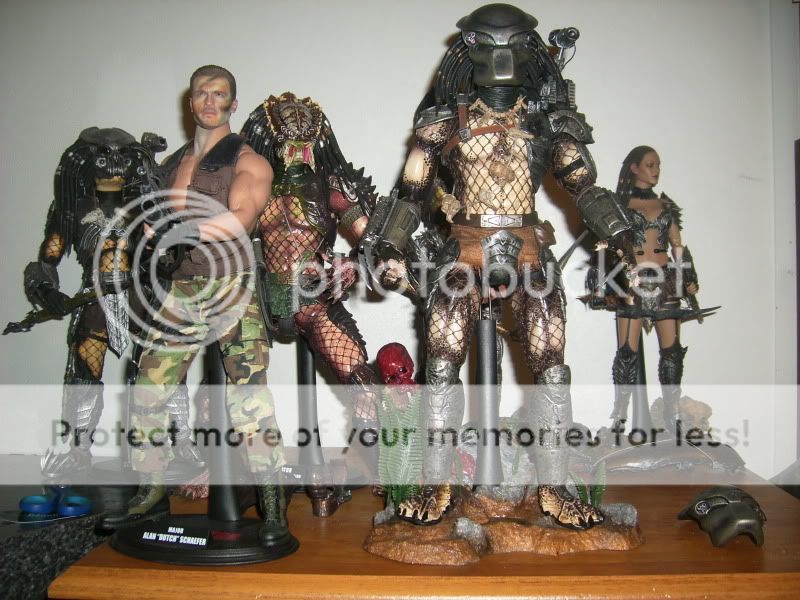
what happened to machiko? guess she had a rough night with dutch :lol
 
Sorry if this was already mentioned, but I finally received my Ex. version. I had not opened it yet and wanted to know where the battle damaged mask is. I don't see it through the clear plastic.

Same as the Dutch headgear, is it also behind the figure too?
 
Sorry if this was already mentioned, but I finally received my Ex. version. I had not opened it yet and wanted to know where the battle damaged mask is. I don't see it through the clear plastic.

Same as the Dutch headgear, is it also behind the figure too?

yeh they are both behind the black plastic,behind the figure in their own plastic casing!
 
I finally got around to opening my Ex Predator this last weekend.

I was disappointed with the wires and plug for the LED being permanently attached to the battle damaged mask and the non lighting "clean" mask. In the process of plugging in the connector to the backpack, one of the wires broke. HT must have used the cheapest wire available, so I decided that it was upgrade time.

I found some wire at work that was in a two pin connector that was the same dimension as the cheap wires but the inner wire was thicker so worrying about breaking the wires is no longer an issue. Plus the new connector grips the wires through the insulation so there is no solder that can break from pulling the connector out.

p1030221y.jpg


I thought that would be a huge improvement....but I didn't stop there since I would have to attach the new wires to the old wires somewhere.

I thought about removing the old wires and rewiring the new wires through the mask and soldering them to the led but I didn't like the permanently attached wire and connector already. So after a lot of thinking and trying different things I figured out how to make the power cables removable at the mask. The wires and LED inside the masks stay there but the outer wires now disconnect from the mask for easy removal. That means no having to remove the connector from the back and having to worry about breaking the thin wires anymore. You just have to plug the wires into the holes in the mask! It took a day of thinking and several hours of monkeying around to get it together and working but I am happy with the results. I figure it is more movie accurate that way as well.

p1030202b.jpg

p1030215j.jpg


Since I also didn't like having the regular mask without an LED light, I found a red one at work and soldered the stronger wire to it. The LED isn't as bright so I will have to source a new one and redo it in the future.

p1030228.jpg

p1030225m.jpg

p1030223r.jpg


I still have to color the wires black and add the other "hoses" to the mask.
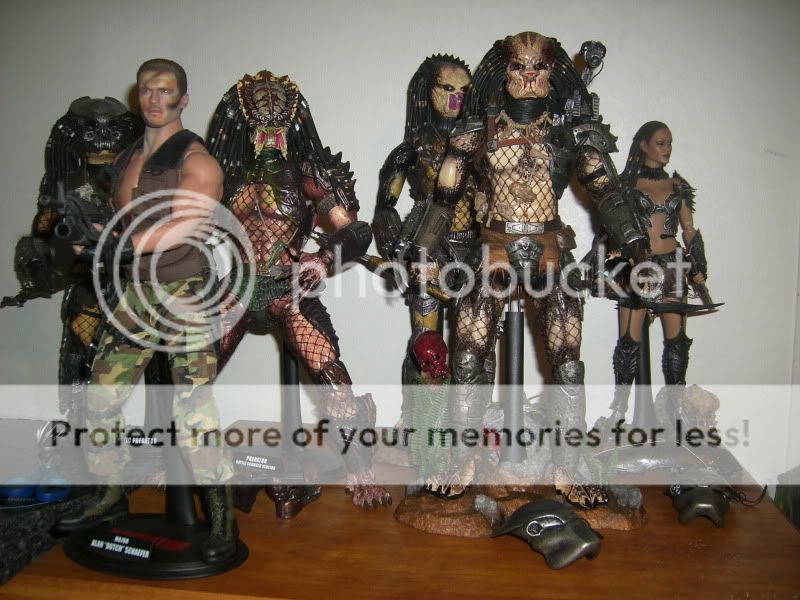
 
Now that the arms have been pointed out to me they're driving me nuts. The upper arms ARE totally backwards.
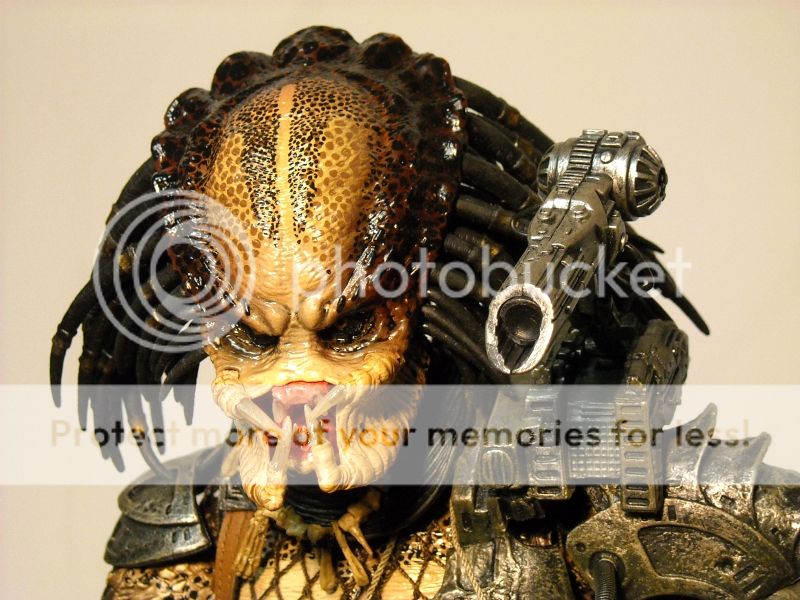
 
Got mine off Evil bay.
P1020131.jpg


Paid over the odds a bit but he goes so well with Dutch :lol
P1020145.jpg


And the ubiquitous 'friend' pose :joy
P1020149.jpg
 
that's what is totally lost in toy producing. strange ways of predators keeping armor on bodies :)
there should be no knee belt for p2, no leg belts for both, no forearm belt for p1 (couldn't catch this in photo, too small to see).
no_belts_1.jpg

no_belts_2.jpg


thought about glueing armor directly to bodynet on toys, but... a small wrong thing is better than a spoiled firure :)
 
they wont settle down themselves. you got to help em.
i helped em with wire, imo better than heat since its permanent.
 
I used boiling water. It's pretty good so far. Been staying in place for about 2 weeks now. Wire work is awesome but hard to do. Boiling water only takes about 2 minutes of your time...minus the time needed for the water to go to boil. :D

I actually did it for all my preds and they look great.

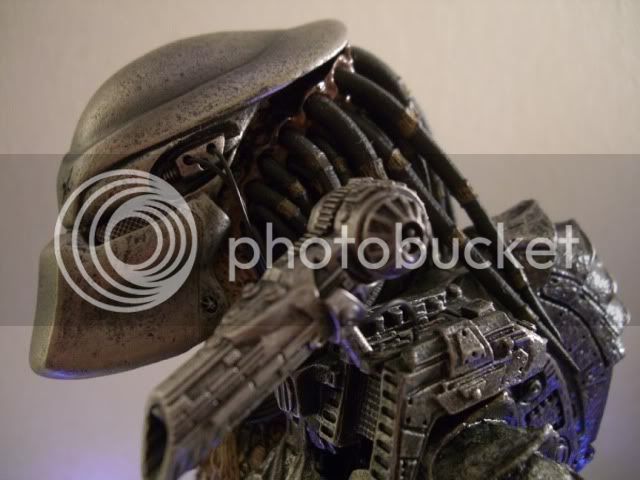
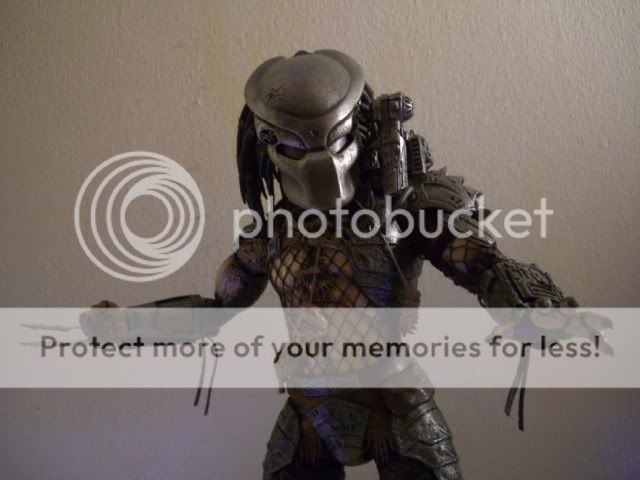
P1frontright1.jpg
P2closeup.jpg
 
P2 became much closer to the movie, but when i did it with mine, his giant HT rugby shoulders became too visible.
 
Back
Top