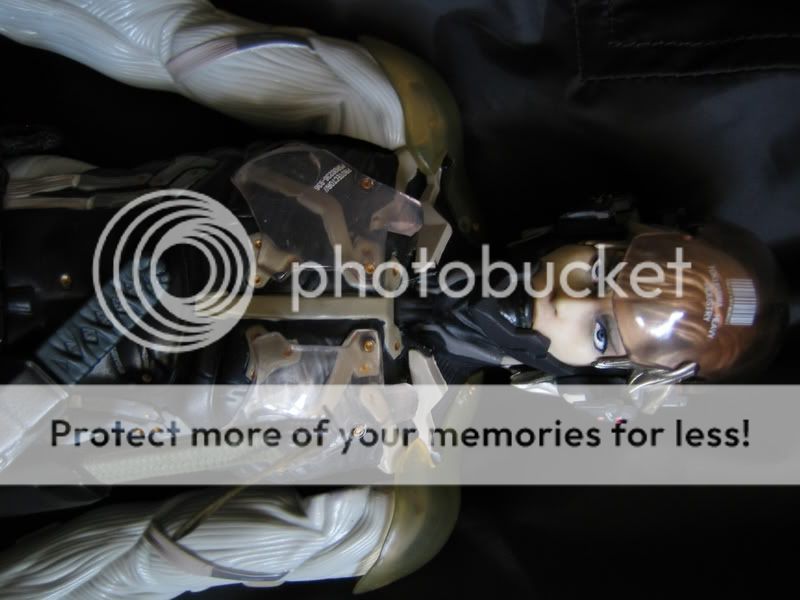
MGS 4 Raiden 12-inch Figure from Medicom

Collector Freaks Forum

Help Support Collector Freaks Forum:

This site may earn a commission from merchant affiliate links, including eBay, Amazon, and others.
Guess what?! Turned out Medicom didn't lie about having metal in the joints for Raiden. After getting bothered by the loose joints of Raiden to be almost unposeable, I underwent a big operation and decided to open him up big time. To my surprise, the RAH body no longer used the normal metal pins on most hinges, but a new screw/bolt & nut system that actually allows you to adjust tightness and clamps the joint much more securely. If its not the sealed up rubber suit, you can actually get some nice adjustment on the joints (though some can still be looser with the screw tightened all the way. So it is a more advance base body afterall.

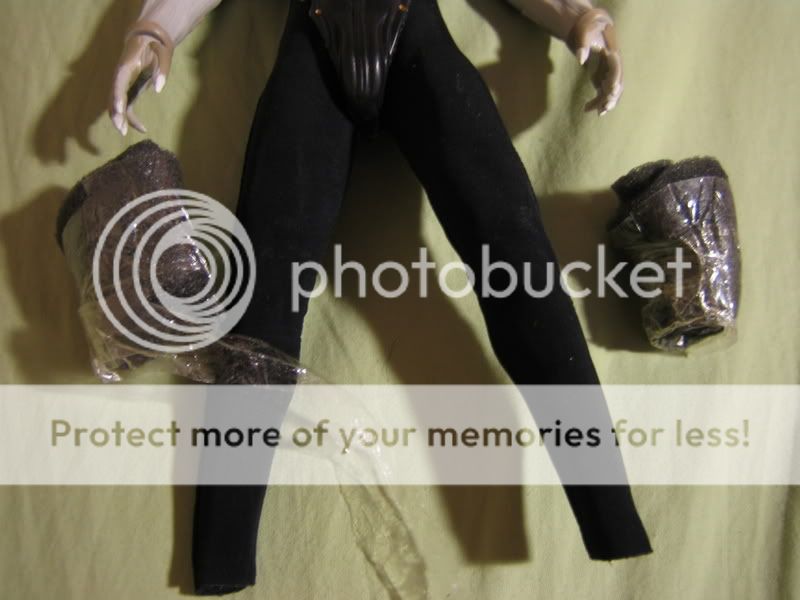
HOWEVER, the freaking QC never tighten up most of the screws on Raiden!!! And really don't know what they are smoking when I saw they just wrapping foam by a bunch of scotch tape aroung the thigh AND the knee joint! No wonder Raiden can't hold his knee bending at all! While the design of the figure and material is not half bad (some limit articulation), they really did some crazy crap on the assembly to worsen the figure a whole lot more (the stupid stuff mentioned, bad glueing, and some sloppy paint too). They literally destroyed this Raiden figure on the QC.
 
IMG_4677.jpg


IMG_4678.jpg


IMG_4679.jpg


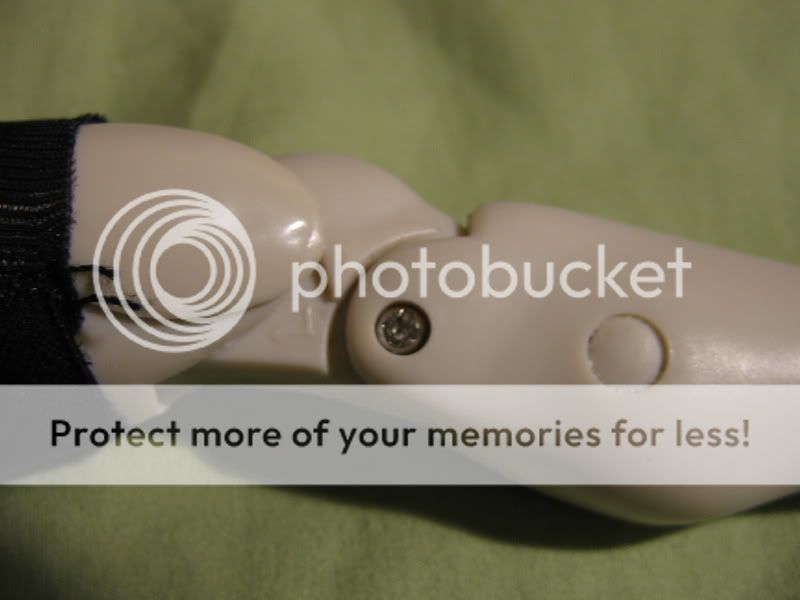
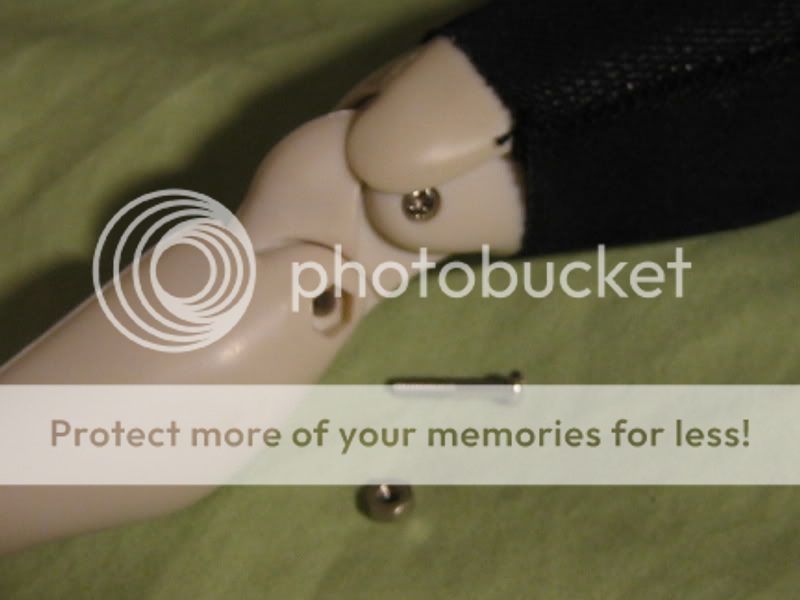
Ok. So here are a few pics on Raiden (and Old Snake)'s new 'metal joints'. It may not look like much at first glance, but the screw/bolt & nut replaces the old hollow metal pin (which generates unpredictable tightness or looseness to the joint, depends on how it was assembled). As you can see in the third pic, the screw has a smooth section, which functions just like the old metal pin as the hinge joint pivot, but the screw & the hex nut on the other end provides adjustable tightness clamping the hinge joint from both sides. If all future medicom figures come with bodies like this, loose joints will most likely be less of an issue, as you can simply tighten up that joint screw. I see Raiden has this new joint on elbows and knees. But not sure if there are more in shoulders, hip, or torso area, as they were covered by the black body suit.
 
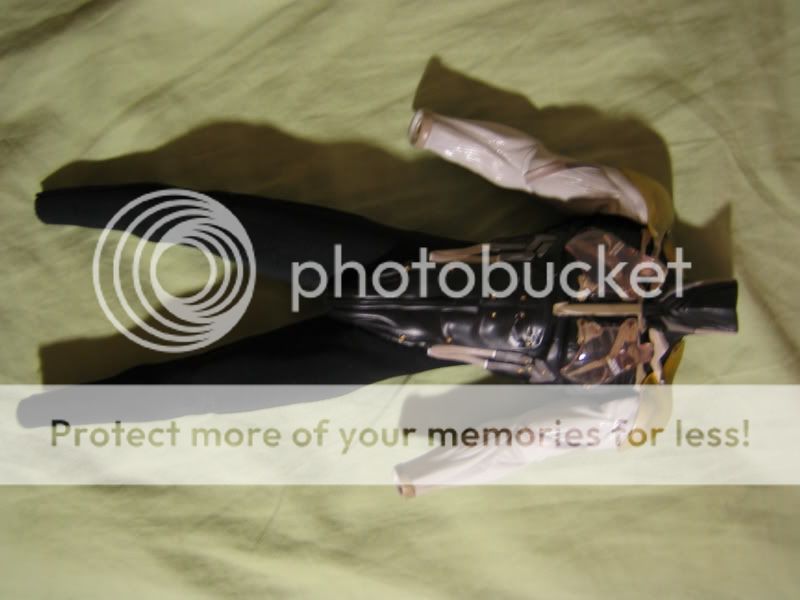
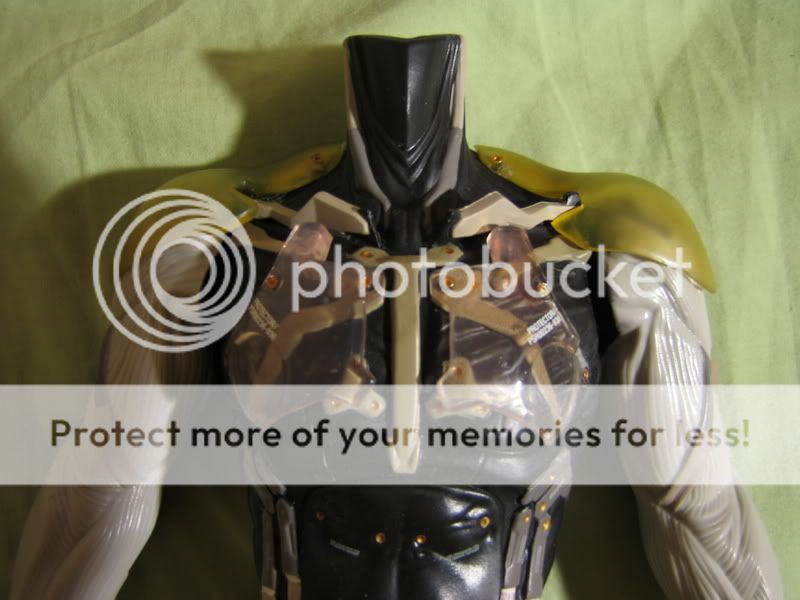
Here is more pics of my dismantled Raiden. :p

IMG_4683.jpg


IMG_4685.jpg


IMG_4686.jpg


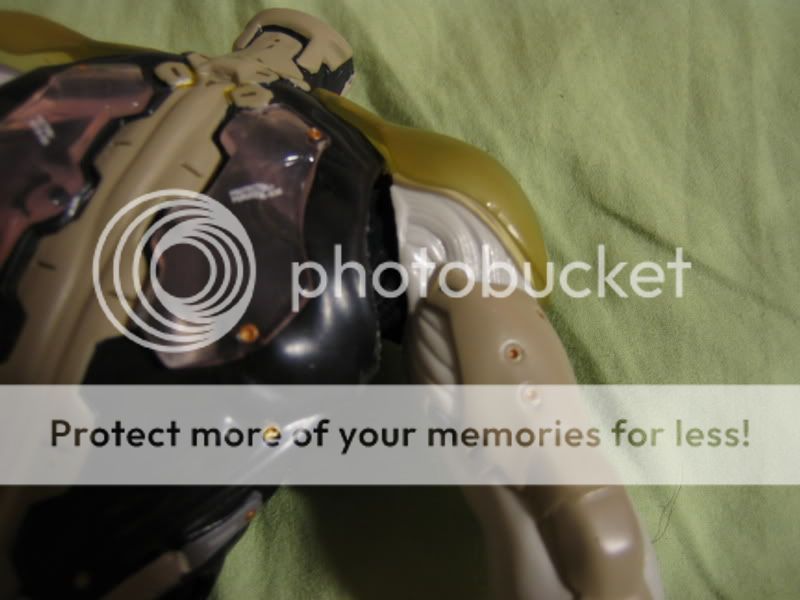
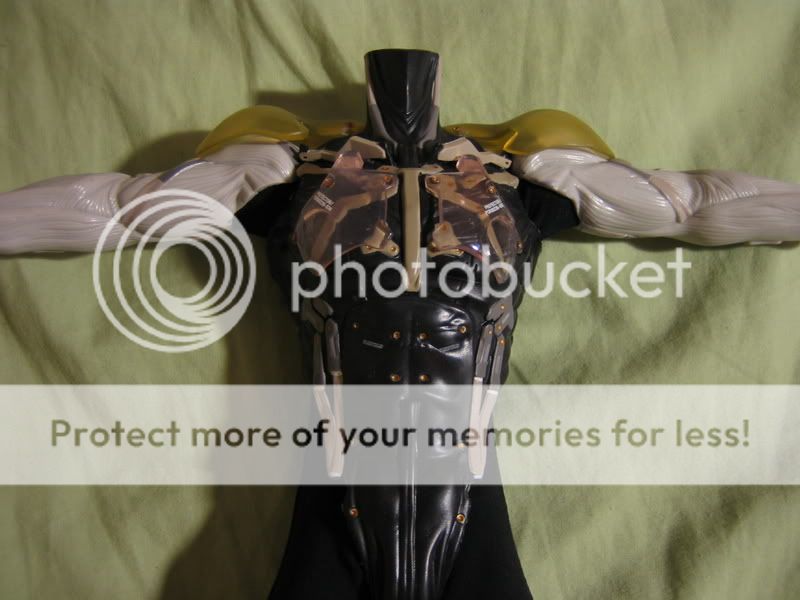
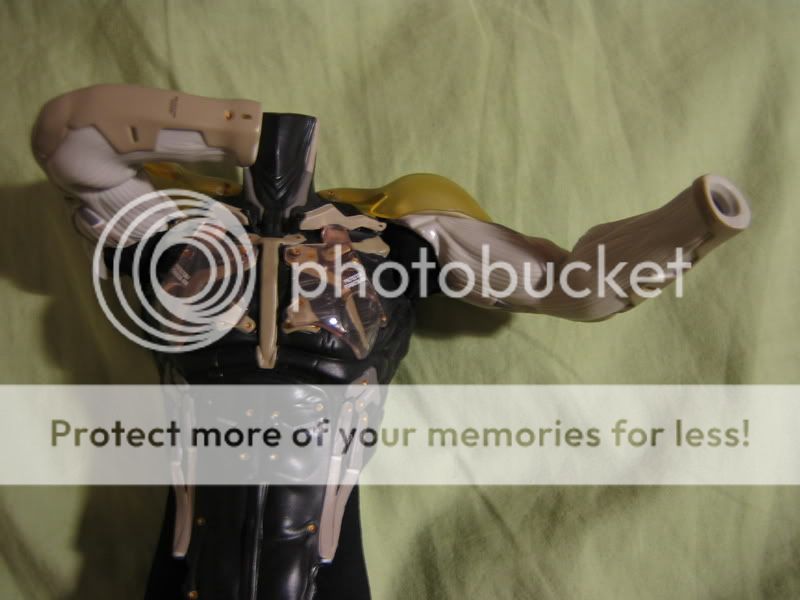
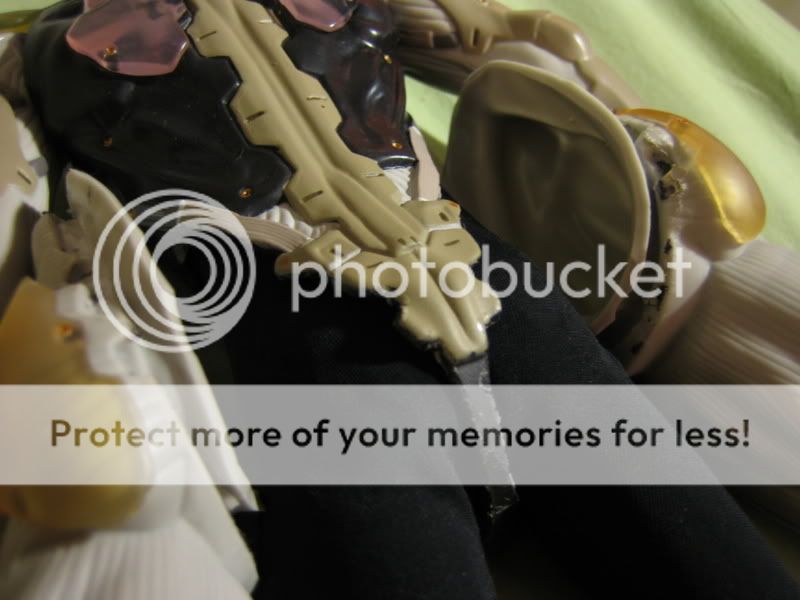
As you can see, I shaved off all the excessive rubber on the arm that used to tug inside the torso rubber suit at the armpit, as well as all the messy bits with glue and torn bits. The arm rubber sleeves are now fully separated, and you can see it revealing a gap showing the black inner cloth suit underneath. Definitely not as pretty as Raiden used to be when stock. The trade off is to let you fix up the ridiculous loose joints inside, as well as the ability to do this:

IMG_4687.jpg


IMG_4688.jpg


Here is a close up on the paint damage after you rip the legs off (even when I did it really slow and carefully). The rubber just won't tear clean at some spots.

IMG_4689.jpg


And here, the horror of the Medicom Assembly Line... With these junk and scotch tape wrapping the thigh and knees, how do you expect the knee to bend? Not to mention all the adjustable screws were not tightened...

IMG_4692.jpg


One last thing. If your wrist look like the one on the right below (Raiden's left arm), its more likely your hand peg won't lock in place like it should, and/or lose some wrist articulation. Its meant to look like the wrist on the left (Raiden's right arm) where the inner body wrist sits flush with the rubber sleeve. And of course, they didn't assemble it correctly on both of my Raiden's arms. And took me a while to figure out, after taking the figure apart, and realized the hands do lock in place, but only when it has enough clearance from the rubber arm sleeve at the wrist. All you need is to push the sleeve up bit by bit (need to use a little force) until you manage to nudge the sleeve to flush with the wrist inside. It will sit tight and stay put, without slipping back in.

IMG_4680.jpg


Not sure if you really want to do what I did to Raiden. Not really something I would recommend per se, unless your Raiden joints are so loose like mine that he can't pose at all, and don't mine messing up his looks a bit. I do have a jacket for Raiden (will tailor it to better fit), so that helps cover up most of the flaws. And Raiden can be a much sturdier and more poseable figure, with some sacrifices.
 
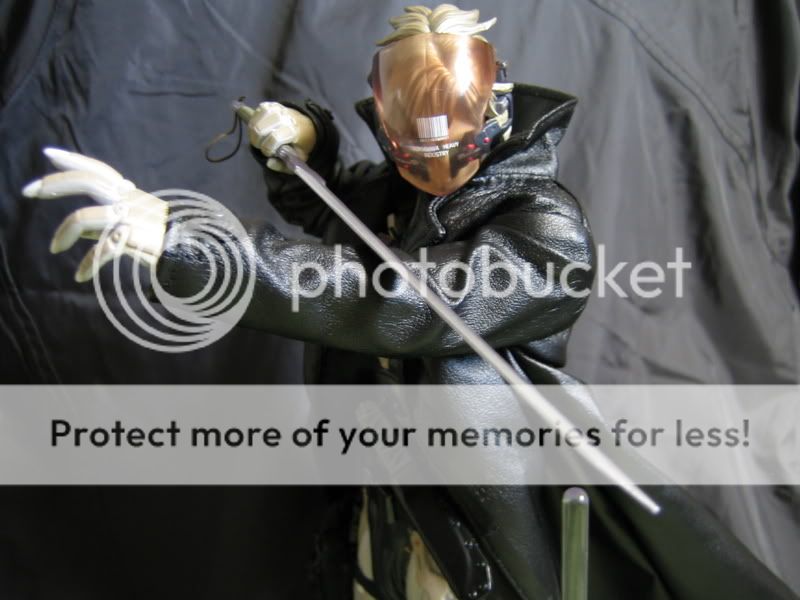
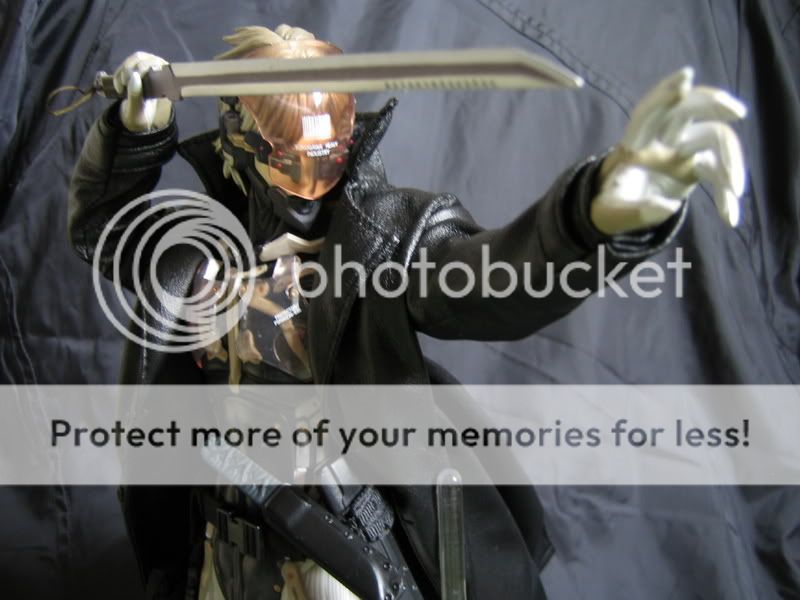
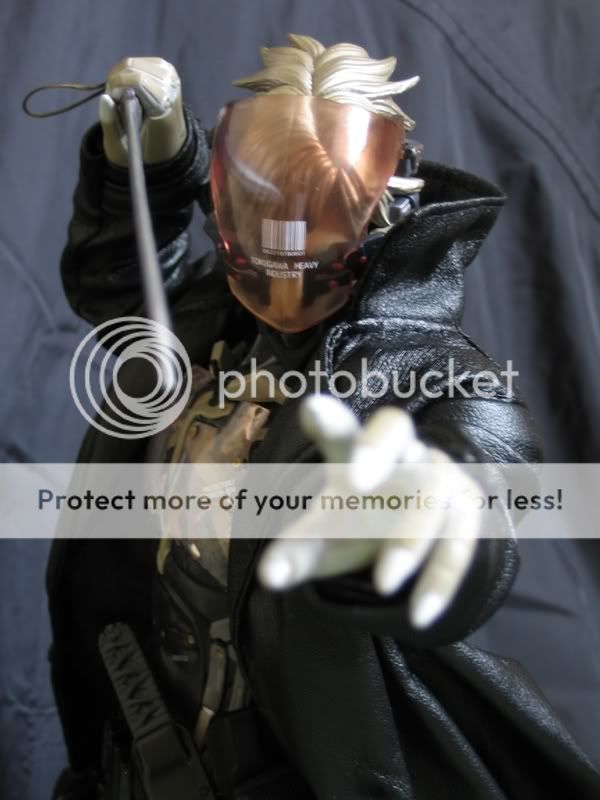
Put Raiden back together finally, and managed to take a couple pics before the camera ran out of battery. While flawed on the joint seams with some messy spots, the joints are all tight and sturdy, and I just used some cotton balls to fill up the thigh a little so its less hollow, and overall feels very nice and quite playable. Lower body articulation still limited, as the hip rubber seam is just way too restrictive no matter what you do. But the upper body is awesome and very poseable.

I doubted any unmodded Raiden can pose like this.

IMG_4710.jpg


IMG_4707.jpg


IMG_4704.jpg
 
Wow! That's some pretty brave and profound changes you have made there! The result proves you right though. I think I better not mess with my Raiden, although he could use it: the joints are so loose, he holds no pose at all.
As cool as Raiden looks, the figures is far from perfect. I recently bought a couple of older Medicom figures, dated 2000 & 2001. While the plastic is very brittle, and needs to be handled with care, both figures convince me more that Raiden does. When a figure looks cool, but the poseability is gone, that's not really a leap ahead it seams.:monkey2

When it comes to Medicom, they made very little effort to improve on their figures. Even though most of us called Raiden's a rubber suit, its really a soft vinyl suit, not much different from all the gloves and boots Medicom made for other figures. Just a much bigger sleeve that cover a big part of the body. There is no stretchiness AT ALL! Of course the figure is not gonna pose well. Then as I pointed out before, the QC totally trashed this figure. They built the nice screws system (versus the stupid outdated metal pin hinges that only used in cheap action figures) in their new RAH body on Snake & Raiden, but the assembly line never bother to tighten them... Then you look at Hot Toys with the 2 recent Batman releases. Even the Begins & the TDK suit have different rubber suit material, with the TDK even stretchier than the already very good Begins suit. And their releases are only a couple months apart. Medicom on the other hand didn't care to look for improved material to solve the poseability issue. Then let the QC to worsen the problem, and feel totally fine with it. :D

I still like Medicom stuff mind you, but will only buy their stuff if its something exclusively from them, and something to die for.
 
Did some refinement on my previous quick paint job on the eyes, now that Raiden is back in one piece. Gave him a little bit more skin tone on his face too.

IMG_4716.jpg


IMG_4714.jpg
 
The Face is very accurate, that's so Raiden, great repaint mpchi ! :cool:

Have you a little tutorial for do same thing on myne ? :monkey3
(now on your fault I can't look my Raiden like before^^)
 
The Face is very accurate, that's so Raiden, great repaint mpchi ! :cool:

Have you a little tutorial for do same thing on myne ? :monkey3
(now on your fault I can't look my Raiden like before^^)

Don't have a tutorial per se, but I can tell you what I used.

Very fine point model Paint Brush - You need to be very precise on painting, since the eyes are so small. A tiny difference can totally change the 'stare' of the eyes.

A Dental Tool (the one with a skinny wire hook tip) - Very handy to make minor corrections or smudge away a crooked line before paint dries. Its not as sharp as a needle or push pin so won't scrape the surface, but still give you a very fine tip for any corrections.

Model Master Acrylic (white & red) - Obviously for the eye white, covering all the unwanted lower eyeline or the strong red on Raiden's eyes. Then mix a little red and white to get a pink, for the corners of the eyes. Though make sure you use as few brush stroke as possible. The more strokes you used and try correcting your paint, the rougher the painted surface will dried into.

Gundam Marker (Super Fine Grey) - Super skinny permanant marker to reshape the lashes where you want solid dark lines. Also good for the iris outline, if you reshaped the iris to be smaller, and need a new outline around it.

Real Touch Gundam Marker (Light Grey) - Used to feather out the lashes as Real Touch Gundam Markers are water soluble, and doesn't dry permanant. So you can smudge and feather out areas you don't want to have a 100% solid grey line. They dry somewhat transparent, unless you keep drawing over and over on the same spot to build up the darkeness. Also used this to darken the blue eyes of Raiden, without losing the blue colors completely.

Pastel Chalk (Black & a flesh tone Brown) - Use another small brush and brush on some pastel chalk on areas of the face that adds color to make him look more natural. Treat it like putting make up on. But always go light. Its easy to keep adding more when its not enough, but messier if you put too much and want to wipe some off. But if you really messed it up, just dip a drop of water and wash it off with your brush.

Takes a steady hand, some patience, and experimenting. But really not that hard.
 
Last edited:
I will probably received my Black coat in next days, I will post pics ASAP.

By the way thanks mpchi for your excellent tutorial, too bad I'm not a good painter^^
Don't hesitate to post any other pics of your Raiden.
 
Now that's a good coat.. where did you get it from? Edit: nevermind, I got it :monkey3
 
the bodysuit is super stiff and doesnt move too well, but you have to give them credit for the strenght though. mine hasnt detiorated after 2 years unlike the goku bodies
 
Back
Top