Action Figure Neca 1/4th Predator Custom Mod Thread Only

Collector Freaks Forum

Help Support Collector Freaks Forum:

This site may earn a commission from merchant affiliate links, including eBay, Amazon, and others.
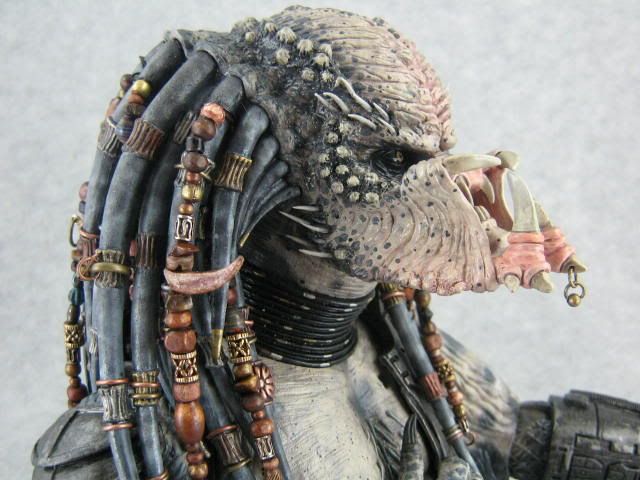
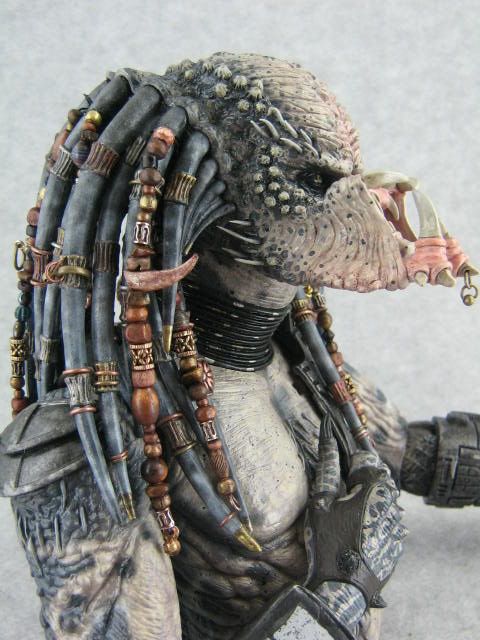
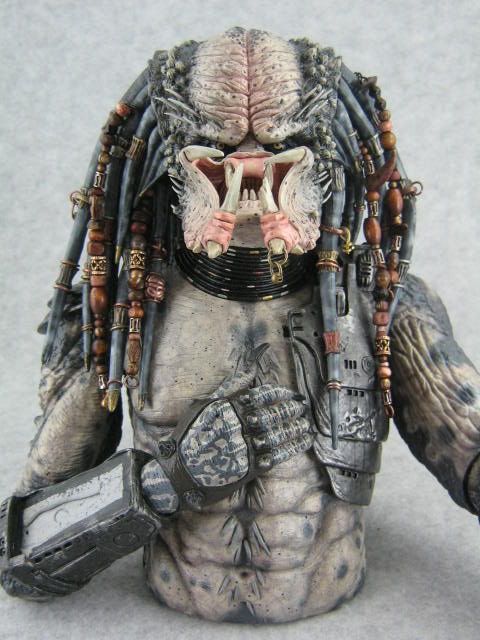
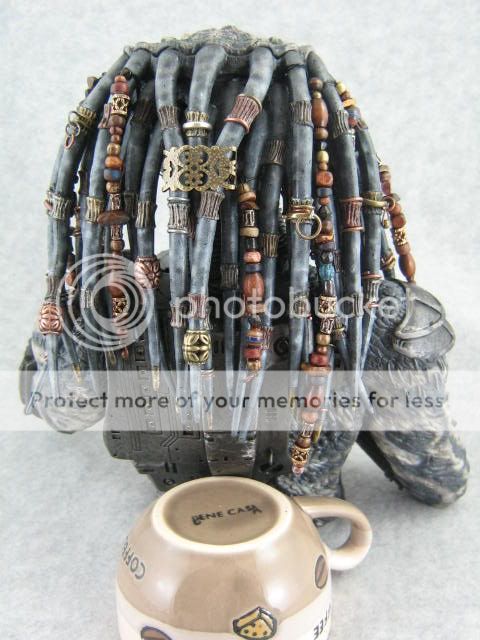
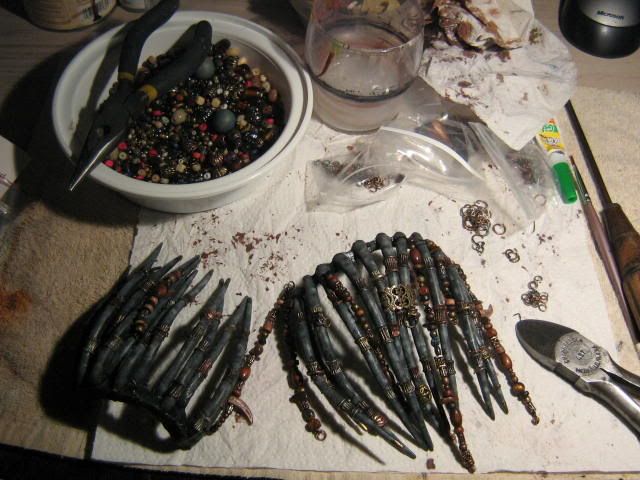
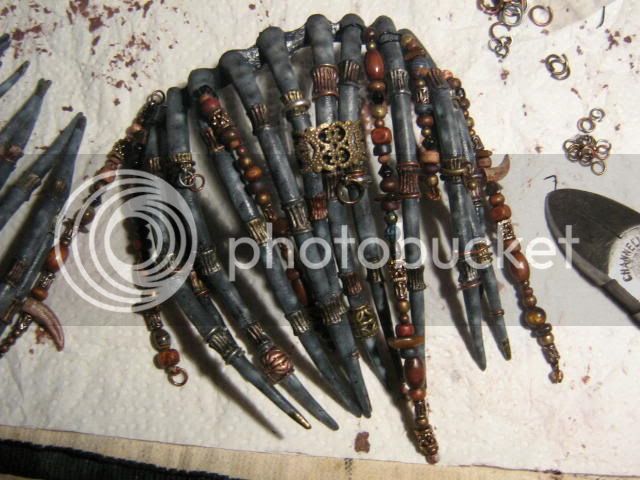
Well heres the dreads done with all the bead work. It took a while to place them and fit them in the right places, taking them on and of the head...but overall I'm very happy with how these turned out.

When I was sculpting the added features on the face, I knew that would make or break the look of the Elder...the beads were the same way.
IMG_1234.jpg
IMG_1235.jpg


More pics coming up...:)
 
Heres a few shots of the dreads now secured to the head. Need to make some final adjustments after the shoulder backpack and cannon are assembled.

Also need to touch up some areas on the dreads.

Thanks for checkin it out fellas! :hi5:

IMG_1238.jpg
IMG_1239.jpg


IMG_1243.jpg
IMG_1244.jpg


More updates coming soon... :)
 
Ok, heres a little update...

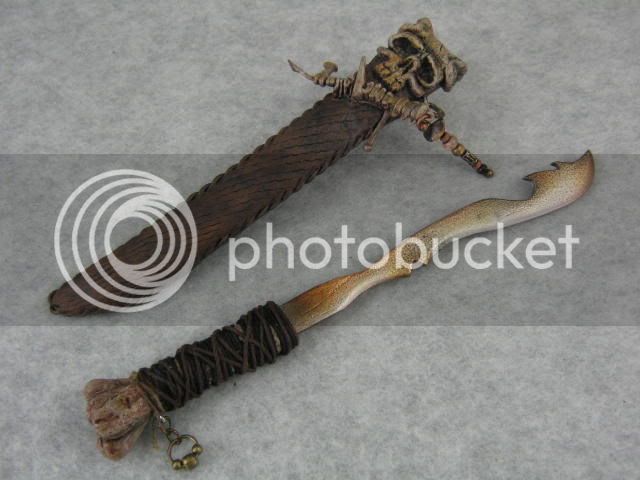
Worked on the sword and the sheath. Weathered the sword blade a bit with some transparent colors and then blotted it to get a rusty cracked look.

I also wrapped the bone handle with some twine and stained it with some Dark Walnut stain and added some little beads.

IMG_1289.jpg


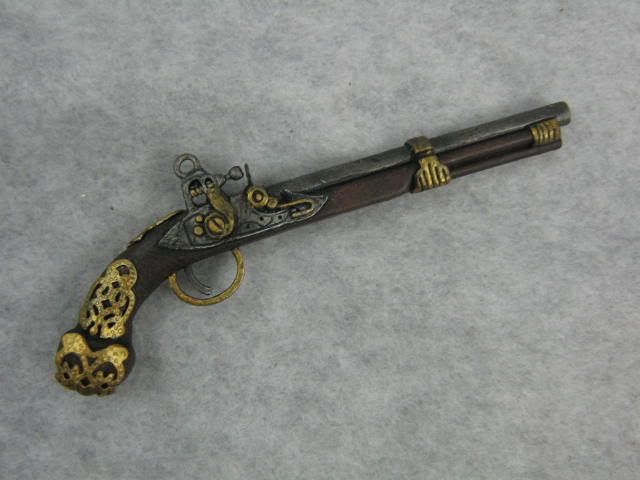
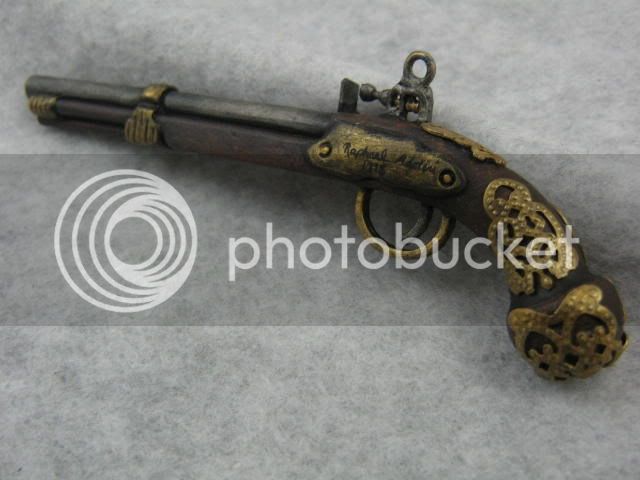
For the flintlock, I didn't want to paint the gold pieces on around the handle and butt of the gun. I really wanted it to look authentic with some brass plates and fittings.

I found a couple of little brass finger rings. I cut out the pieces I wanted and glued them to the gun. I still need to weather them a bit, but you get the idea.

IMG_1294.jpg
IMG_1298.jpg


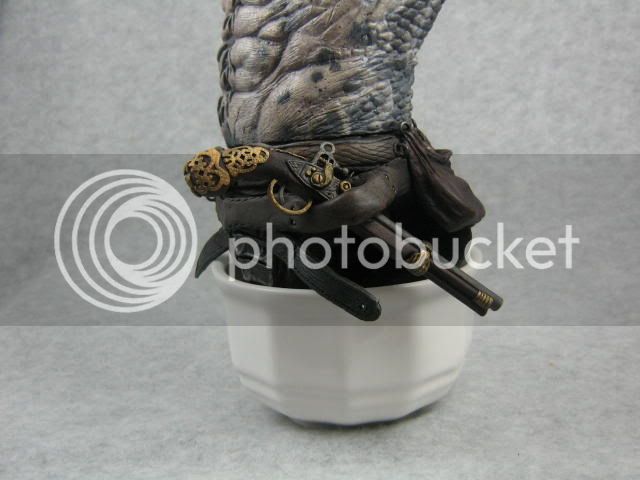
And here it is in the belt loop.

IMG_1318.jpg


More updates soon... :)
 
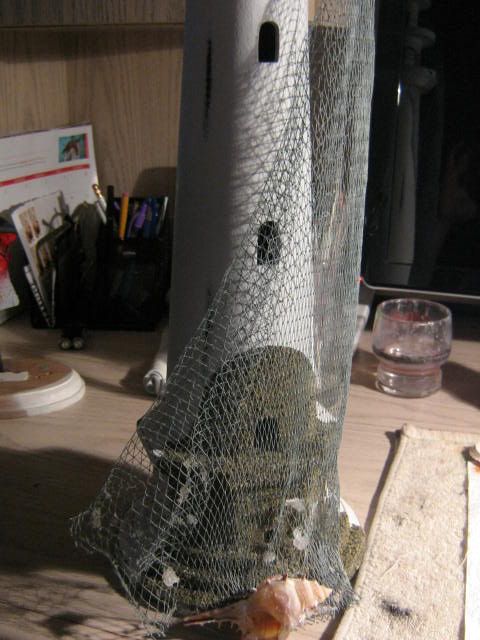
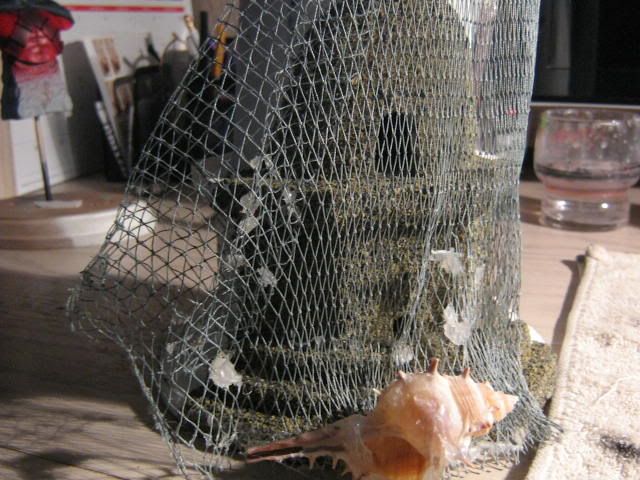
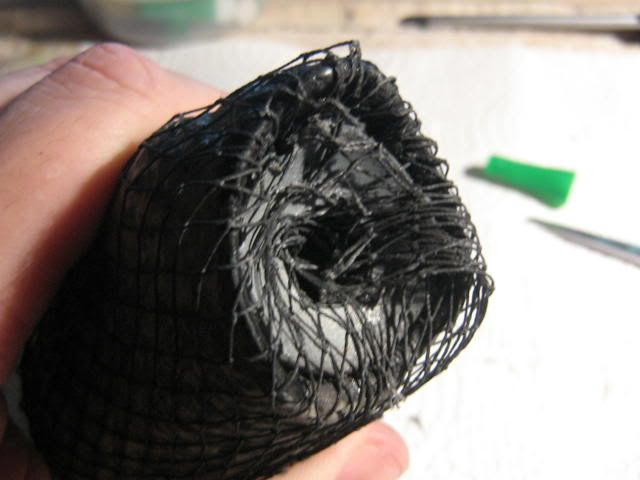
I knew this was going to be the most difficult parts of this custom...finding the netting. And it took a while too.

But I guess living near the beach paid off. I happend to stumble across some netting on a lighthouse in a gift shop.

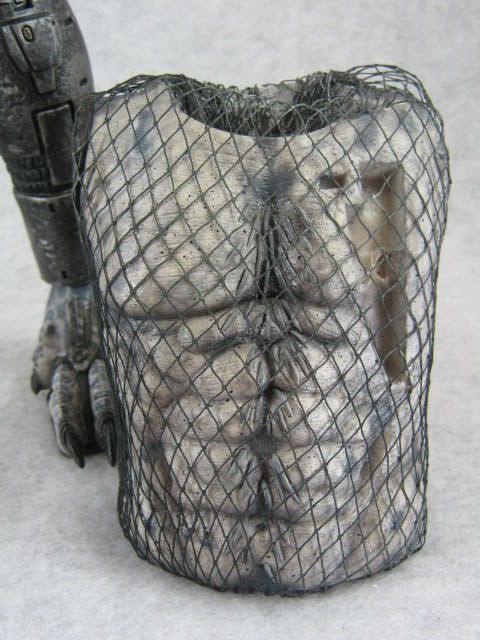
I brought the Predators torso with me to see if it would work, and it looked pretty good. Its a tough cloth material. And it very sturdy.

IMG_1262-1.jpg
IMG_1263-1.jpg


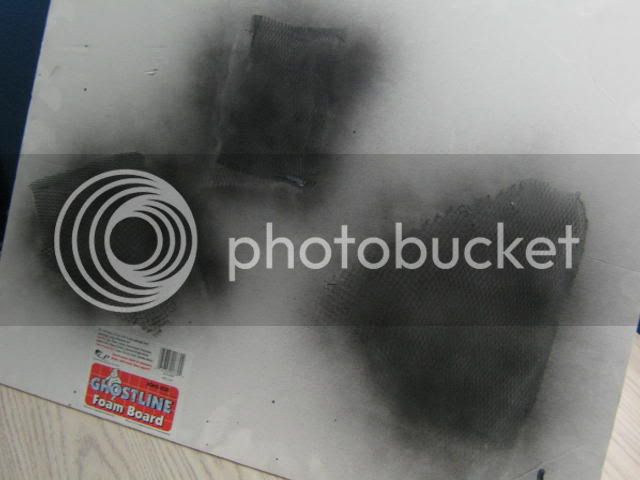
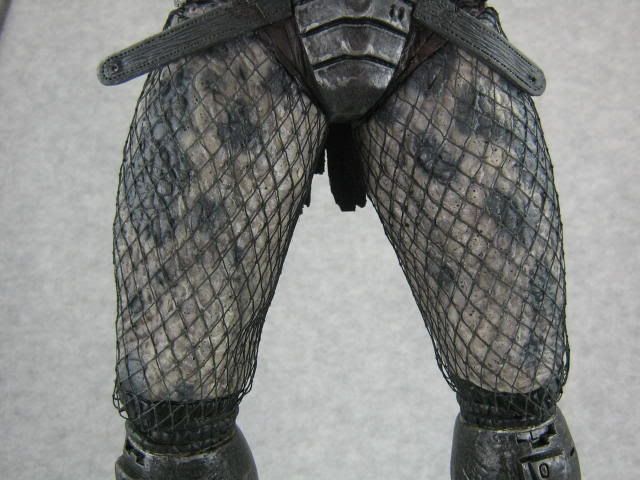
I cut the parts out I need and fit them to the legs and torso. Then I tacked them to a poster board and misted them lightly with black spraypaint.

IMG_1330.jpg


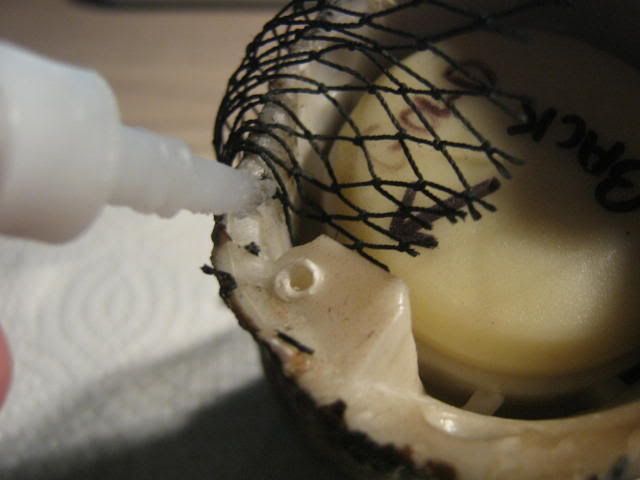
Starting in the back, I glued a little piece of netting to the inside joint areas on the top and bottom. Then I work my way around till the netting meets in the back.

IMG_1332.jpg


Then I tuck all the leftover netting inside the open areas.

IMG_1333.jpg


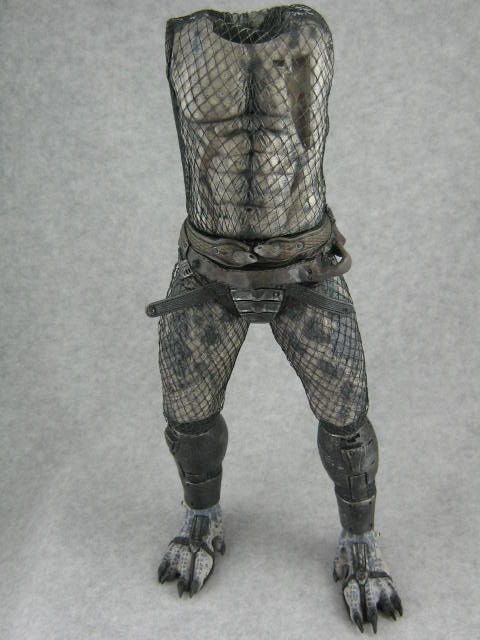
And heres the final product. Looks pretty cool! I'm glad that parts over.

IMG_1334.jpg
IMG_1341.jpg


IMG_1342.jpg


More pics soon, and then the final assembly.
 
I should have some pics of my custom predator soon.

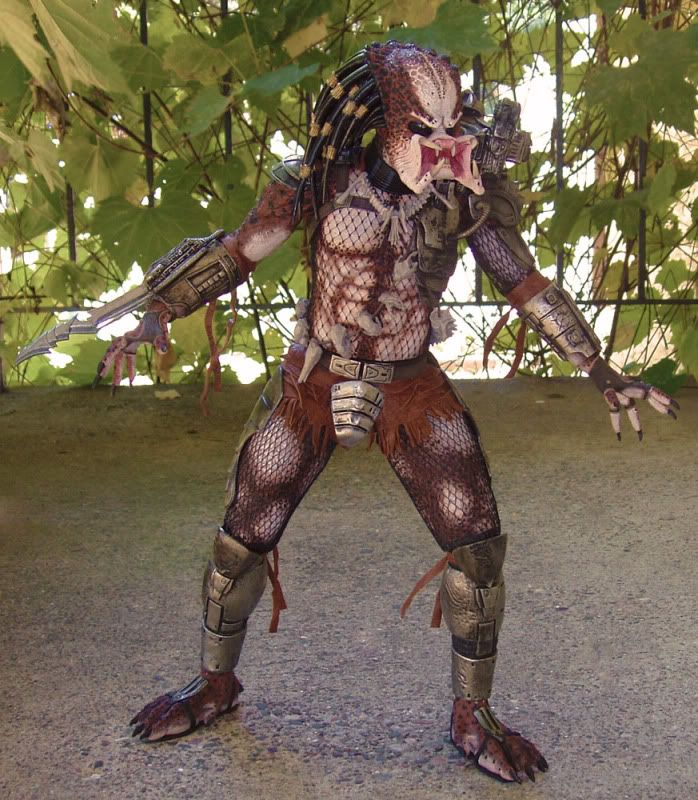
I've repainted him top top bottom - using the browner color scheme from my Sideshow 1:1 bust. Added leather straps to arms and legs, and replaced the swivel hips with ball joints. I still need to touch up the paint here and there and make the leather shorts.

After taking him apart I am incredibly impressed at how well this figure was built.

Cool man! Please post some pics when you can.

:)
 
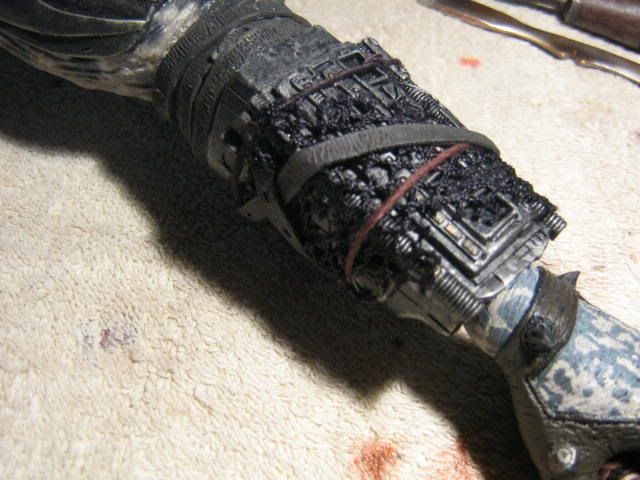
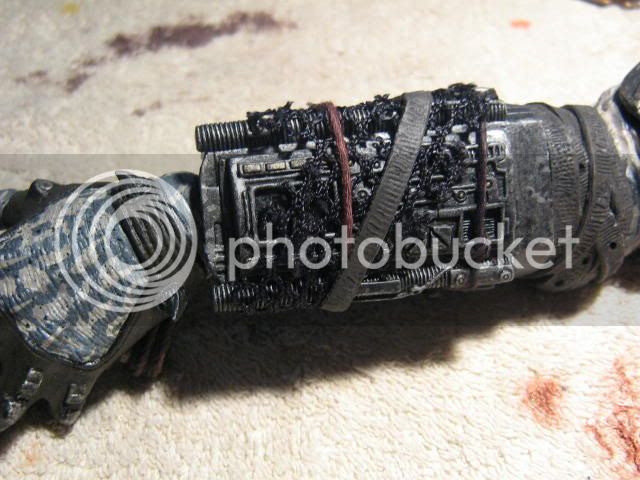
Well, this is the last of the in progress pics. Added the shredded netting to the his left gauntlet and wrapped it with some chord and twine.

I also wrapped some strands of rubber chord around the gauntlet as well as the elbow joint so the arm would be flexible...and it also hides the rotating joint.

No ties or chords on his right gauntlet. I don't think there was any in the pics I saw.

Other than that...a few more details to tie up and then he will be all finished. :(


IMG_1350.jpg
IMG_1352.jpg


Ok, final pics coming soon...keep your eyes peeled for the finished product. :)
 
I would seem its easy. but is it really that easy to remove the arms? and the divide the arm y 3 parts???

Or do I have to keep something in mind while pulliing them?
 
I would seem its easy. but is it really that easy to remove the arms? and the divide the arm y 3 parts???

Or do I have to keep something in mind while pulliing them?

The arms can be pulled apart easily, but the tubes on the armor on the right side will need to be disconnected first.

The legs and feet joints are tighter, those require a bit a heat to soften them up. The pelvis is held together by three screws hidden behind the back flap.
 
The arms can be pulled apart easily, but the tubes on the armor on the right side will need to be disconnected first.

The legs and feet joints are tighter, those require a bit a heat to soften them up. The pelvis is held together by three screws hidden behind the back flap.

Thanks! I got haste in the morning... and thought... well... if I break it, I can have a battle damage version. so i pulled the arms... and they were easy. I would be showing a slightly custom predator soon. :)

about the pelvis.. that good information, it seems that the second one, has better ancles (the predator stands mor straight), but Ill have to wait a few day to see how is it hanging..
 
Here is a quick peek at my custom Predator. It's a total repaint and replaced the plastic "leather" with the real stuff. The hips are now fully articulated with ball joints. He can stand straight up, or with his legs spread wide, the only posing restriction is from the ankles.

I'm almost done, I still need to add the quills, gloss coat the mouth, and make the ankles more articulated.


P1010102.jpg


cool great customs everyone !!!!!!:clap
 
Here is a quick peek at my custom Predator. It's a total repaint and replaced the plastic "leather" with the real stuff. The hips are now fully articulated with ball joints. He can stand straight up, or with his legs spread wide, the only posing restriction is from the ankles.

I'm almost done, I still need to add the quills, gloss coat the mouth, and make the ankles more articulated.


P1010102.jpg

Wowzers!! Very nice! But arent the elbow and knee straps black, not brown? Im pretty sure Steve Wang said they are.
Id love to know how you added ball joints on his legs. What is the material called that you used to replace the plastic leather?
Amazing work!!:rock
 
Yeah..I'm pretty sure it was stated that they are indeed black, and made out of that clothy material that NECA used.

But they appeared brown and rugged/rough because of dried mud or something..
 
Wowzers!! Very nice! But arent the elbow and knee straps black, not brown? Im pretty sure Steve Wang said they are.
Id love to know how you added ball joints on his legs. What is the material called that you used to replace the plastic leather?
Amazing work!!:rock

Thanks!

You are correct that they are black fabric in the movies, I might replace them with black leather, but the (brown) leather doesn't bother me as it looks consistent and adds a bit more color. If I were to ever sell it, I'd definitely make it movie accurate.

I ripped apart a Ultimate Quarter Scale Hasbro figure for the hip ball joint and Dremeled away everything except the belt and cod piece from the Predators hip section. It's all held together with screws and can be easily disassembled if I ever find better netting. Considering this is the first time I've attempted modifying anything like this, I'm ecstatic with the results.

The material I used for the pants/bands is very thin leather with an ostrich pattern, I kept the skin texture side up rather than using the soft suede. The texture looks like this up close:

img_0264.jpg
 
Back
Top