I knew that creating
re-sized toys off of smaller or larger prototypes was pretty common in the world of toy manufacturing.
I had heard of
pantographing, the process by where a mechanical senor arm ran along the full surface of a prototype model reading every detail, while a linked sculpting arm sculpted a copy of those details in a new size in hard clay.
I had also learned about
stereolithography. This was the system that consisted of an Ultra-Violet Laser, and a vat of photo-curable liquid resin.
A platform was lowered into the resin (via an elevator system), such that the surface of the platform was a layer-thickness below the surface of the resin. The laser beam then traced the boundaries and filled in a two-dimensional cross section of the model, solidifying the resin wherever it touched. Once a layer was completed, the platform descended a layer thickness, resin flowed over the first layer, and the next layer was built. This process continued until the model was completed.
The model is then removed from the platform, washed of excess resin, and then placed in a UV oven for a final curing.
The trouble was, both of these procedures were incredibly cost-prohibitive for a simple MEGO toy customizer from Brooklyn. We’re talking upwards of $15,000 - $35,000, (depending on which procedure was employed and what size the final prototype was intended to be).
At those prices, things certainly did NOT look good for the future of my customized MEGO Batmobile.
But then, as luck would have it, I came across an experimental new prototyping process that was used by a rapid prototyping company in Salt Lake City, UT. This process promised to be far more affordable and gave my Batmobile project all new life!
3-D Printing: was a relatively new concept in 3-D prototyping. The concept behind it was that a model would be fully laser-scanned and re-created as a 3-D CAD file on computer. That file could then be used to run a revolutionary new printer that would actually create prototype white polyurethane parts by making them entirely out of flat cross-sections BONDED together.
Think of it as creating an entire salami out of hundreds of individual slices.
The process was expensive, but far more affordable than the other two commonly used prototyping procedures. The reason for this was because the finished 3-D printed parts ended up with a rough texture that required hand finishing / smoothing. The good news was that these polyurethane parts were fully sandable and could be made glass-smooth with a reasonable amount of effort.
Back in business, baby! Back in BUSINESS!!
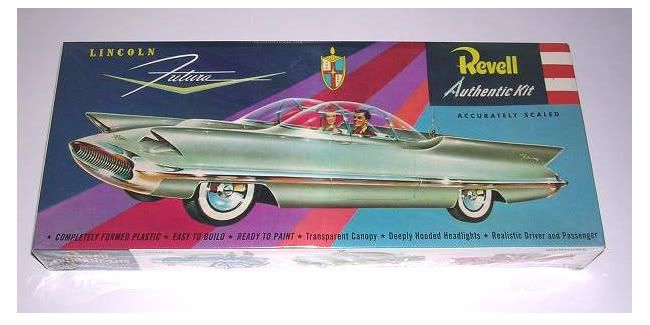
I sent my bat-converted Lincoln Futura model kit to Salt Lake City to be 3D scanned. And waited anxiously for the scaled-up parts to be created, packaged and shipped to me. That was probably LONGEST 4 months of my life.
My MEGO helper / assistant and I passed the time gathering up parts that we intended to use for the Batmobile’s construction.
Here he is on the day some temporary wheels and rubber racing tires arrived for the car.
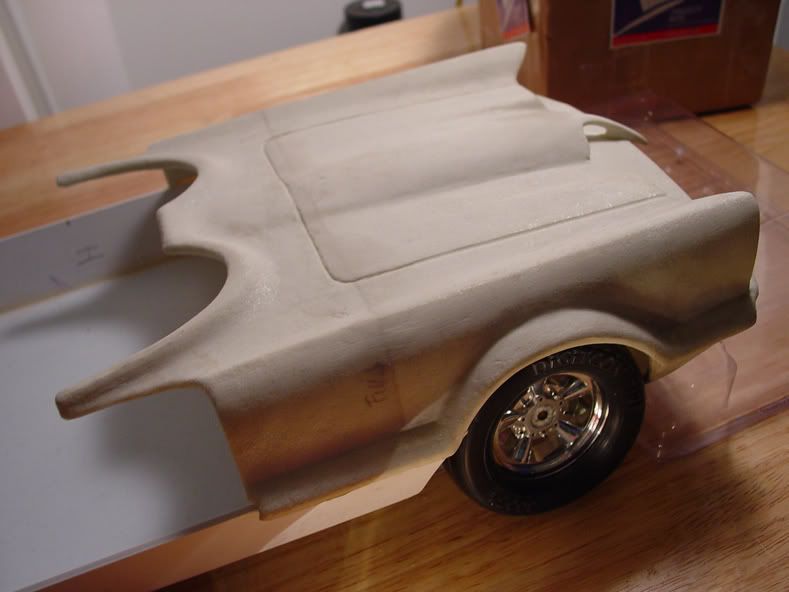
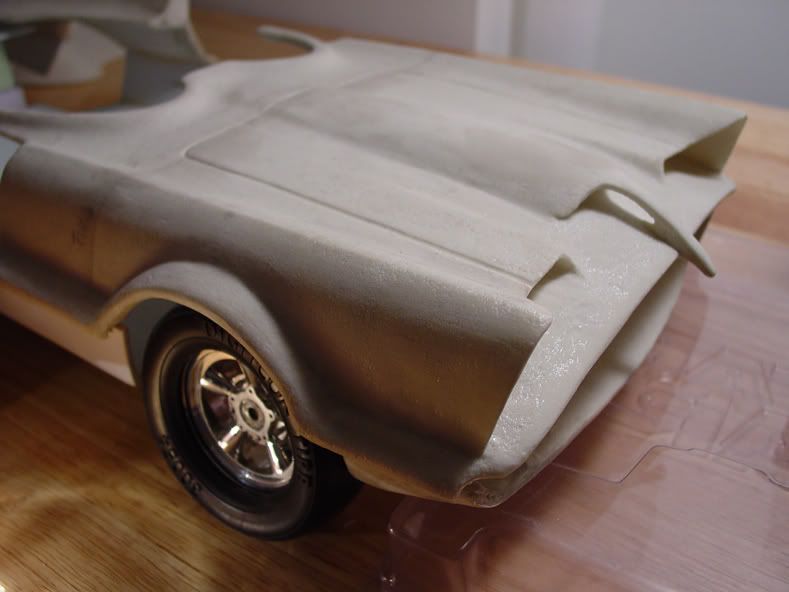
Finally, the package arrived, and when I saw the newly-sized Batmobile parts, I was thrilled beyond words!
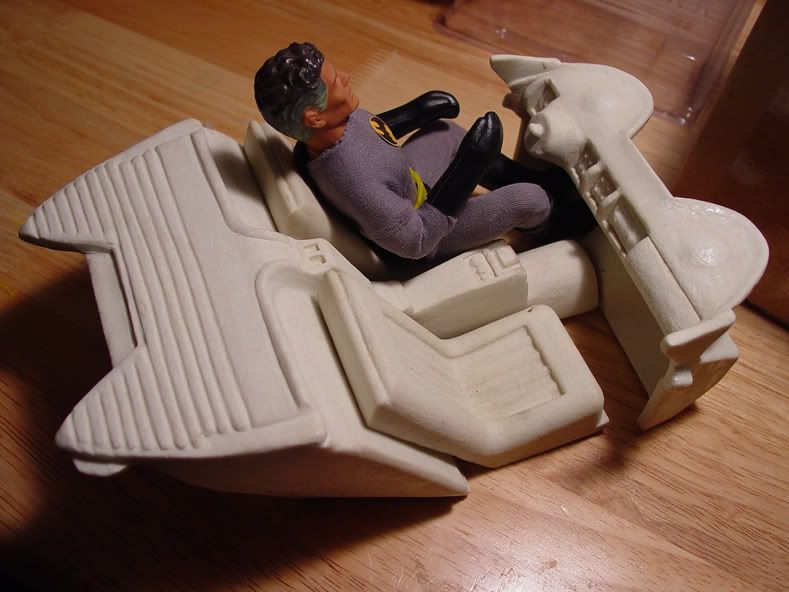
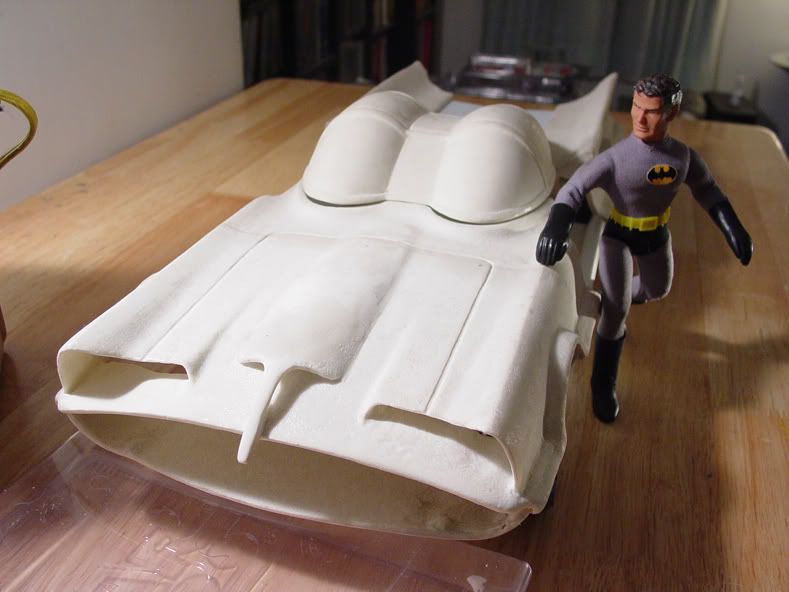
When assembled together, the scaled-up Batmobile parts became a beautiful prototype of the Batman’s ride in perfect MEGO scale… FINALLY!!!!!!
My MEGO assistant and I wasted no time! He immediately began to pose in and around the car to double check the scale accuracy (he’s such a ham). But my inner geek nearly cried from joy! This was going to be an incredible custom toy!!
As expected, the parts needed some smoothing and finish-sanding, but it would be far less than I expected. And some of the car’s simpler flat shapes could very easily be reproduced in sheet styrene (such as I have begun to do with the lower rocker panels of the body)
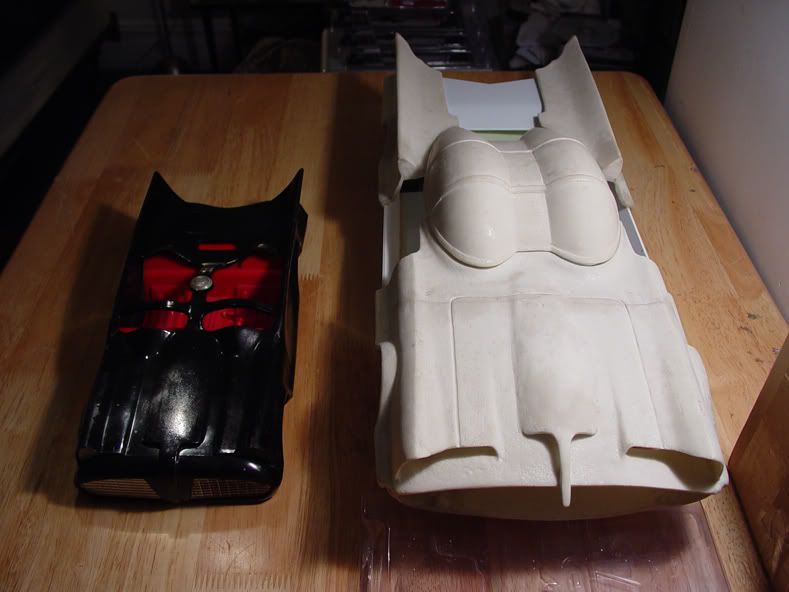
The size comparison of this rough prototype next to MEGO’s 1974 Batmobile was more startling than even I expected.
Now that I had the scaled-up parts, the next order of business was to come up with a construction PLAN. Organization is
everything in a project of this magnitude.
Since I planned for this toy to feature working lights, I realized that I would need to build this car from the inside – out so that I could effectively conceal all the electronic wiring. First I would build the fully-detailed
cockpit tub (featuring velvet “carpeted” floor, plush seats, Bat-phone and electronic dashboard). Next I would tackle the
chassis / drivetrain / steering assembly (most likely kit-bashed and adapted from an RC car). Then lastly, I would assemble, detail and paint the
main car body with working doors.
Will Roberto succeed in his Batmobile construction plans? Will he make it all the way through without breaking the bank? Will Roberto's custom MEGO Batman and Robin cruise in ultimate sytle?
Tune in next time! Same Bat-Time, Same Bat Channel !








 :chew
:chew
