1/6 Hot Toys – MMS – Back to the Future Part II: Marty McFly Collectible Figure

Collector Freaks Forum

Help Support Collector Freaks Forum:

This site may earn a commission from merchant affiliate links, including eBay, Amazon, and others.
I might have to try that. I'm not keen on the Pt2 head. Nothing wrong with the sculpt, but the blank expression does not fit in with the hoverboard sequence or the open mouthed look of awe needed for someone who's just arrived in the future. The fact he's looking off to the side limits the posing options as well. Having him hold the paper in front of him, looks odd, because he's looking away from it.

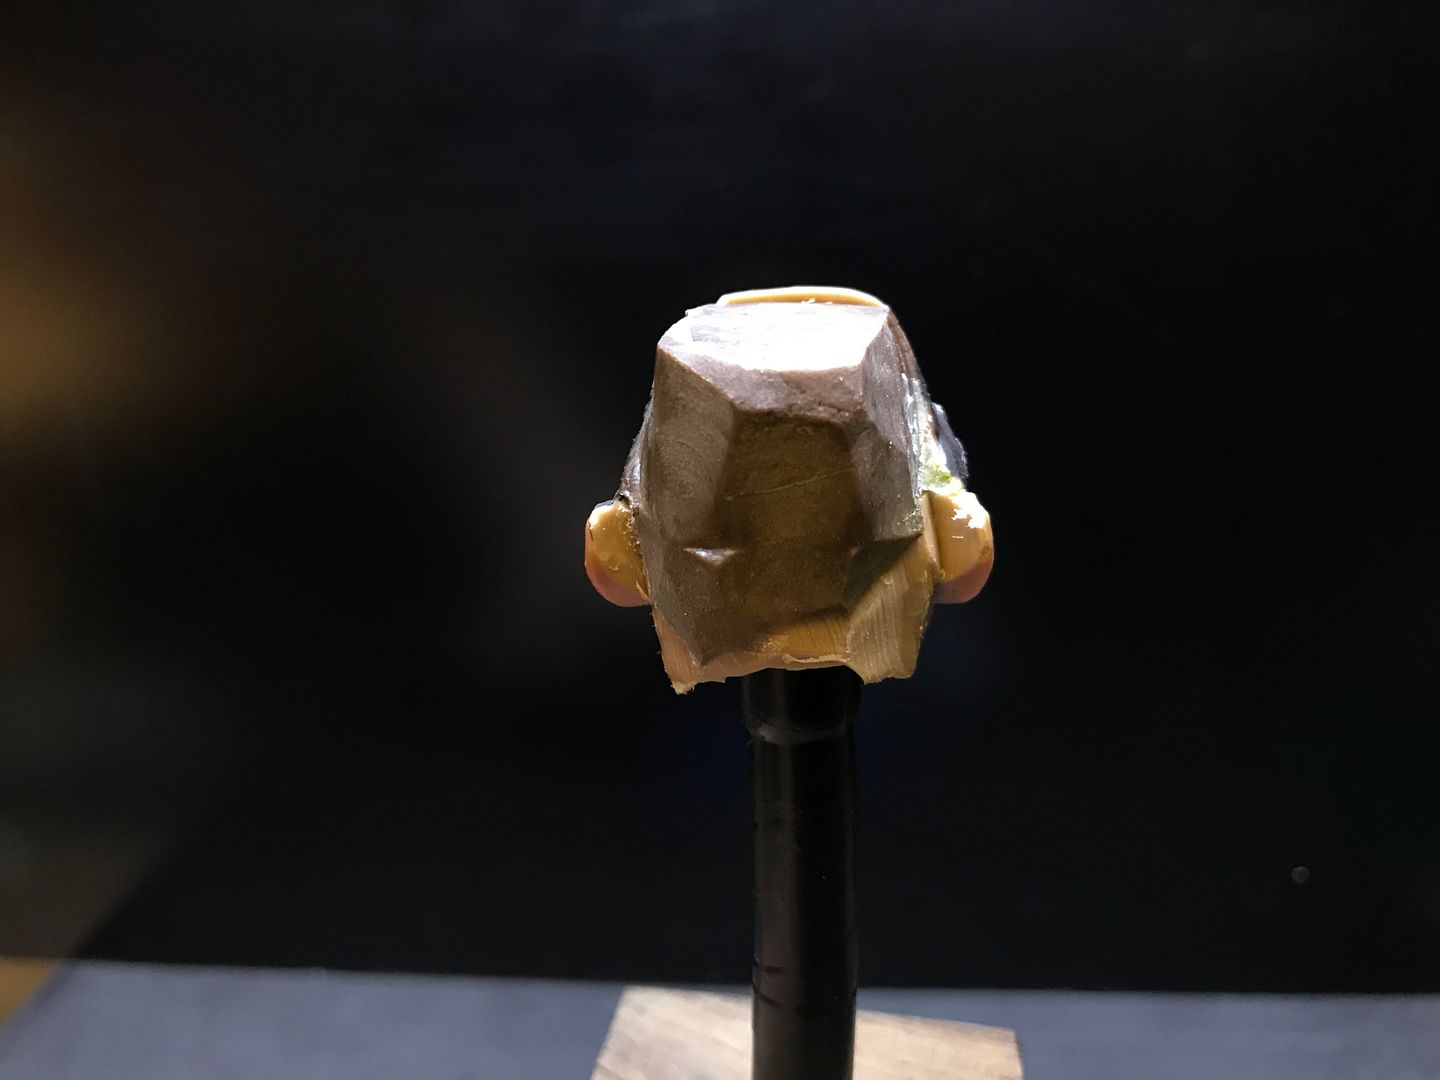
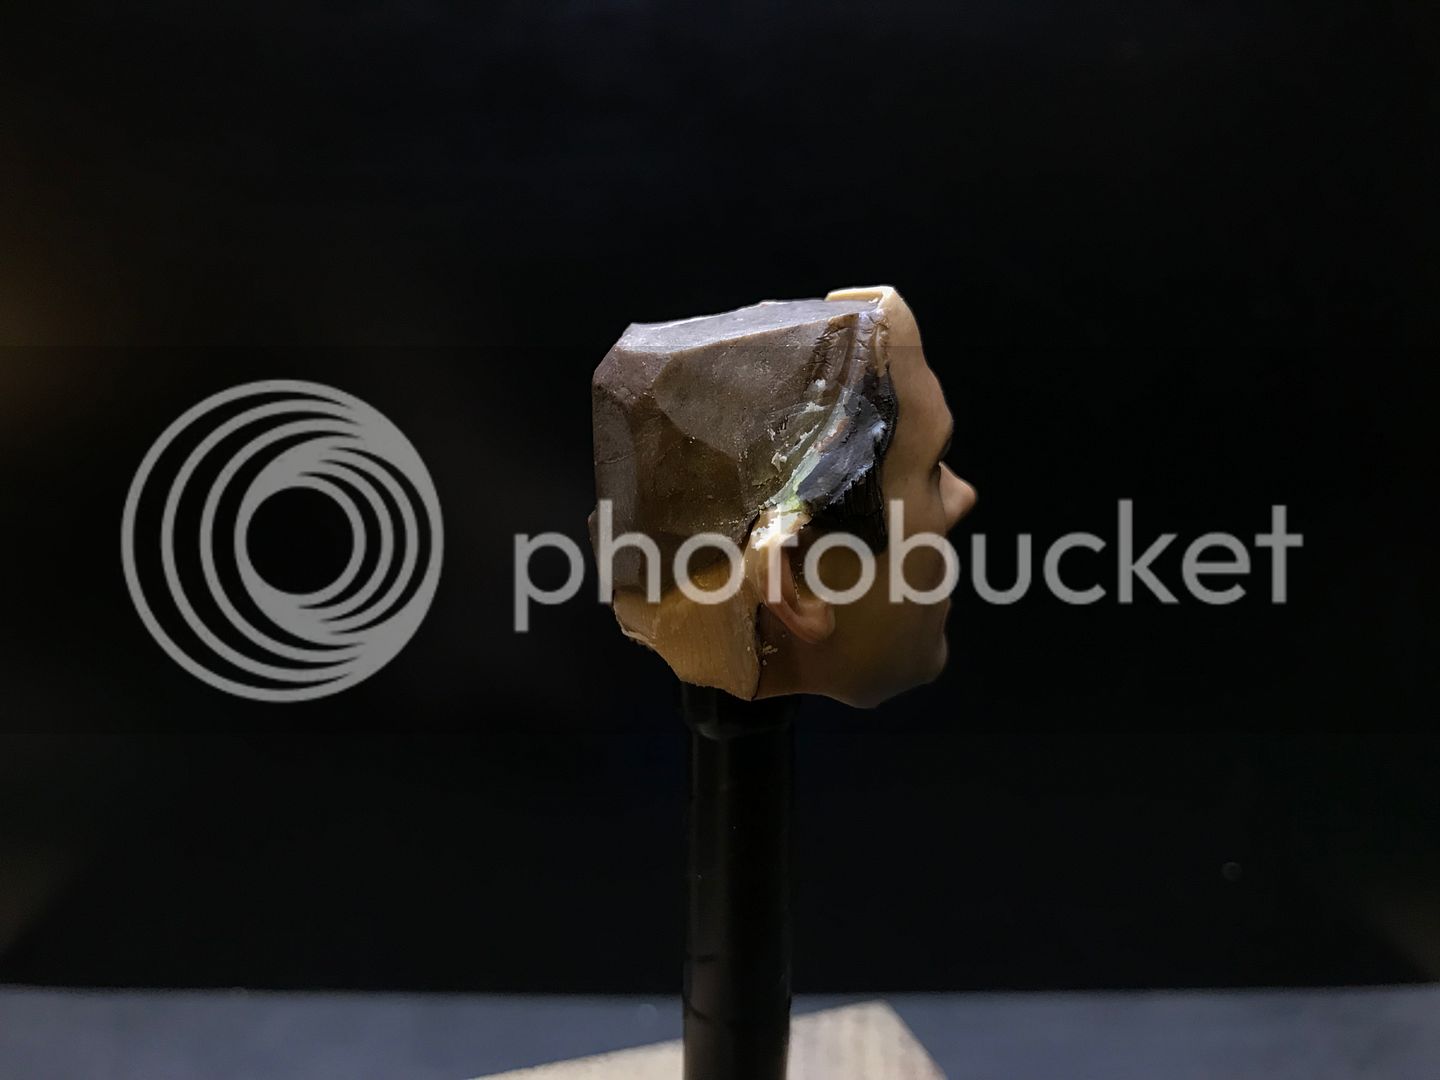
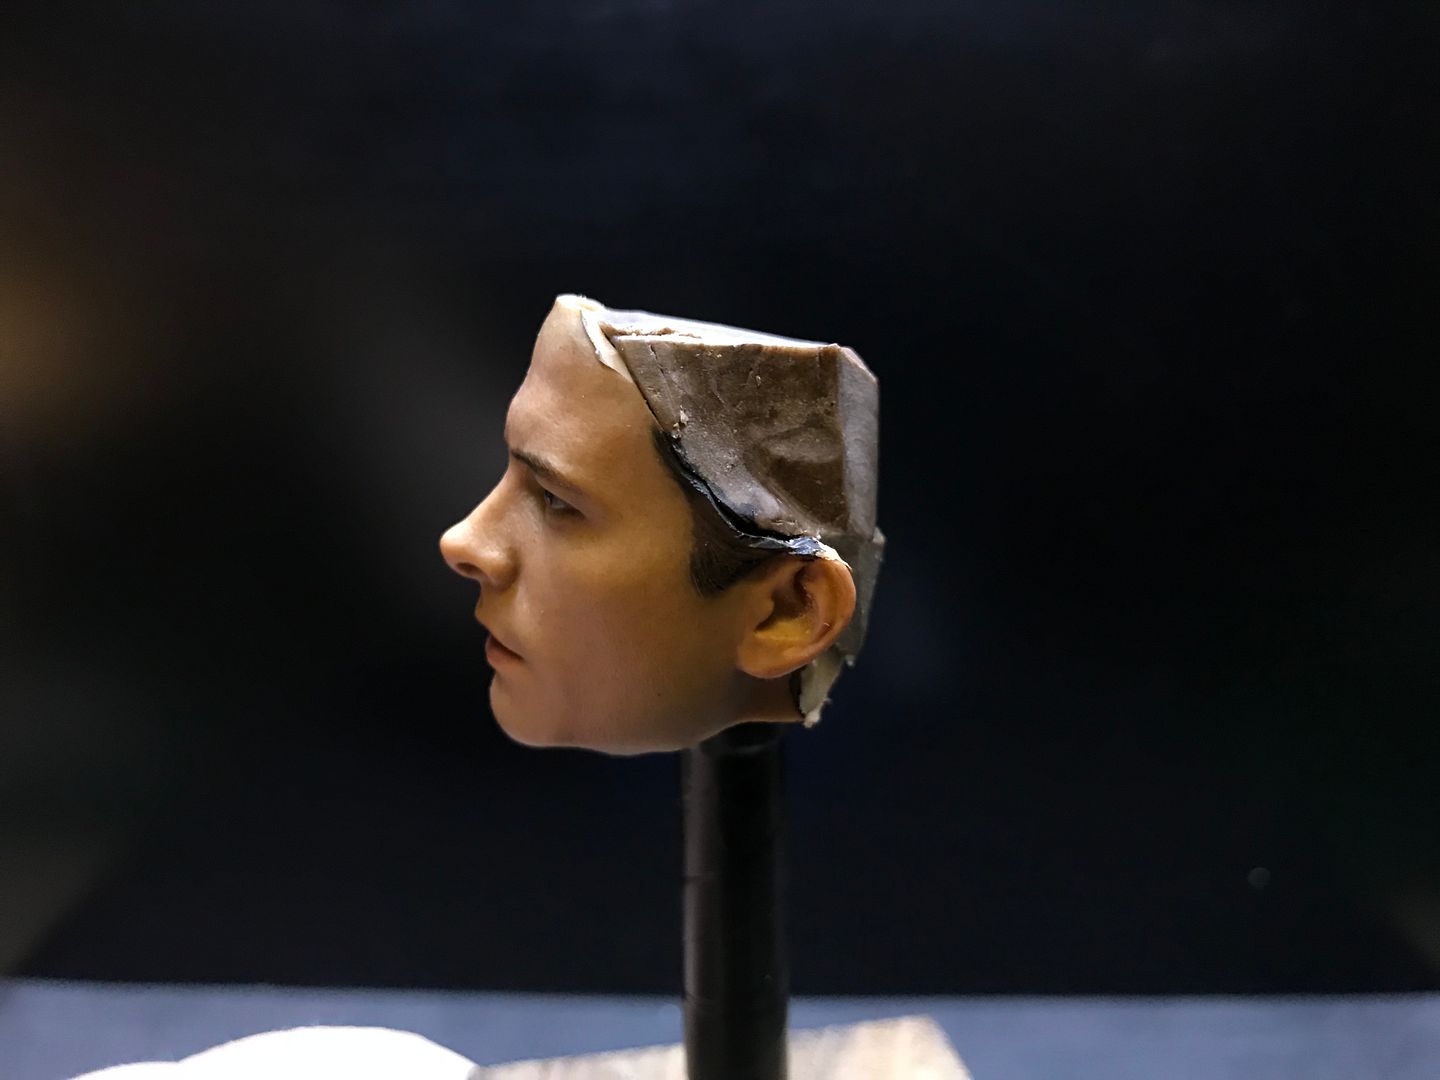
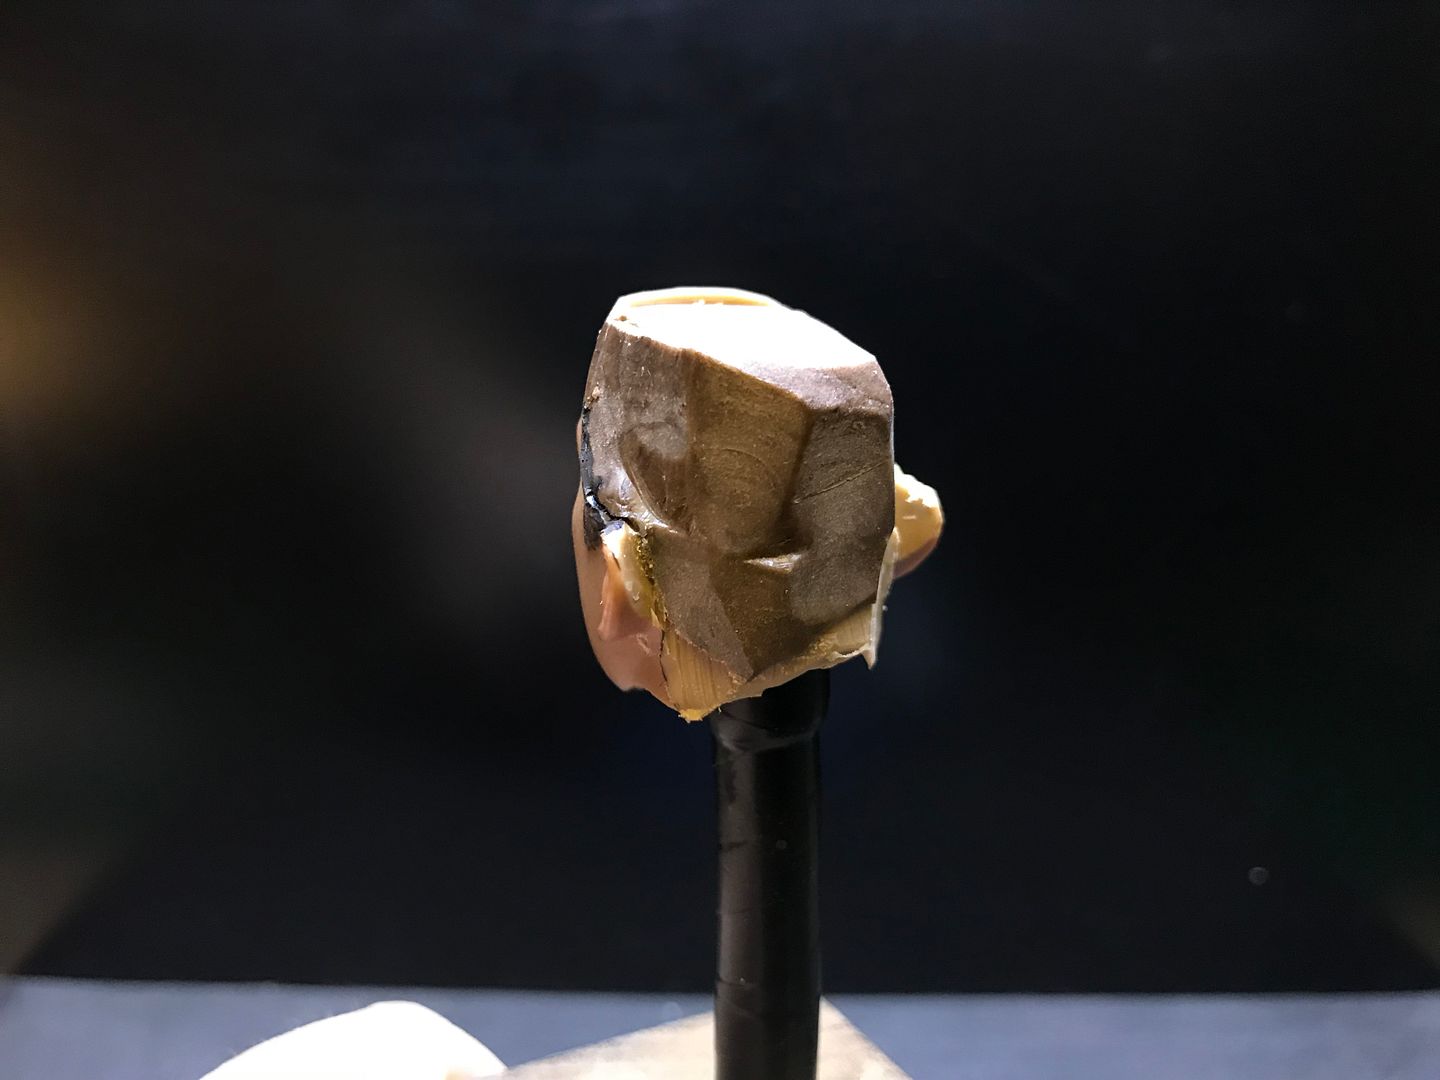
Can you post a pic of the cut down Pt1 head? so i have some idea of how much cutting is needed. It's a bit nerve wracking to take a blade to a £50 head.
 
Only had Marty a day, and already the mods are in progress. Borrowing Luke's lightsaber for an initial lighting test. So far so good.

mag1.jpg

mag2.jpg

I'll use black paint to help define the 2 humps that are the sole lights. Here are my V3 Mags.

mag3.jpg
 
I might have to try that. I'm not keen on the Pt2 head. Nothing wrong with the sculpt, but the blank expression does not fit in with the hoverboard sequence or the open mouthed look of awe needed for someone who's just arrived in the future. The fact he's looking off to the side limits the posing options as well. Having him hold the paper in front of him, looks odd, because he's looking away from it.

Can you post a pic of the cut down Pt1 head? so i have some idea of how much cutting is needed. It's a bit nerve wracking to take a blade to a £50 head.

It was really tough. I have a few on hand, so that's why i tried, but if you have one, i'd worry about messing it up, lol.

Here's what mine looks like with the hair off:

Photo%2027-01-2018%2008%2055%2038.jpg


Photo%2027-01-2018%2008%2055%2055.jpg


Photo%2027-01-2018%2008%2056%2003.jpg


Photo%2027-01-2018%2008%2056%2011.jpg
 
Thanks for that, still seems quite daunting though.

Some more progress on the shoes:

These are all the parts which make up one shoe. Fortunately, minimal glue was used, so taking them apart wasn't too hard. The heel and ankle cups don't need removing. (I was just curious).

mag4.jpg

A hole was cut into the sole to let the light through.

mag5.jpg

The LED will be inserted within the ankle socket, with the wires passing through his jeans.

mag6.jpg

Mod for the strap light. Clear acrylic rod was filed down into a half circle and tapered toward one end.

mag7.jpg

Half circle opening cut into the ankle cup. Don't go too near the socket, as it might weaken it.

mag8.jpg

Insert the rod at a slight angle, None of the ankle movement has been lost.

mag9.jpg

mag10.jpg

How it looks fitted in the shoe. The tongue which is free to move, has to be glued to the strap and the small logo opening cut out. Trim away some of the inside to allow space for the rod.

mag11.jpg

Test lighting, there is some light leakage, but some black paint inside the shoe and around the clear rod will fix that.

mag12.jpg
 
Really cool mods fellas!

I got sick of the oversized stand this guy comes with and gave him one of the generic stands similar to the one Marty part 1 comes with. I discovered that if you give the crotch grabber to part 1 you can use the waist grabber with part 2 and still have him hover with decent effect if you clamp the waist grabber underneath the pockets of his jeans.
 
Finally got round to snapping them with the delorean.

As an FYI, some were moaning about the length of martys jeans. You can actually unroll the cuffs and tuck them into the nike mags which I didnt do till after I stopped photographing them.

IMG_2893.jpg
IMG_2801-1-1.jpg
IMG_2811-1.jpg
IMG_2840-1.jpg
IMG_2875-1.jpg
 
Update:

Paint applied around the acrylic rod and on the inside of the shoes. Just a small area at the top of the rod is unpainted.

mag13.jpg

Chrome sellotape applied to the inside before fitting the LED. (blue LEDs were actually removed from my old V2 Mags)

mag14.jpg

Paint applied to the inside of the clear sole to create the humps.

mag15.jpg

Nearly there!

mag16.jpg
 
Great shots!!! How did you mod your delorean? Did you replace the cables it came with?
 
No i didnt. Its all still there. I just added extra wires, some carpeting and tyre decals. All pretty simple to do and improves the look 10 fold
 
Thanks for that, still seems quite daunting though.

Some more progress on the shoes:

These are all the parts which make up one shoe. Fortunately, minimal glue was used, so taking them apart wasn't too hard. The heel and ankle cups don't need removing. (I was just curious).

:clap:clap:clap

Noce, nice, nice!!! Really excited to see the finished product!! Somebody rep this hero!!
 
Back
Top