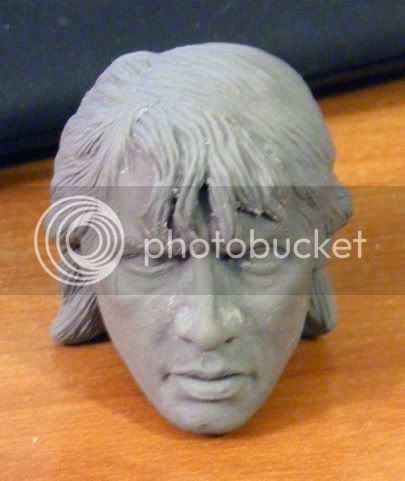
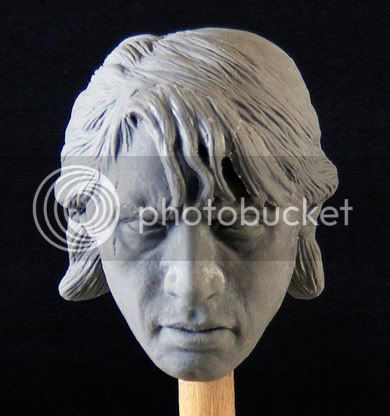
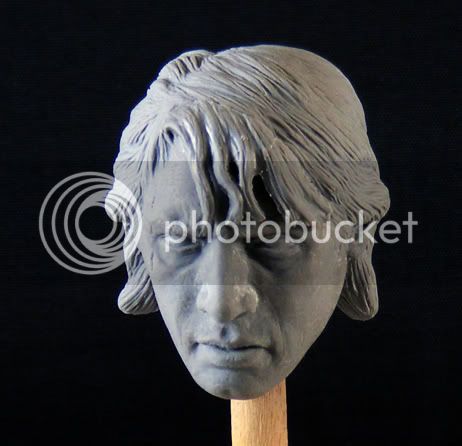
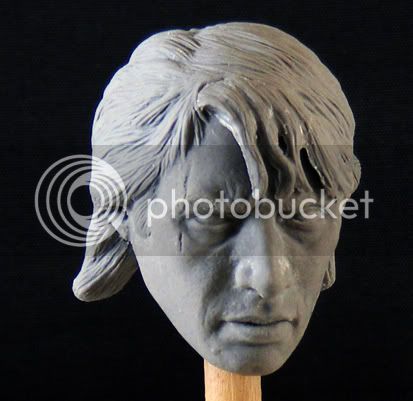
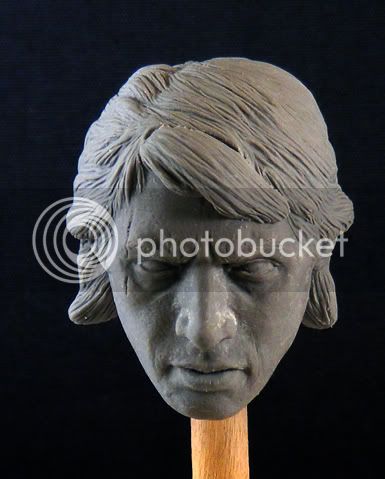
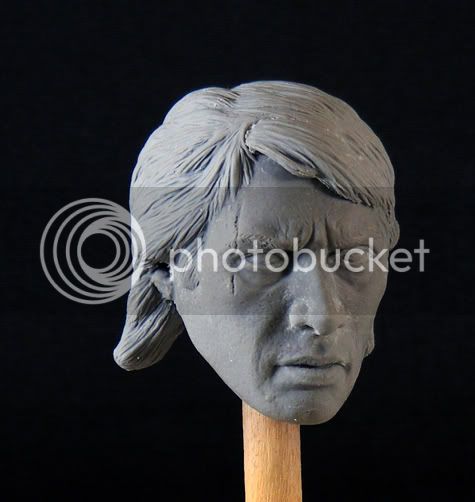
Yeah, the way that hangs away from the forehead is what I was going for. And to be honest, I even had a DX Joker sitting in front of me to try and get it like that, but for some reason my brain can not wrap around how to sculpt hair like that. More practice, I'm sure will help! But, anyway the whole reason I sculpted the bangs separate was to have it hang like that, otherwise I would have made it all one piece. But, I'll probably do a second "not as messy" version too. After all, it's only a hair piece, shouldn't take long.
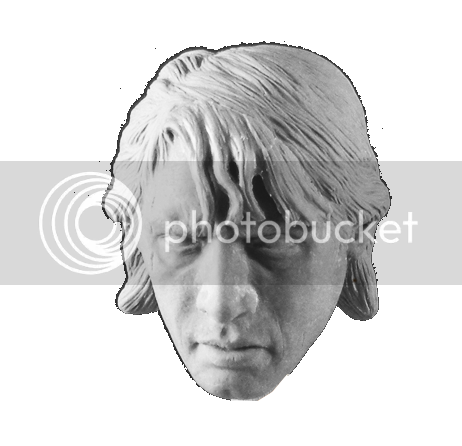
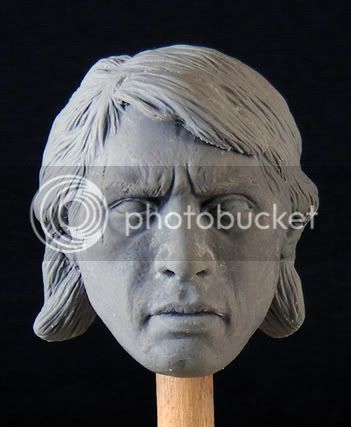
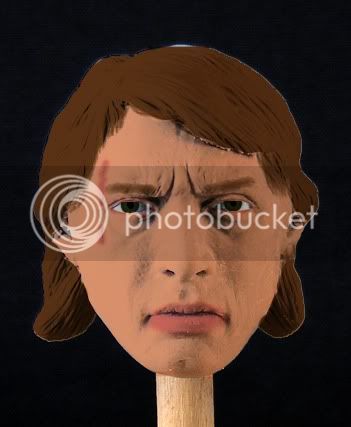
In the meantime, here are some better shots of the head.
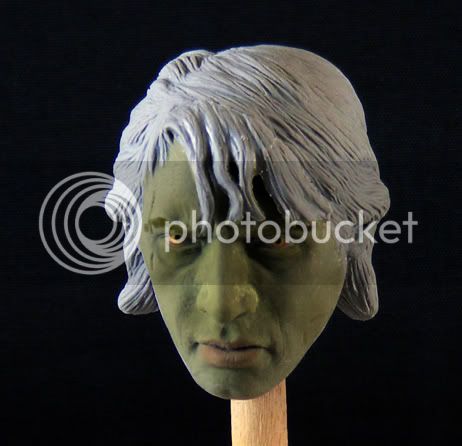
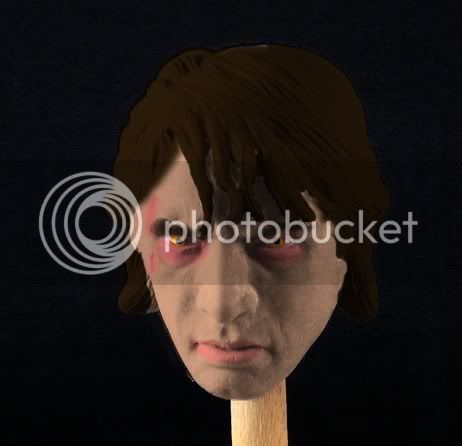
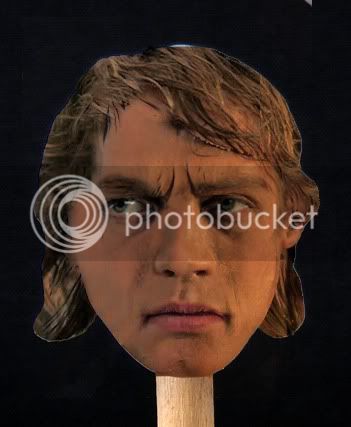
And one (poorly) colorized!
Now, it's time to focus on Maul so that the others can progress.
Oof!
"knock knock!"
"Who's there?"
"Goliath."
"Goliath who?"
"Goliath down, you looketh sick."

oh unsung, don't you know, people aren't supposed to be green? Find a picture of someone with
skin on the internet (not terribly hard, I should think!), and use the eyedropper tool to get a color sample and use that if you need to! I reworked the earlier color map to fit this pic, this is what I came up with:
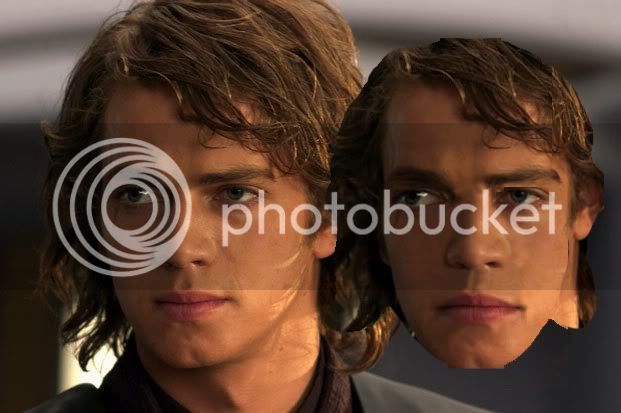
Here's what I did: first, I selected
only the head, copied it, and put it in a new layer on top of everything else. Then (this step is optional), I lightened the layer a little bit. Here's a PNG of it, you should be able to copy and paste it over your original image with the transparency still preserved
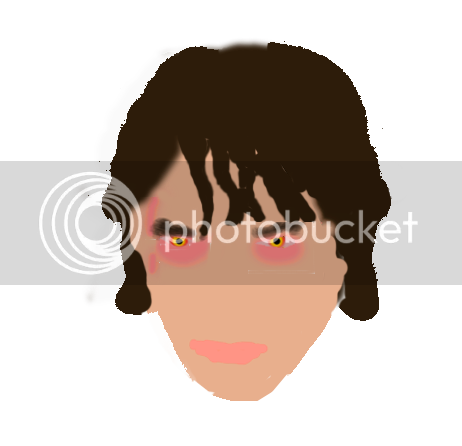
Then, I selected the head again (you can ctrl + click on the thumbnail of the headsculpt's layer), then, in a new layer colored it in using tan, some pink, and for the eyes, red on the outside, with orange in the middle, then a dot of black, with a dark brown for the hair. This layer will be the layer for color, while the other layer will be the layer for detail and shape. Here's a PNG of the color layer:
now what you want to do is put the detail layer
on top of the color layer, and set the detail layer to multiply. Go ahead, copy the above PNG's into photoshop, put the original image on the bottom, color in the middle, and detail on top and set it to multiply!
Hope this helps some...

PS just realized that when you paste the PNG files into photoshop, the supposedly transparent background is black. You can use the magic eraser tool (right click on the eraser and it should be there) to click on the black with the tolerance set to 10, and it should get rid of it nicely!

hope I don't come across as a *******...

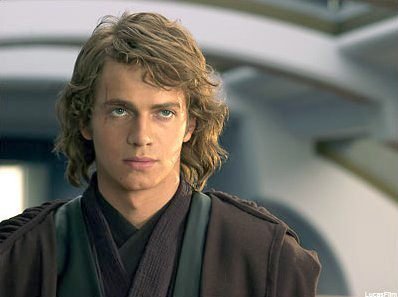


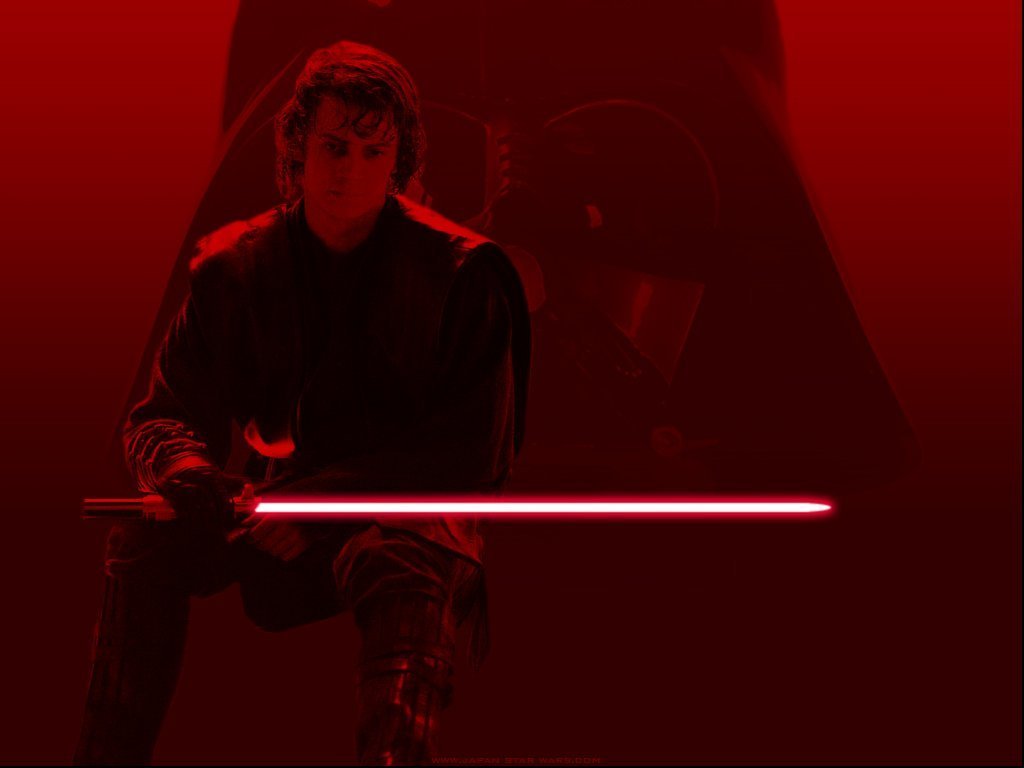

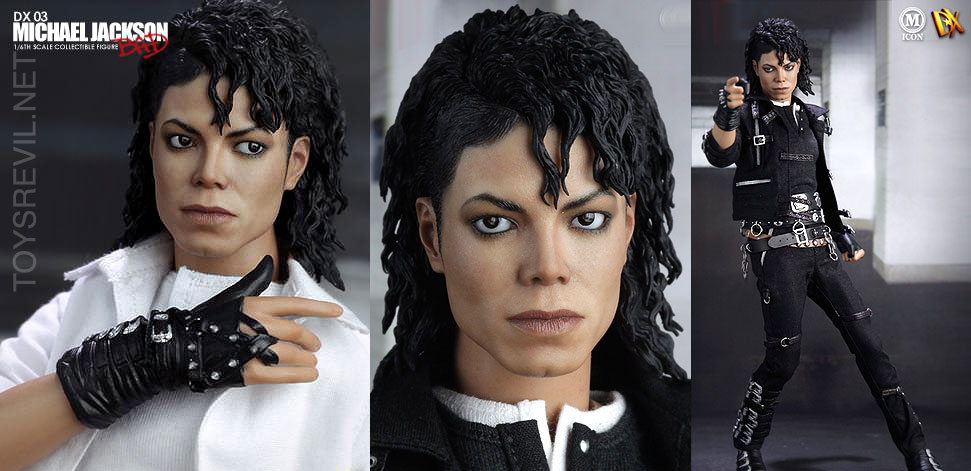








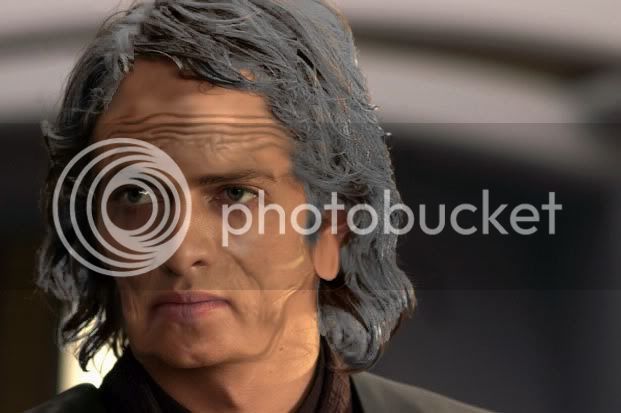
 sorry I got bored and couldn't restrain myself from posting that!