ANH Buckets

Collector Freaks Forum

Help Support Collector Freaks Forum:

This site may earn a commission from merchant affiliate links, including eBay, Amazon, and others.
O.k thanks for the advise. Not sure if I want to take the plunge with it yet, sounds a bit risky!

It's not too bad. Worst-case scenario; if you find that the solvent has rendered an area of plastic either "gummy" or affected the texture, you can fix it with some ultra-fine emery paper. You're going to prime it anyway after that, so the worst that could happen is having to do an extra step.
 
Acetone will work, but if it's too strong it'll eat the plastic. I think there were two strengths of "Goo-Off or whatever it's called ... acetone used for cleaning things like gum, glue residues etc.; don't use "extra strength". That being said, the other one isn't exactly problem free. Contact time with the plastic matters too. Plus it depends on the plastic.

I was stripping a Hot Toys Sandtrooper helmet of weathering once, and inadvertently took some paint off (necessitated a re-paint) and can't recall now if it was just too much enthusiasm with the alcohol or if it was acetone.

Acetone applied with a q-tip can work, it's a process. But as ZE said, it can melt the plastic. I've been there before. Nothing a coat of base and final coat doesn't smooth out.
 
I found a cheap 20.00 do it yourself vaccum container to degas silicone molding chemicals. The pressure pot gets rid of bubbles on the resin casting, but not a silicone mold...so a professional grade vaccum is $200.00, foregt that!

https://www.instructables.com/id/Venturi-Vacuum-Degassing-Apparatus-for-use-in-Rapi/?ALLSTEPS

I'm reading and watching tons of info to get the mold making right and not waste expensive resin or silicone mold material. Good thing these helmets are small.

Who else is in?? Where did everyone go?
 
Who is pumped up to do this?

image.jpg
 
Ok...I'm trying, a lot of moving parts. I think I confirmed the air compressor is in good shape and available for 75.00.

Adam and I are in for $75.00. Adam made his deposit yesterday. So we have $150.00, so far.

The tank/pressure pot is going to be $200.00 plus shipping. I should be able to make a vacuum for silicone mold casting for around 20.00. The unknown is the specific media for resin casting and silicone mold casting plus all the buckets, probably a scale is required and cups and stir sticks, possibly clay to create the mock first half of a silicone mold so we can cast the face of a helmet and create variants such as move along helmet. Etc etc.

The delay is in still researching best and most risk averse options. Such as using high viscosity silicone mold. The type of material to make mold frame is still up int the air.
 
I've also purchased 2 different size helmets we can cast, 3 actually, one I think we all agree is too small. That's an additional $80.00, on my part...ill do all the work. For your investment you'll get the payout, for sure.


I've also purchased 2 different size helmets we can cast, 3 actually, one I think we all agree is too small. That's an additional $80.00, on my part...ill do all the work. For your investment you'll get the payout, for sure.


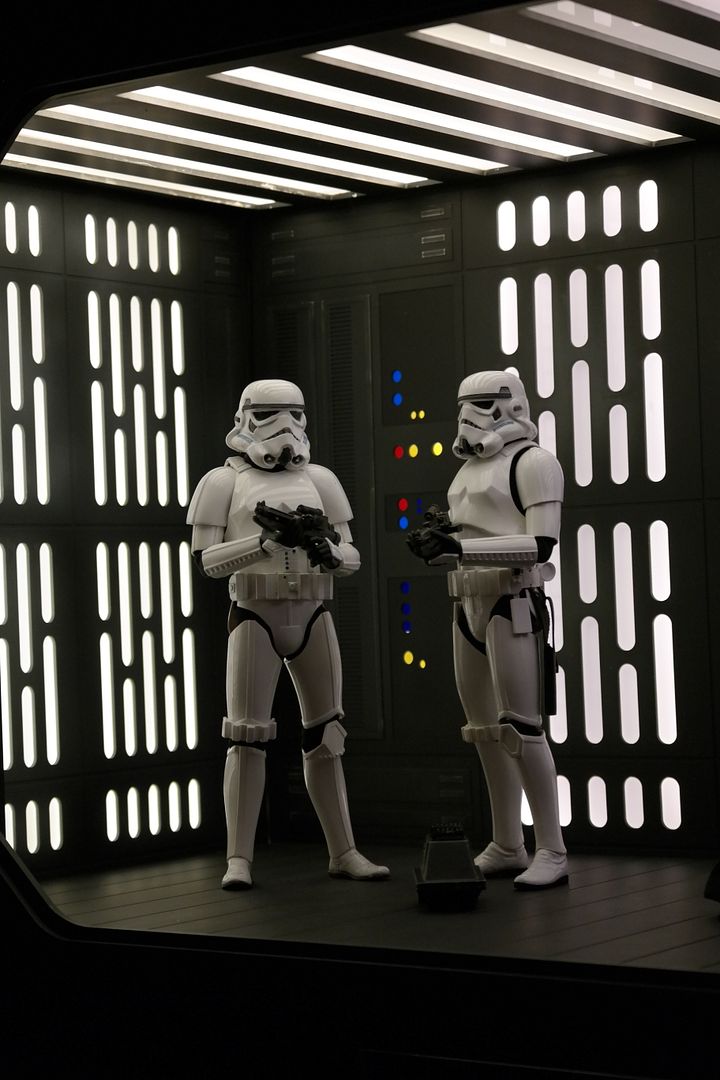
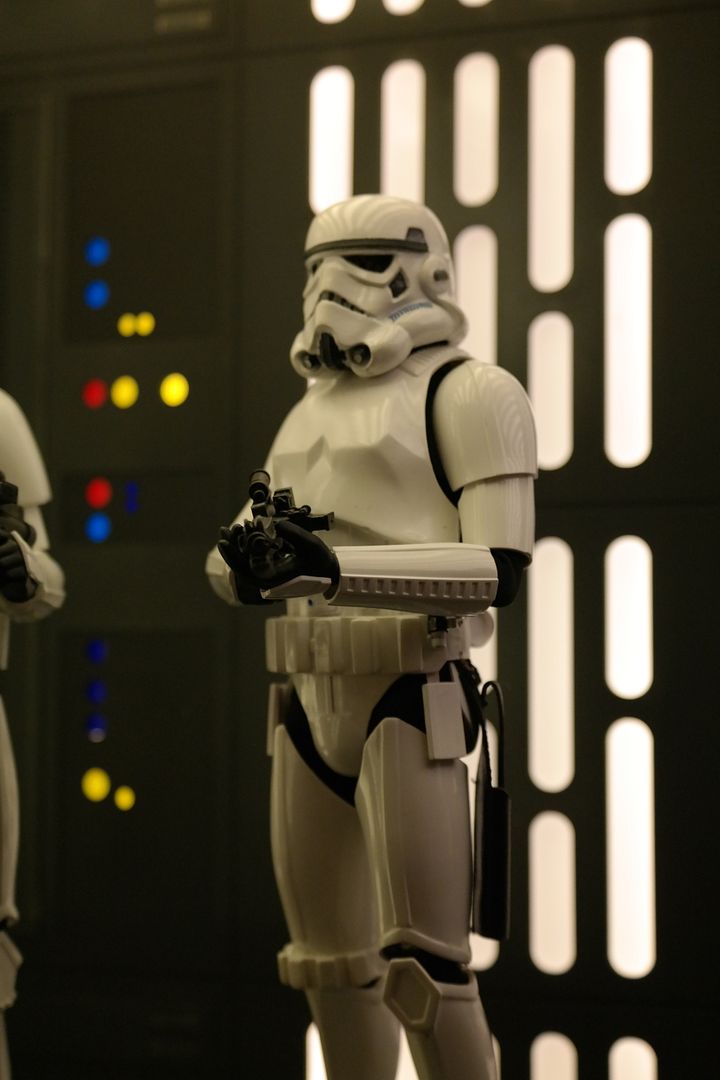
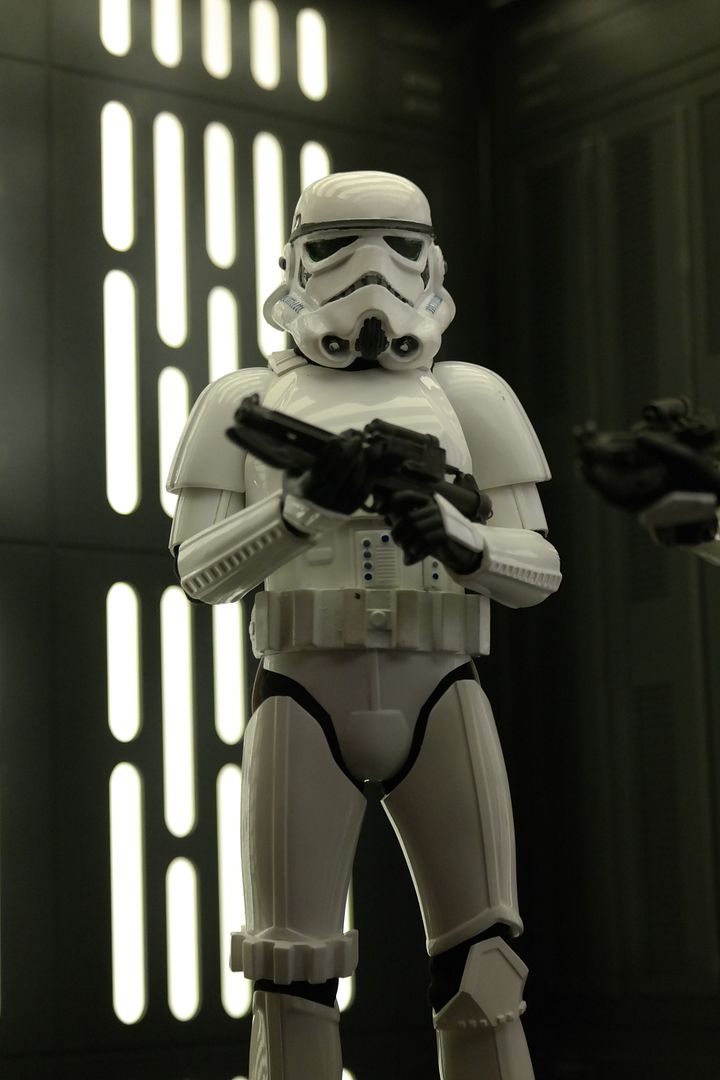
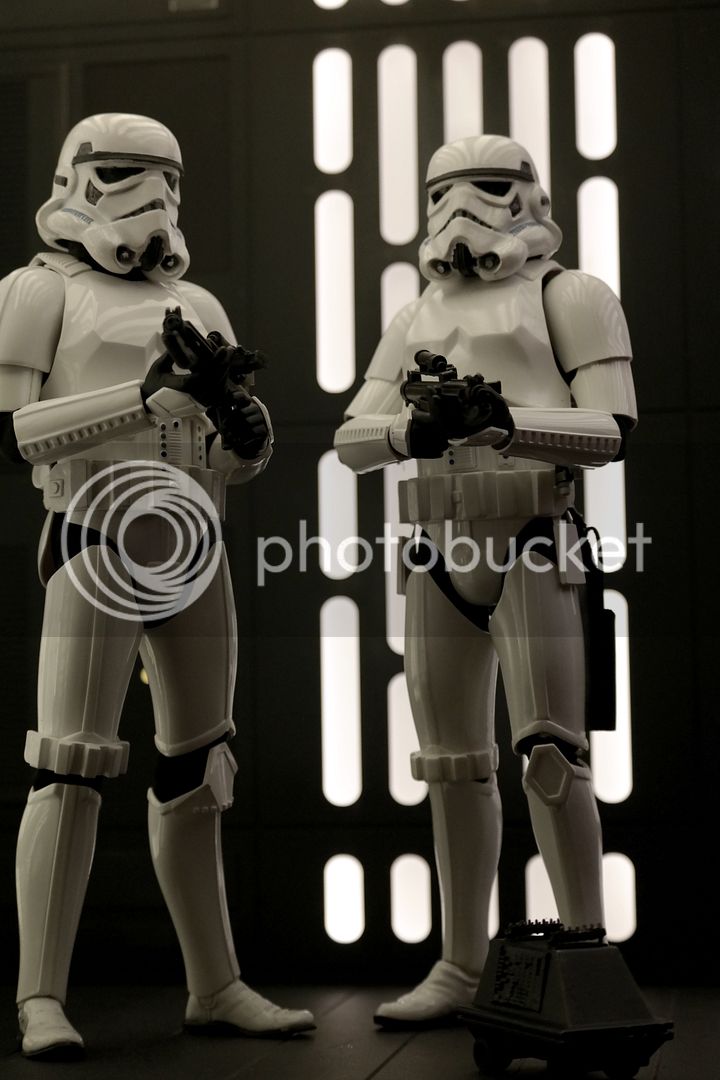
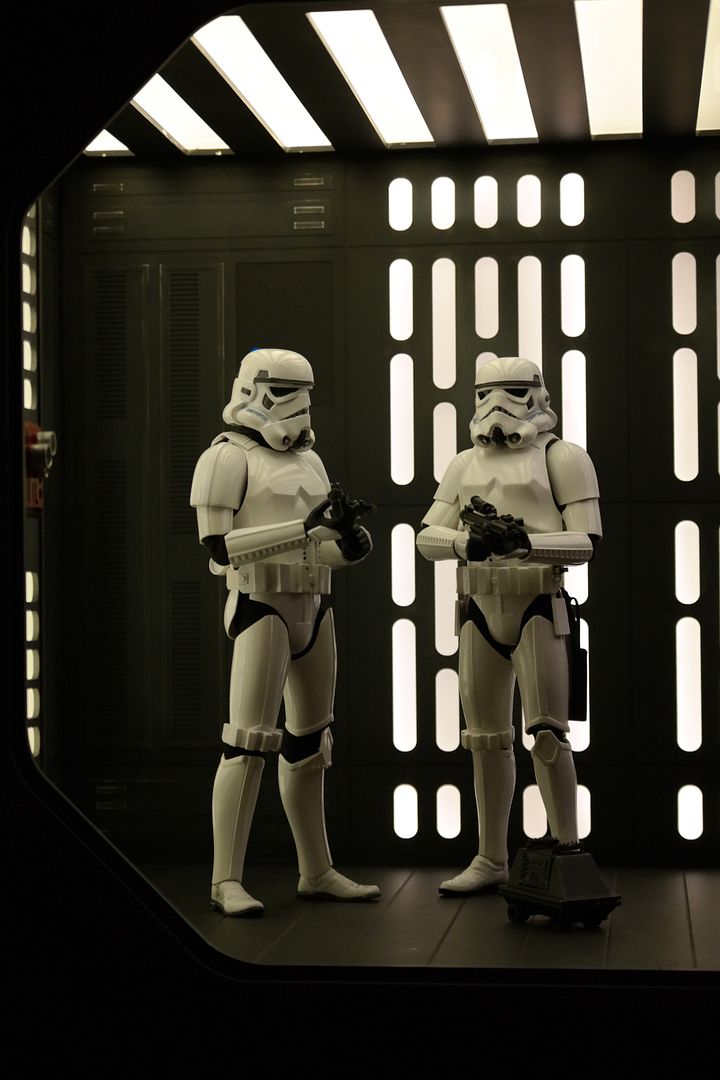
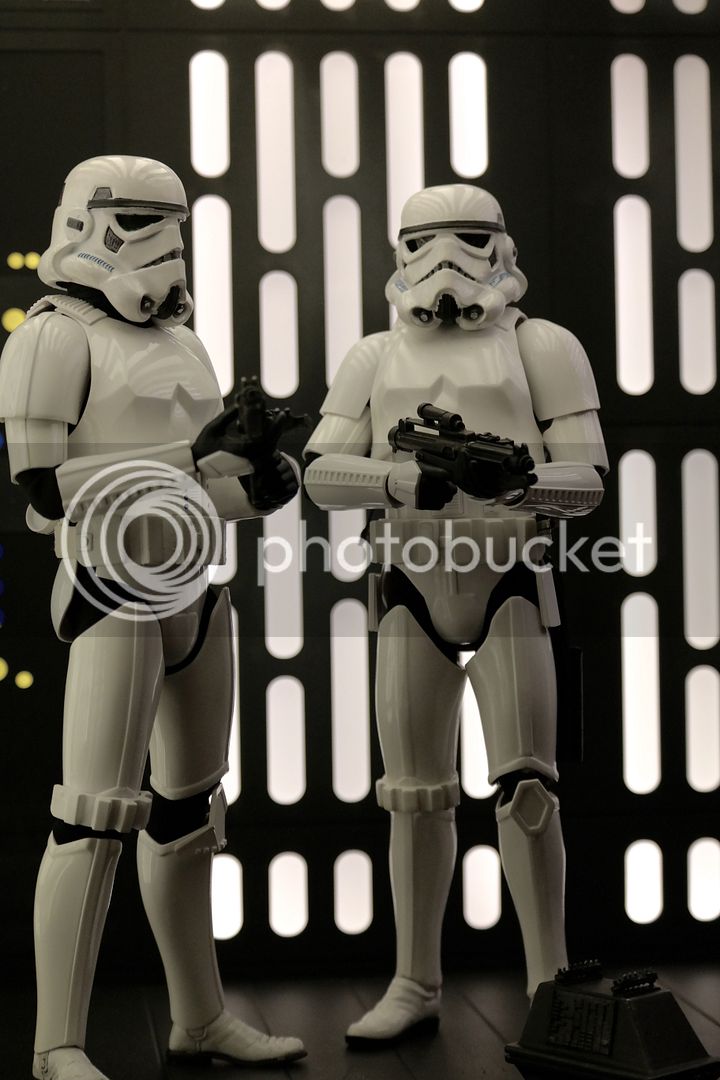
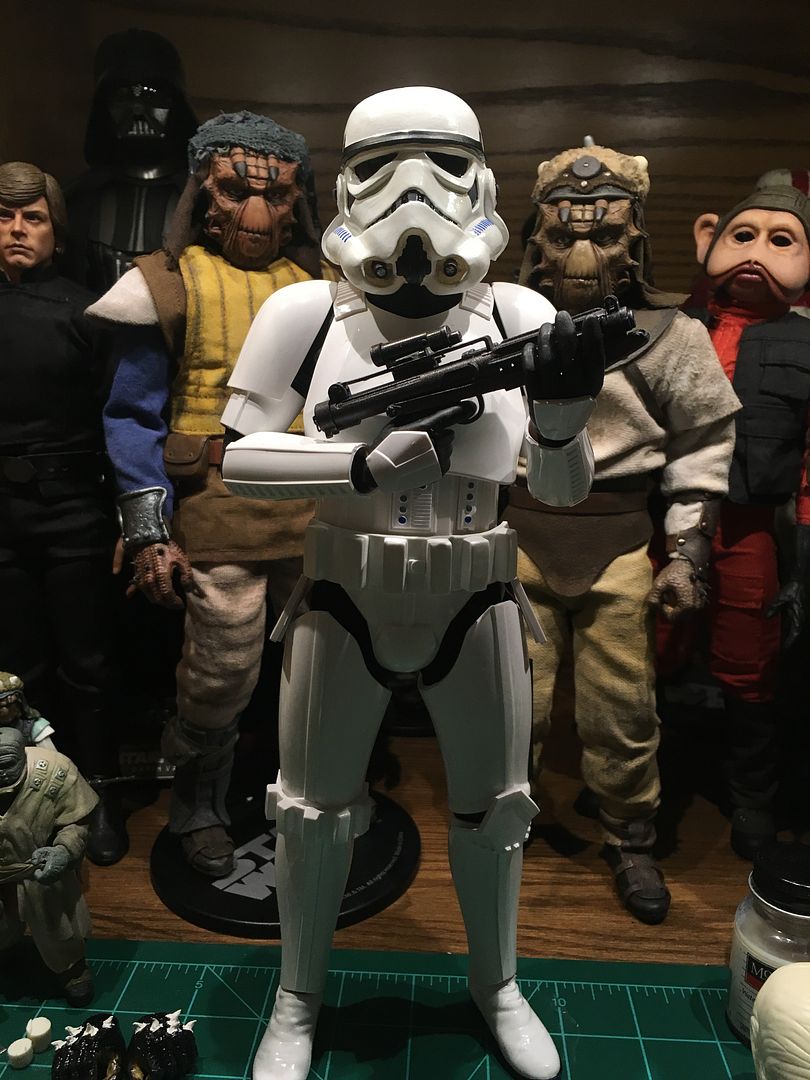
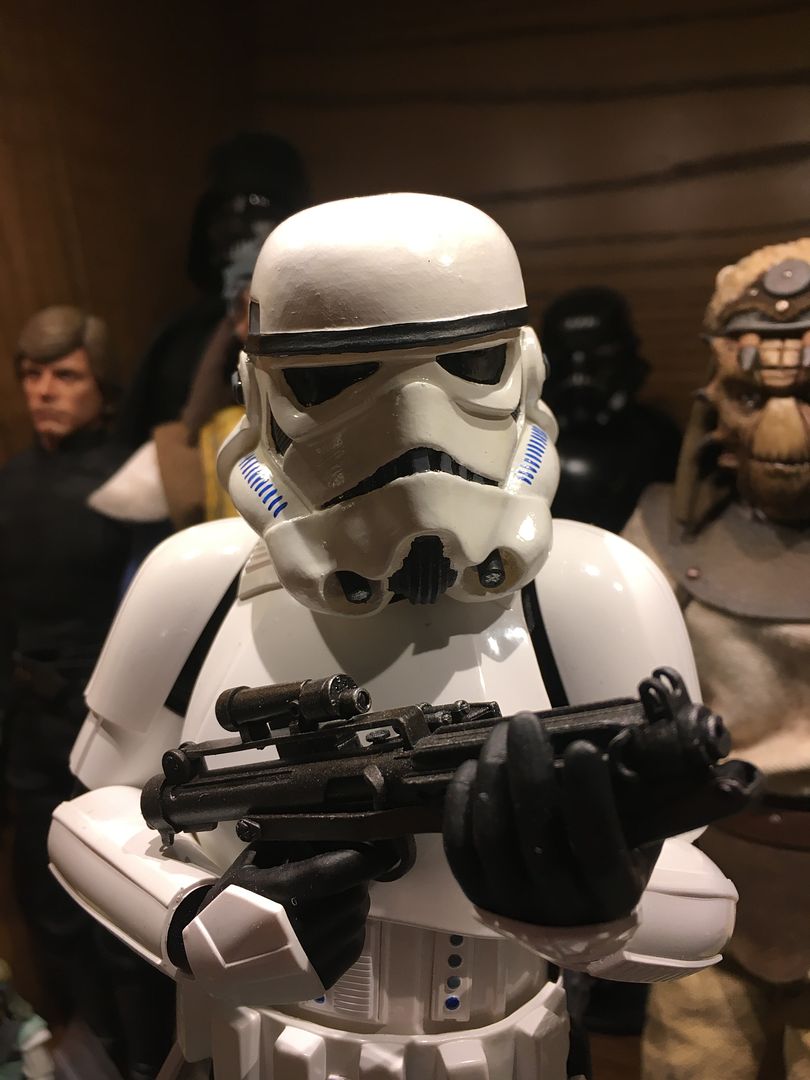
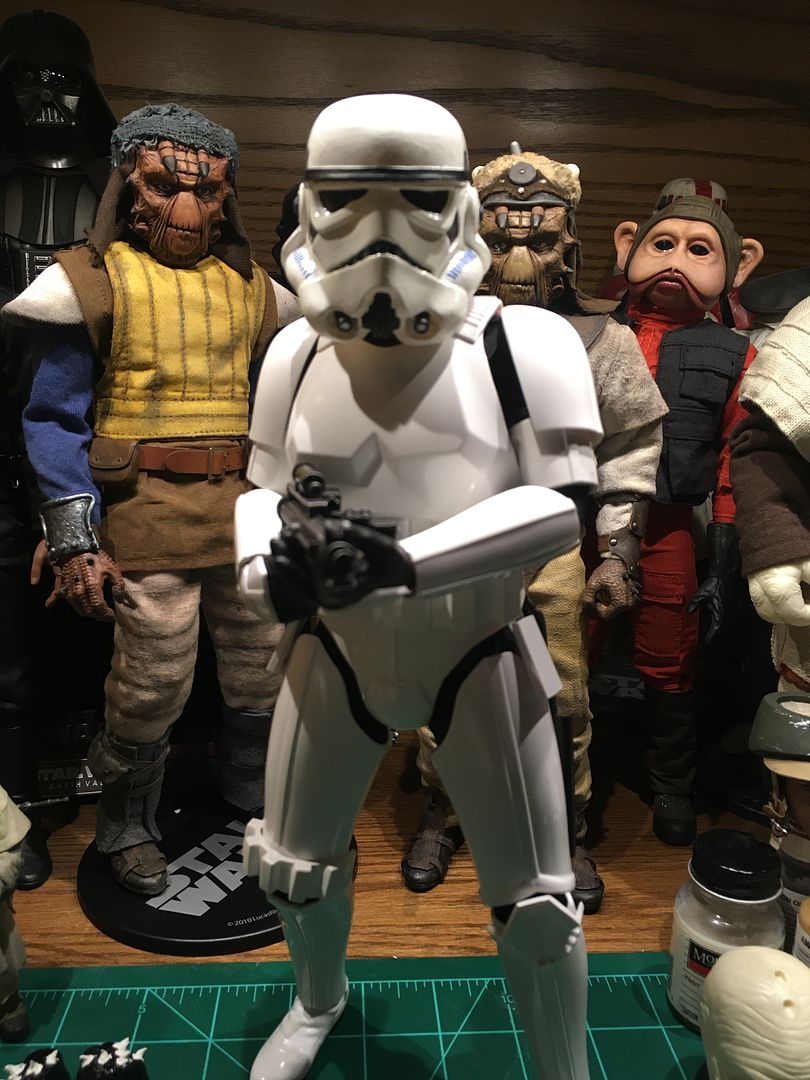
Great pics Solo:clap the larger helmet on the left looks perfect for size IMO. Is the body and armour all HT? Or have you made some mods? Looks like you've painted the belt and added some subtle weathering here and there on the armour. Looks great man. What white paint did you use?
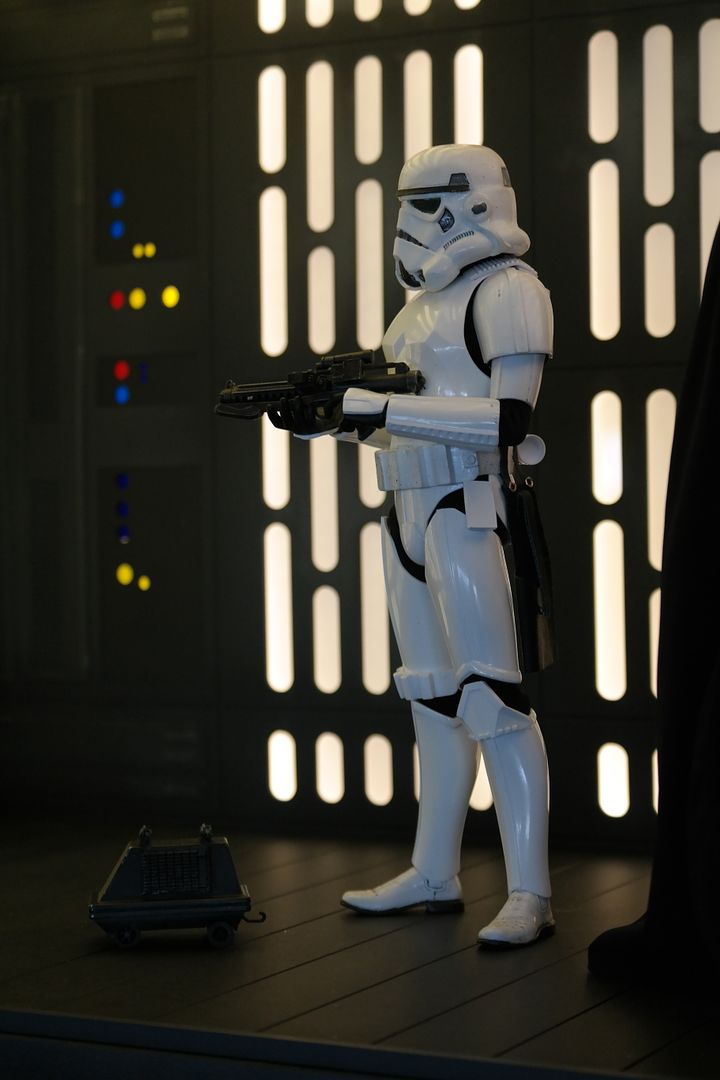
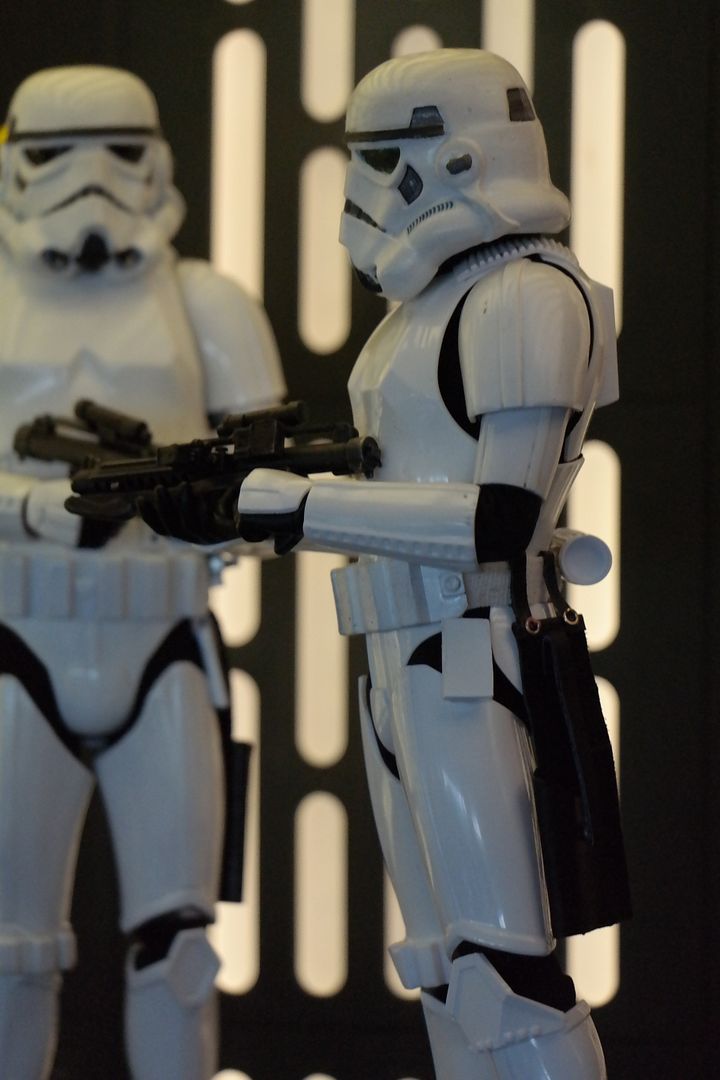
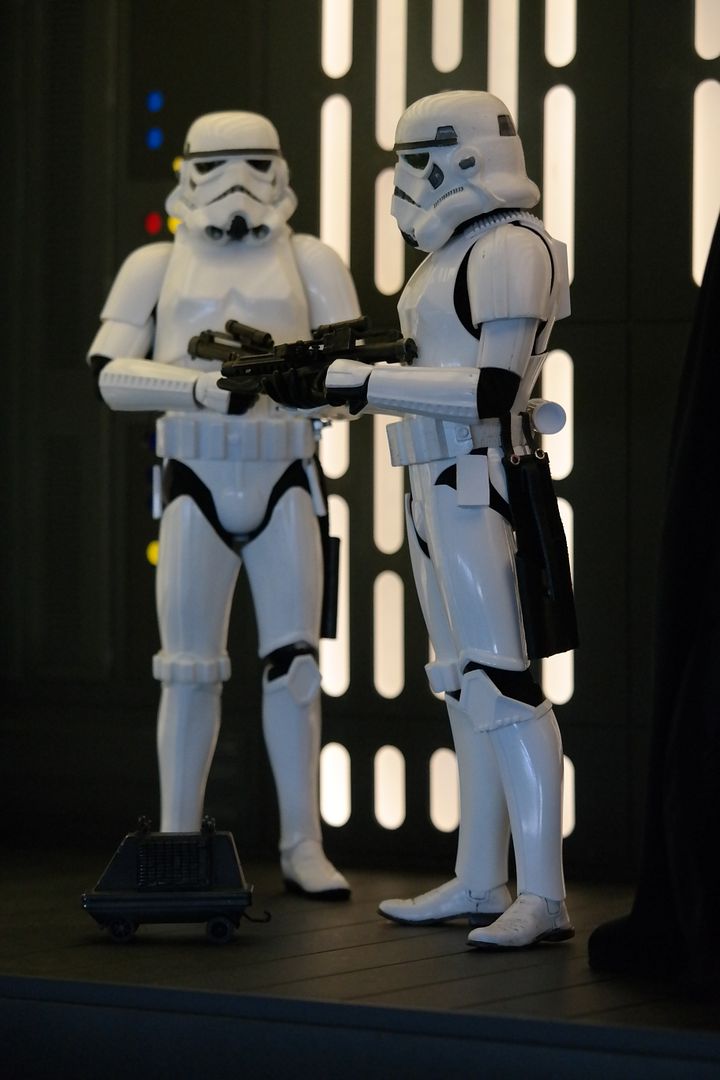
If we can get to the stage where the face / mask can be cast separately then we can start playing around with different looks.

I have a friend in the 3D printing industry that may be able to help us get a smoother print. He plays around with a pretty hi end printer. How would we go about supplying him with the enlarged print model if I'm able to get him to come on board with this?

Also we need, or at least I need to find a solution for recasting the Hovi mic tips. Any ideas?
 
Thanks ST! For the figure on the left I used all HT parts, except bicep armor, forearm armor, belt and feet. I use the HT Sand trooper body because it was cheaper.

I have casted and unused hovi mic speaker tips on standby waiting for me to create a new mold. So all helmets will come with speaker mic tips. I still use the small helmet because I don't have a larger one to replace it with, yet. Although, I'll probably continue to use it because sometimes I like looking at dramatic variations. From certain angles sometimes it looks perfectly fine.

The guy who is selling the compressor is slow on responding, but I hope to pick it up today. I'll make sure he tests it before I buy it.
 
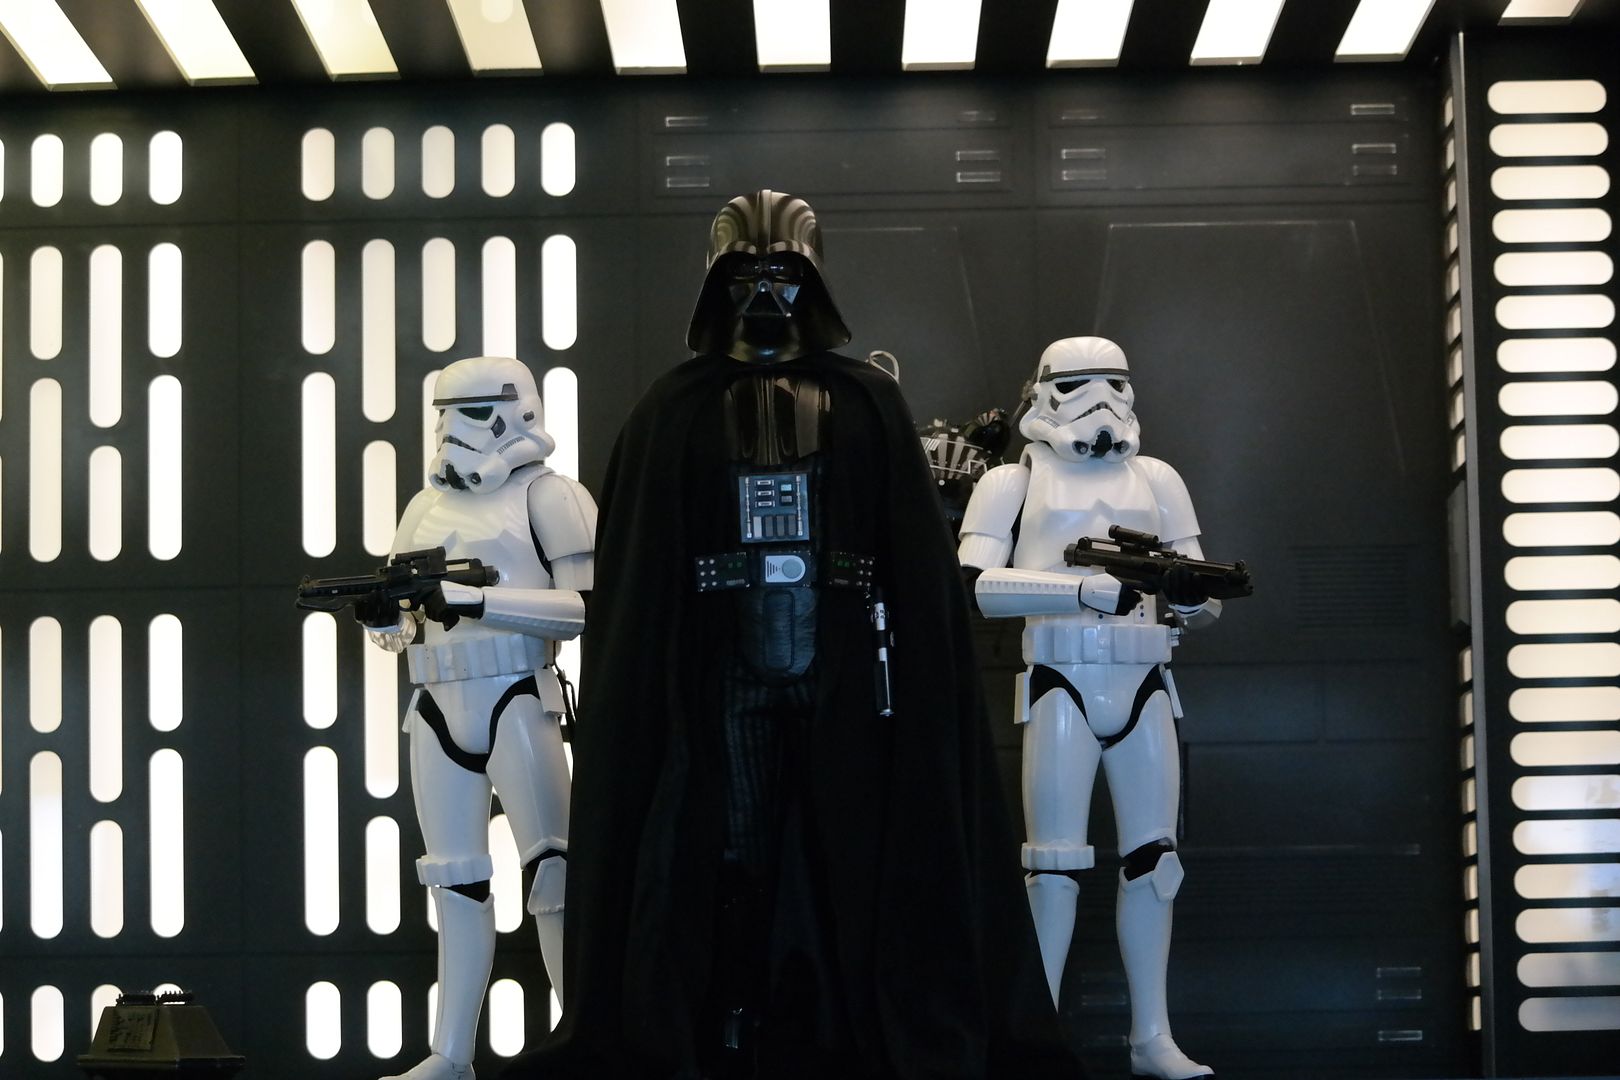
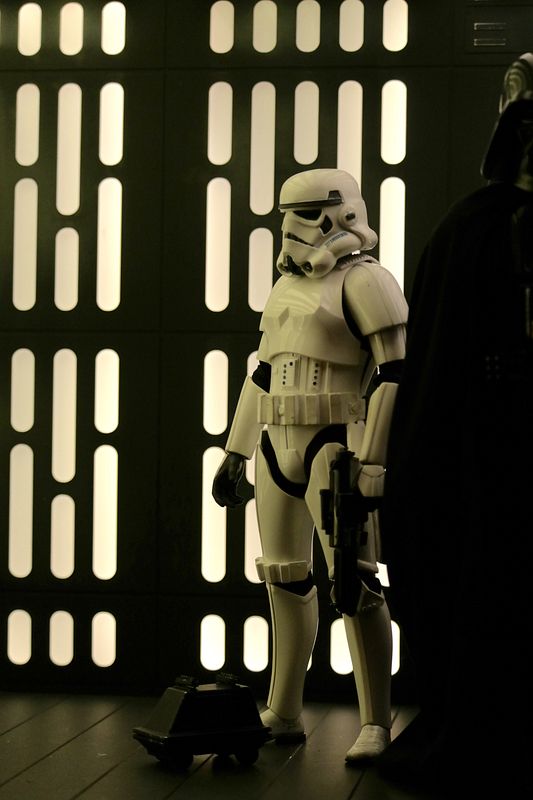
I finally created, painted and attached ammo packs for my belt and made a custom leather holster with magnets for my larger Stormtrooper that was "kitbashed", so to speak;


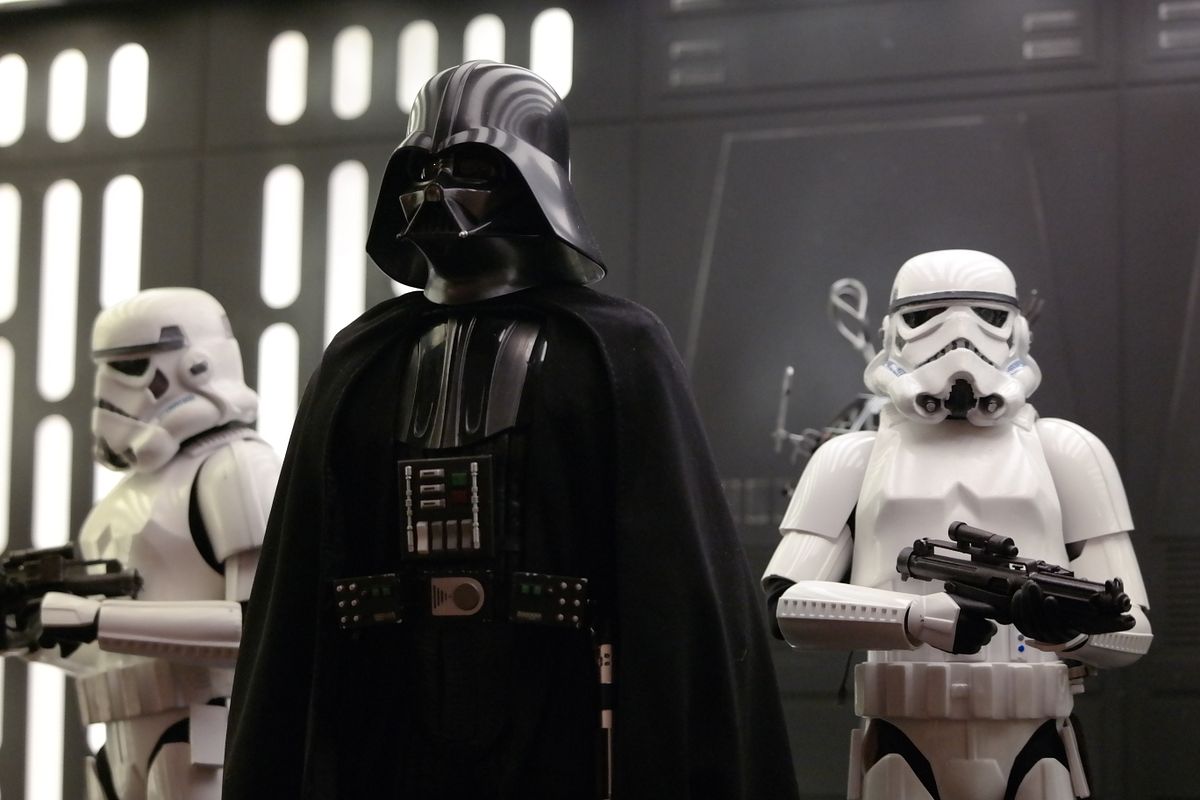
Got my speaker mics situated. I used cut pieces of stranded 12 gauge copper wiring. Pushed the copper wires down a little to give them the recessed look of a speaker and then painted them. I love this bucket. Definitely going to outfit more of my Stormies with them.


Very ingenious idea, Spudtrooper! The paint app and your finished product are magnifique :clap. I like it, looks great! So much fun to pose these guys with a new bucket, eh?

I started trying different heads inside the helmet and it makes a difference for sure. Had to push it way down the neck to get the look I was aiming for.


So the guy said he can't get any pressure on the cheap air compressor...looks like I'm going to have to buy a cheapy at Sears. I've been looking online for good compressors that are quiet, which I could get for 128.00, but shipping blows the deal up. So we're back to square one. I'll keep you guys posted.

Also, two more guys have jumped in. So that gives is us another $100.00, I haven't sent them an invoice yet because I haven't bought anything yet. This is why it's hard to try and figure out costs, this is all unknown territory, I also am essentially bringing a dangerous pressure pot into the basement...scary.
 
Very nice! Now imagine that helmet top being lifted back and the brow raised along with it.

Well done on matching the Move Along lens cut out Irezumi.
 
Back
Top