Bandai Perfect Grade 1/72 《Star Wars》Millennium Falcon

Collector Freaks Forum

Help Support Collector Freaks Forum:

This site may earn a commission from merchant affiliate links, including eBay, Amazon, and others.
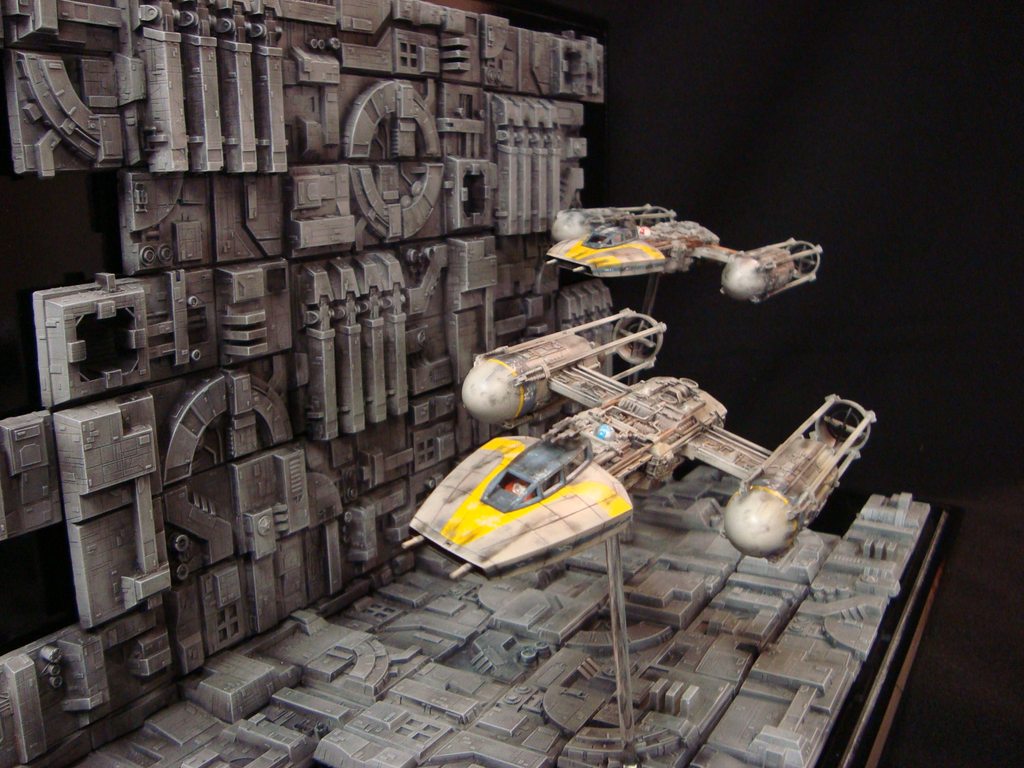
The side diorama is probably more do-able than forced perspective. Google image search has a bunch of them to look to for ideas. I liked this one:
d3cbXqah.jpg


Probe Droid always gets a lot of attention. I think it's Sideshow's best product to date.

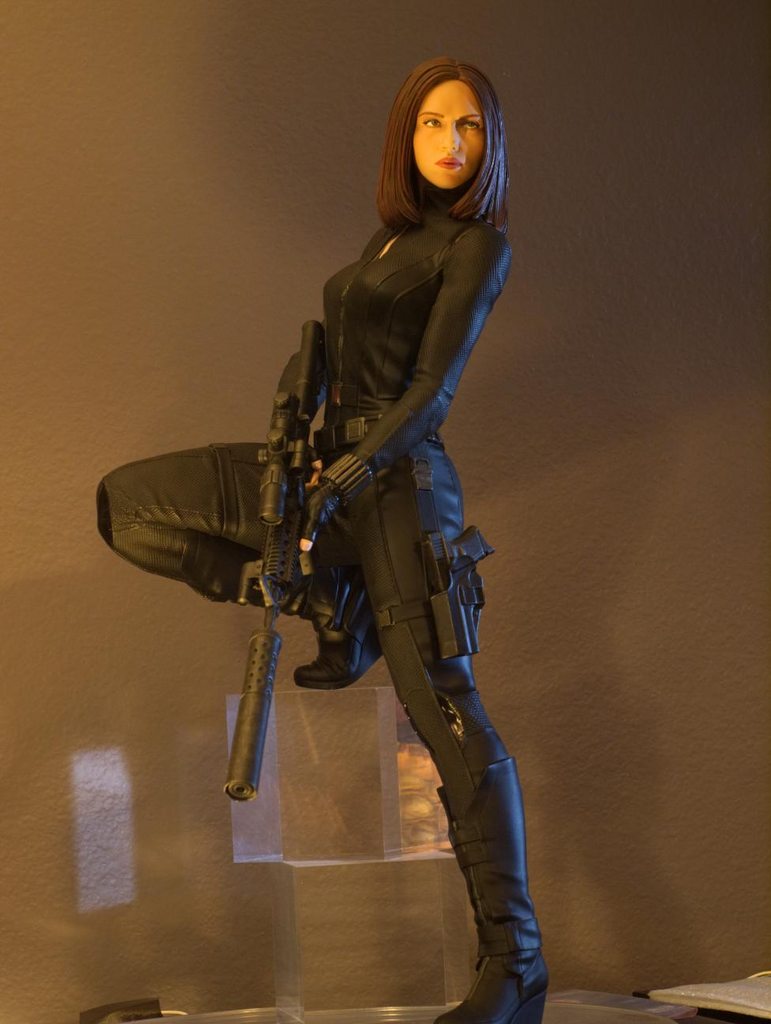
Black Widow is one of my collection favorites:
F34kBc0h.jpg


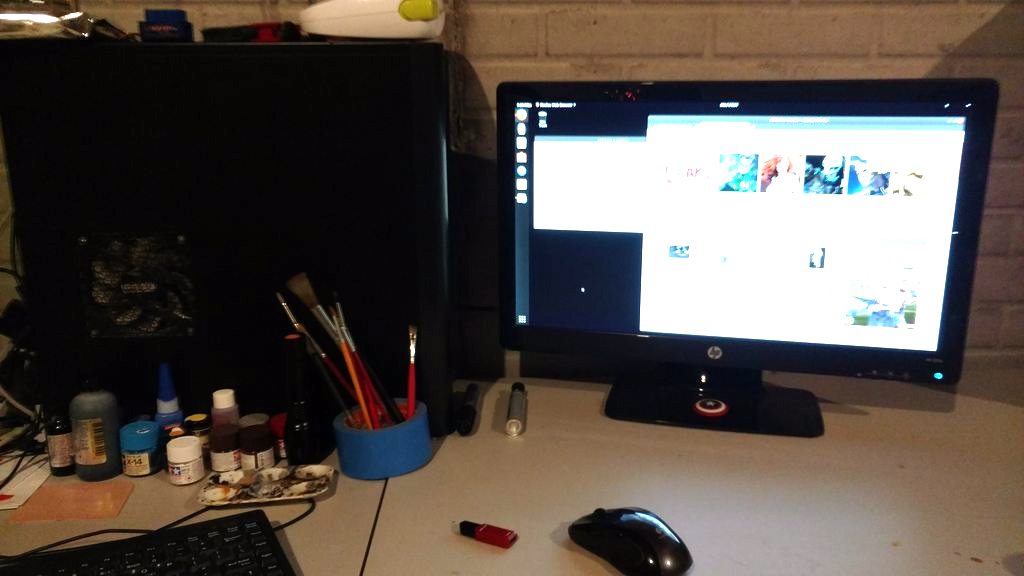
I worked this evening on building a system for my hobby space. It's an old AMD Phenom II that I got working again with Ubuntu. Good enough for pulling up reference images as I work and paint. I need to add some overhead lighting, probably this weekend. I'm just really just finally getting things set up since I bought my new home this summer.
JDnQ4l2h.jpg
 
A new house will definitely keep you busy in between kits- Congrats!

I like what that guy did with the DS backdrop. A side cutaway would seem like the best way to go with that- although I really want to incorporate a generous FO star field above it, which is why I was thinking of trying to use forced perspective. The above example is a whole lot simpler though, and would probably be more effective in the long run.
It didn't register at first, but now I'm thinking the staggered laying in of panels may be meant as a loose 'sketching' in of the background.

Just finished (sort of) my first kit- the At-At. I've got a few tiny greeblies/panels left to tack on, but I'll actually need to break it down slightly to paint it anyway so I may just stop here for now. I definitely learned a few things while doing it.

The biggest lesson may be that these tiny ******* pieces fly everywhere if you aren't careful- and even when you are. Not just clipping them off the sprue which can turn them into a projectile flying across the room, but even just trying to hold them for sanding. One little button plug went flying and I'll probably never find it now. No big loss if I have to glue the little panel it secured, but it's frustrating and makes me concerned about all the tiny pieces to come on the Falcon.

My game plan is to move on to the AT-ST since both these kits won't be lit, but straight ahead builds.
Concurrently I'll be priming the mandibles on the Falcon and assembling those parts, then priming both ATs and learning how to weather them.

Got frustrated with the Star Destroyer. I ended up ordering a Tamiya hand drill- which was a kit itself and took a half an afternoon to build. It works well, but may not work with the SD. The collet it comes with won't hold these microscopic bits, so I swapped out a collet from one of my pin vises. But I'm still breaking the bits and also putting gouges into the plastic from the larger collar of the drill when the bits sink in. At a $1 a bit, it's costing me about $.50 a hole and I wanted to put at least 400 light points on it. I'm going to practice with larger holes (.5 or bigger) and then using Krystal Klear to hold the .25 FO in the hole. I don't know if the KK is going to negatively affect the filament like superglue would. If it does I'll need to switch to white glue I guess. Otherwise I don't know how I'lll do it.
I don't want to bloom the ends on the .25 either as that would kind of defeat the purpose of going with the smaller scale light. In that case I might as well just use .5 FO, which seems a little too big to me.
 
The only time I worked large scale with fiber optics was on an old MPC Star Destroyer. I used a clay needle tool to punch all the holes. I wouldn't do it that way now, but it might help in one or two tight areas. It worked on MPC plastic, but Bandai seems much harder with potential cracks. Approach with care.

FaxaKonl.jpg


I never finished it. No amount of lights was going to save that garbage kit.
 
yup. all paper!! it’s an INCREDIBLE piece of engineering. totally fun!!
57CA4123-9AD9-4B5E-9362-65ED09D54135.jpeg
i had to modify and make my own dice for it though!!
 
The only time I worked large scale with fiber optics was on an old MPC Star Destroyer. I used a clay needle tool to punch all the holes. I wouldn't do it that way now, but it might help in one or two tight areas. It worked on MPC plastic, but Bandai seems much harder with potential cracks. Approach with care.

FaxaKonl.jpg


I never finished it. No amount of lights was going to save that garbage kit.

Decided to step up a little to a #76 bit. It's slightly smaller than the .5mm FO and slightly larger than the .25 I want to use. I put that in the Tamiya hand drill, using the collet from one of the pin vises, and so far it seems to be working well. Drilled about 150 holes so far with no issues.

Well, I guess the only issue I have is that it's hard to eyeball and keep a level row going when you are drilling around and into all the greeblies in the trenches. But once it's all done I don't think I'm going to be too vexed over some sloppy rows. The abundance of light points should overwhelm the less than perfect leveling.

The #76 seems to be a good compromise. I was having luck using a #73 prior, but those holes are a little too large. Fortunately I only did about 50 or 60 before I tried the smaller one. Long way to go yet, but I'm very happy with how things have shaken out so far.

The reason for the post is really to heap some praise on this little puppy here
31kkWCKDHSL._AC_US218_.jpg
It was slightly annoying amusing that it came as a kit itself, but now that the assembly is out of the way, the functionality of it is pure bliss. I started on this kit suing a pin vise, taking forever to sink one hole and then breaking bits for every few holes I could get. Using this drill is not only a hell of a lot more comfortable on my hands, but it's like slicing through warm butter in comparison.

Probably won't be a need for using it on the falcon- though I may put in a larger bit and try using it for chipping and battle damage when the time is ready, instead of dragging out the Dremel.

But if you ever do have a kit where you need to drill, I HIGHLY recommend this.
 
The reason for the post is really to heap some praise on this little puppy here . . . if you ever do have a kit where you need to drill, I HIGHLY recommend this.

Would you recommend this over a dremel?

If so - could you please share the purchase URL (and one for suitable bits).

.
 
Would you recommend this over a dremel?

If so - could you please share the purchase URL (and one for suitable bits).

.

Recommending it over a Dremel really depends on the application you want to use it for. If it is specifically for drilling holes in plastic/styrene kits, then yes, I would definitely recommend this over the Dremel. I could be wrong, but I don't think there is a Dremel model available with low enough RPM to not damage the plastic (melt it) when drilling. That's the main deal with the Tamiya- very low RPM.

But, as Kamandi said, a Dremel is a good tool to have in your box.

The Tamiya I got from Amazon for $28. There are a couple marketplace vendors that use Amazon fulfillment so you don't have to wait for a package to travel halfway around the world.
To use super small bits, you will also need to use the collet from a pin vise, so if you don't have one of those you'll need to pick that up too.
 
Was finally able to pick up my kit last Thursday. You really can't prepare yourself for the scope of this monster until you start looking at all the sprues in your own hands. And that instruction manual is a beast.

Definitely going to take my time with this. It's the altar on which all other model kits will weep. ;)
 
:lol

Those mandibles are the first section I've decided to work on since they are relatively self contained. I'm just wondering now about how I should be priming these.

I intended to use black on the main outer hull pieces. I'm guessing that white, or a light grey, inside those 8 circular openings is more advisable. That way you can just go in directly with a wash and rusts/silvers/etc via dry brush.

So...it looks like I should be priming the thin pipes already on the sprue, and then touching up once they are clipped off? That way I can shoot over everything once it's in place with the final off white base color.

A stupid question but do you clear coat after you prime or only after all the painting/weathering is finished?
 
Back
Top