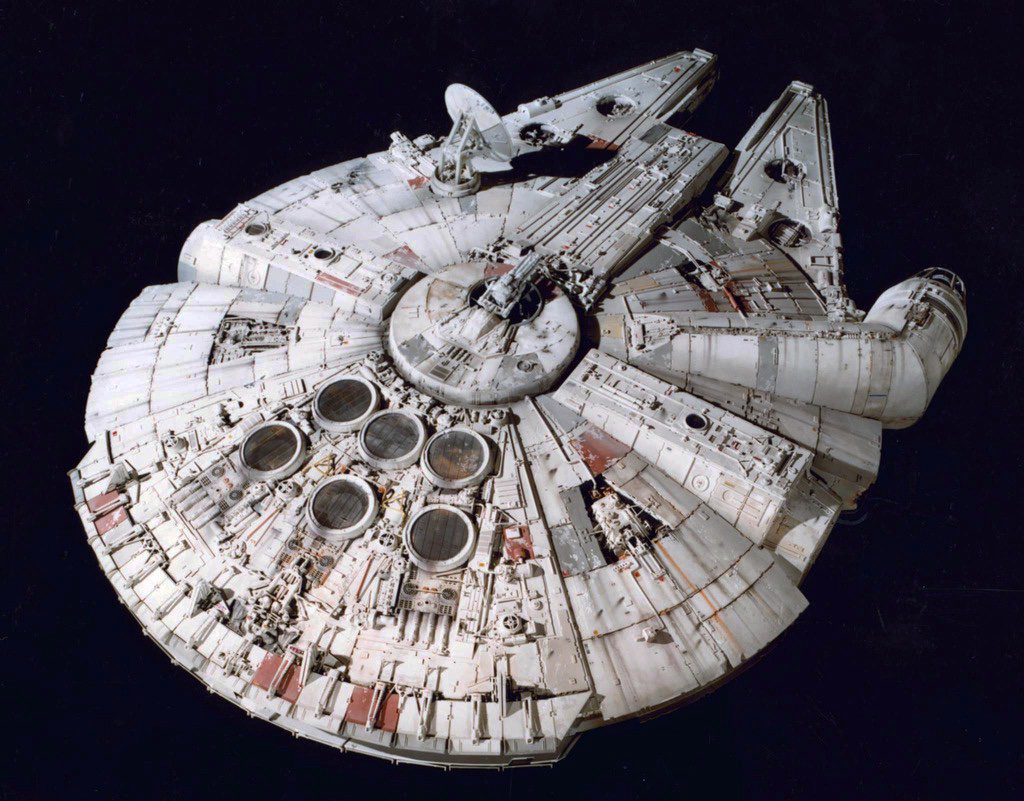
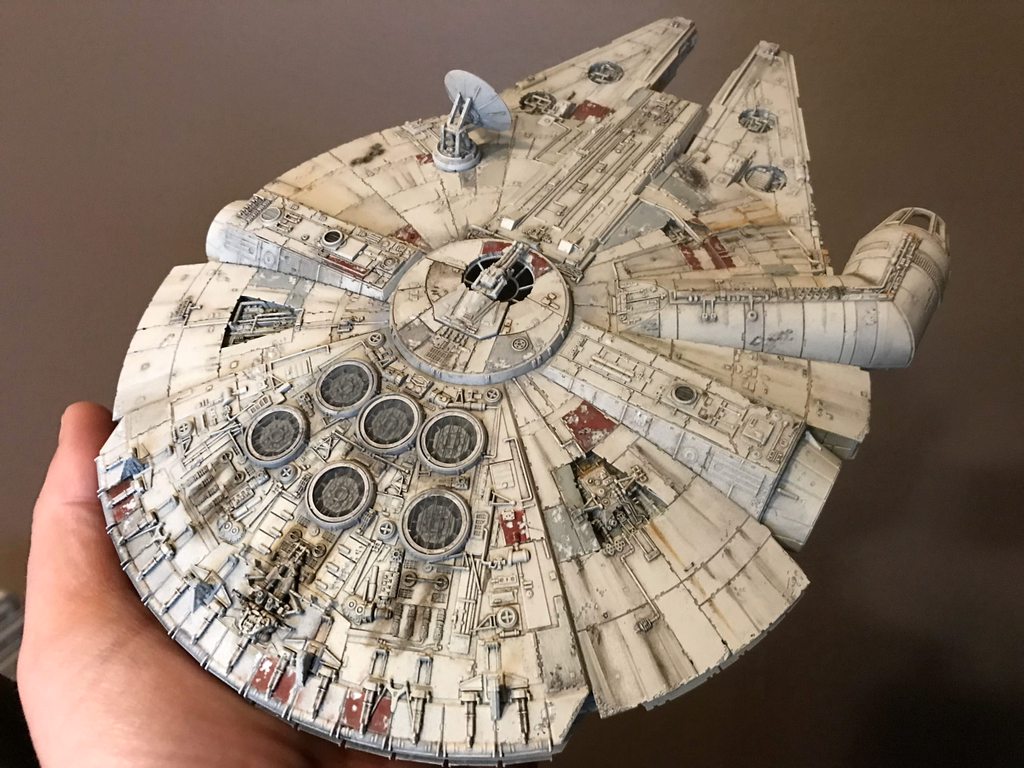
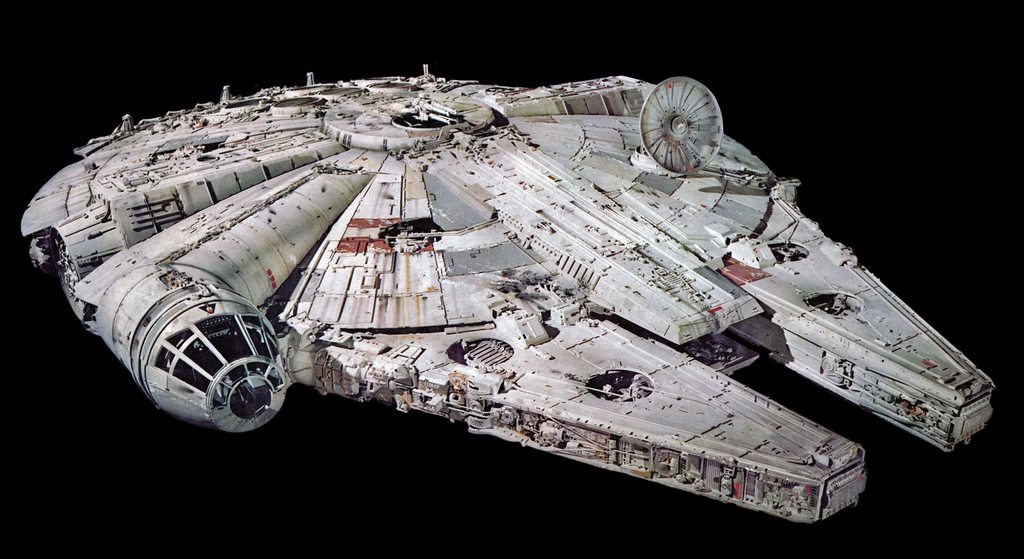
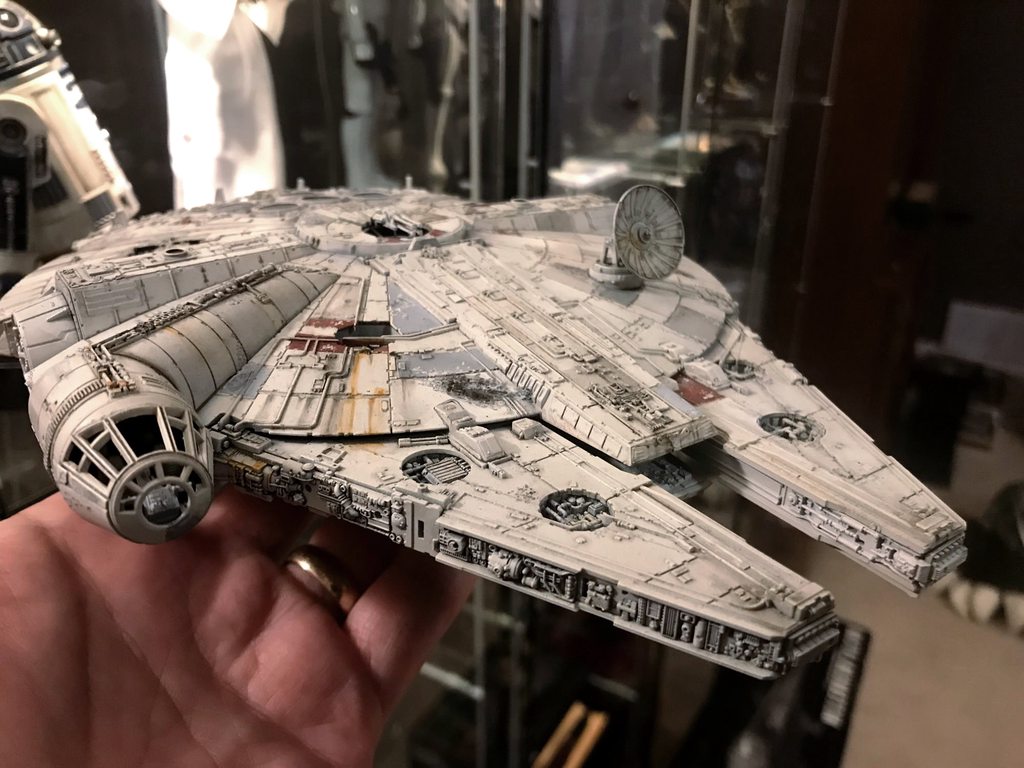
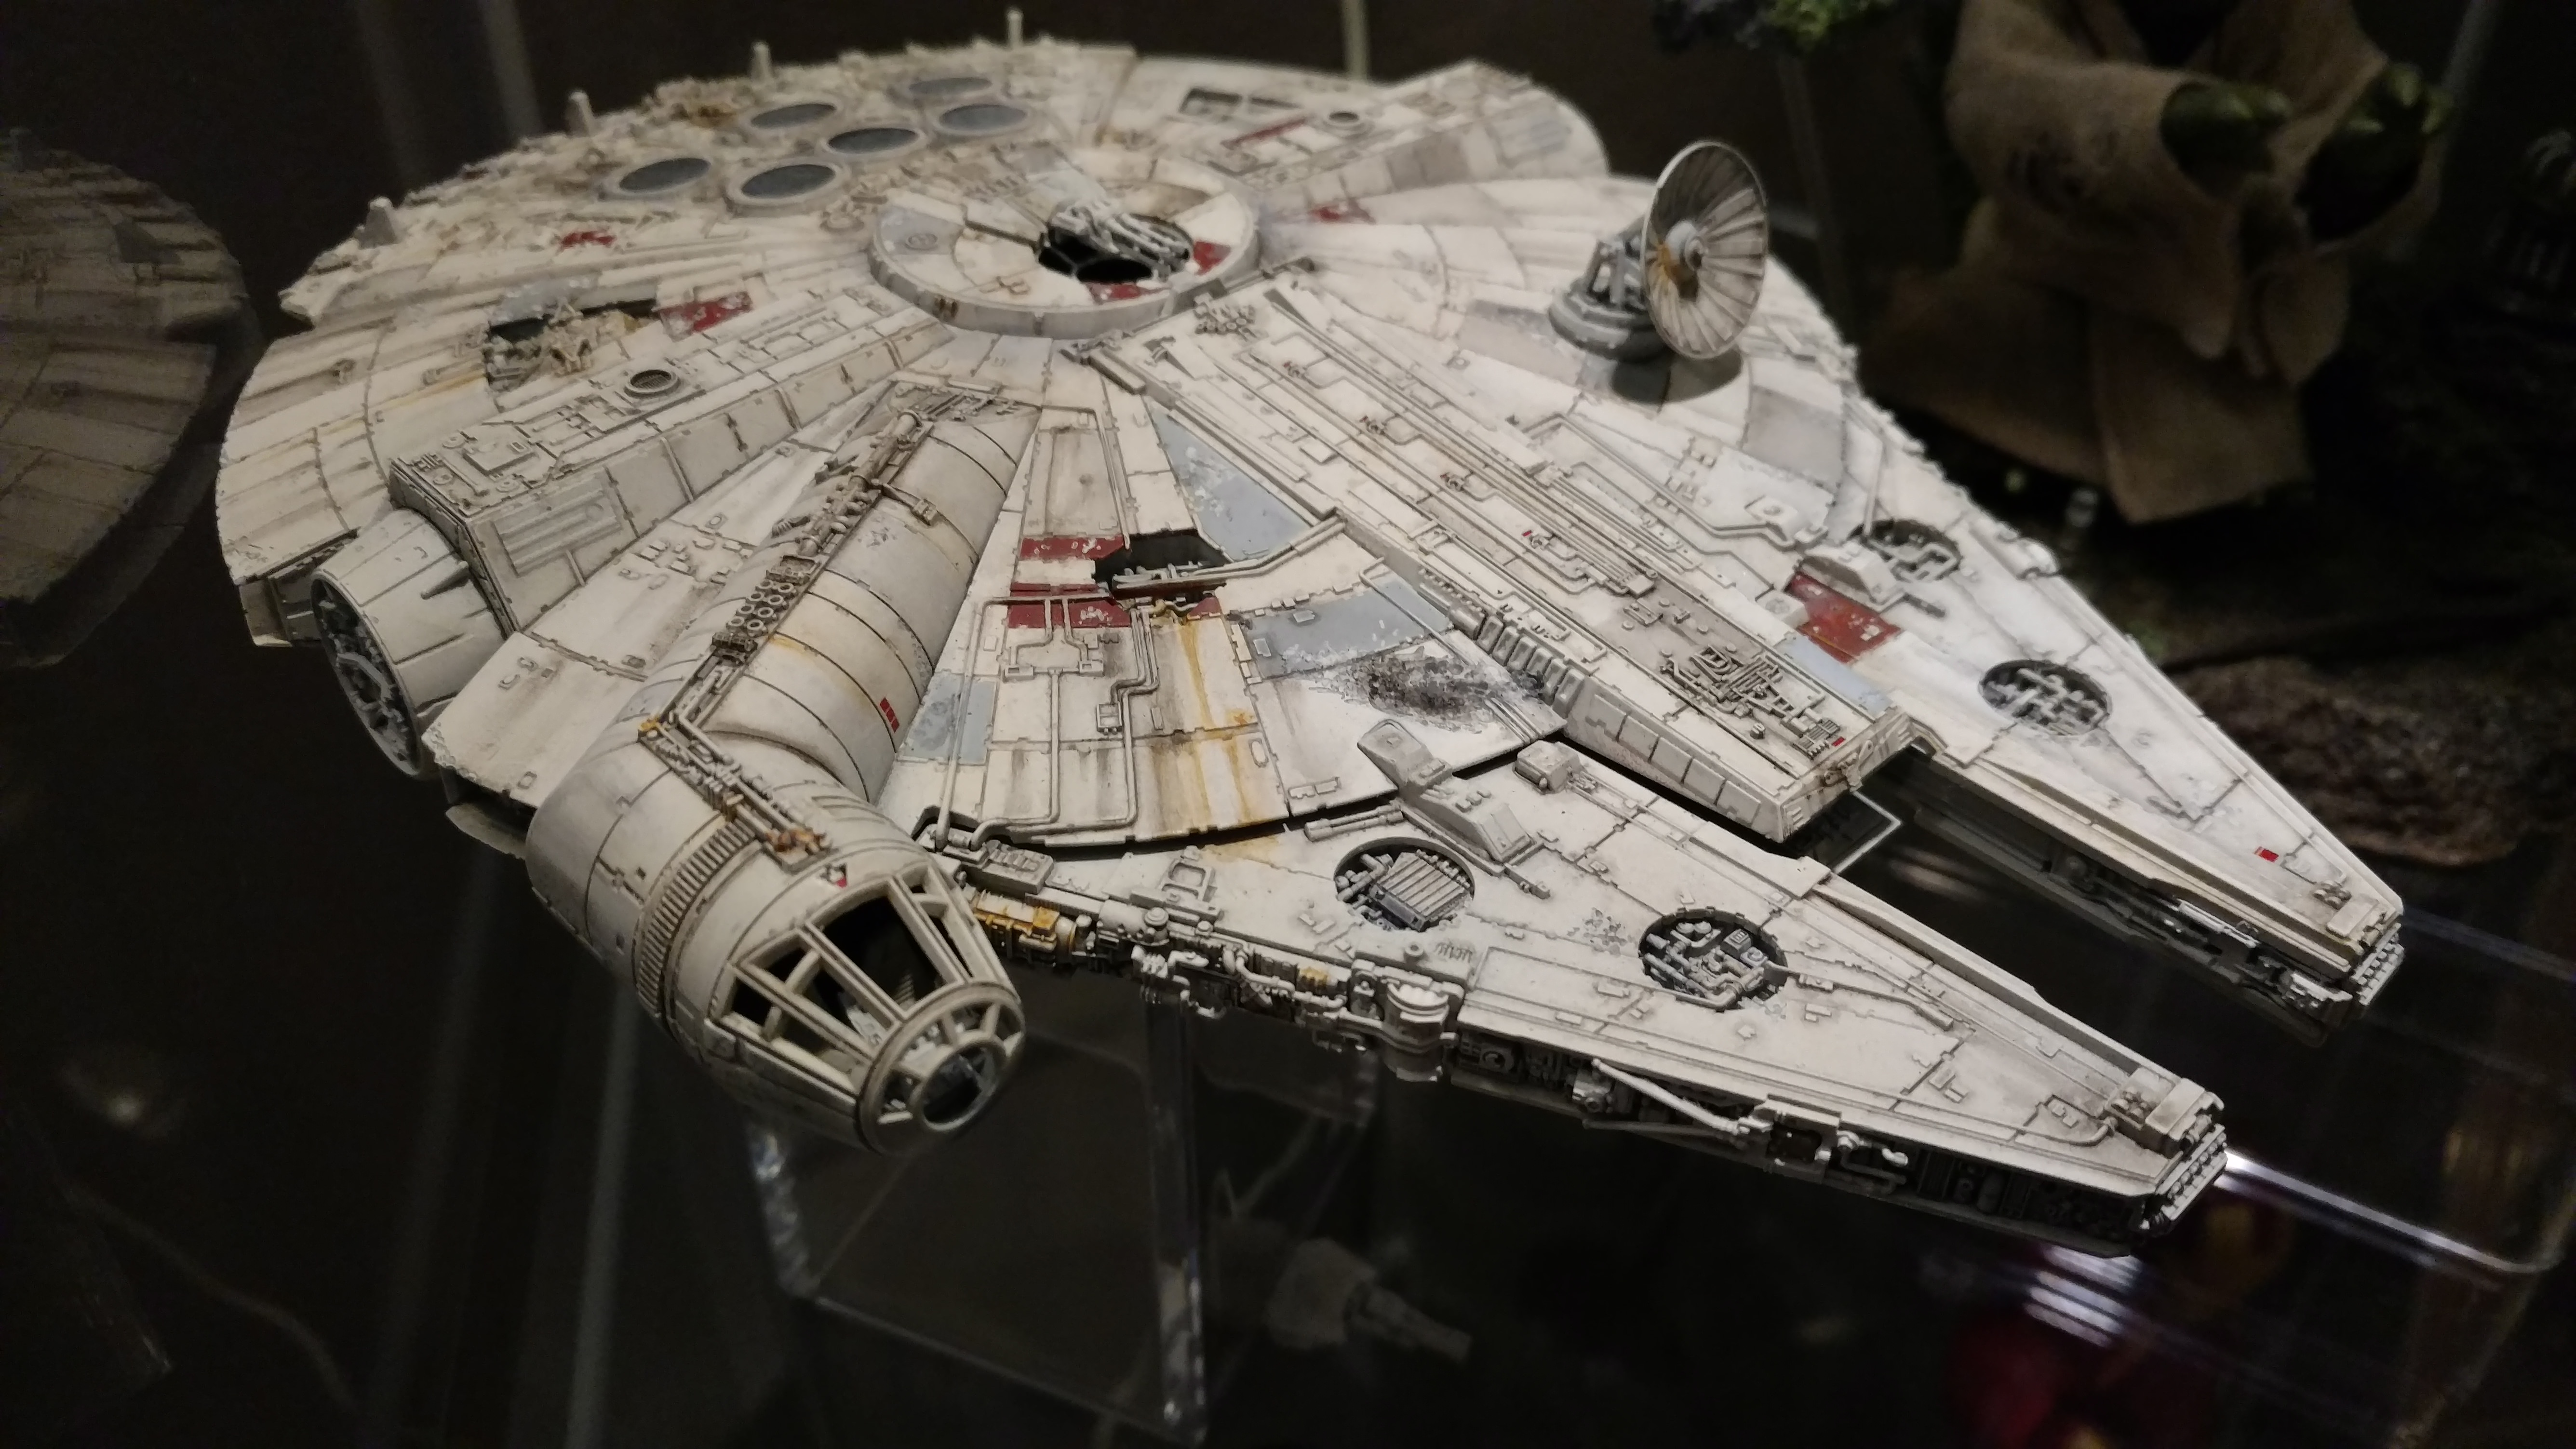
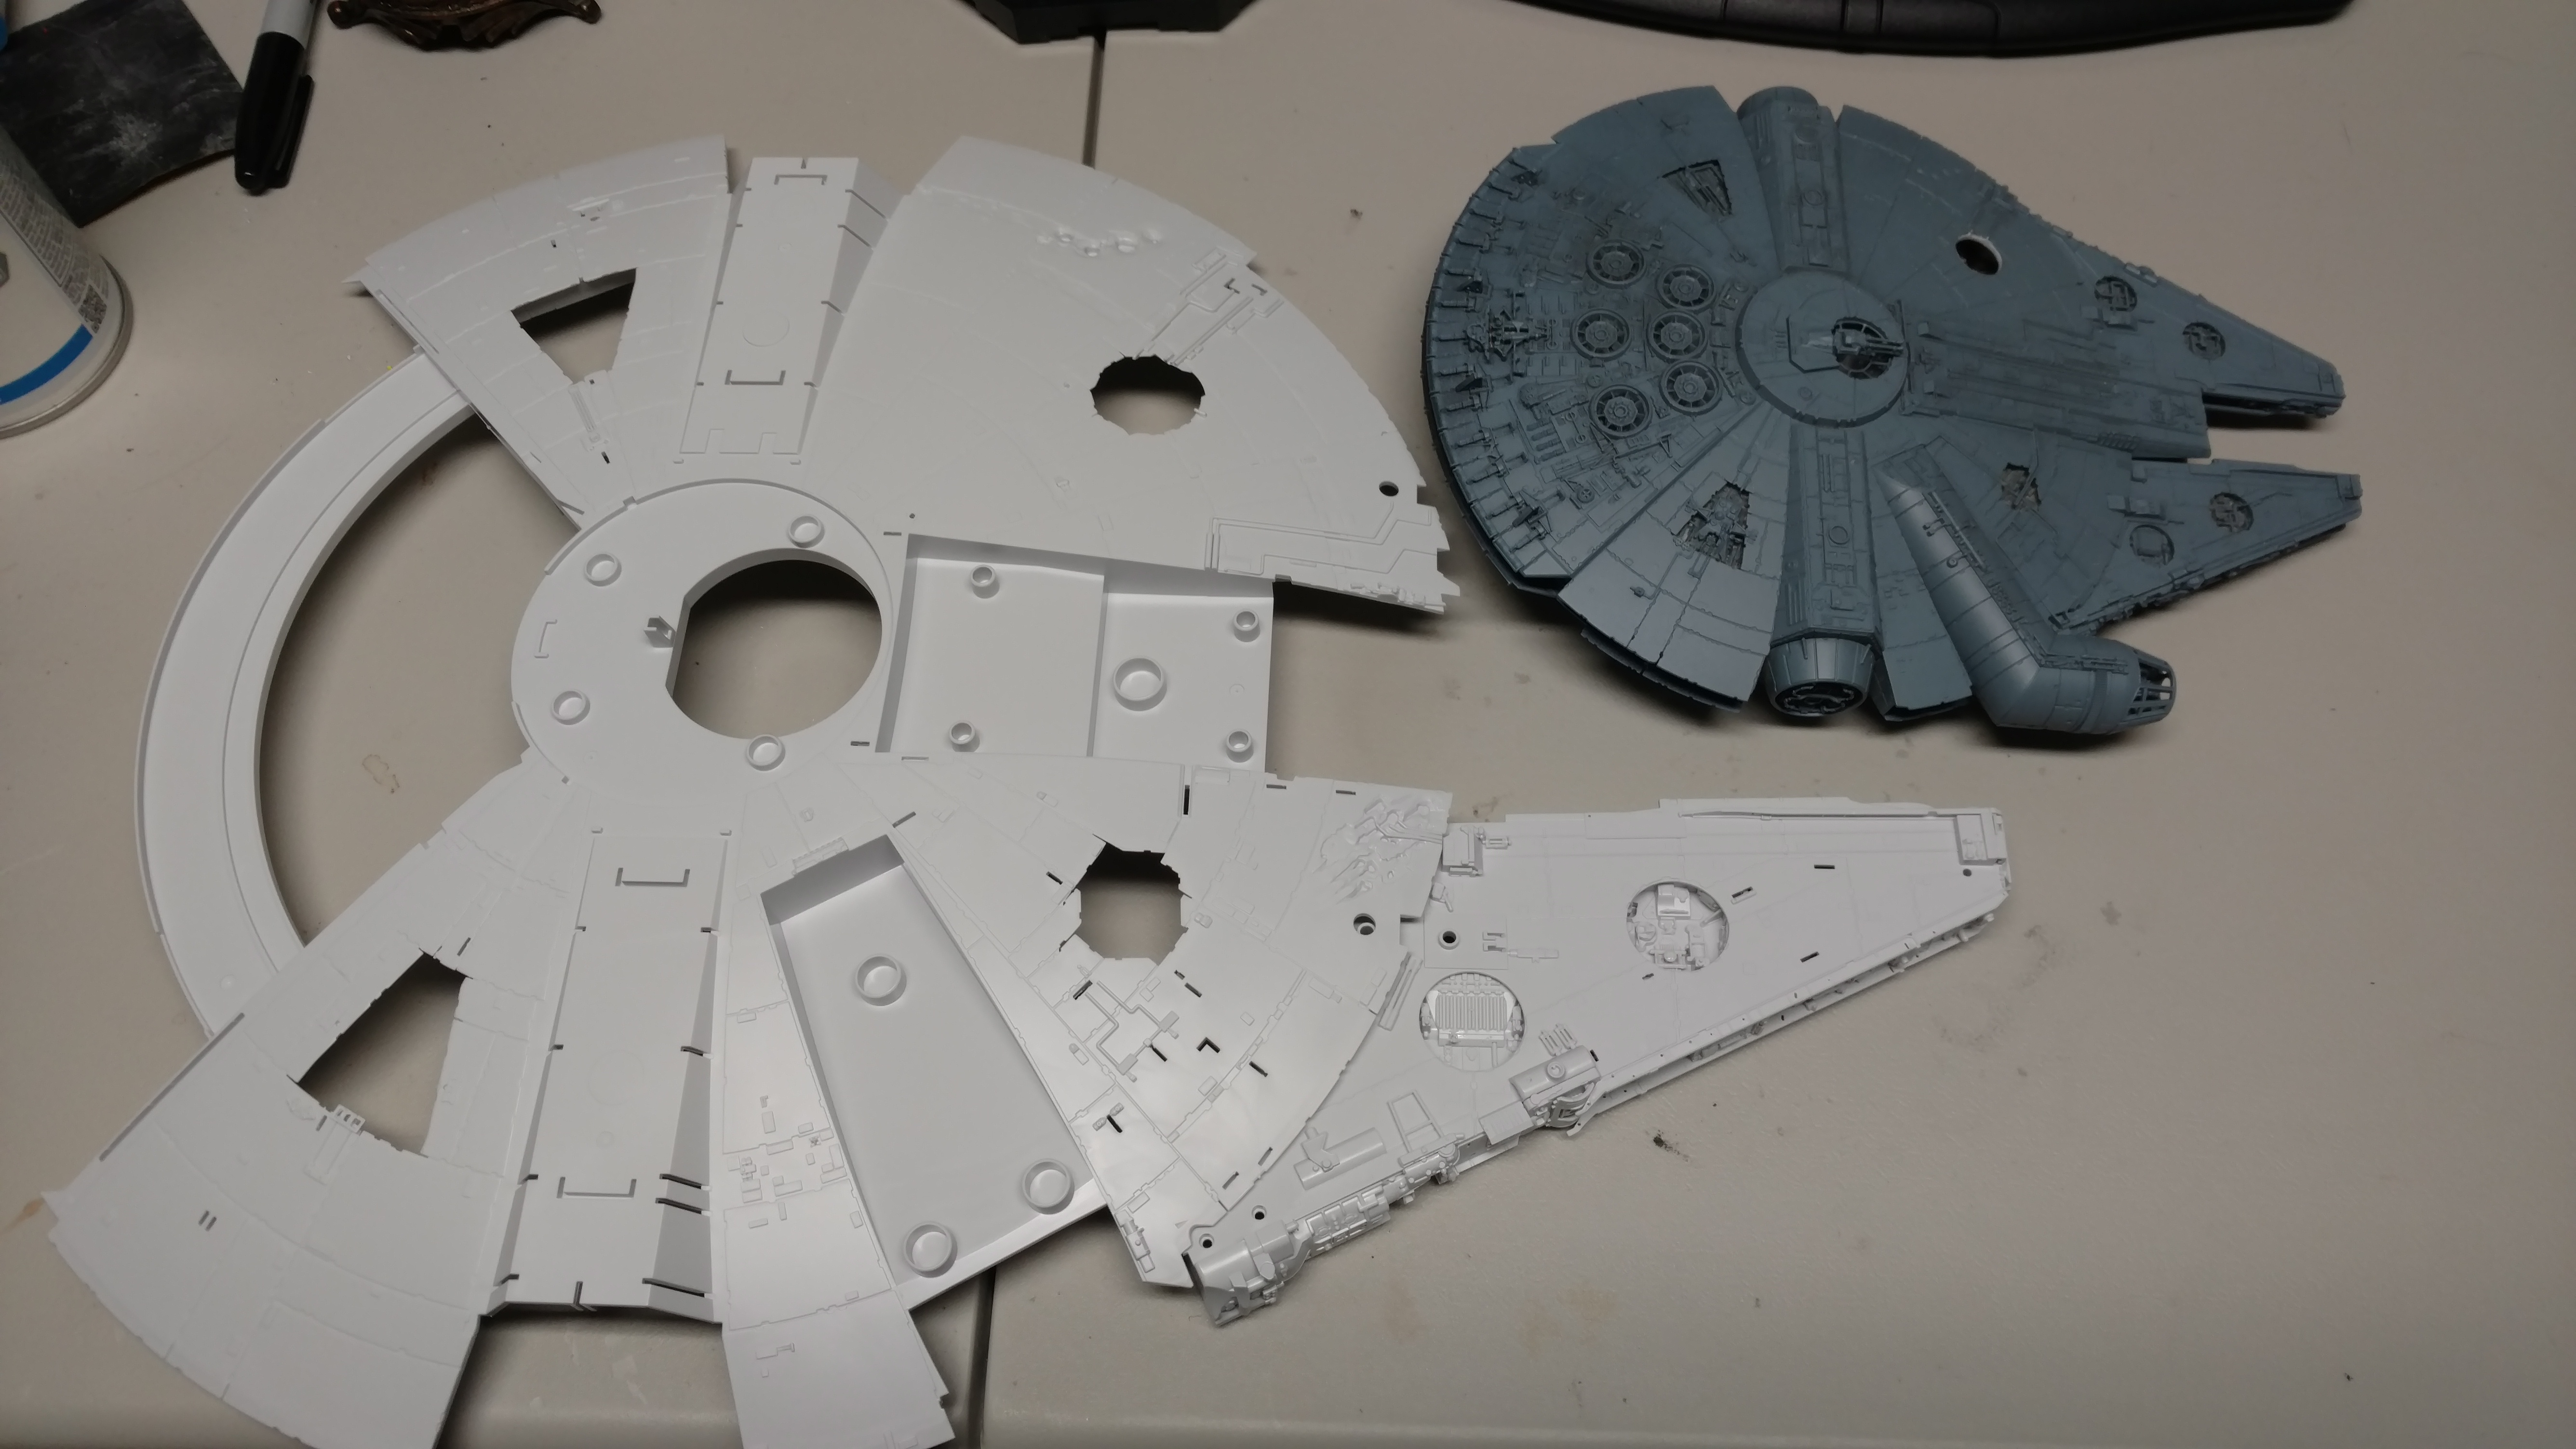
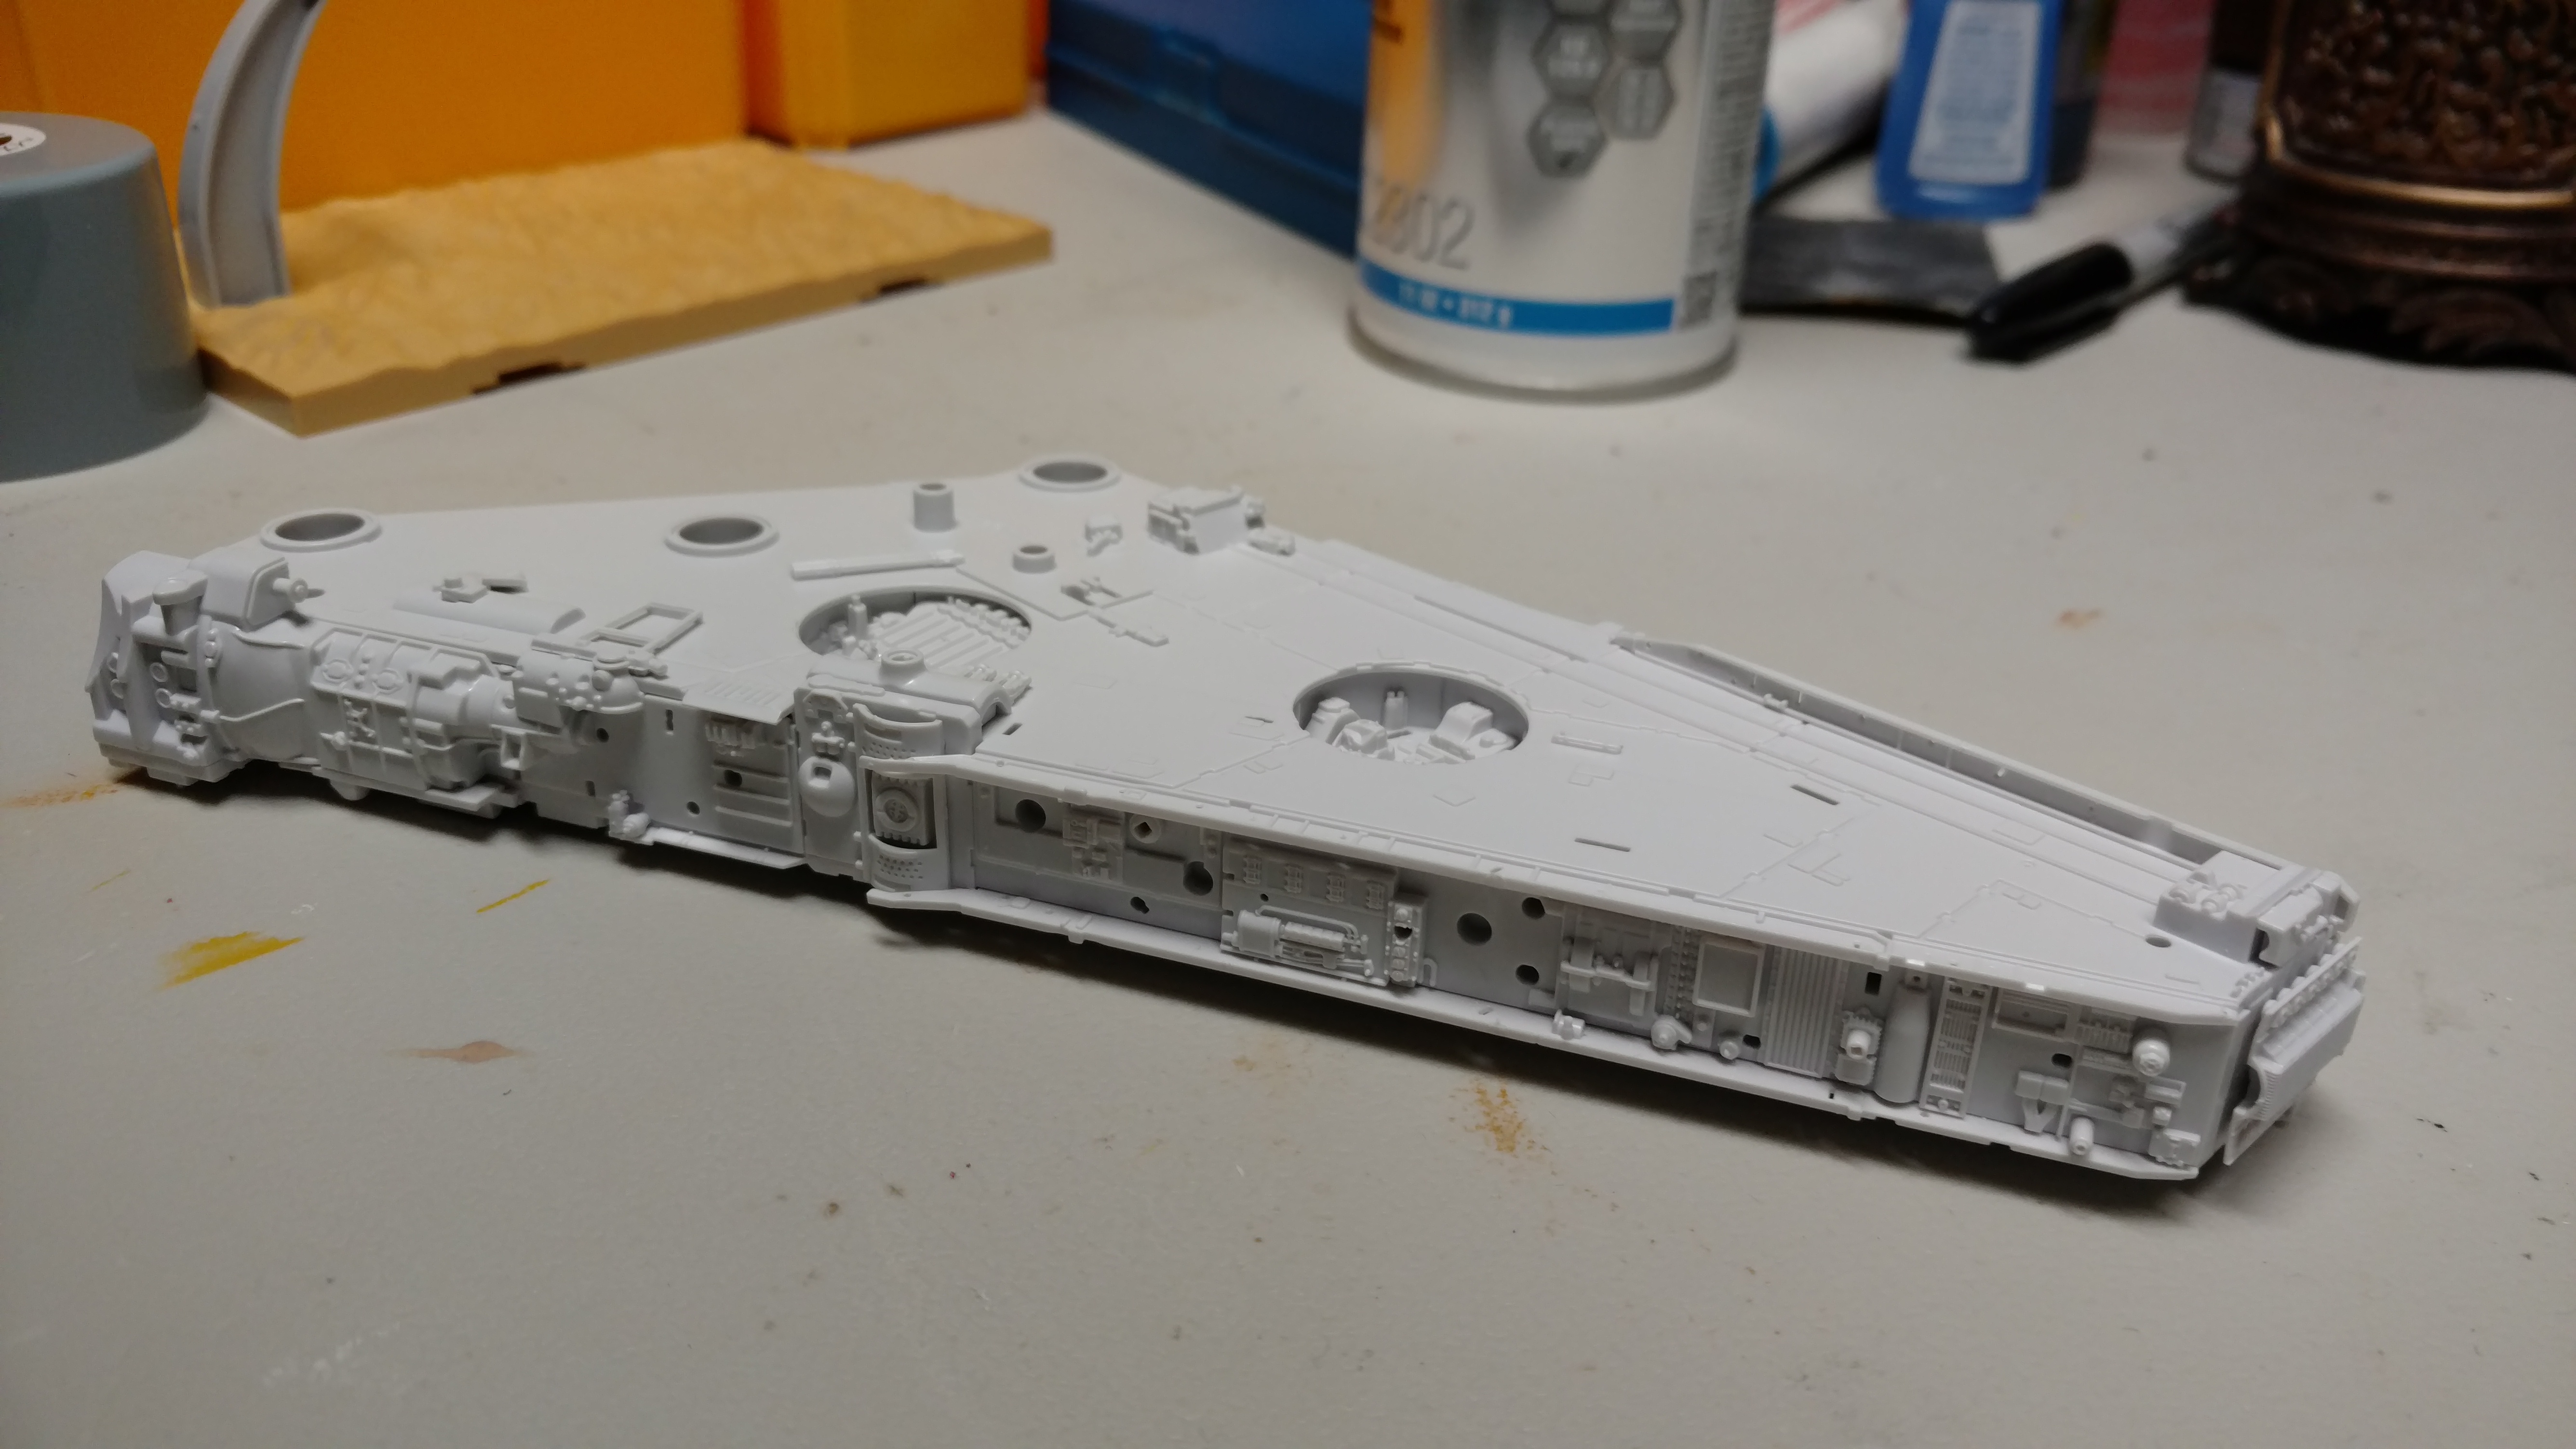
Bandai Perfect Grade 1/72 《Star Wars》Millennium Falcon

Collector Freaks Forum

Help Support Collector Freaks Forum:

This site may earn a commission from merchant affiliate links, including eBay, Amazon, and others.
The Millennium Falcon PG is getting a second issue, a non-collector's edition, and it will cost significantly less. It sounds like it will be in the $250 USD range. RPF is speculating will not include the lights, waterslide decals or photoetch (based on Gundam PG vs 2nd editions).

Knowing this I would be inclined to wait for the 2nd edition on the Star Destroyer when it happens. I desperately want one but I'll be a bit smarter in how I buy that kit.

Really??? So that what Bandai meant when they said the original PG was a one-shot deal(will they keep making it? I know they have been sending out wave after wave of it..)
 
They're definitely making sure they get their money's worth out of the tooling for that kit.

I'm not bothered. I now have a better feel for how they will handle future Perfect Grade kits that interest me. Cheaper re-releases mean I'll site out the first waves next time. I want an Imperial Star Destroyer and a Rebel Blockade Runner. Both models would be worthy of the PG treatment.
 
They probably farm out their call center to a telemarketing company. Those people have no product knowledge that isn't part of a script.

Version 2 of the 1:144 - Closer but not quite. I think I might break down and order some of the Archive-X paints that replicate the 1970's era Floquil paint colors.

UpVlPHRh.jpg

uPvznuyh.jpg

u6N0eNWh.jpg

rhJpOrMh.jpg

so well done- just terrific work:clap
 
hey Spind... in your engine vents... the interior seems to be hexagonal. did you add a piece on top of the supplied black fan piece?? it looks fantastic!!
 
Kamandi, now that I'm trying to strategize painting this, I'm even more impressed with what you did with the 1/144.

The skill and technique are as good as anything I've seen for this ship. In contemplating how to approach this, I'm starting to become very daunted. So many ways to screw up if you don't fully plan ahead- or at least familiarize yourself with what's ahead in the build.

It seems like certain pieces/sections will be a lot less trouble if painted prior to assembly, while other areas should be held off until the build is complete.

Scale Model Jedi in his latest vid is rueing gluing in some smaller rear pieces because he didn't take into account some panel colors needed under them.
 
Kamandi, Mose and other experts - Would love to have one of you guys doing a video on the PG build, particularly on the painting. This would be extremely helpful for beginners like me to avoid pitfalls.
 
Thanks for the compliment, but I ain't no expert. Not by a long shot. Kamandi is your huckleberry here.

I did just watch a speed build video on this where the modeler used the decals rather than paint it. Looked like he had no problem with them whatsoever. Almost tempted to go that route myself- and then mist over them with the off-white/grey base color to diffuse them a little, because I never really think of the MF as having these pronounced, high contrast areas of color or tone.

The other benefit of the decals is that the chipping is already done. People with more experience may want to comment though, as I don't know the longevity issues of decals or any other issues that may crop up.

In the mean time, I keep rewatching Steve Dymszo's vids on painting the De Agostini. Some (most?) of the principles would seem to me to be the same.


There are four altogether.
 
Kamandi, now that I'm trying to strategize painting this, I'm even more impressed with what you did with the 1/144.

The skill and technique are as good as anything I've seen for this ship. In contemplating how to approach this, I'm starting to become very daunted. So many ways to screw up if you don't fully plan ahead- or at least familiarize yourself with what's ahead in the build.

It seems like certain pieces/sections will be a lot less trouble if painted prior to assembly, while other areas should be held off until the build is complete.

Scale Model Jedi in his latest vid is rueing gluing in some smaller rear pieces because he didn't take into account some panel colors needed under them.

Thanks for the compliment. I guess I'd start with my approach to most things like this is "Perfection is the enemy of good" I'm not aiming for perfect. Perfect is intimidating and makes you give up before you start. I'll be happy with very good.

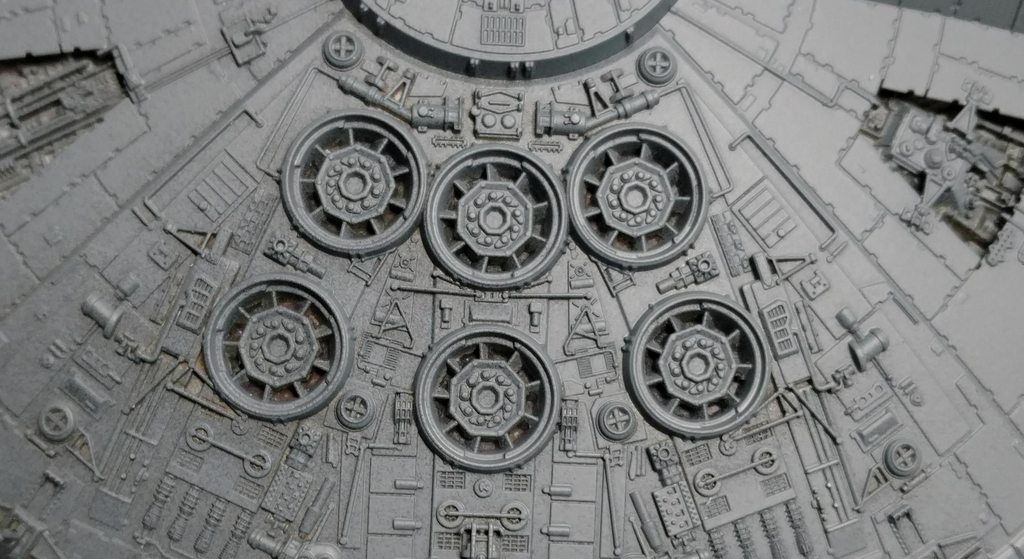
That said the DeAgustini is based on the 32" and the colors always looked much more yellow than the reference I've seen for the 5'. I'm using my earlier 1:144 as my color guide. Nato Black base coat and Insignia White over that. I didn't do washes over the whole ship, I did very targeted pin washes around some panels and the occasional semi-transparent panel. Then of coarse the streaking. By the time you do those things you'll be in the ballpark. I did dry brush oils coming off the 6 engine vents. (The 5 foot has engine streaks that are much smaller and head straight back, they do not radiate outward) The Falcon is a dirty ship, but it's easy to make it too dirty. REFERENCE PHOTOS!!!!

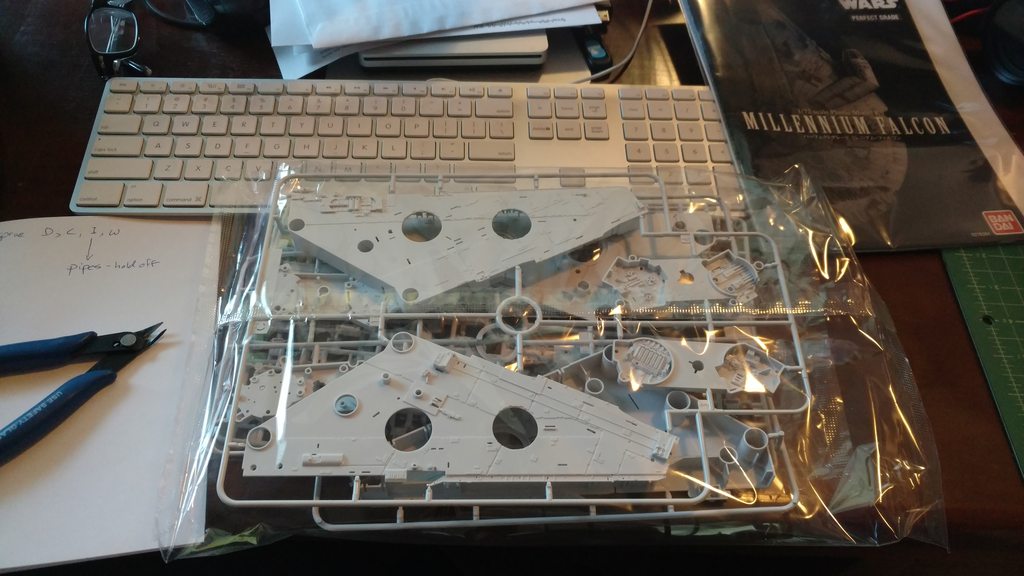
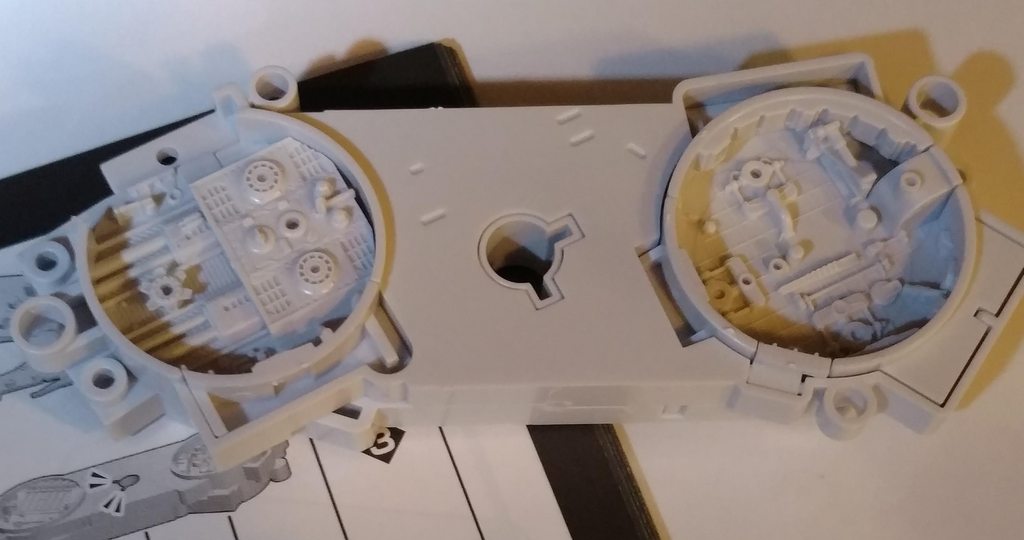
I took a break to watch the Christmas Doctor Who with my girls and now I'm back to work for a few hours. The mandible service pits have a ton of parts. Holy crap.

p6g1Hf7h.jpg
 
I'll use the decals as "chipping" reference but I'm going to use paint where ILM used paint and decals where they used decals.

No matter what it will look better than the EFX. You'd almost have to try to make it that ugly.
 
Basic assembly of the starboard (cockpit side) mandible. I'm holding off adding pipes until the base coat.

The smaller Falcon is 1:144 Bandai, same version from previous page.

6aGJDTQ.jpg

JWeltlg.jpg
 
Kamandi looking forward to your build- I will start my PG soon- it will be a learning experience. I often build a favorite model at least three times- each time I learn from errors I made from previous build- little things like paint variances and where more detail painting is needed after viewing several sections- hard to explain. As far as the Falcon I do a base coat of flat black- then do a coat of two types of white and go into detail weathering from there.
 
My friend StevetheSwede has been doing a fantastic job on my Falcon build. We've spent some time experimenting with different ways to do the cockpit because I wasn't satisfied with the Bandai supplied decal.
We got a new decal made which is accurate to the rear wall of the ANH cockpit. The sculpted details were rubbed down on the clear Bandai kit part so the decal could be applied flat. The light strips were cut out from the decal and random tiny lights were drilled out so that they shine more brightly than the backlit decal for the rest of the wall. It creates a really nice ambience to it. The part of the light enclosure which faces the rear wall was cut out so that the LED's will illuminate the entire back wall (instead of just the upper light strips) and two additional LED's were incorporated so that the lower light strips could also be illuminated. REALLY happy with how this looks. Similar to the MR 32" Falcon cockpit but a little more enhanced and of course, ANH accurate (except for the closed door but I was prepared to overlook that. The ANH cockpit set never had a door in it).

35-Falcon-Construction-020118.jpg
36-Falcon-Construction-020118.jpg
37-Falcon-Construction-020118.jpg
38-Falcon-Construction-020118.jpg
 
Back
Top