Building your MARINES - CORRECTLY

Collector Freaks Forum

Help Support Collector Freaks Forum:

This site may earn a commission from merchant affiliate links, including eBay, Amazon, and others.
Re: Customizing your Marines: TIPS

I recently bought a Hot Toys Hicks for a really good price. I'd always wanted a Colonial Marine in my collection. So I figured I'd ask here about finding an updated headsculpt. Can anyone point me in a direction, or should I wait for Hot Toys to get around to doing 2.0 marines? Thanks in advance.

Sent from my SM-G900T using Tapatalk

I just repainted the original, but I might get Rocco's Hicks at some point. You can find it in the interest thread.
 
Thanks everyone.


Regarding the fading: I have done it 2 ways.
- First thing I did was mix a little white with light blue acrylic paint, dilute it with water and give the BDUs a soak. The blue counteracts the natural yellow-heavy colors a bit. You don't want a dark blue nor enough blue to risk it actually turning green, but something to tone down the yellow. Then it was just repeated washings of diluted white paint until you get the color you want.
- The other way (which I did on the set of BDUs with basic armed/headless figure), I simply spray painted them white. That is a heck of a lot faster. If you do that, make sure you tape over the "sulaco patch". The white paint doesn't actually make fabric white, but it will cover a solid item like the silk screened patch.

As for the range of motion on that seamless arm, it is actually really good. The core of the arm is actually stainless "bones". The 'skin' is actually very soft and kind of loose on the 'bones'. It can look a bit funky when fully closed and the elbow looks pretty horrible when perfectly straight, but the poses are easily made and held thanks to ratchet action in the elbow.

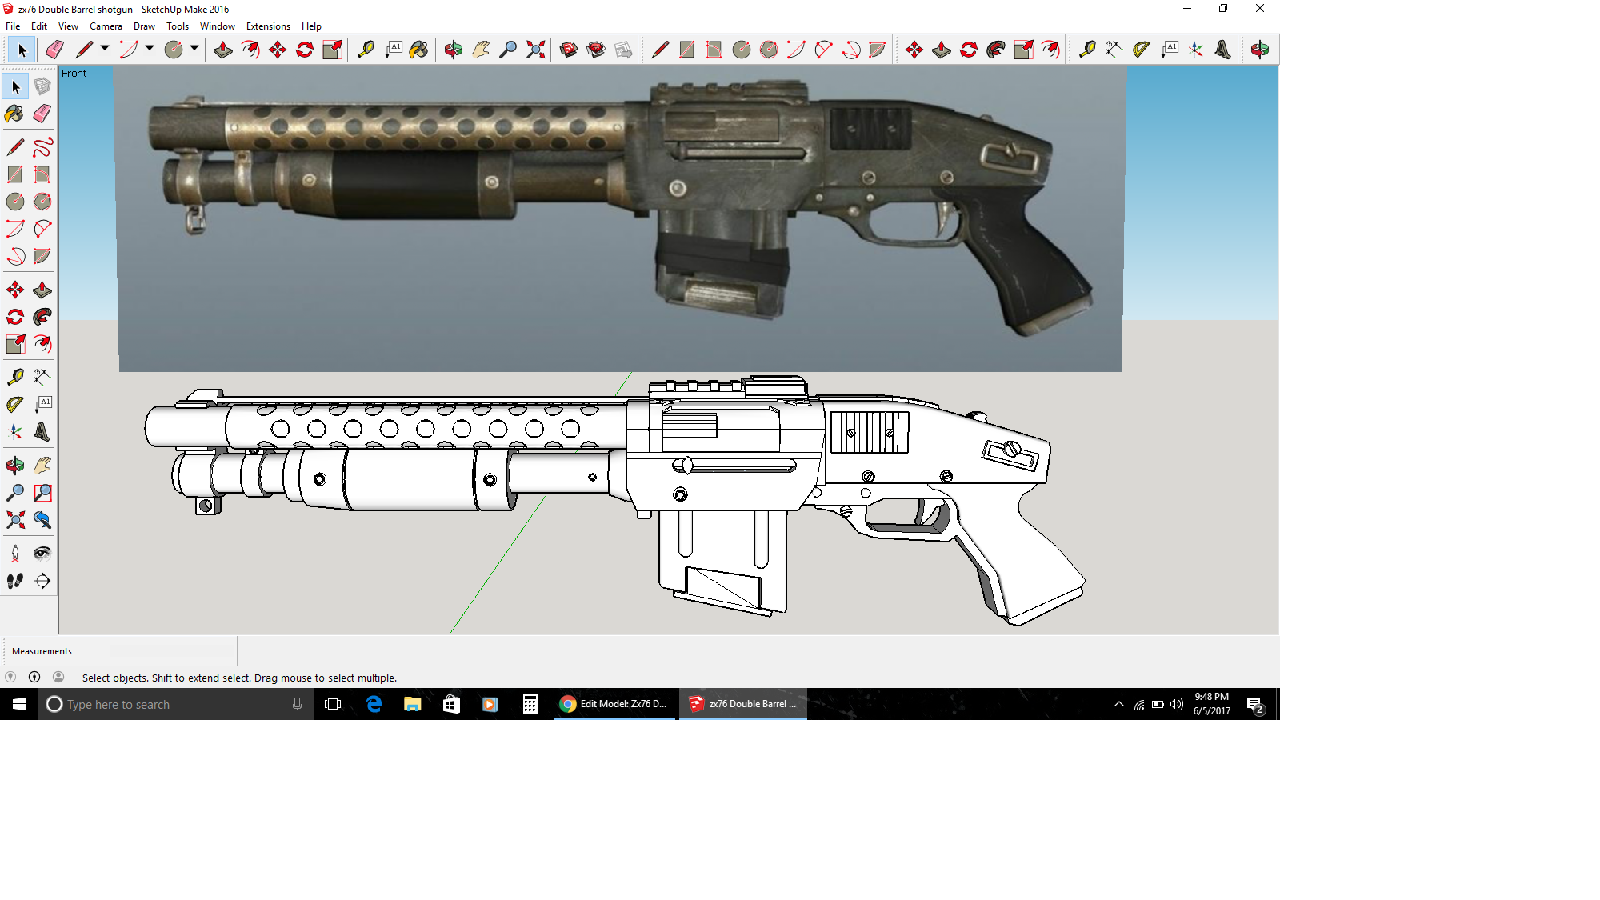
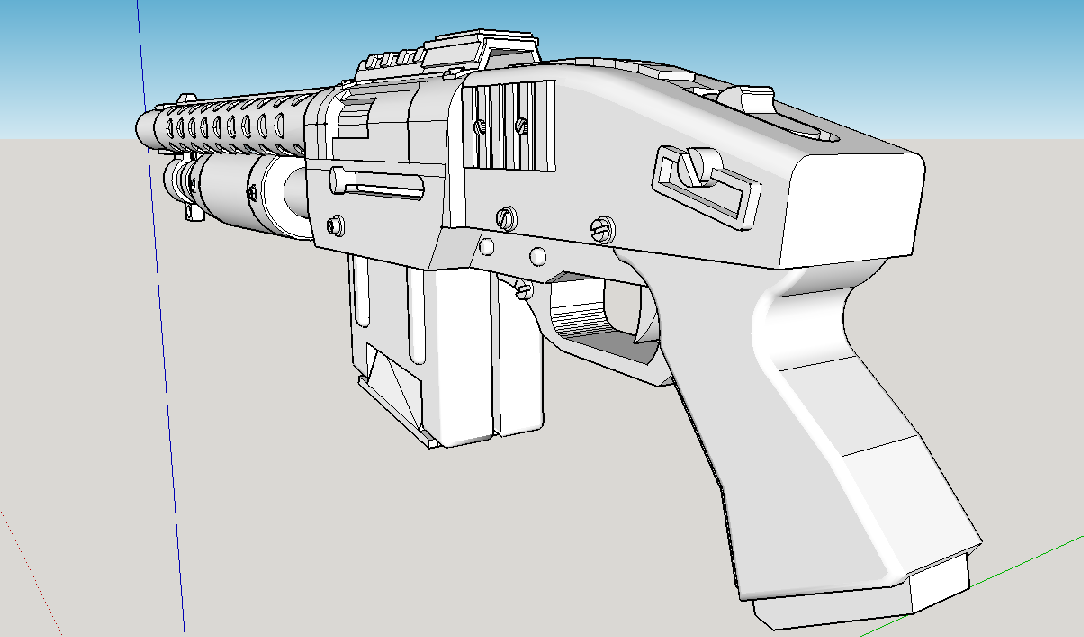
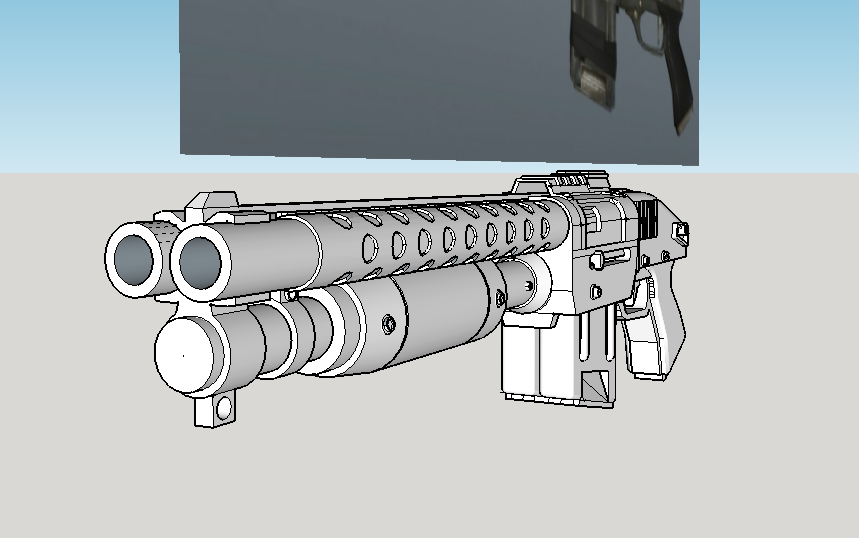
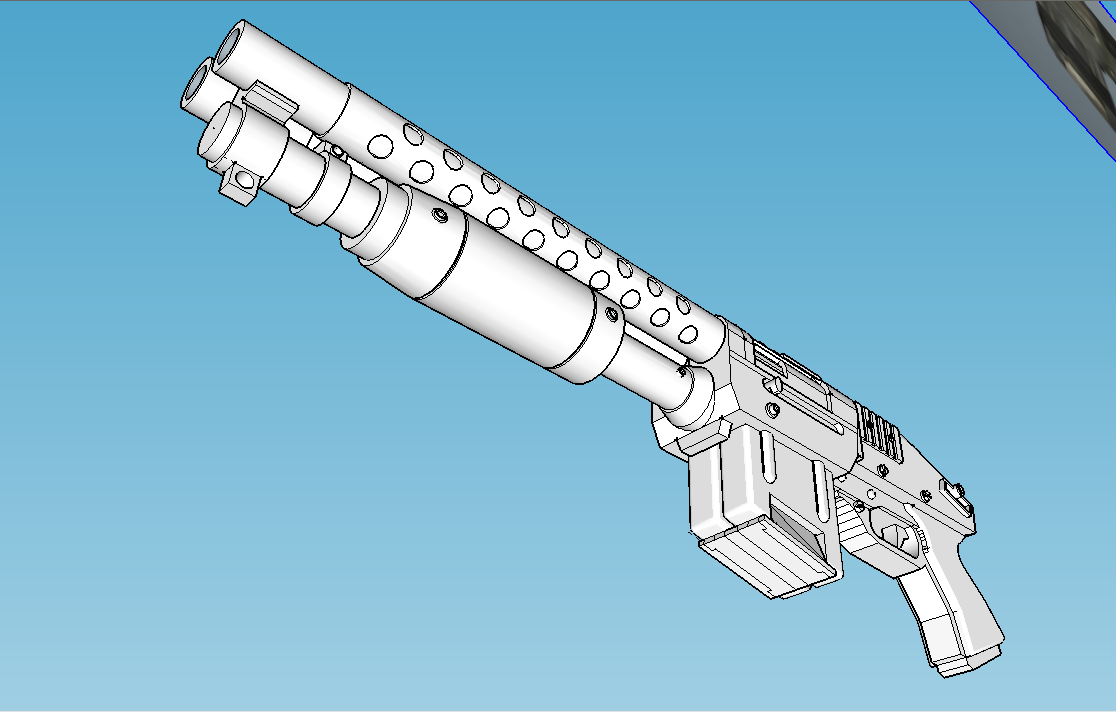
View attachment 342318View attachment 342319View attachment 342320View attachment 342321

Thanks for the advice Bigbisont! Looks like I will picking up that body for Hicks. Ferro and Gorman are looking state of the badass art! Can't wait to see pics of all of your Aliens movie figures once you've finished updating them. Hope we get a few more interested parties in the proposed run of sculpts by snyderman for Crowe, Gorman, Ferro, Burke and Spunkmeyer.
 
Re: Customizing your Marines: TIPS

Thanks for the help guys. Does anyone happen to have any pictures of the Snyderman Hicks sculpt on a body?

Sent from my SM-G900T using Tapatalk
 
Someone needs to make this in 1/6, official, unofficial, i don't care. It would make a ton of money.

51630-Arsenal-Pack-pkg.jpg
 
Amazing bro.
That flak vest looks great!

Recipe?
:)

m.

In addition to the listed items, it is a drake flack jacket (with 'patches' removed via careful use of acetone and a paper towel), modified GI Joe flight suit, unknown leather boots, a vp70, and patches from 'onesixthking'

Coming up, I can't really avoid it any longer; I need to paint heads. Got about 11 figures fully outfitted and accurately geared up, but unworthy to show because they have no heads.
 
One question about glued patch removal: I have to remove a glued patch from an EXTREMELY DELICATE PLEATHER JACKET. Last time I tried I destroyed the underlying pleather only by looking at it, had to buy the rare jacket again. Won't get another chance, so I can't fail this time.

In such a situation, how would you proceed to remove the glued patch?

Thanks,
m.

I have had some success on both printed and glued patches using a brand new razor blade. It is time consuming and insanely tedious to do it correctly but the gist of it is (all of this is 'do so at your own risk'! :wink1:) :

-Stretch the base fabric as best you can without over stretching it. Of course you don't want to warp your article of clothing, but you are trying to stress the area under the patch and look for signs of the glue giving up and creating gap or a crease in the patch. If you are lucky, you will see wrinkles or a spot where the glue may have let go from the base clothing. The key, in my opinion, is leaving the patch attached to the glue. You are trying to get the fresh blade under the glue and carefully see if you can peel it back starting at the weak spot. The trick is trying to pry the glue up and sort of nibbling at it little by little. You are really only using the blade as a thin means to grab the bottom of the glue in order to try and peel it up (not actually trying to cut anything). The hope is that leaving the patch attached to the top of the glue will give it support to hopefully help the glue come up in as few pieces as possible.

If the patch comes off leaving the glue residue I think it is tougher to scrape the glue off, but not impossible I guess. Pure scraping is probably too risky, though. Your only safe option is gentle scrubbing with soapy water, but not enough to actually get it wet or soak it. Really just enough moister to carry the soap. You don't want to saturate anything.

If that doesn't work and you want to try a chemical solution (mineral spirits,Wd-40,or rubbing alcohol), I suggest a round of testing on your already-destroyed jacket first before you use any of those. I have heard conflicting reports about mineral spirits on pleather/vinyl. Some say it weakens it and can do damage but others say its a good way to clean tough stains. I really don't know.
 
pictures or schemes. just give them to him, and he'll do what you need.
i'd get a sentry gun (or two) as well. but somebody should provide source material. i don't have it.
 
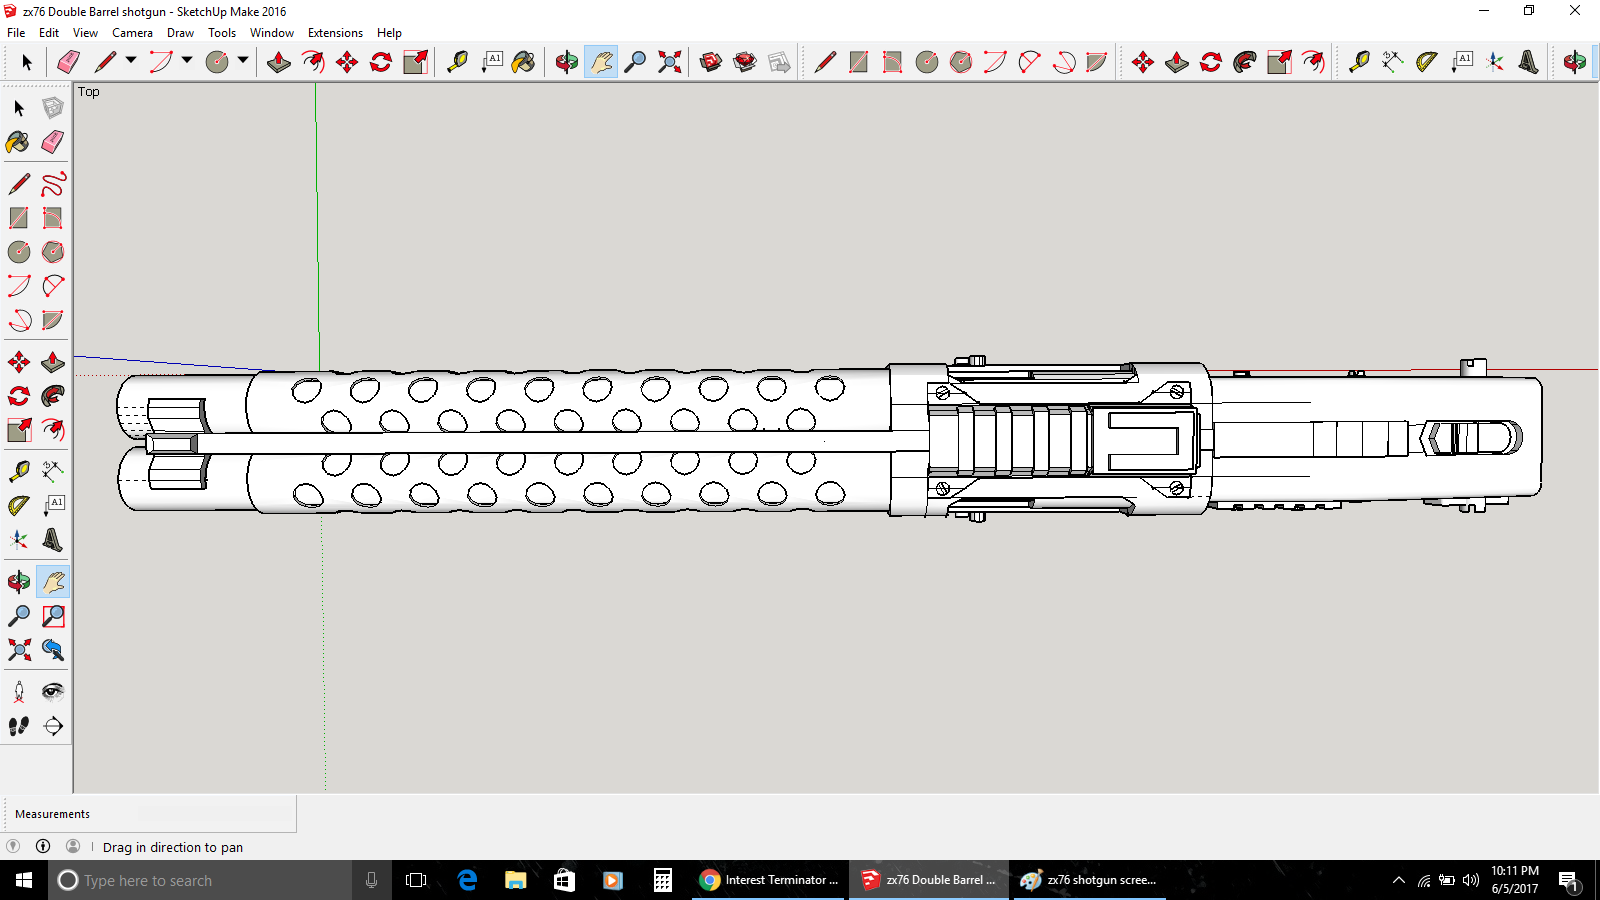
Could this be sized for the NECA 7" figures?

Almost certainly. I usually just need to scale it down. Sometimes a few minor changes need to be made but that shouldn't be difficult. I can scale it down and see how the print would look and get back to you in this thread.
 
Almost certainly. I usually just need to scale it down. Sometimes a few minor changes need to be made but that shouldn't be difficult. I can scale it down and see how the print would look and get back to you in this thread.

That'd be awesome, my current marines are making due with extra Hicks shotguns which I've been wanting to trade out for a while.
 
That'd be awesome, my current marines are making due with extra Hicks shotguns which I've been wanting to trade out for a while.

Sure thing. I'll do some scaling in the next day or two and see how it'd fare, then I'll get back to you. I honestly see no reasons it shouldn't work, though I might have to reduce some of the SMALLEST details like the hex patterns within the screws as they won't resolve well when printed. It'll still look great, though.
 
That'd be awesome, my current marines are making due with extra Hicks shotguns which I've been wanting to trade out for a while.

Hey I just wanted to let you know I resized the model to a 1:10 scale and it'll print just fine! I don't have a cost yet but the painted 1:6 scale version was $57. A 1:10 scale should be more in the $25-30 range.
 
OK... I'll try that!
Big thank you as always Bigbisont!!

Regards,
m.

I have had some success on both printed and glued patches using a brand new razor blade. It is time consuming and insanely tedious to do it correctly but the gist of it is (all of this is 'do so at your own risk'! :wink1:) :

-Stretch the base fabric as best you can without over stretching it. Of course you don't want to warp your article of clothing, but you are trying to stress the area under the patch and look for signs of the glue giving up and creating gap or a crease in the patch. If you are lucky, you will see wrinkles or a spot where the glue may have let go from the base clothing. The key, in my opinion, is leaving the patch attached to the glue. You are trying to get the fresh blade under the glue and carefully see if you can peel it back starting at the weak spot. The trick is trying to pry the glue up and sort of nibbling at it little by little. You are really only using the blade as a thin means to grab the bottom of the glue in order to try and peel it up (not actually trying to cut anything). The hope is that leaving the patch attached to the top of the glue will give it support to hopefully help the glue come up in as few pieces as possible.

If the patch comes off leaving the glue residue I think it is tougher to scrape the glue off, but not impossible I guess. Pure scraping is probably too risky, though. Your only safe option is gentle scrubbing with soapy water, but not enough to actually get it wet or soak it. Really just enough moister to carry the soap. You don't want to saturate anything.

If that doesn't work and you want to try a chemical solution (mineral spirits,Wd-40,or rubbing alcohol), I suggest a round of testing on your already-destroyed jacket first before you use any of those. I have heard conflicting reports about mineral spirits on pleather/vinyl. Some say it weakens it and can do damage but others say its a good way to clean tough stains. I really don't know.
 
Re: Customizing your Marines: TIPS

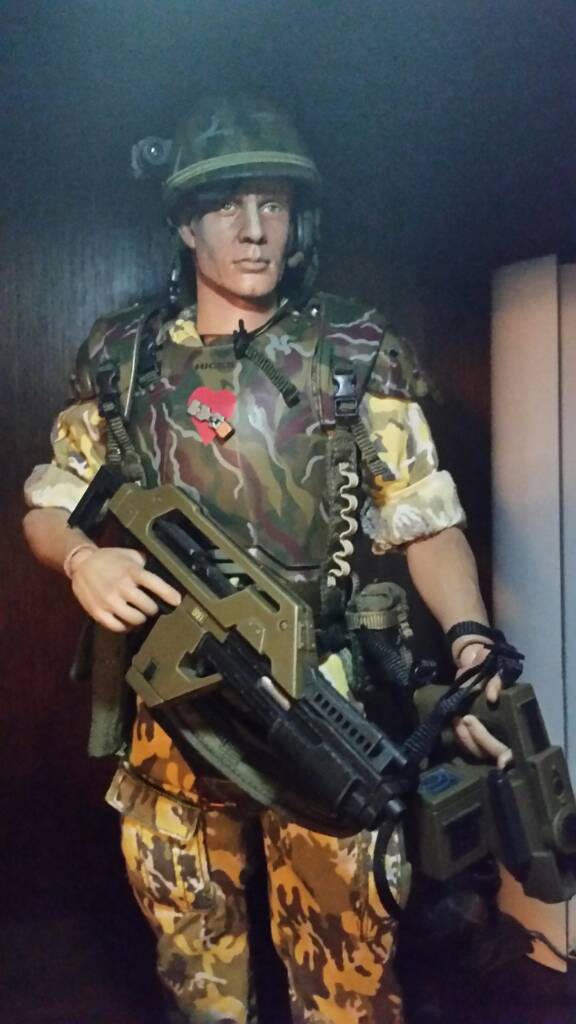
So after following this thread for awhile, I thought I would join the fun. I picked up Hicks a few weeks ago for a good price, and also the Navy Seal gunner sculpt. I've never attempted to paint a head before, so be kind, lol. It's still a WIP, with a bunch of stuff I still want to do. I want to thank all of you that have been posting your Marines. It's very inspiring, and made me want to try it. Aliens is my favorite movie of all time, so I needed at least one figure for my collection. :)
5b1c945ef74c9b413f794a2eada0d868.jpg


Sent from my SM-G900T using Tapatalk
 
Back
Top