Building your MARINES - CORRECTLY

Collector Freaks Forum

Help Support Collector Freaks Forum:

This site may earn a commission from merchant affiliate links, including eBay, Amazon, and others.
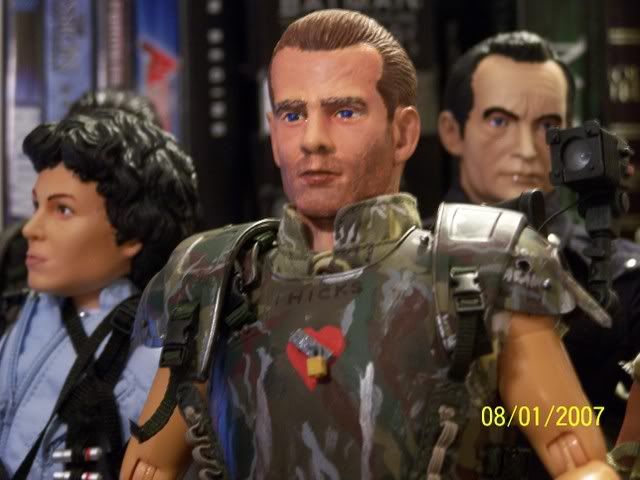
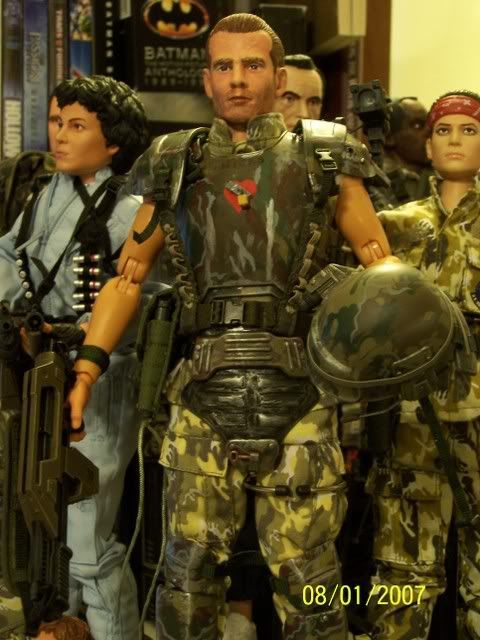
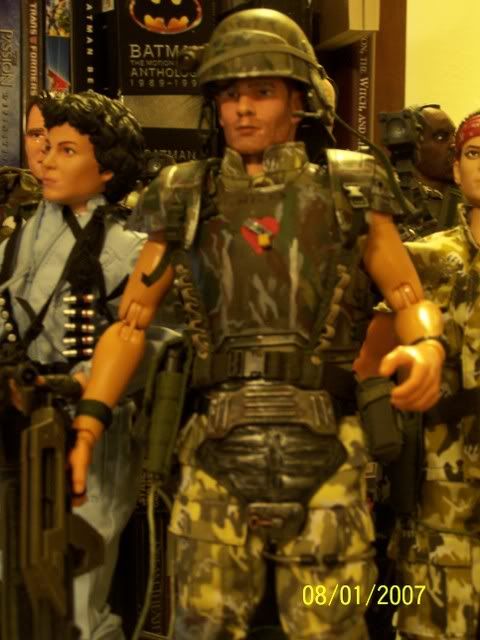
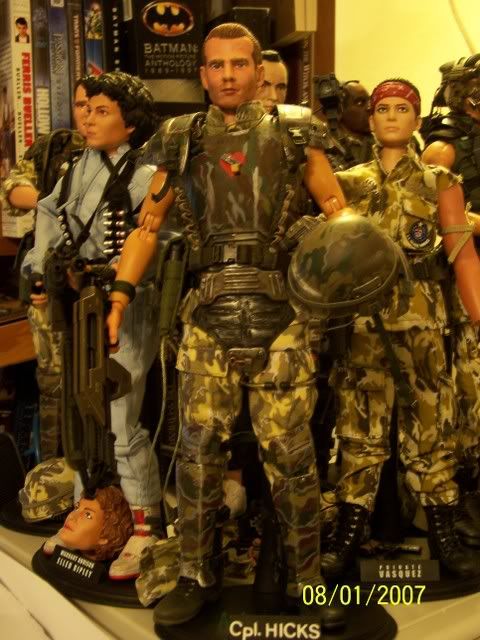
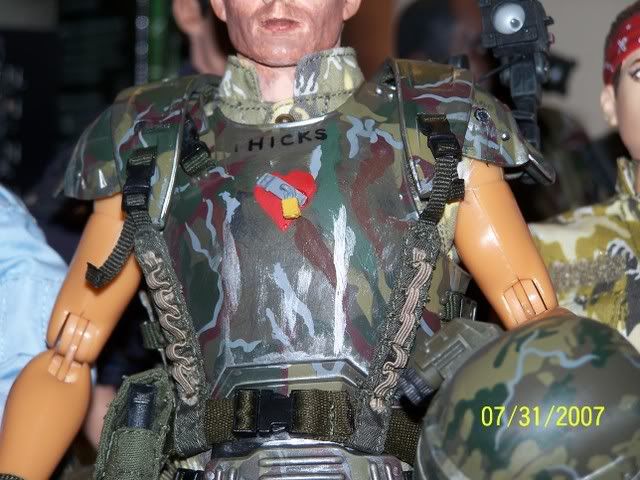
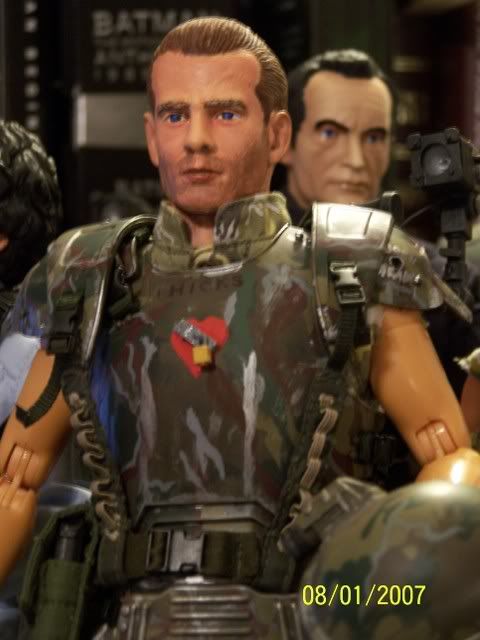
Ok, kinda late, but amped up so here goes. I finished my repainted head and weathered the BDU.

Shouts outs:

Les - Tip on painting eyes that aren't pure white.

DA Josh - Tip on weathering the BDU.

Pjam - Tip on switching the knife from right to left.

Thanks to you guys this was possible.

HICKS1.jpg


HICKS2.jpg


HICKS3.jpg


HICKS4.jpg


HICKS5.jpg


HICKS6.jpg


HICKS7.jpg
 
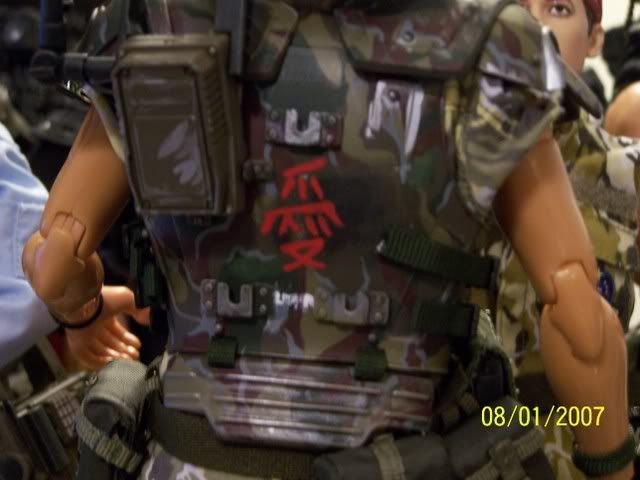
Your Hicks repaint looks great Maulfan! I'll post mine on here soon. I just want to get that "born again" hole drilled and paint on the graffiti on the back of Hicks' torso armor. I may weather my BDUs, but I'll do that later on for Hicks, Hudson, and maybe also Apone, Drake and Vasquez.

I did get some pure silver acrylic paint and weathered the armor for Hicks. I think it looks much better now.

I still hope to post my next custom marine, Pvt. Ricco Frost someday soon. But I want to get a black HT or Dragon body for him, and still have to get another set of HT marine armor, helmet and at least a flamethrower for him. So that may take a little while. I'll do my "magnificient seven" pictures of my Hicks, Hudson, Ripley, Drake, Apone, Vasquez, and Bishop soon! :D
 
Nice work Maulfan!
That looks much better. I know you are happier with him now.
Can't wait to see the action shots that are sure to come. :D
 
This evening I took the plunge and bore out the "born again" frag hole into my Hicks armor. Hey Mike, I read you were about to do this so heres how I did mine, turned out great :)

First thing I did was wedge some blue tac inbetween the two shoulder pieces to stop the epaulette from sliding over the area I was working on and possibly scratching it.

Then I made a small pilot hole by slowly turning and pressing a fine point needle file into the centre of the fake hole decal.

Next I bore out the hole slightly with a Dremel engraving tool turning at the slowest RPM speed, very carefully lol. Note I didn't attempt to go right through the plastic with the Dremel.

Once again I pressed and turned a needle file into the hole untill it went right through the plastic. It should be noted that the plastic in this area is quite thick, at least 2 milimeters so dont try to force it too much, go slow.

Once I had a hole going right through, I just worked my way outwards with needle files of varying shapes untill I was finished.

The hoile in Hicks' armor was not perfectly round so by using different shapes files you can define more detail.

Heres a quick pic of how it turned out.

 
Thanks Stendec for your help! I still haven't got a "pin vise" yet. So I may try to get my small power drill and slowly drill the small hole. I am waiting to hear back from customizerwannabe. He said he'd try to find a pin vise for me. I looked again at a Michael's when I was in Houston this weekend, and still couldn't find it. Did you get one customizerwannabe? Please let me know. Thanks. :D

Customizerwannabe came through for me, and found the pin vise online. I'll try to get it when I can. I'm very tempted to go ahead and try to drill the small hole with my electric power drill. I want to get my Hicks suited up now that I got the Stoner head painted and on the body now.
 
Last edited:
Anyone have any trouble connecting Drake's lower back harness piece... mine won't fit around his back unless I separate the velcro pieces and reattach/readjust it with an extended exposed piece underneath but even then it barely fits.

Also did anyone notice Drake's pads fit completely diferently than the HT proto shots? There is very little padding under the chest plate and much more on the back behind the harness straps than the proto pics and box pics.
 
Mike, sorry I didn't get back to you about weathering the BDUs. I did mine by putting like a nickel sized dab of brown paint into about a shot glass sized paper cup full of water and mixed in the paint to make dirty water, then I brushed the BDU soaked with the water, then I added a dab of black to some more water (I used up all the water the first pass), again a full cup, and then I soaked the clothes with the dirty water and then I put it onto a spare figure stand I had around and let it dry over a few hours. Even when the main clothing feels dry, you'll find the pockets aren't so test them to see if it's all dry. The pictures of my completed Hicks feature the weathered BDU, it ultimately muted and darkened the colors in the camo pattern to look less factory perfect and more real world worn in. Hope that helps. Also, for Hicks' BDU, I recommend, if you're comfy with it, cutting the shirt to be sleeveless, it's the best way to have his arms film-accurrate in the armor, but this is only if you plan to always have him armored or have a backup, which is what I did, I have a spare factory BDU for the future.
 
Hey P, awesome Hudson you got there, the ultimate badass!!

Regarding the helmet cover, what I did to make it look less bulky was to place tiny pieces of blu-tac (dont know what you call that stuff in the states, its the adhesive putty you use to mount posters on the wall etc) on the helmet in strategic places, then place the cover on top and press it down untill its tight and flush against the helmet. Worked out great on mine.


Boy, it sure does look great. I just don't know how to do that. Was it easy to remove the camo cover?
 
I just now clicked on stendec's small link pic there. I kept seeing it in posts, and due to the nature of the photo and how they looked in it, I thought it was a shot of real guys! Great photo S!
 
Thanks Les, that is my favourite pic that I have taken of my marines so far. I still have a long way to go before Im finished customsing them so there are plenty of pics to come lol.

I used blu-tac to hold down my helmet cover because it can easily be removed if need be. I also feared that epoxy or superglue would be permament and it might seep through the material and ruin it. The trick with using blue-tac is to use as little as possibe, otherwise it will just bulk up the cover even more.

Im getting to the point where I'l be ready to start weathering the armor pretty soon and Im looking for pointers on the best silver paint to use. I did buy a pot of Humbrol Enamel Aluminium paint but when its dried it looks quite dull and I dont think it would contrast well with the armor.

Pjams Hudson armor looks perfect and I love how the metal damage contrasts with the dark armor camo, really giving a sense that the metal has been revealed from beneath the paint.
 
Hi guys!I just won a Hudson figure off ebay,and was just wondering could anyone please post a full list of all the changes necessary to his figure,like detailing and changes to make it more movie-accurate?Cheers lads!
 
OK guys. I'm getting pretty close to finishing my "kitbash" custom Hicks. I am working with Chris at EVA to try and get the "leather" like shotgun sheath and shotgun. The padlock and clasp also came from Chris at EVA Models. I painted the heart on the armor under the clasp and lock. I still have to paint on Hicks' social security number tatoo on his left arm, and mount one of Chris' Gerber knives on his torso armor. But I have finished weathering his armor using some pure silver acrylic paint. I also put the graffiti on the back of the armor, but I want to redo the word "LIFER" on the back. It is really tough trying to fit it where it's supposed to go! I haven't darkened my Hicks' BDUs yet. I'll try that for him and Hudson sometime soon. I used most all of Hudson's armor and weapons for him, and used a HT Kyle Reese body, some old WW2 black combat boots, and the infamous "Stoner" head. I think he's turned out great so far! I am very happy with him. I want to try and redo his name on his figure stand and try to get the lettering smaller like the other ones that HT makes. So...what do you think? Here's some pictures. Oh yeah, I drilled a small hole using my power drill into the left shoulder for that "born again" hole. I painted "BORN AGAIN" in silver around the hole, but I may go back and paint the words in white paint. Okay...now for the pics for you to see him!

100_5345.jpg


100_5340.jpg


100_5348.jpg


100_5350.jpg


100_5337.jpg


100_5329.jpg


100_5339.jpg


I have worked REALLY hard on him. It has been a lot of work, and a lot of fun at the same time. Prett cool huh? :cool: :D
 
Last edited:
Thanks for the tip Reinhardt. I'll try that drybrush technique. Yeah, I meant for the padlock to look flat, and the clasp to look more glossy or shiny. Thanks for the good review Adam! I appreciate all of your help and advice guys! :D
 
Excellent thread - very useful for mine (when I get the chance to upgrade)...

Hot-Toys-Hicks.jpg


PRDisplay-5.jpg
 
Wow, Eagle! I love your ALIENS weapons! Where did you get your M41-A pulse rifle and the two pistols? I'd love to get those! I have always wanted a pulse rifle after first seeing the one made by ICONS years ago. Please let me know where you got yours. Awesome setup. I like how you have all of the weapons, and grenades, and Hicks and the alien together. Very nice! :D
 
damn that's a nice set up!!

And that's always the size and height I thought the Aliens were when compared to humans. The pics I've seen of the Hot Toys ones make them look too tall and spindley..... or is it just because that one is crouching that it looks shorter?

anyway.... amazing collection there!
 
Back
Top