Hot Toys - QS002 - The Terminator: 1/4th scale Endoskeleton Collectible Figure

Collector Freaks Forum

Help Support Collector Freaks Forum:

This site may earn a commission from merchant affiliate links, including eBay, Amazon, and others.
When I contacted SSC they said my pre order for the non exclusive would be sent in May. Unless that happens today, he ain't being sent this month!:impatient:

I want my Endoskeleton :gah:
 
Is the head affixed to these?

I finally got the exclusive, after SSC sent me a limited by mistake. This one had the letter in the HT box indicating that they opened it for inspection. I'm not sure I buy that, cause I know for a fact SSC sends out return product in exchanges. I've gotten other freaks returns before. It's a touch off putting since the issue that caused the exchange was their shipping error, not a previous defect, and I feel like I should have gotten unopened product.

The problem is, he has a circular indention in the chrome in his forehead, above the right eye. It's like an access port that shouldn't be there, probably was a bubble in the chrome (if that's possible). If I try to get an exchange, am I pretty much asking for another figure, or does the head come off?

endohead.jpg


The head is on a ball joint it's removable like a regular HS.
Be carefull neck rod when you remove it.
And yes return that ASAP!
 
It DOES look like a flaw to me, and the head MAY come off, but I don't think it'd be easy, I don't recall see any screws that would ease disassembly.
I think you're justified in sending it back, but you may find a different flaw on the next figure. Good luck, and I'd mention to sideshow that you should be receiving an unopened specimen, they owe it you.

Is the head affixed to these?

I finally got the exclusive, after SSC sent me a limited by mistake. This one had the letter in the HT box indicating that they opened it for inspection. I'm not sure I buy that, cause I know for a fact SSC sends out return product in exchanges. I've gotten other freaks returns before. It's a touch off putting since the issue that caused the exchange was their shipping error, not a previous defect, and I feel like I should have gotten unopened product.

The problem is, he has a circular indention in the chrome in his forehead, above the right eye. It's like an access port that shouldn't be there, probably was a bubble in the chrome (if that's possible). If I try to get an exchange, am I pretty much asking for another figure, or does the head come off?

endohead.jpg
 
The head is on a ball joint it's removable like a regular HS.
Be carefull neck rod when you remove it.
And yes return that ASAP!

What does "HS" stand for? (head sculpt?) The head is indeed on a ball joint, but have you actually removed it? It looks like a fairly tight and large balljoint, I can't imagine it simply popping off without causing some damage. Let me know, your info might come in handy if I want to repair/replace my neck tubes.
 
Yes i meant headsculpt :)
And yes i actually removed the HS.
the neck rod are inserted in plastic tube fixed on small ball joint onto the inner back of the chest.
So before removing the head, detach those.
And just pop the head as with any any figure.
Be gentle.
(my left neck rod is broken hence why ive popped the head to ship it back since stupid HT wont just give the rod to my reseller)

Also if you plan on replacing the neck rods, you will have to remove the base of the head, mine came off easy not much glue.
 
Also be carefull if youre planning on reversing the shoulders pistons the correct way the pin were a pain in the *** for me to remove, they were very very tight. If you dont mind do not take the risk.

Yeah, alread tried to get these stupid pins out of the shoulders with my fingers by lifting the base of the piston and it didn't work.
I don't really want to use something more solid since the plastic the piston is made of doesn't seem to be too solid...
Meeeh, but wanna have the movie look.

Again its an awesome figure.

Oh yes, it is.
But I think 1/4th scale is too big for me.
You can't really play aroud with it... well, at least the QS002, since it's really fragile.
 
Yes i meant headsculpt :)
And yes i actually removed the HS.
the neck rod are inserted in plastic tube fixed on small ball joint onto the inner back of the chest.
So before removing the head, detach those.
And just pop the head as with any any figure.
Be gentle.
(my left neck rod is broken hence why ive popped the head to ship it back since stupid HT wont just give the rod to my reseller)

Also if you plan on replacing the neck rods, you will have to remove the base of the head, mine came off easy not much glue.

Thanks for the explanation olbert, do you have any pictures of the "base of the head" removed? I am not sure exactly where it would detach from the rest of the skull, and I don't have the figure in front of me at the moment.
 
Ill make some picture later :)

About the piston reverse.
I damaged the base of some piston a bit while removing the pins, but when i replaced them i just put the damaged part face down so it cant bee seen at all. what i ended using was a small metal plate that i put between the pin and the piston, and worked my way up slowly.
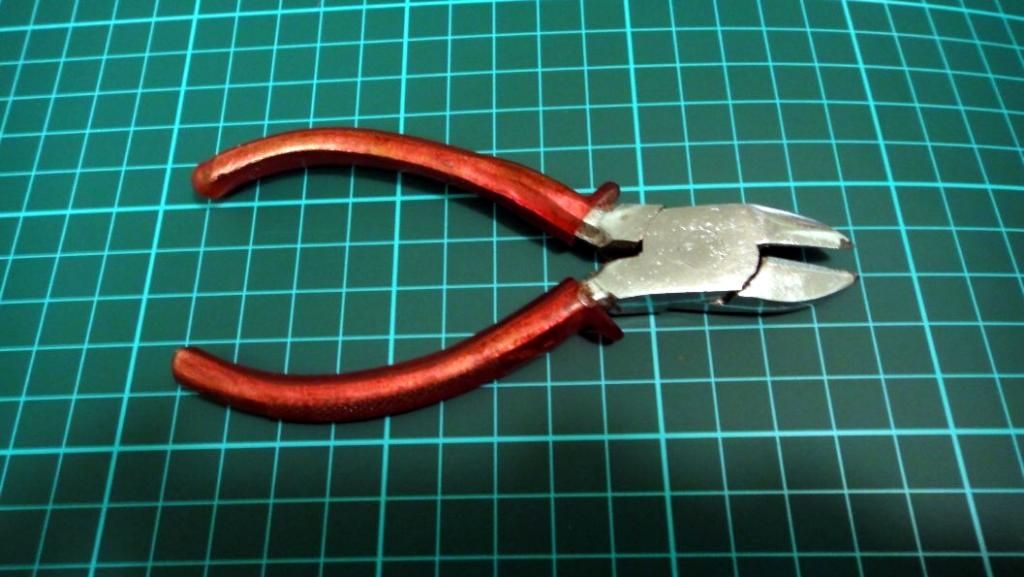
If i was not so impatient i would have bought and used some micro plier, the smallest you can find, micro flat pliers being the safest i think.
Again dont force and be patient.
 
Last edited:
Oh yes, it is.
But I think 1/4th scale is too big for me.
You can't really play aroud with it... well, at least the QS002, since it's really fragile.

Play around ? What do you do, bring it in the tub with you ? Move the gun arm and make laser sounds ? :lol
 
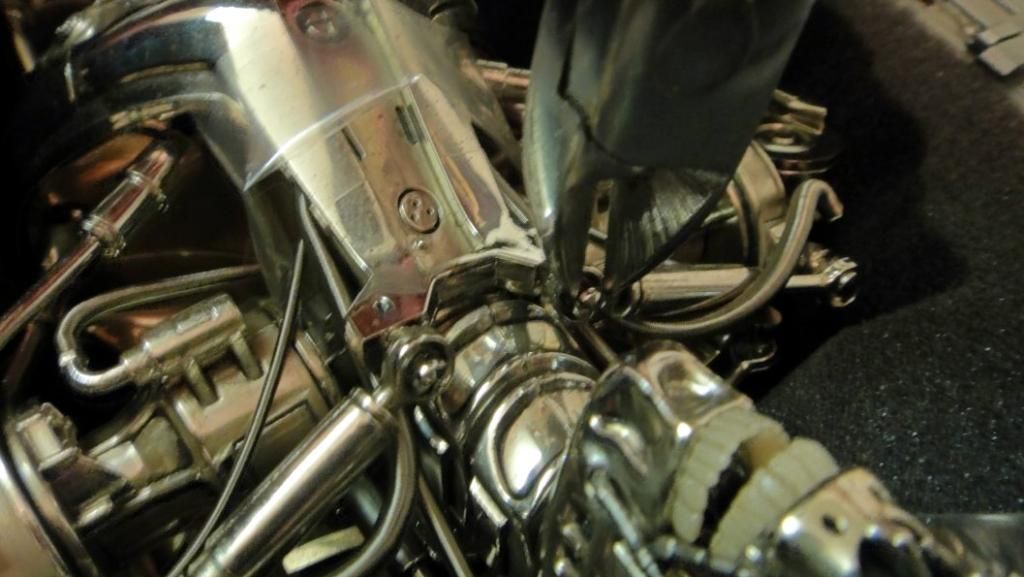
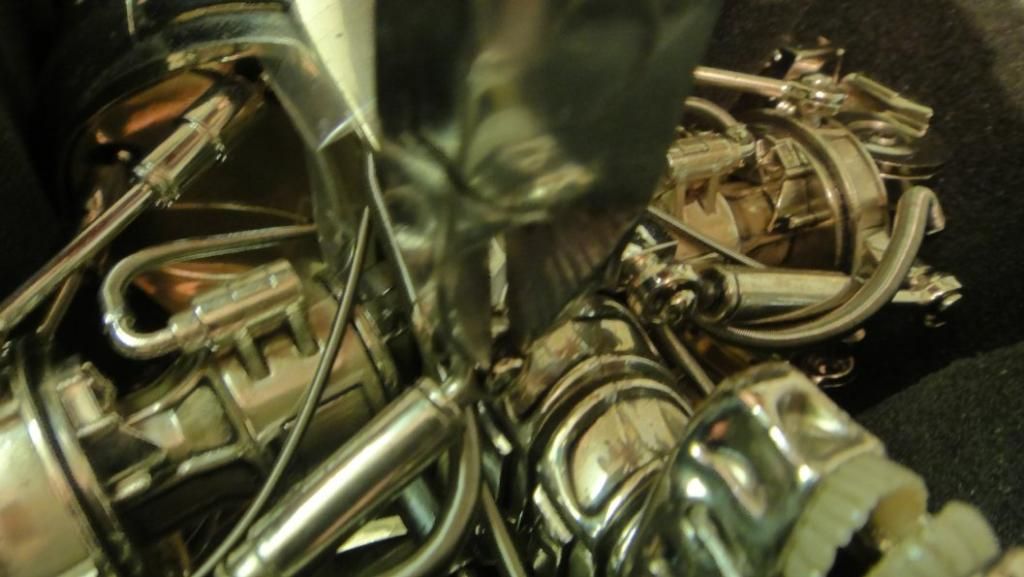
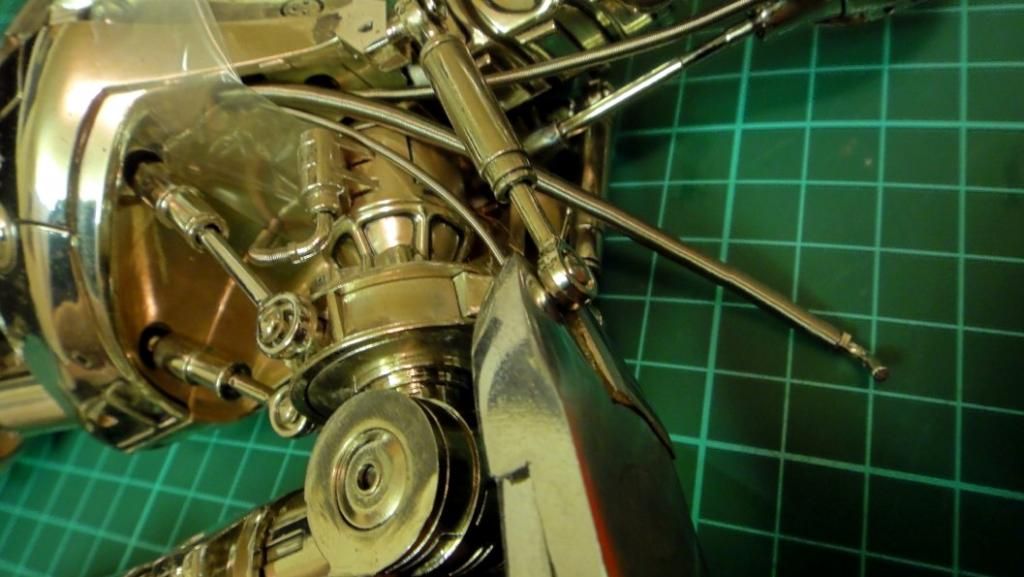
Here is the headless body.
As you can see its a regular ball joint.

On the second picture I circled in red the plastic tube attached by a ball joint to the back of the chest, where the neck rods go.
Remove them on both side before removing the head.
 
Here is the headless body.
As you can see its a regular ball joint.

On the second picture I circled in red the plastic tube attached by a ball joint to the back of the chest, where the neck rods go.
Remove them on both side before removing the head.


I don't see how you can remove the lower diecast section of the pistons without a special tool or breaking the connector rods. I slide the small hoses out of the chest and pull the head straight off the ball joint like you would with any 1/6 figure. I cradle the back of the head with my left hand and put my right thumb under the jaw and gently leaver the head off the ball joint. That way you have full control and don't risk over twisting the head and breaking the neck pistons.
 
Ill make some picture later :)

About the piston reverse.
I damaged the base of some piston a bit while removing the pins, but when i replaced them i just put the damaged part face down so it cant bee seen at all. what i ended using was a small metal plate that i put between the pin and the piston, and worked my way up slowly.
If i was not so impatient i would have bought and used some micro plier, the smallest you can find, micro flat pliers being the safest i think.
Again dont force and be patient.

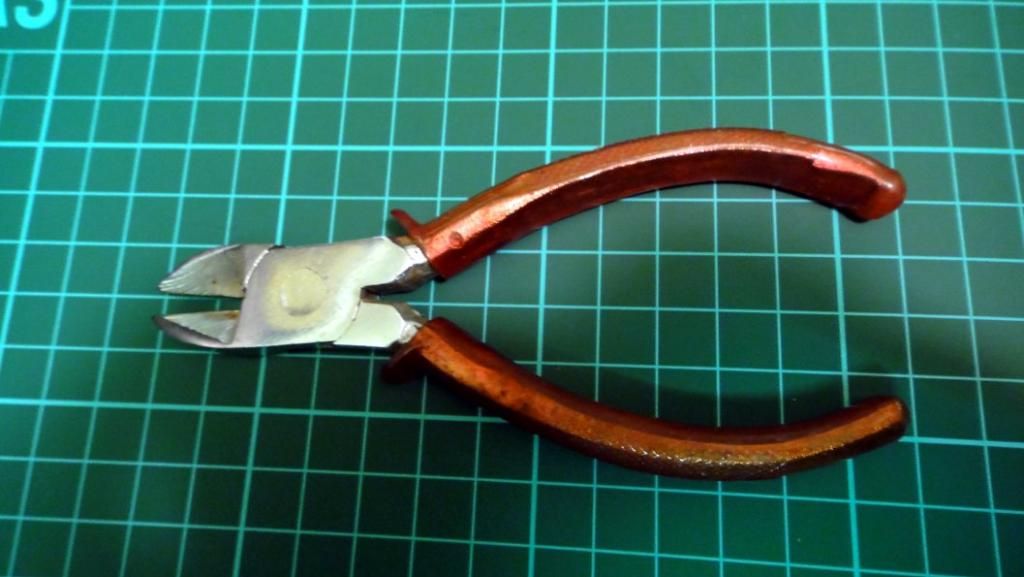
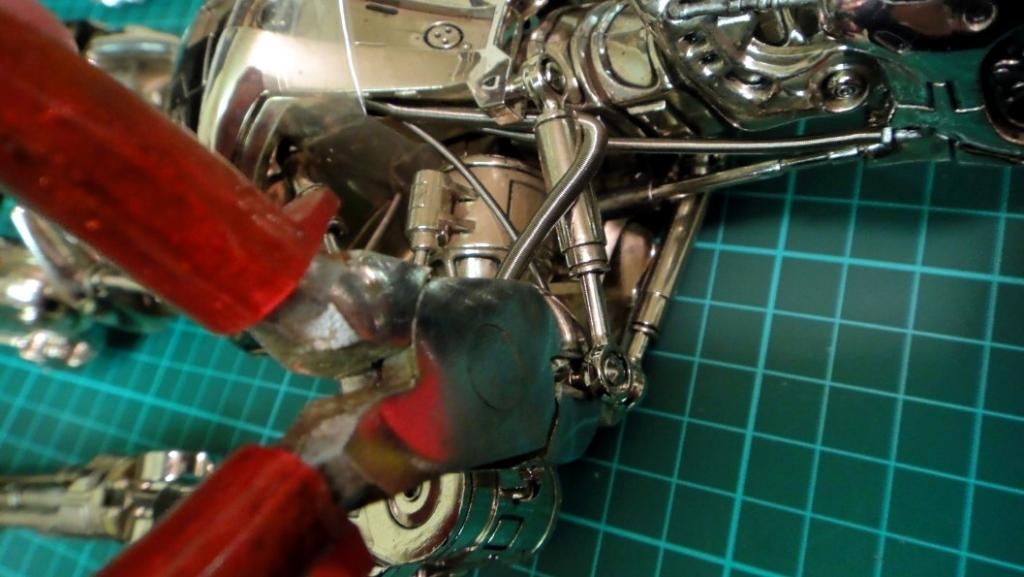
You should have used mini diagonal pliers for the job. I found the whole process very simple and straightforward. I've converted 12 without any trouble.

The tops of the center chest pins are pretty well exposed right out of the box. Grip those lightly with the flat side of the pliers pointing downward and gently rock and lift the pin a couple of times and they lift right out.

The shoulder pins are slightly more tricky. Start by gently pinching under the piston with the flat side of the pliers and leaver the bottom of the piston ring upward. You should be able to feel it lifting slightly after gently rocking/levering it upward a couple of times. You might have to repeat it once more if you didn't manage to expose enough of the top of the pin to grip and pull out. Use the same technique for the chest center pins if there isn't enough pin exposed to grip without stressing the plastic piston ring parts. You're doing it wrong if your using a lot of force or you're scratching things up.


298374234.jpg


892738954.jpg


889237489.jpg


98273498.jpg


98237892.jpg


92839230.jpg
 
I don't see how you can remove the lower diecast section of the pistons without a special tool or breaking the connector rods. I slide the small hoses out of the chest and pull the head straight off the ball joint like you would with any 1/6 figure. I cradle the back of the head with my left hand and put my right thumb under the jaw and gently leaver the head off the ball joint. That way you have full control and don't risk over twisting the head and breaking the neck pistons.

What lower diecast section are you talking about?
The HS is connected to the body by 2 things.
-The ball joint.
-The skull neck rods.
(Theres also the hoses that go from the skull to the chest)
Like i said the neck rods go into little plastic tubes attached to the inner back body by ball joints.
There is no diecast parts involved if you want to remove the Head.
Nothing that needs any pliers or tools.

About the shoulder piston reverse.
yes you better use micro pliers if you want to reverse.
Like i said i did not have any and was not patient.
So i said get the proper tool if you wanna do it.
BUT even with the proper tools you have to be cautious.
I advise to remove the Head when doing it, an extra caution that will leave you more room.
 
Last edited:
What lower diecast section are you talking about?
The HS is connected to the body by 2 things.
-The ball joint.
-The skull neck rods.
(Theres also the hoses that go from the skull to the chest)
Like i said the neck rods go into little plastic tubes attached to the inner back body by ball joints.
There is no diecast parts involved if you want to remove the Head.
Nothing that needs any pliers or tools.

About the shoulder piston reverse.
yes you better use micro pliers if you want to reverse.
Like i said i did not have any and was not patient.
So i said get the proper tool if you wanna do it.
BUT even with the proper tools you have to be cautious.
I advise to remove the Head when doing it, an extra caution that will leave you more room.


No, the head is only held on the body by the ball joint on the neck. When you remove the head, the skulls neck rods will slide out of the diecast pistons you highlighted in red, and the piston rods connect to the skull with ball joints that were press fit into the sockets. The skull hoses have their own slots on the chest that you can simply slide then out of.

You always have to be careful and think about what you're doing, but the pins are very small and aren't held in with a great deal of pressure. The pistons aren't under and significant load and are cosmetic to the articulation. I'm really glad they over engineered them and didn't just peen them in place.
 
Last edited:
Sorry but the head is connected to the boy by the ball joint AND those neck rods.
Even if they do slide from the piston (wich are not diecast at all btw) connected to the inner back chest.
They connect the head and body.
I talked about the skull hose just to be complete :)

What i said is to avoid any risk of breaking the neck rods its better to have them already free by removing those inner back chest plastic pistons on ball joint so there i no pressure at all on the neck rods when you remove the head.
Even if they slide its an extra caution.
Better safe than sorry :)

I insist on the fact to being carefull and take your time because i think its important for people who are not used to custom, or have the tools. It free :)

Still dont know what lower die cast sections you were refering to?
 
Last edited:
Well, the piston you highlighted in red feels like metal to me. You don't need to remove the lower skull pistons to remove the head, there is no pressure exerted on them if you're doing it right. We all have our own ways of doing things, but I still don't see any good reason for removing the lower skull pistons first as you describe. If anything, you will scratch up parts and increase the chances of snapping the rods doing it your way. Disconnecting the springs from the chest and removing the head the way I suggested has worked without incident for me.

Twisting the head too far left or right can cause the skull piston rods to collide with the neck, which in turn exerts excessive force at the point the rods swivel in the skull sockets, causing the rods to snap at the ball joints.
 
Dont really see how plastic neck rods can scratch the inner die cast chest... But it probably happened once ;)

Again as i said having the neck rods free will allow to have no pression on them.
In case of someone inexperienced dont do it right.
An extra safety will not hurt.
Mainly it was to explain how the whole head area is engineered.
Knowing how it works, anybody can do as it pleases him.

Cool if you dont need to go trough this :)
 
How did you remove the lower skull pistons without scratching anything or stressing the rods? Keeping things as simple as possible is usually the best solution. Don't rush in, and use the right tools next time. Too bad you don't live nearby or I could mod your pistons in minutes. Wouldn't even need to remove the head to do it.
 
Last edited:
Back
Top