I typed up a whole lengthy tutorial last night, but when I hit preview post, it said there was some fatal error, so I hit back to find nothing I worte remaining. I was pissed.
Here goes again for those who got the Exclusive and want to mod it with the lighting rig from the regular mask.
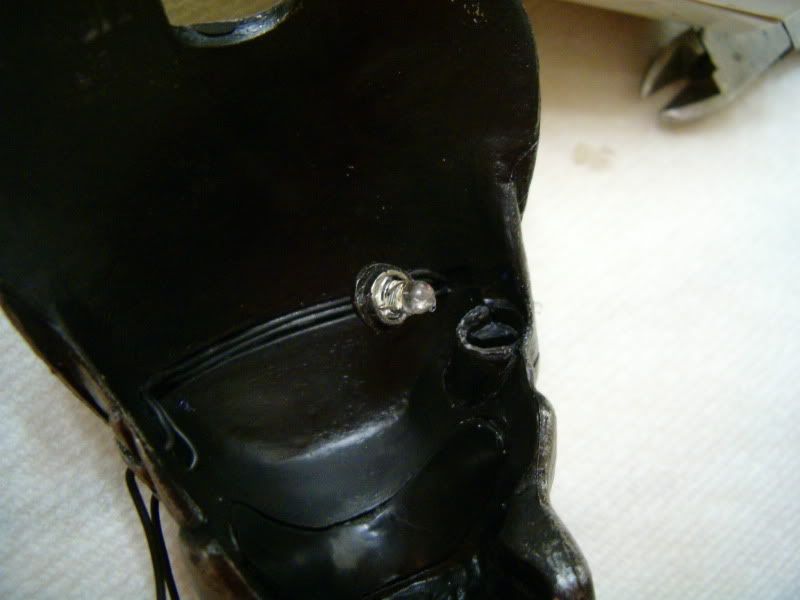
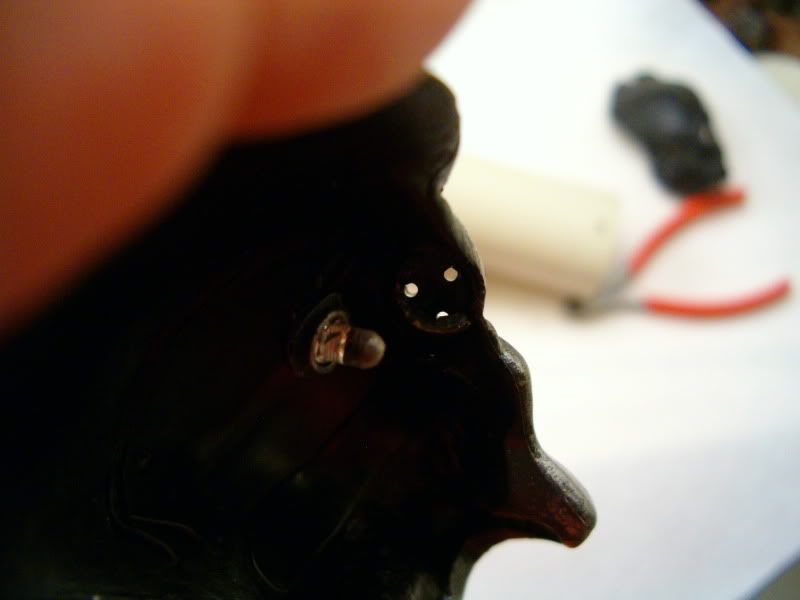
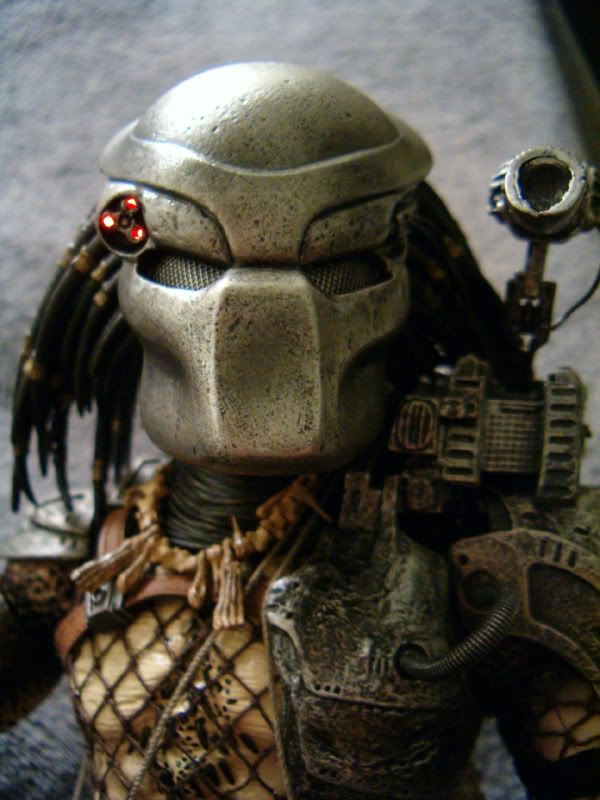
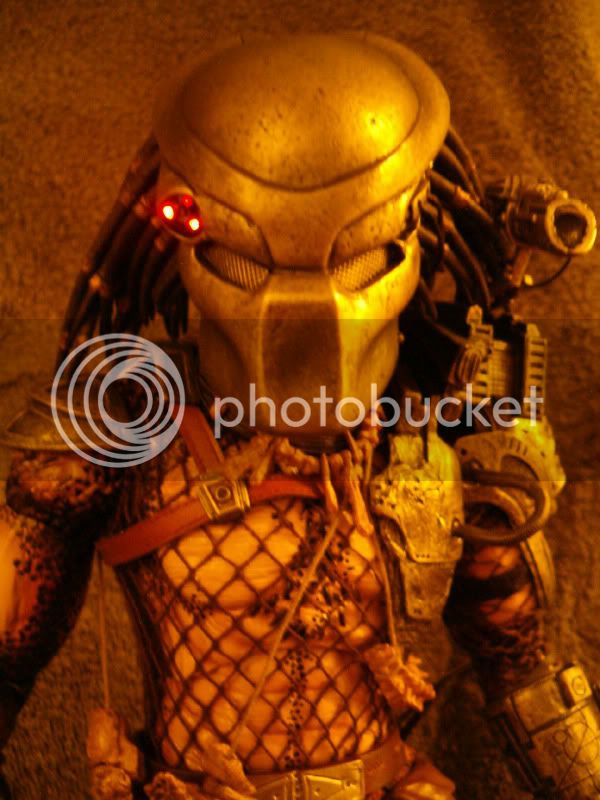
First, I heated the regular mask with a blowdryer (it's got electronics so don't use hot water) and pried out the plug that sits inside the back of the mask's targetting module. It has a bit of glue on it, but it comes out fairly easily. All that is in there is one LED.
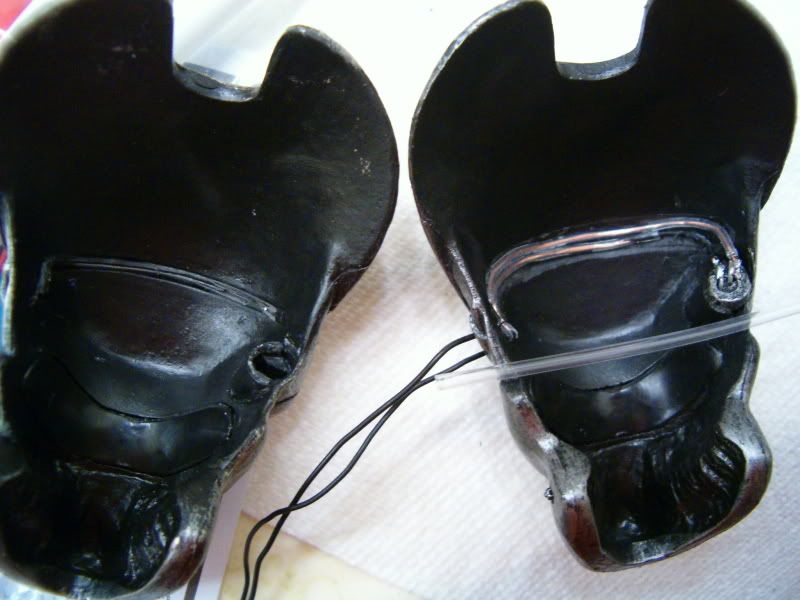
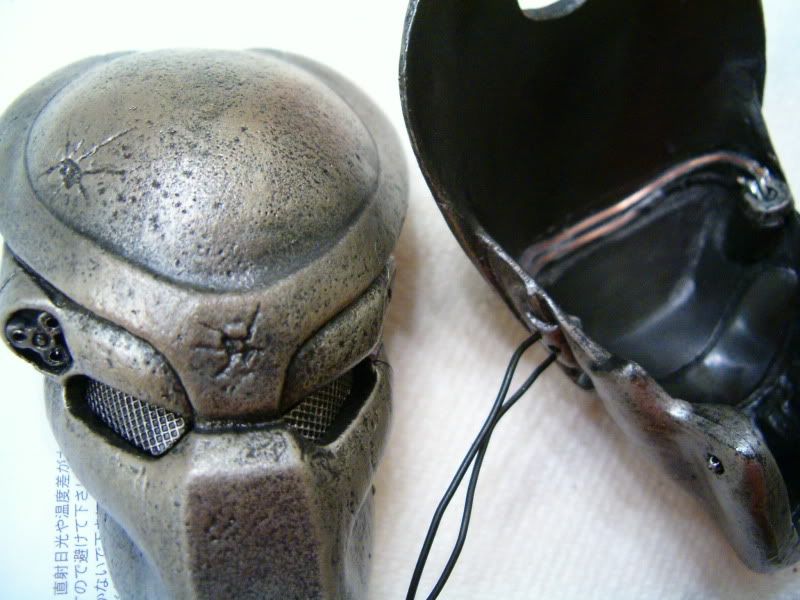
The wires are glued into a groove along the underside of the mask from the targetting module to where they exit through the holes on the left side to go to the power supply. Unfortunately the rubber insulation on these wires is very thin and the stranded copper wires pulled right through it when I peeled them out. If I had it to do over again, I would have used some sort of glue remover to free them.
Once pried up, I had to cut the wires to get them out through the holes in the left side, so I cut it right at the back of the LED where it was soldered originally. I then fed the wires into the holes of the Exclusive mask.
I didn't know where to find 30 gage stranded copper wire in my fairly new neighborhood, and Radio Shack didn't have it, so replacing the stripped wires was not an option as I was impatient to see this finished and get it displayed. So now I was faced with re-covering the wires. For that I used heat shrink tubing. I used clear so you can see what I did. Covering all exposed wire, I heated up the tubing until it gripped the wire securely. The wires were now at least twice as thick as before (yet still very thin), so I had to Dremel the groove a little deeper and wider in the underside of the mask so they would sit flush with the inside of the mask like they were in the regular mask. Fortunately the mask is pretty thick so you don't have to worry about unexpectedly finding your way through to the other side unless you go crazy on it. I just took it nice and slow, bit by bit until the wires sat inside properly. Then I plugged the LED into the Exclusive's socket with a tiny bit of glue (don't get any on the bulb or you may fog the glass and dull the shine), soldered the wire back onto the LED (make sure you don't bridge the very tiny gap between the connections or the circuit will fail), and glued the wires into the groove.
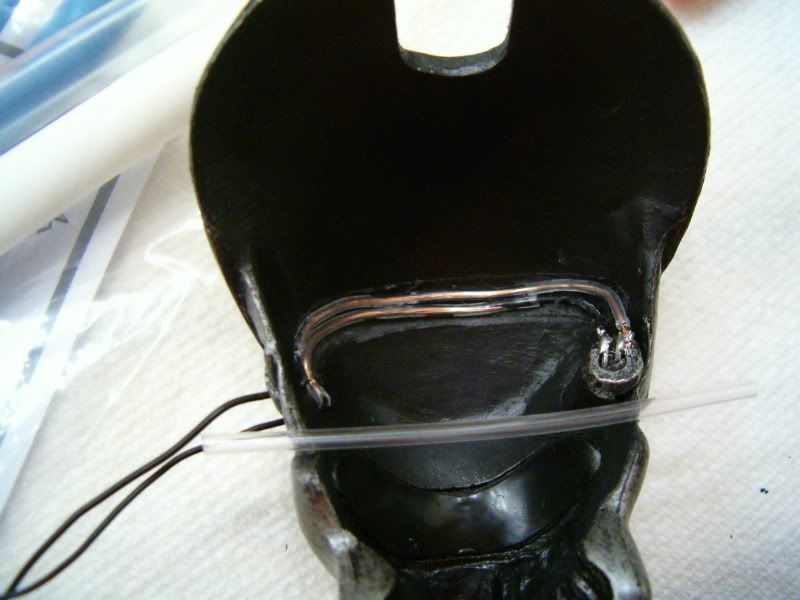
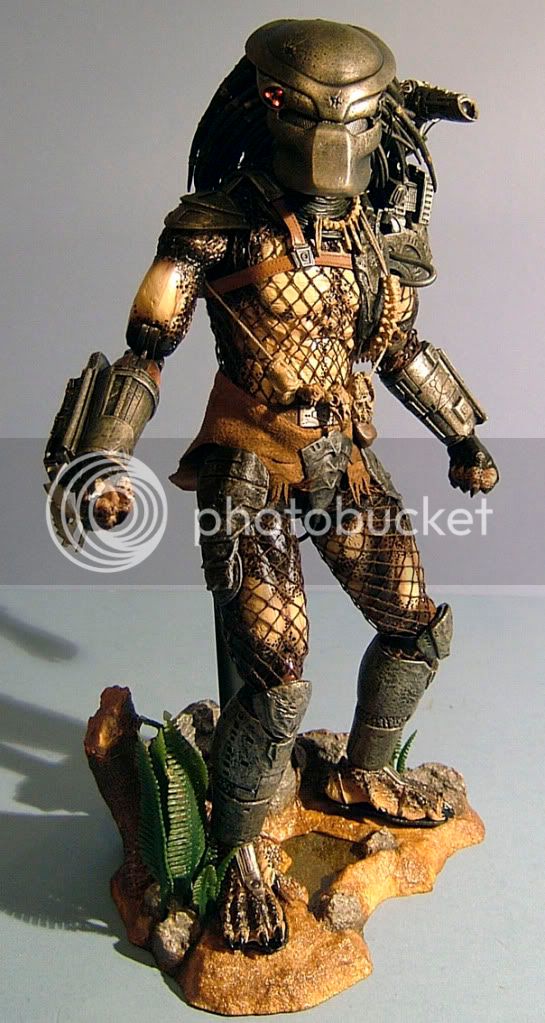
I was able to accomplish this in 30 minutes, and I had to first take it out of the regular mask, so it is my opinion that there is no excuse for Hot Toys not to light the Exclusive mask for us, especially when we are paying $5 more for it. As a matter of fact, with the right parts from an electronics store, you could easily duplicate the lighting rig for the Exclusive without using the regular mask's parts. Hind sight is 20/20 they say. Oh well.
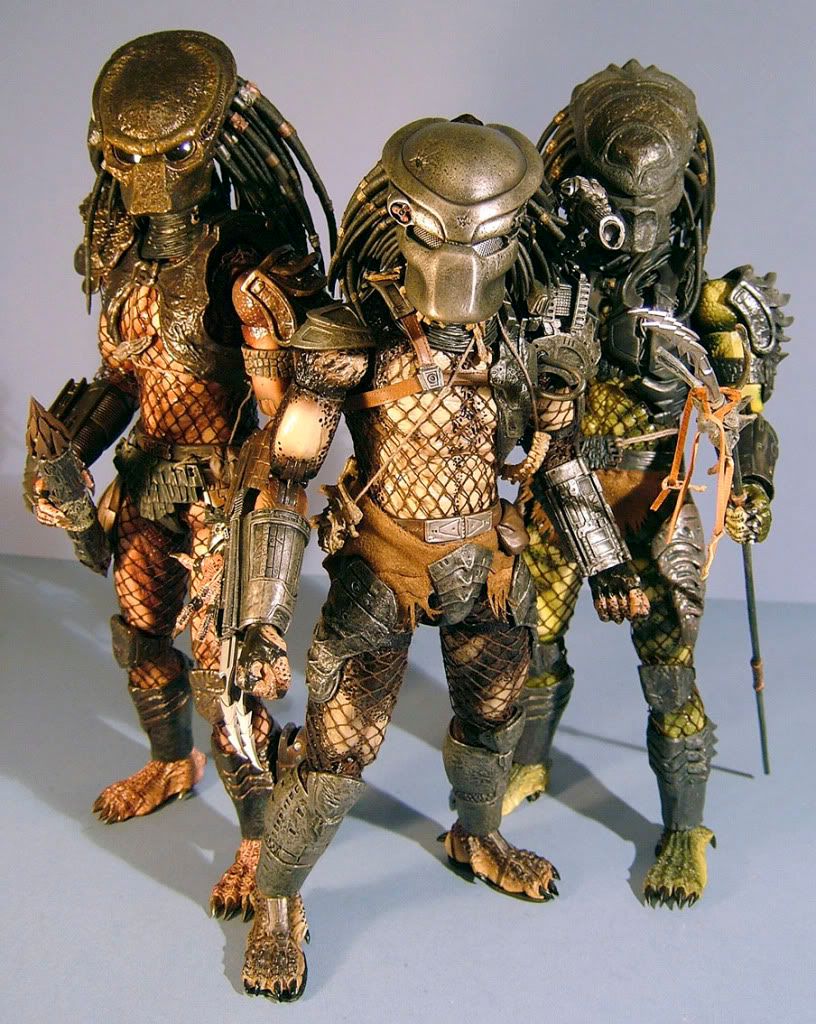
The groove in the underside of the mask is exactly like the one in the underside of all the AVP Predator masks, which leads me to believe Hot Toys initially intended to give all the AVP masks light up targetting, but cheaped out in the end for some reason.
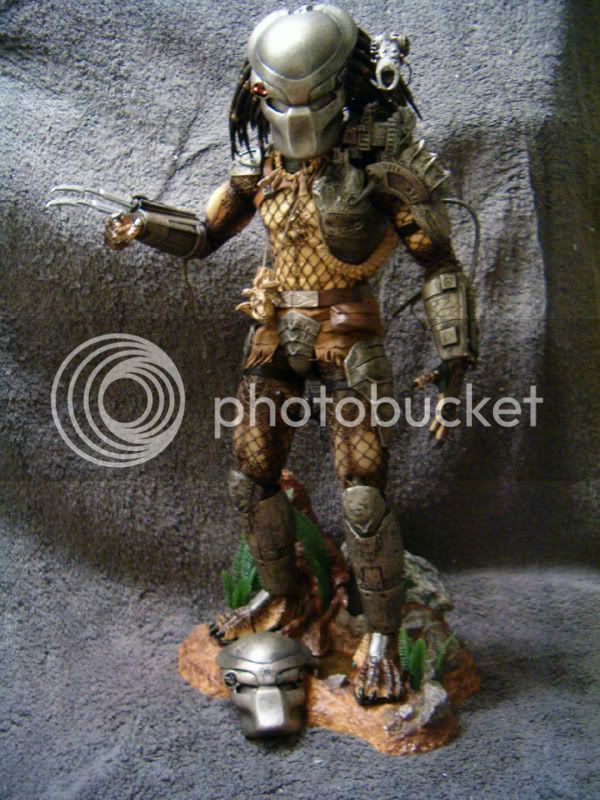
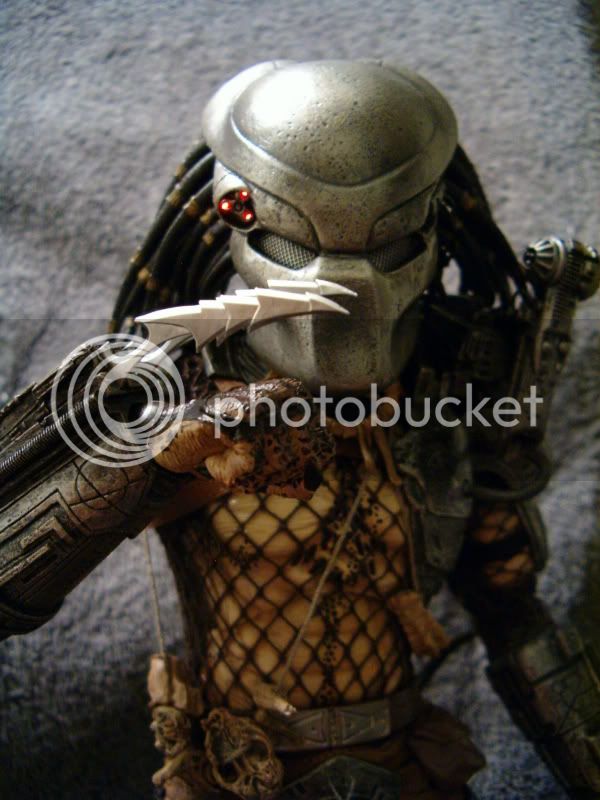
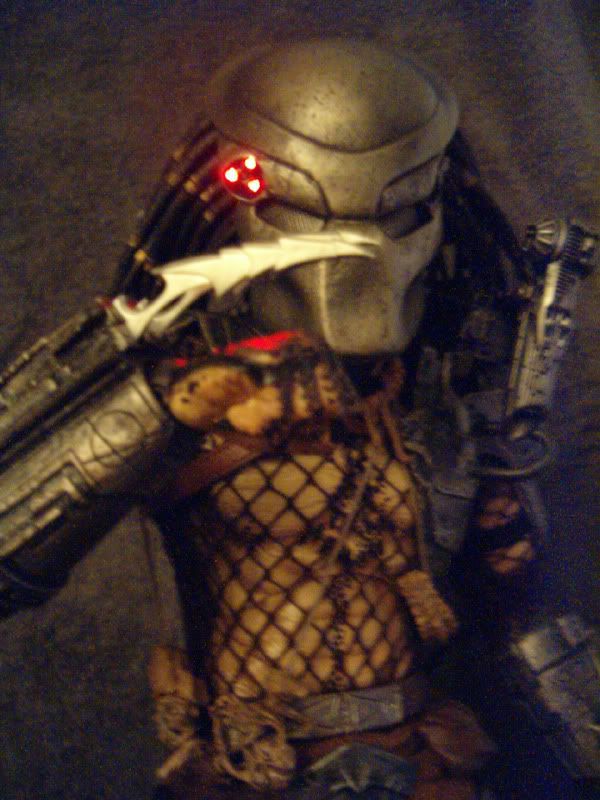
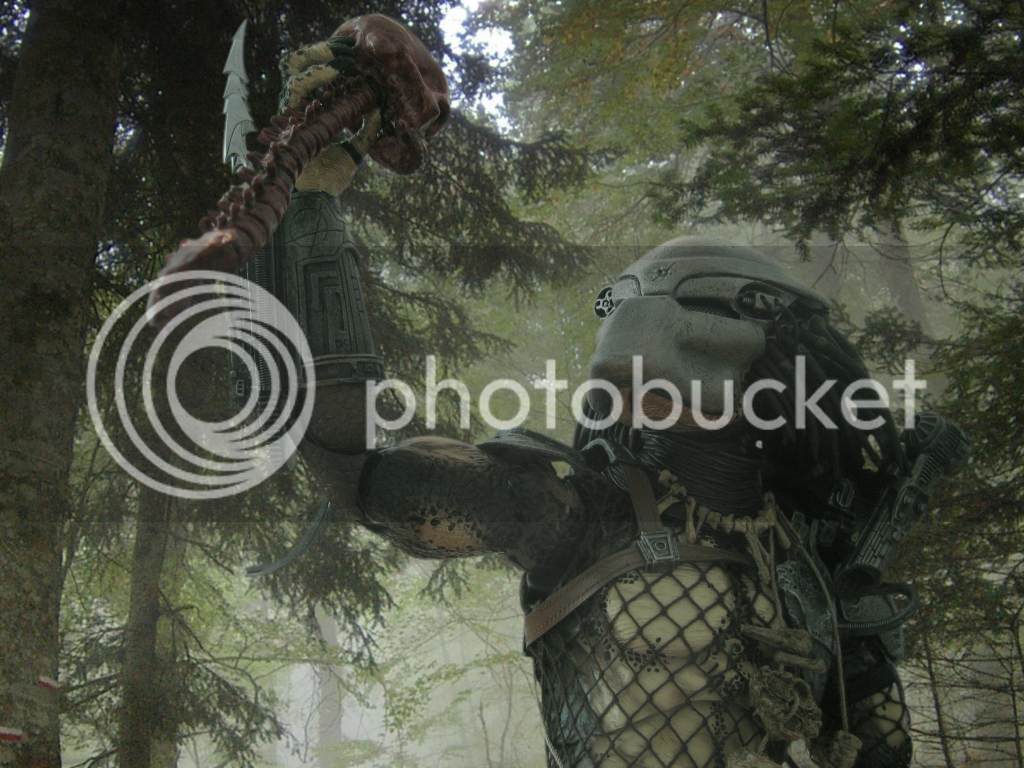
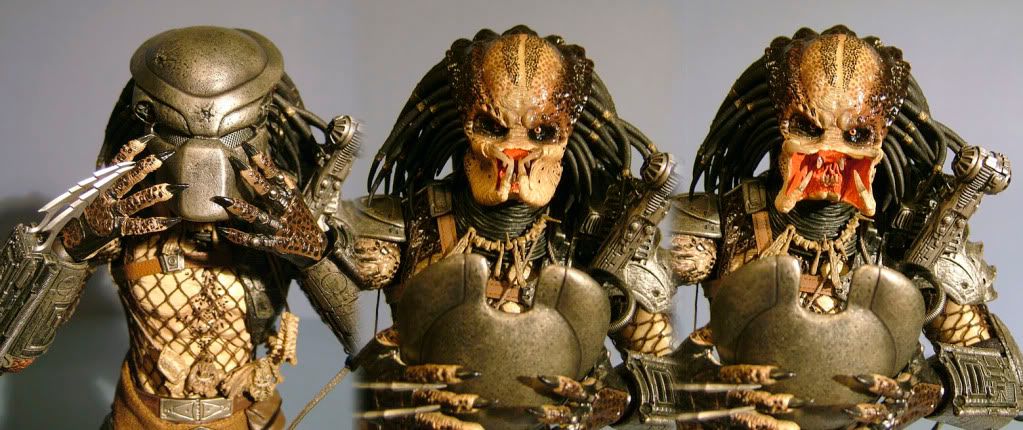
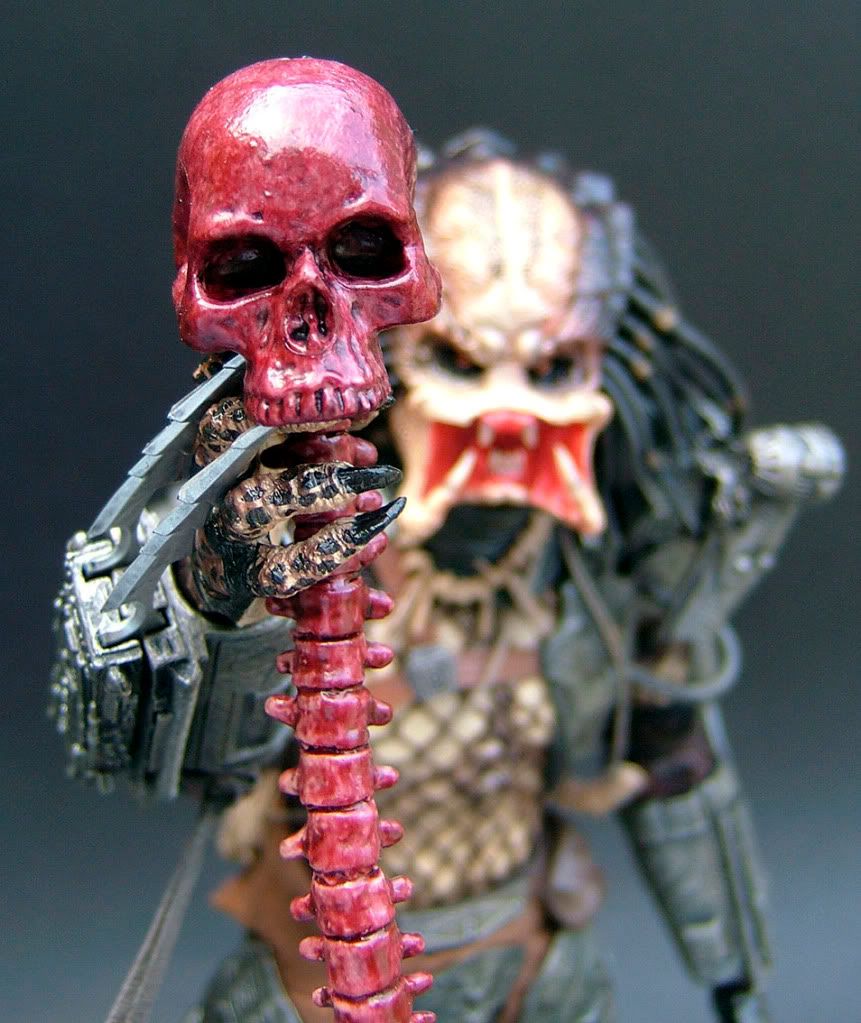
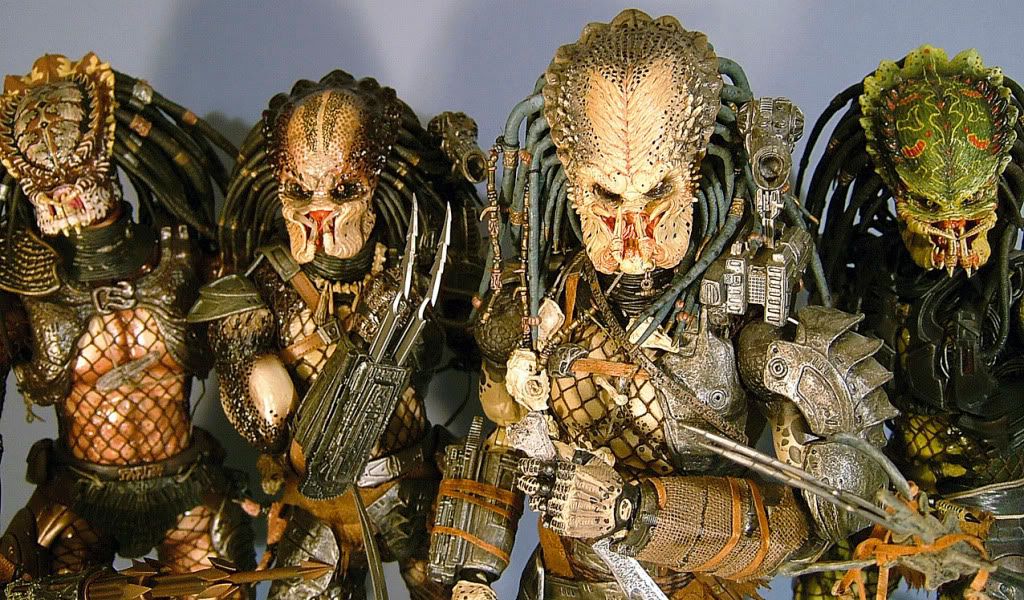
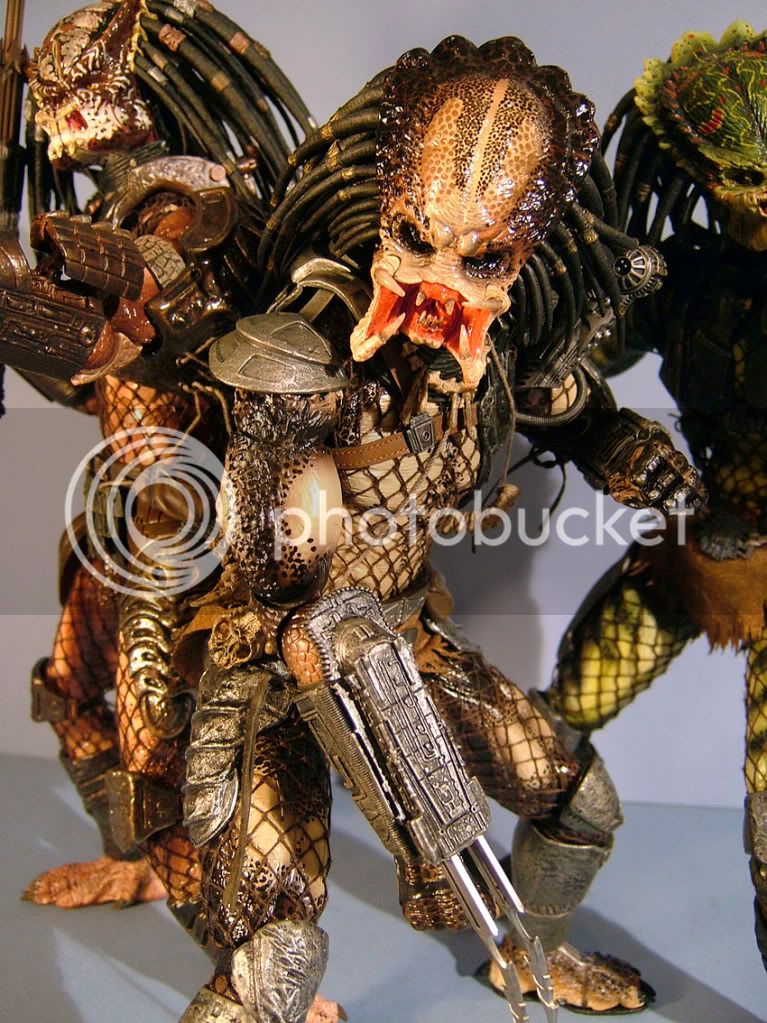
These were just quick pics I took to show the Exclusive in place and lit up. I hadn't settled on a pose yet, but will take new photos later when I figure out what he will be doing while he collects dust.

