HT Predator & Alien - Addict Clan

Collector Freaks Forum

Help Support Collector Freaks Forum:

This site may earn a commission from merchant affiliate links, including eBay, Amazon, and others.
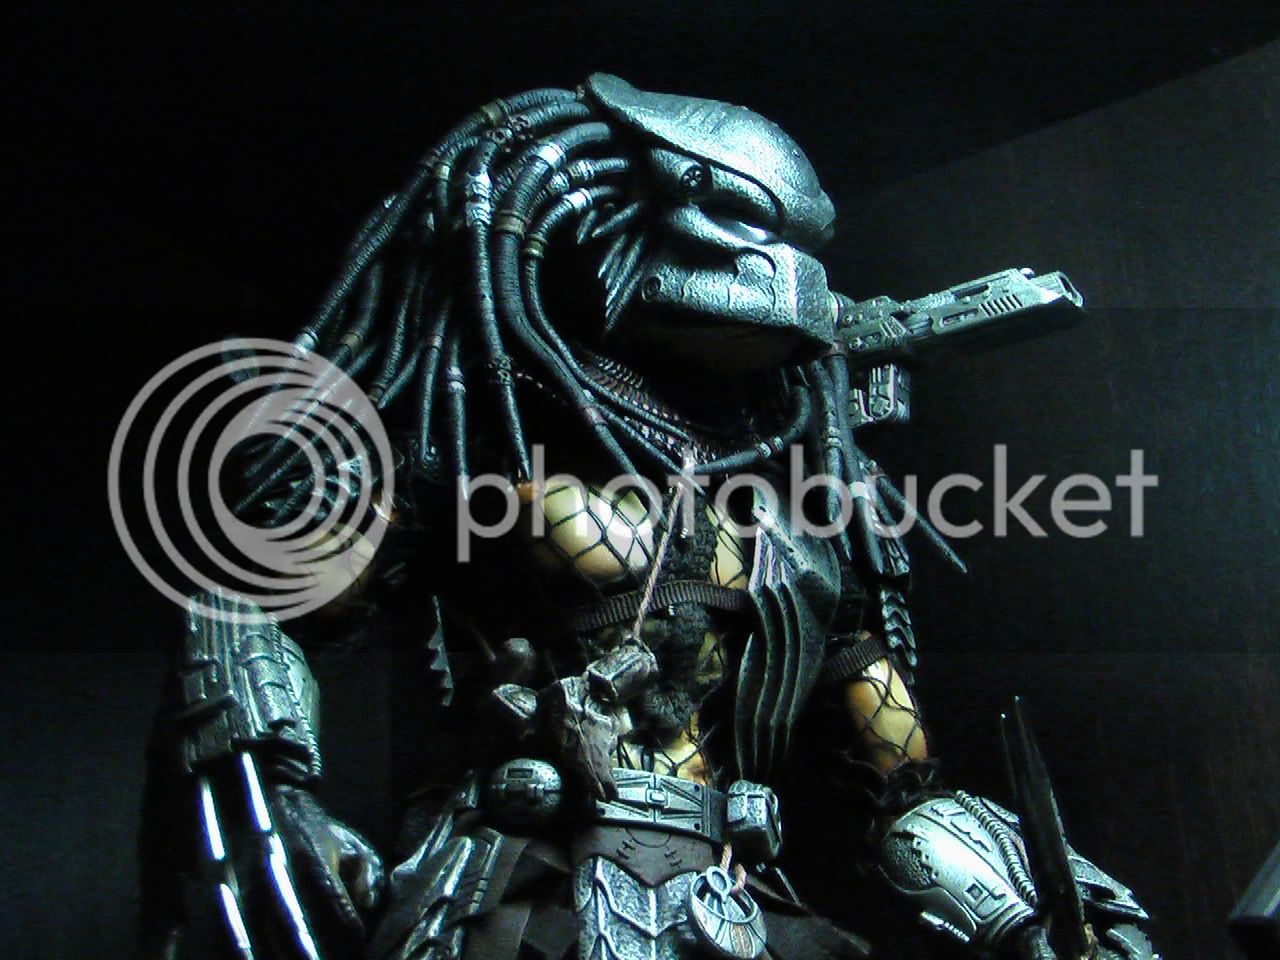
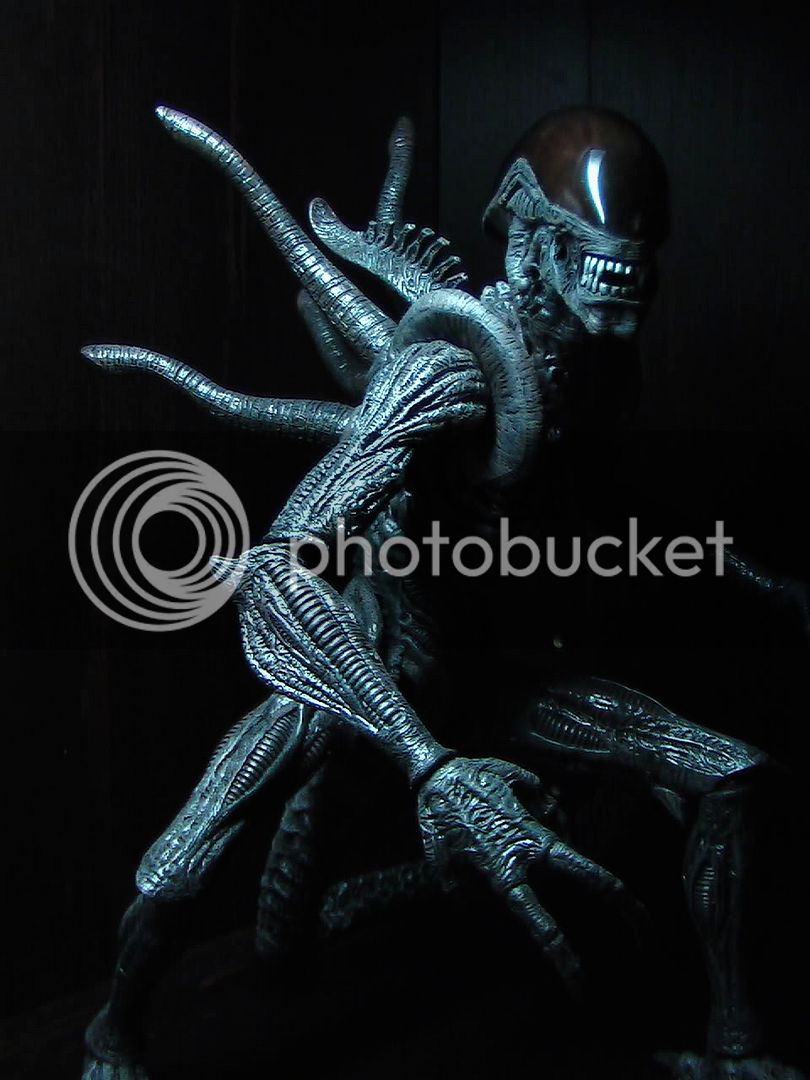
Just bought the Wolf Cleaner with chestburster on ebay, thought I would just get him now instead of waiting. I will use my 10% off coupon I have, so the price wont be too bad. Seller just needs to get back to me on shipping cost.
 
dscn1759qj5.jpg


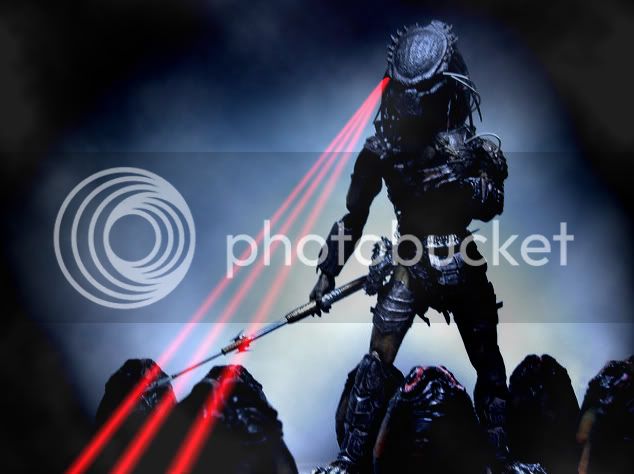
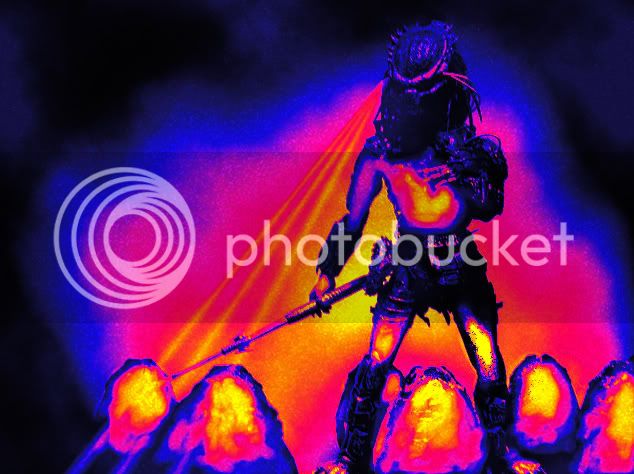
Oh dude you gotta photoshop some smoke on the ground and some targetting lights from his helmet. That would look super wicked!!!
 
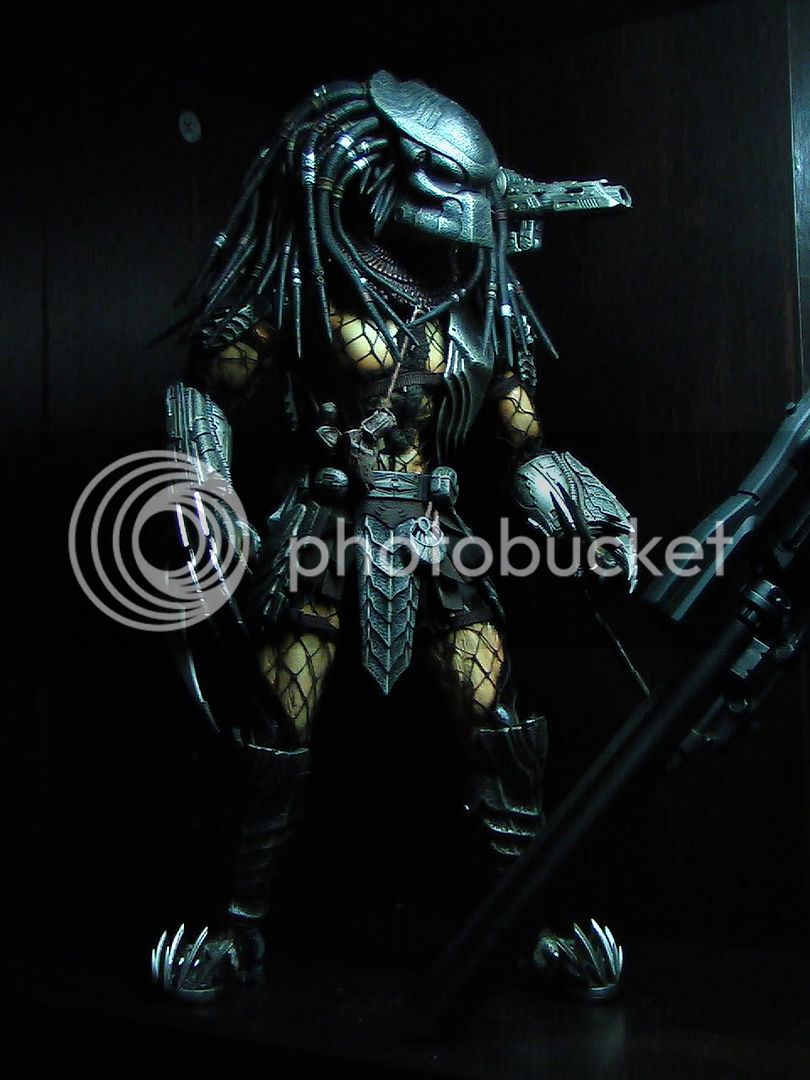
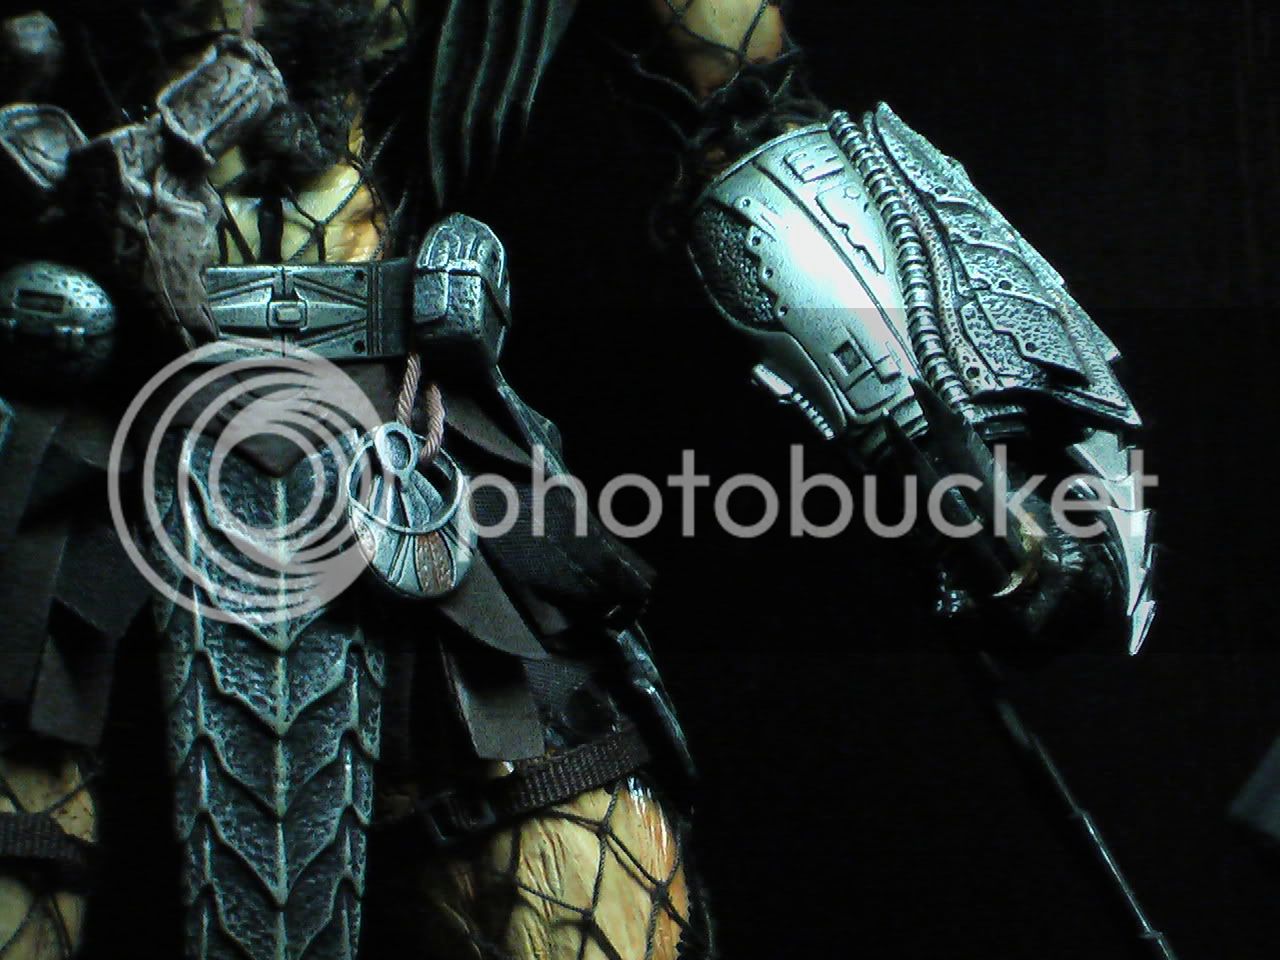
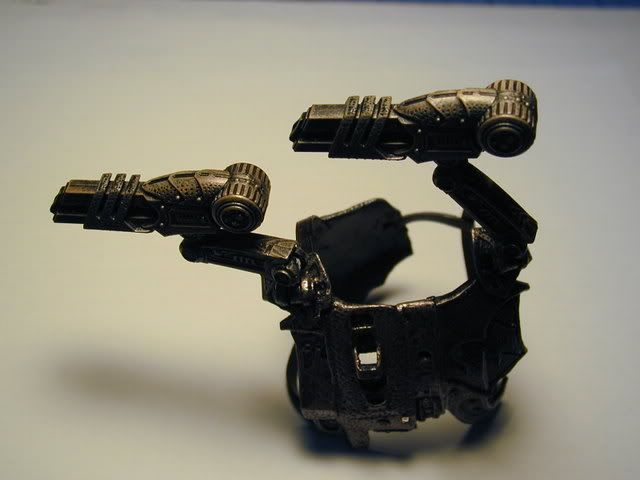
Hey got a question for all you experts out there. I'm finishing assembling my Wolf Predator. But I noticed that his shoulder cannons aren't as articulated as I expected. I see on the back of the box with the sample that it could move side ways and spread out a bit. Why can't mine do that?
 
Hey got a question for all you experts out there. I'm finishing assembling my Wolf Predator. But I noticed that his shoulder cannons aren't as articulated as I expected. I see on the back of the box with the sample that it could move side ways and spread out a bit. Why can't mine do that?

My friend, no one's can do that! There is a way to customize them to add the extra articulation, but I personally am not risking it.

-CJK
 
Yea I found the thread on that. I'm very tempted to do it. I think the added articulation to the cannons will add a lot more character to wolf. One of his most captivating trademarks is that he has 2 Plasma Cannons. If you can't even pose with them properly at the same time I feel real turned off about it. Maybe I can send it to the guy and have him do it for me? I lack the tools and the skill.
 
It's really not as hard as it sounds, but if you've never tried something like it before then I can understand not wanting to risk messing up your expensive figure! If you have any modeling experience at all, then once you got started I think you'd see just how straightforward it really is.

You could get the job with a minimum of tools, but you'd need at the very least the basic materials... a hobby knife or something similar to pry open the end of the articulating arm, some epoxy putty to fill the hole in the ball-ended parts, some foam or other material placed inside of the joint to add tension, and a liquid cyanoacrylate (Superglue) to seal it up again. That's about it.

When the cannons can articulate and hold their pose like they were supposed to in the first place, Wolf is a lot more fun to pose and photograph.
 
Last edited:
Hey got a question for all you experts out there. I'm finishing assembling my Wolf Predator. But I noticed that his shoulder cannons aren't as articulated as I expected. I see on the back of the box with the sample that it could move side ways and spread out a bit. Why can't mine do that?

Here's the tutorialk I used on mine, and it's worked for me, and a few other guys.
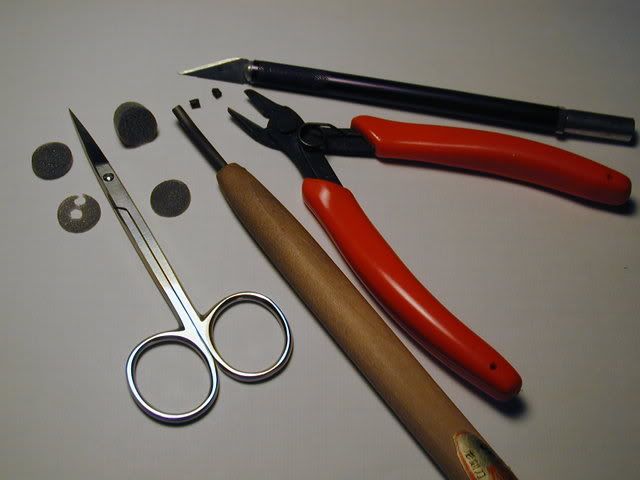
Okay, here's a brief tutorial for anyone who wants to fix Wolfie's cannons. You'll need a few basic tools for the job, I added pics of the ones I used as examples.

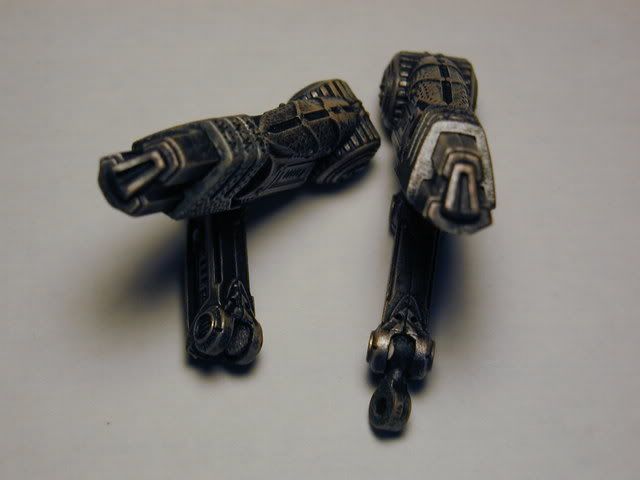
With a sharp edged tool, carefully split apart the lower end of each cannon mount arm. You just have to open it enough so that you can pop the ball-ended part out of the socket. (There's a plastic pin molded inside one side of the socket, which goes through the ball). Be patient, and watch your fingers!

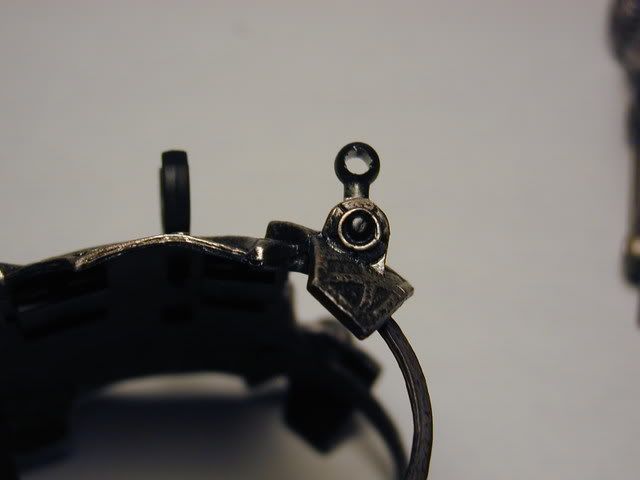
You'll end up with two ball-ended pieces with holes through them, still attached to the armour. (Pic 3.) Fill both of the holes with epoxy putty and set them aside. Cut the plastic pins out of the sockets of the cannon arms. Smooth the inside of the small cup-like space on the pin side of each piece.

Cut a small piece of foam or other "spongy" material and shape it to fit inside the other half of the socket. (I used small pieces of polyurethane foam to fill the insides of the sockets. You'll need to use something similar to create a small amount of tension against the ball, or the joint will be too loose.) Add a drop of super glue to the little foam pad and glue it in place, making sure it's centered in the shallow hole. (Pic 6.)

When the putty is hard, sand it smooth and test fit everything. Add more foam as needed, and when you're satisfied you have the correct amount of tension inside the joints, carefully glue the ends of cannon arm halves together again. Press the sides of the joint firmly together until the glue sets up. Touch up the paint as needed and you're good to go!

1. From top to bottom: X-acto knife, sprue cutters, small half-round woodcutting gouge, surgical scissors, and polyurethane foam pieces.
ModTools1.jpg


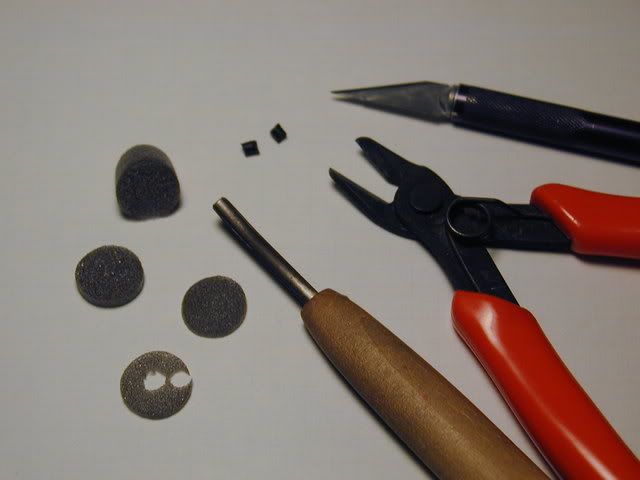
2. Close up of tools. Note the small bits of black plastic that need to be removed from inside the sockets at lower ends of each cannon arm.
ModTools2.jpg


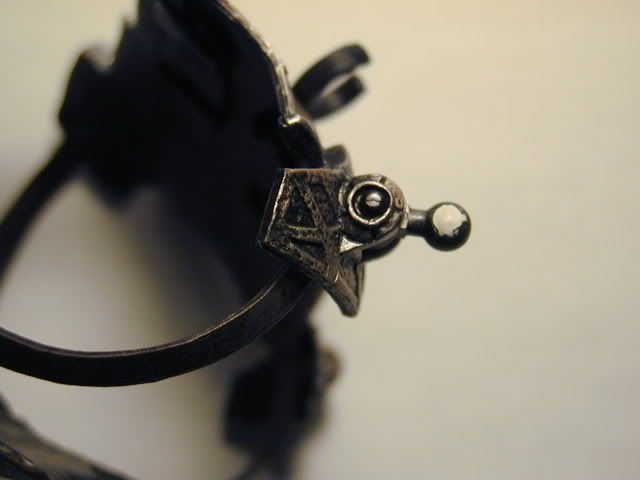
3. Armour with mount base complete, cannon arm removed.
BallJointBase.jpg


4. Ball joint piece filled with Milliput epoxy putty.
BallJoint-Filled1.jpg


5. Ball joint on mount base filled with putty.
BJointBase-Filled.jpg


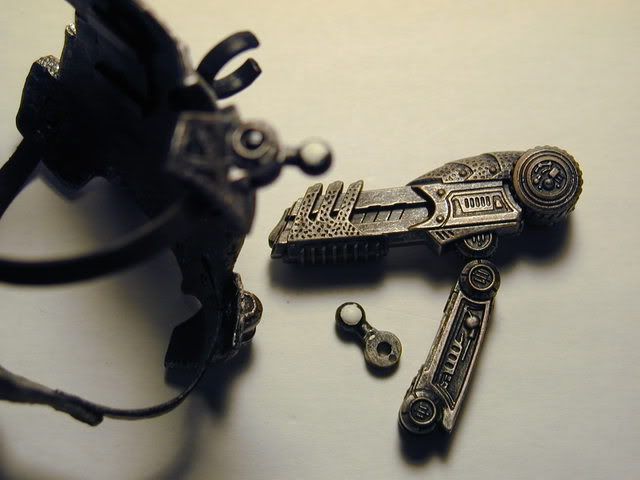
6. Left: Socket of cannon arm w/foam insert. Right: Completed ball joint assembled in arm.
NewBallJoint2.jpg


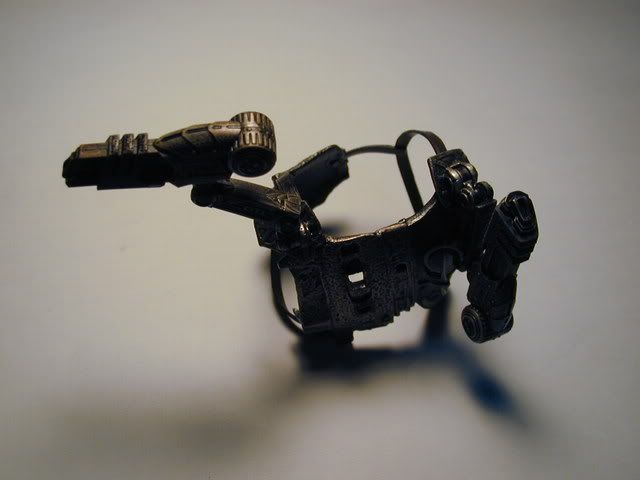
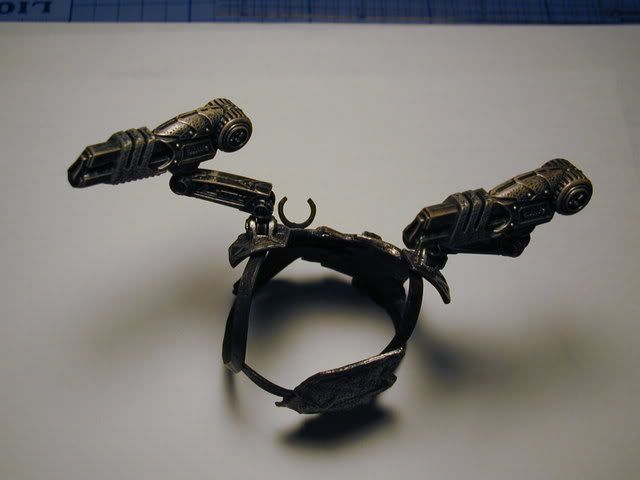
7. Modification completed. This mod allows for complete original articulation of cannon with added lateral rotation of the mount arms.
ModDemo5.jpg


8. Wolfie's cannons can now articulate like they were supposed to!!!
ModDemo1.jpg


ModDemo4.jpg


Thanks MudShark.
 
Back
Top