Hey guys, just wanted to remind you that there's a new technical thread for building, modding and painting your HT Predator figures, with tips and suggestions from some of the most experienced Predator Freaks on the board!
At the moment it's still under construction 'cause I've just been way too busy lately to update it, but... there's lots of stuff coming, including a more detailed cannon mod tutorial and a couple of other fixes that should help people get the most out of their HT Predator figures. So stay tuned, it's on the way!!!
good for you capitalizing on errors made by Hot Toys

I'll try and figure this out when/if I ever get my figure.
Have you seen this tutorial yet? It really doesn't take a lot of special skills to pull it off all by yourself, and it's pretty inexpensive, too! Quite a few Pred Freaks have already done it, by the looks of things.
Here's the original cannon mod tutorial I posted a while back in the Wolf Predator thread...
With a sharp edged tool, carefully split apart the lower end of each cannon mount arm. You just have to open it enough so that you can pop the ball-ended part out of the socket. (There's a plastic pin molded inside one side of the socket, which goes through the ball). Be patient, and
watch your fingers!
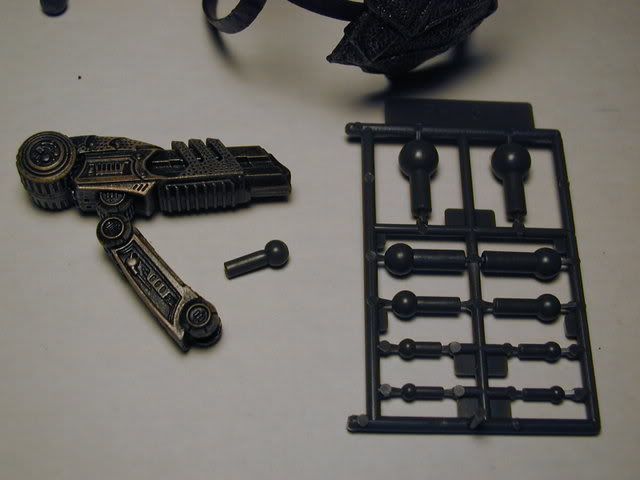
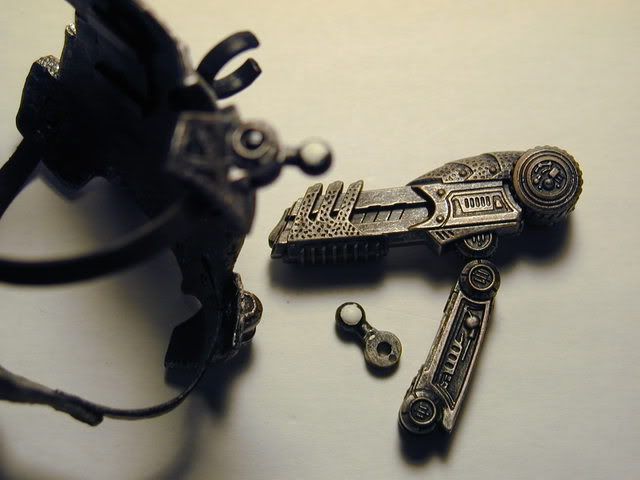
You'll end up with two ball-ended pieces with holes through them, still attached to the armour. (Pic 3.) Fill both of the holes with epoxy putty and set them aside. Cut the plastic pins out of the sockets of the cannon arms. Smooth the inside of the small cup-like space on the
pin side of each piece.
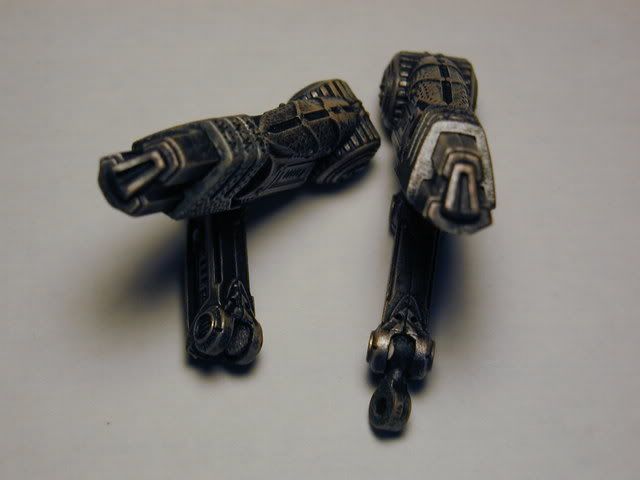
Cut a small piece of foam or other "spongy" material and shape it to fit inside the other half of the socket. (I used small pieces of polyurethane foam to fill the insides of the sockets. You'll need to use something similar to create a small amount of tension against the ball, or the joint will be too loose.) Add a drop of super glue to the little foam pad and glue it in place, making sure it's centered in the shallow hole. (Pic 6.)
When the putty is hard, sand it smooth and test fit everything. Add more foam as needed, and when you're satisfied you have the correct amount of tension inside the joints, carefully glue the ends of cannon arm halves together again. Press the sides of the joint firmly together until the glue sets up. Touch up the paint as needed and you're good to go!
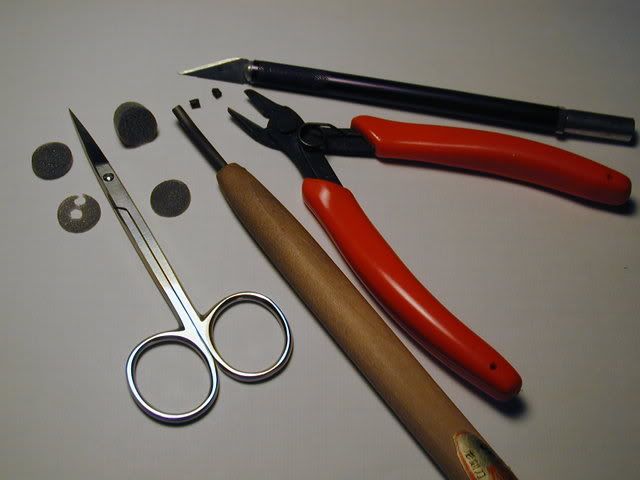
1. From top to bottom: X-acto knife, sprue cutters, small half-round woodcutting gouge, surgical scissors, and polyurethane foam pieces.
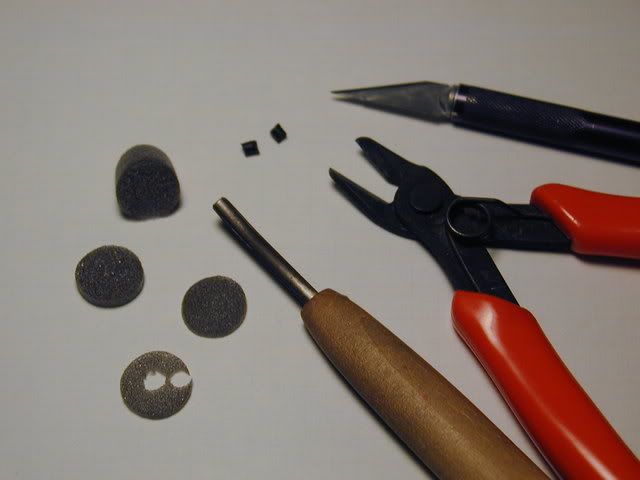
2. Close up of tools. Note the small bits of black plastic that need to be removed from
inside the sockets at lower ends of each cannon arm.
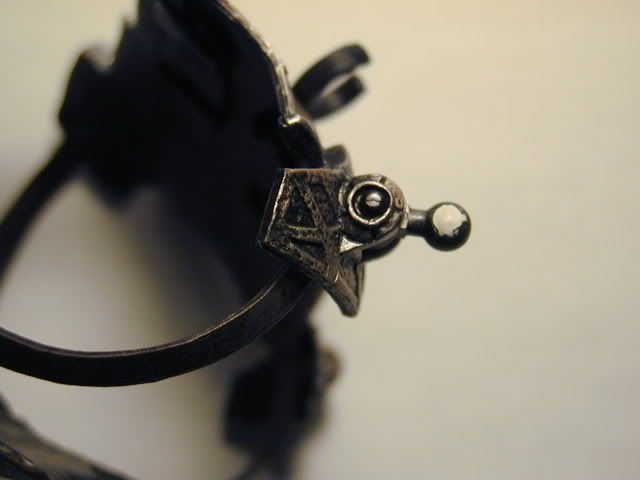
3. Armour with mount base complete, cannon arm removed.
4. Ball joint piece filled with Milliput epoxy putty.
5. Ball joint on mount base filled with putty.
6. Left: Socket of cannon arm w/foam insert. Right: Completed ball joint assembled in arm.
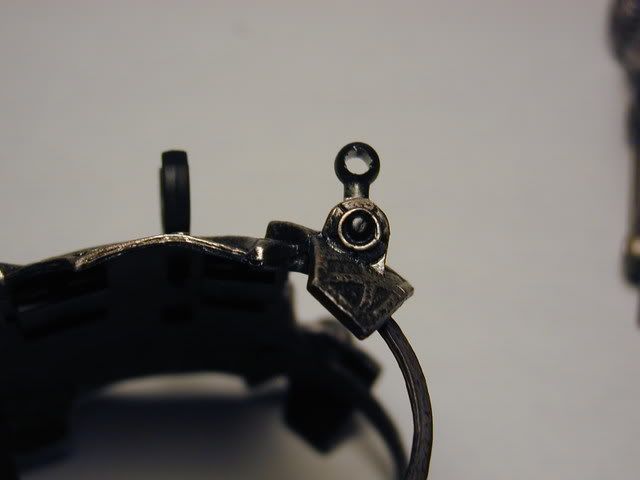
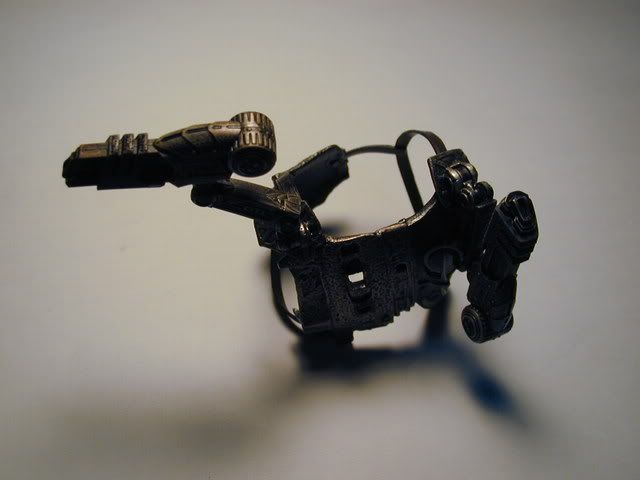
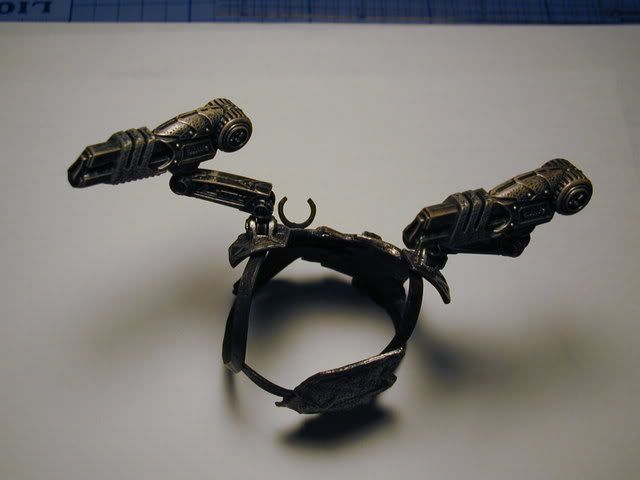
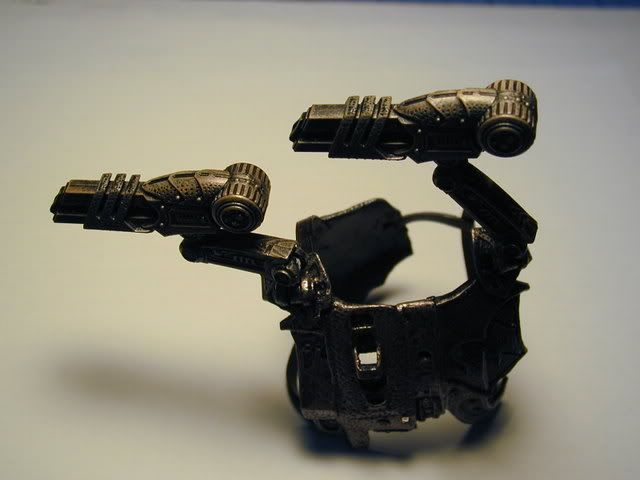
7. Modification completed. This mod allows for complete original articulation of cannon with
added lateral rotation of the mount arms.
8.
Wolfie's cannons can now articulate like they were supposed to! Enjoy your new
Wolf Predator!!!



 , thanks dude! I'll defo give that a try when I get my Wolf figure