Lights for Detolf

Collector Freaks Forum

Help Support Collector Freaks Forum:

This site may earn a commission from merchant affiliate links, including eBay, Amazon, and others.
1. Stay away from that janky superbright site. It's a rip off.

Amazon or eBay is where you should shop every single time for this kind of stuff. I can vouch, at least "in general," for LEDWholesalers and HitLights products as I've been using both for almost two years now.

2. Connectors:

[ame]https://www.amazon.com/Pack-25-Solderless-Connector-FlexStrip/dp/B008XTW1RA/ref=sr_1_24?ie=UTF8&qid=1376946273&sr=8-24&keywords=led+ribbon+connectors[/ame]

[ame]https://www.amazon.com/HitLights-Connector-3528SMD-monochrome-strip/dp/B006BF6RT6/ref=sr_1_1?ie=UTF8&qid=1376946344&sr=8-1&keywords=led+ribbon+connectors[/ame]

[ame]https://www.amazon.com/LEDwholesalersTM-Strip-Light-Connector-Ribbon/dp/B004Q8LXO4/ref=sr_1_9?ie=UTF8&qid=1376946356&sr=8-9&keywords=led+ribbon+connectors[/ame]

[ame]https://www.amazon.com/Ledwholesalers-Single-LED-Strip-Connector/dp/B0077JZZUW/ref=sr_1_15?ie=UTF8&qid=1376946428&sr=8-15&keywords=led+ribbon+connectors[/ame]

[ame]https://www.amazon.com/LED-Strip-Connector-2-Conductor-2096/dp/B004R0D99I/ref=sr_1_36?ie=UTF8&qid=1376946530&sr=8-36&keywords=ledwholesalers+connectors[/ame]

At the risk of sounding stupid because I am a newbie, how do you connect the power wire to the power supply...? I am guessing a barrel connector to screw terminal adaptor?

If you're taking about the 120v side, then HELL NO! Never, ever (not ever) make such a connection on any kind of mains voltage connection unless it can be done within an approved and enclosed electrical box and all wires able to be secured by their sheaths to that same box. If your power supply has only bare wires on the 120v side you either attach an approved plug (buy one at Home Depot, Lowes, etc) using screw terminals if the cord is long enough, of if you have to add more cord, you will solder to the existing bare ends and cover in heat-shrink tubing - with a plug at the other end already integrated or attached as previously mentioned.

Better to just buy a power supply with a plug already attached, such as the LEDWholesalers 30w model here:

[ame]https://www.amazon.com/Ledwholesalers-Power-Suppply-Driver-Transformer/dp/B0034GUEY4/ref=sr_1_1?ie=UTF8&qid=1376947102&sr=8-1&keywords=ledwholesalers+30w[/ame]
 
Last edited:
I got the power supply with the plug attached, sorry for the confusion there. I ordered a power supply that has the male 5.5mm barrel (pictured below)

timthumb.php


and a connector that is the female 5.5mm barrel (also pictured below) to connect the LED strip to the power supply.

CPS-How.jpg


That is what I was getting at, I am just not very good at explaining myself sometimes. Should that set up work okay?
 
That will work fine. Just keep in mind that a smaller supply such as this will not be sufficient for the same lengths as one of the others mentioned. Pay close attention to how many amps it can deliver.
 
This is just kind of a trial run of sorts for me. I am only going to rely on this to power three display cases of 6-9 LED's each.
 
This is the ebay shop I bought from last year.
https://stores.ebay.ca/hkesupplier
They got everything and maybe too much selection so you will need to comb through all the individual parts and kits to see what fits your needs. Can't remember how long it took them for shipping but it was reasonable?
 
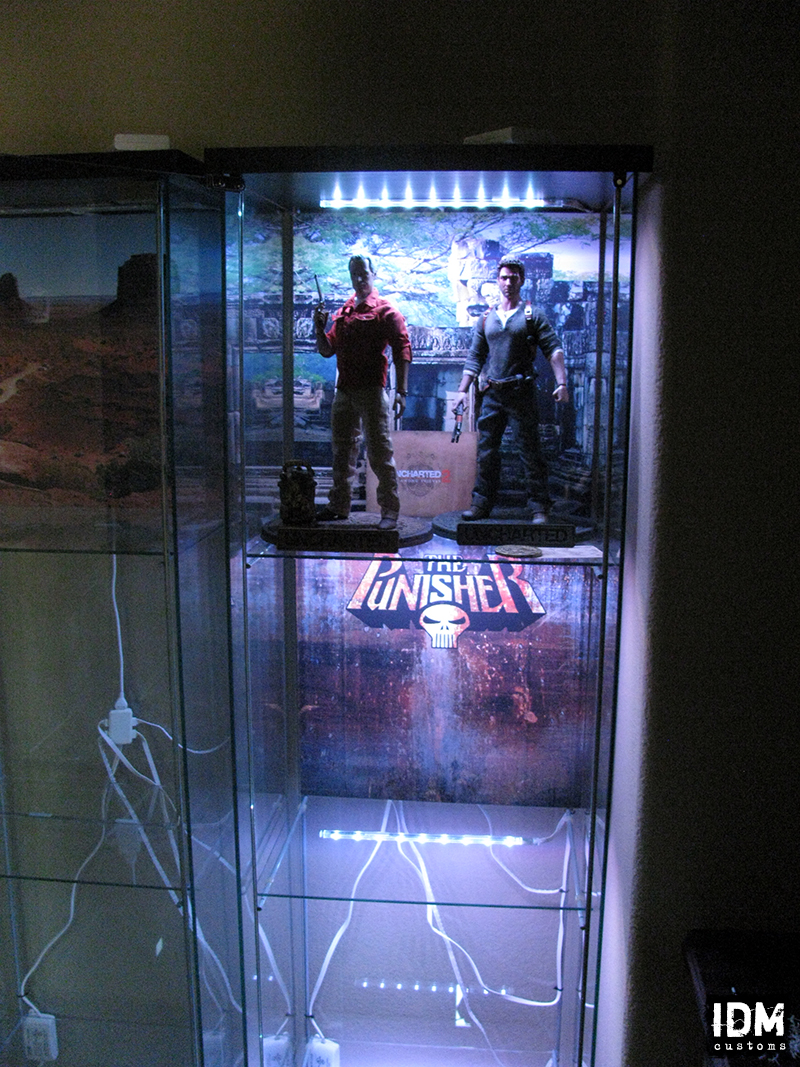
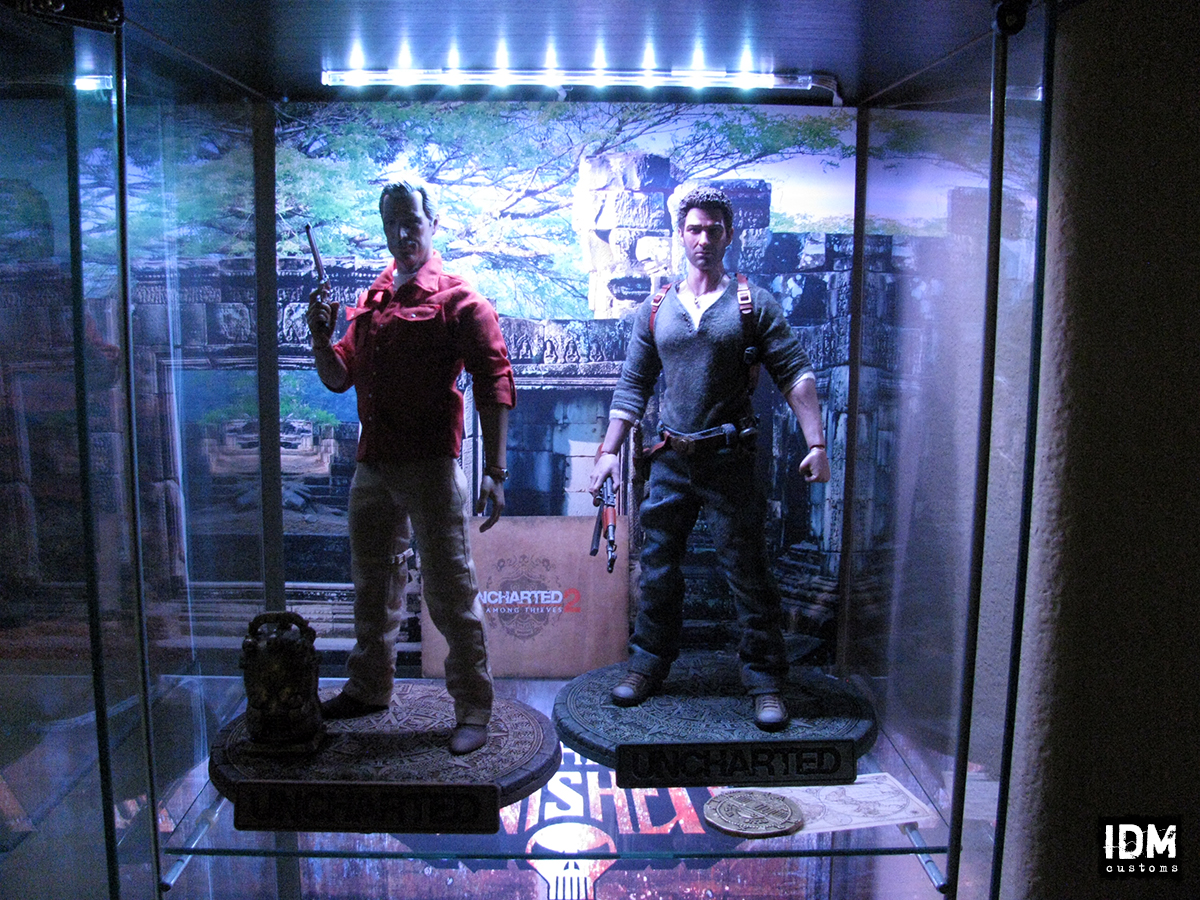
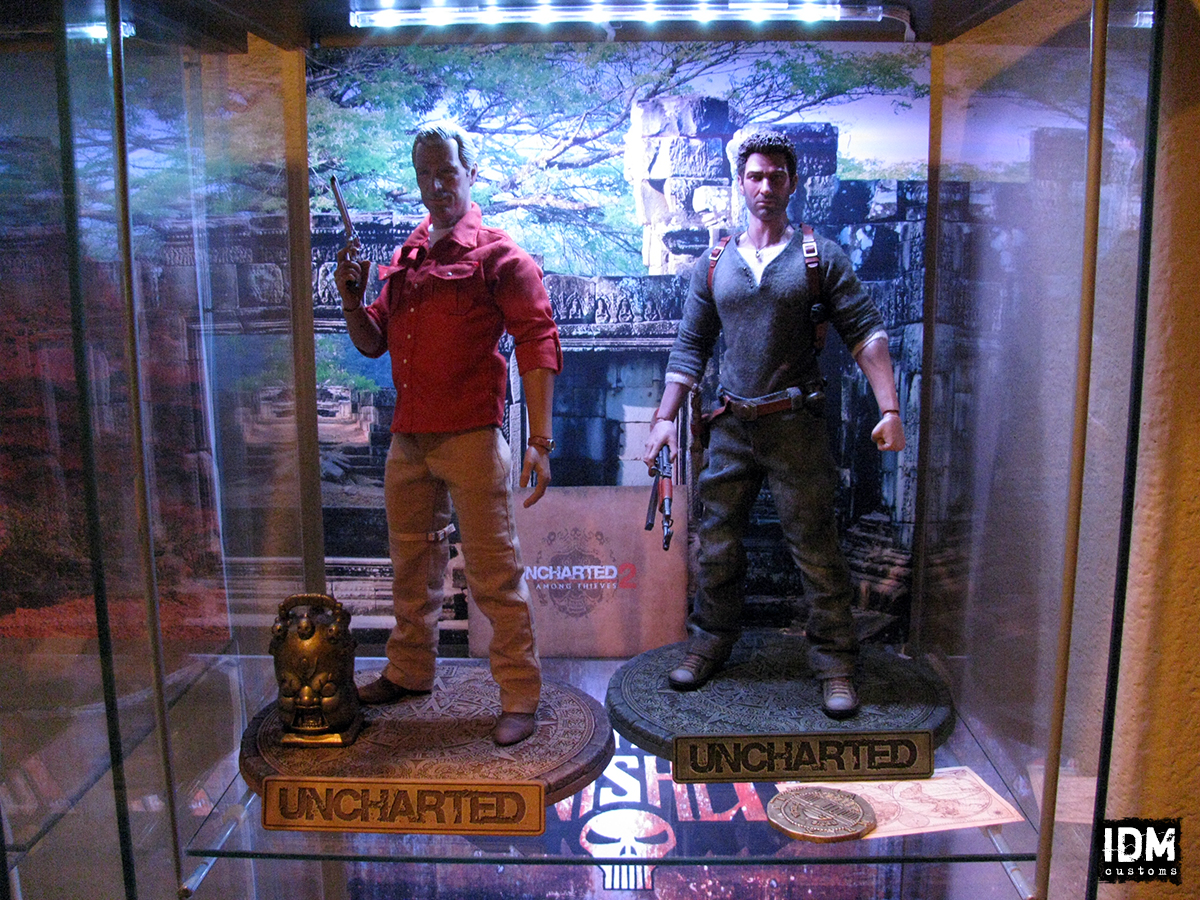
I just want to thank everyone who posted about the Ikea Detolf shelving and the lights. This thread has been super helpful! I finally got mine set up with the dioder lights and here's my set up below. I printed out some stock photos my wife Jen made and used them to hide all the wiring. :)

drake25.jpg


drake26.jpg


drake27.jpg


drake28.jpg


drake29.jpg


drake30.jpg


drake31.jpg


drake32.jpg
 
Honestly, get rid of the Ikea lighting - it's messy, even if most of it will be hidden. Then work on hiding the light sources themselves so you're not starring at a bunch of LEDs when you're trying to look at your displays, which already look good, but will look a lot better when you're not being distracted and blinded by the LEDs.

Your work and that of your friends is nothing short of amazing, you really should go that extra mile to make sure the enclosures/lighting are every bit as good and flattering.
 
Last edited:
Thanks Pixel. Do you have any photos of your light set up? I only have 3 figures I want to display currently so as I make more figures the shelves would be filled up and the photobackdrops will hide all the wiring. What do you suggest?
 
I'm from the UK and am looking to get some strip LED lights for my 4 detolfs. Don't want the ikea lights as they aren't the cool white i'm looking for and i'm now desperately in need of some proper lighting

I have no idea about anything to do with lighting or parts i'd need or what to do. Could someone list me the main things i need to make it work please?

I gathered i need a power supply (whats the best ampage to get?) and Connectors

Reading Golfs post i need to get a male power supply and female connectors no? will i have to solder the wires to the connectors or not?

Is it as simple as getting the power supply plugging it into the connector and then the wires from the strip into the connector (not necessarily in that order)

Thanks in advance for your help
 
Thanks Pixel. Do you have any photos of your light set up?

My office thread has in-progress shots of all kinds, and my other threads also show some lighting. There are also some amazing images of other people's lit displays scattered around in this and other threads - I should start saving these examples in a sort of "best-of" thread. ;)

Here's the thing… Especially because you're setting up something you plan to expand in the future, it's a very good idea to start as clean and neat as possible right now. In any kind of engineering, development, building of any kind, the only thing worse than a visible mess is an invisible one. A visible mess is easy to get at and clean/remedy, while an invisible one will be an on-going source of frustration and make it very difficult to change in the future once everything else is set up.

I'd definitely go the route of using LED ribbon and possibly single 5mm (or other) LEDs for spot lights if you can solder. The ribbon is mush lower profile than the IKEA stuff and can be pieced together without soldering if you want to invest more funds in the appropriate connectors (we were just discussing this and others and I provided a bunch of sample links).

Here are some of the down-sides to the IKEA dioder: They have bulky wires, they're white so they stand out more, they're spidered off a central hub and they're too short to manage over multiple Detolf units or shelves easily.

You have almost an unlimited number of options on how to run wires and place lights, but the keys to keep in mind are organization and expansion. You want everything to be as clean as possible to make it easy to maintain and modify, as well as leaving room for expansion.

You can do this as simply as running a single wire pair from cabinet to cabinet at the bottom and tying into a single power source, run connections through the metal rails of the Detolf and chain the multiple cabinets together, run each Detolf with its own smaller power supply, etc.

As far as light positioning, a huge benefit of LED ribbon is the ability to cut small segments, as small as 3 LEDs long. This means you can highlight individual figures while leaving shadows elsewhere in the cabinet, your lights don't have to be positioned in a straight line, you can more evenly distribute light, etc. To hide the source of the light consider putting a little lip, edge or something to cover your view of them, while still allowing them to shine on your subject(s). If you look at my threads you'll see in-pegress images where I haven't yet hidden the edges of the LEDs, but you should be able to visualize how that will be done.
 
Pixel,

Thanks for all your tips and comments. I greatly appreciate it! I'll look at getting some ribbon lights next. I didn't realize your links were links at the bottom and now I'm just floored looking at everything. I love all the dioaramas you made and those tips on printing some of the groundwork is genius! Thanks so much!
 
Thanks for the info!

What do you mean by this?

You can do this as simply as running a single wire pair from cabinet to cabinet at the bottom and tying into a single power source, run connections through the metal rails of the Detolf and chain the multiple cabinets together, run each Detolf with its own smaller power supply, etc
 
In that last message I just mentioned a few of the many possible ways to run wire for the LEDs. Cabinet to cabinet is a sort of daisy-chain where the power supply connects at one end, then you run a wire to the first cabinet where you spit off to two wires, one for the LEDs for that cabinet and the other goes to the next cabinet.

The next is what I'm doing on my Detolfs which is to run a wire from the power supply and attach the positive to the right hand side frame rail via one of the screws that holds it to the bottom end, and the negative to the left. This effectively electrifies the rails. This means you can attach wires/lights directly to the rails without running any additional wire vertically up the Detolf and without requiring any wire to be run into the Detolf from the outside. You will need to scrape off a little bit of the powder coat to attach wires, either by soldering or compression. Mine usually sit under the edge of a shelf and just touch the rails to provide a connection. This method also means you can now run additional wires from one set of screws on one Detolf to the next.

Lastly I just mentioned that if you want to run smaller power supplies you can use one per Detolf, especially useful if your cabinets are far apart and difficult to span with wires (which can otherwise be hidden in walls, under baseboard, etc.) - The wiring for this situation can be done via the rail system I just mentioned, come up through the base of the cabinet, drop down from the top, etc..

Some other things I did to my Detolf units:

- Put them all up on bases to bring them up to desk height.
- Swapped the top and bottom ends so that there is no hole visible on the top. The hole now on the bottom is easily covered by a figure base or printed flooring image.
 
How do I connect these lights:

[ame]https://www.amazon.com/gp/product/B007SXGS94/ref=ox_sc_act_title_1?ie=UTF8&psc=1&smid=ATVPDKIKX0DER[/ame]

To this power supply:

[ame]https://www.amazon.com/gp/product/B0034GUEY4/ref=ox_sc_act_title_2?ie=UTF8&psc=1&smid=A325274ZEF9XYZ[/ame]


Also what gauge wire should I use to connect the led strips? I plan on putting 6 to 9 lights per detolf shelf and connect two detolfs to the power supply above. My plan was to pretty much have all the lights/wires from one detolf connected to the next detolf and then that wire from the 2nd detolf connected to the power supply. I hope that makes sense. Thanks for any input.
 
Scroll back a few posts to see where I added a number of Amazon links with suitable connectors.

You can use 20 or 22g a wire if you're not going to be linking up many LEDs. If you were supplying a whole room, I'd use 18ga. You can find current capacity/wire gauge reference tables online.
 
Had luck soldering, think it came out pretty good. The case on the left turned out foggy looking, got some cheap stuff from lowes that didn't really work out. I am pretty proud of the case I built on the right.
e8a8ajer.jpg
 
Scroll back a few posts to see where I added a number of Amazon links with suitable connectors.

You can use 20 or 22g a wire if you're not going to be linking up many LEDs. If you were supplying a whole room, I'd use 18ga. You can find current capacity/wire gauge reference tables online.

I think I'm just going to connect the wires with some wire nuts or something along those lines. I just bought a soldering iron and will spend around $40 for the lights and power converter.
 
First of all, awesome displays over here guys! Congrats to all of you!

I'm still a noob when it comes to collecting figures! I just have a frew figures but with your help I think that my collection will grow fast.

I went to IKEA and bought my first Detolf and a set of Dioder multicolor a week ago.
After assembling the Detolf it was time to assemble the lightning. Since I didn't make a plan or a display for the lightning in my head beforehand I gave up on the idea because of all the hanging wires so I returned the Dioders and got a refund.

For a couple of days I was digging up the internet to find a solution and I found this forum and other pages.
After lots of searching I found out that the cables of the multicolored Dioders that go from that little box (I guess it's a transformer?) to every single LED strip are much shorter than the cables in the normal Dioders (correct me if I'm wrong).
With that in mind and with tips around the web (mostly here) I started to make a plan for the display in my head and I came up with this:


Blue: The wires from Dioder
Red: A wire channel sticked behing and outside the Detolf
Green: A wire channel sticked inside in a back corner of the detofl
Yellow: The LED lamps

In the right there's a view of the top wooden piece of the Detolf from the top and from bellow.


So the main wire goes from the plug to the top of the Detolf inside the wire channel (RED) and on the top of the wooden pice I would put the little box (again, transformer?), from there all the four wires go inside the Detolf through the little hole in the wooden piece (TOP VIEW).

Now inside the Detolf:
Since I want a LED lamp per shelf one of the four wires just would stay right there below the top wooden piece along with the first LED lamp and all of the 3 remaining wires go inside the wire channel that's sticked inside and in the corner (GREEN).
When I reach the first shelf (from top to bottom) I do a little hole in the wire channel and pull out the second wire to connect the second LED lamp and stick it to the bottom of that shelf.
In the second shelf another hole in the wire channel to pull out the third wire to connect the third LED lamp and yes, stick it to the bottom of the shelf.
Finally in the third shelf I would do another hole in the wire channel to pull out the fourth wire to connect to the final LED lamp and again stick it to the bottom of the shelf.

(I really hope you guys can understand my idea of the display, if not, my bad!)

Everything was going great! I was already making a plan to go buy the normal Dioders and the wire channels this weekend but then...

BAM!

After a little bit of more researching in this thread and others I get the bad, ugly, atomic bomb and disappointing info that IKEA does not have the cool white Dioders anymore but the warm white ones and got the chance to see how they look in the Detolfs thanks to some pictures of you guys. Damn! It looks so awfull! :(

I feel that my plan for the lightning display is going down the drain!:(

So I could really, really, really use some help here!
Since I'm from Portugal, ordering those sets from Barlights.com is almost impossible!
I noticed a lot of talk about LED ribbon (mostly by pixelpiper) and I'm guess I'll have to go with that but assembling those seems so confusing to me!

So I have some questions:

1- If I go with the LED ribbon solution is it possible to assemble it in the same way that the Dioder it's assembled? With this I mean the plug-little box with four holes-four independent wires to connect four LED stripes (so I can use my lighting display plan that it's in the picture above)?

2- What will I need to buy in order to do that? I use Amazon.com.uk a lot so if you guys could pinpoint the products from there I would really appreciate because I'm from Portugal and I don't have many buying options because of that.


Thanks you for reading!
 
I feel that my plan for the lightning display is going down the drain!:(

That's a good thing in the long-run, trust me! Your plan was getting overly complicated only to deal with IKEA's proprietary lighting setup.


I noticed a lot of talk about LED ribbon (mostly by pixelpiper) and I'm guess I'll have to go with that but assembling those seems so confusing to me!

É muito mais simples!

1- If I go with the LED ribbon solution is it possible to assemble it in the same way that the Dioder it's assembled?

Yes, but it would be a better idea to simplify the wiring instead of creating the extra work of duplicating the connections of the Dioder.

2- What will I need to buy in order to do that? I use Amazon.com.uk a lot so if you guys could pinpoint the products from there I would really appreciate because I'm from Portugal and I don't have many buying options because of that.

Everything should be available on Amazon UK, but it is also available on eBay with worldwide shipping and possibly much lower prices. You'll have to check.

Start going backwards in this thread and check the links I posted. Visit my build thread and see how easy it is to electrify the metal rails of the Detolf to carry low voltage power. Even if you didn't want to do the rail method, you could run ONE single channel inside your cabinet with a pair of wires inside it. Then for each shelf you'd have another small length of wire spliced into that main wire and attached to your LEDs.
 
Back
Top