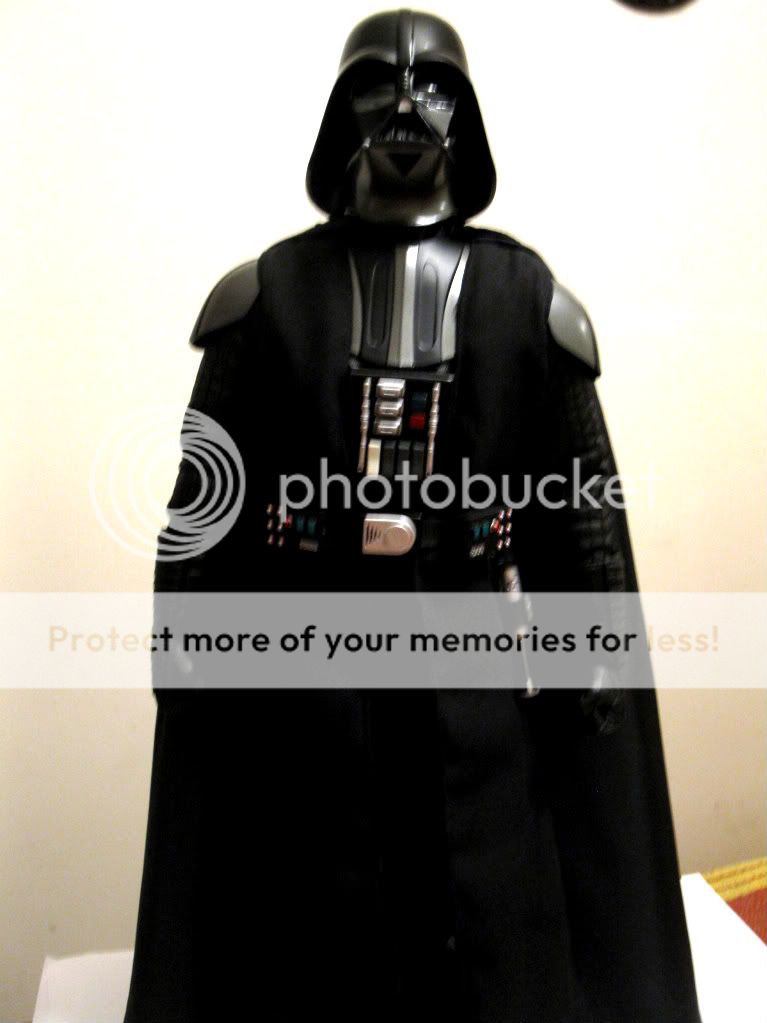
Not having a Dremel, here's what I did:
1) Pop the Sideshow Vader helmet from the head piece. I loosened where the pieces were glued together with the pointy end of a plastic cupcake ornament (although anything flat & flexible that won't scratch will do). The glue is particularly heavy around the forehead & the back of the head & WILL make a cracking sound, but don't worry. As long as you work the pieces apart gently & not grip the head tightly around the tusks (which easily break), there's nothing to worry about.
2) Use a small, flat file from the hardware store to sand down the cross-shaped ridges on the upper inside of the helmet that the top of the head sits on. I probably filed away two-thirds of what was originally there, so be sure to work over some newspaper to catch all those plastic shavings.
3) Keep filing until the helmet sits on the head just as you want it. I did mine so that the top of the eyes come just below the "brow" of the helmet &, most importantly, the back of the helmet comes down below the neck. Some have chosen to also file down the post inside the helmet that fits into the top of the head, but I found it unnceccesary.
4) When you're happy with how the helmet looks, super-glue the helmet back onto the head. Do any fine tune positioning at this point as the two parts set.
5) Finally, fall in love with your Sideshow 1/6 Vader all over again!


