Twilight Zone: ROD SERLING custom fig

Collector Freaks Forum

Help Support Collector Freaks Forum:

This site may earn a commission from merchant affiliate links, including eBay, Amazon, and others.
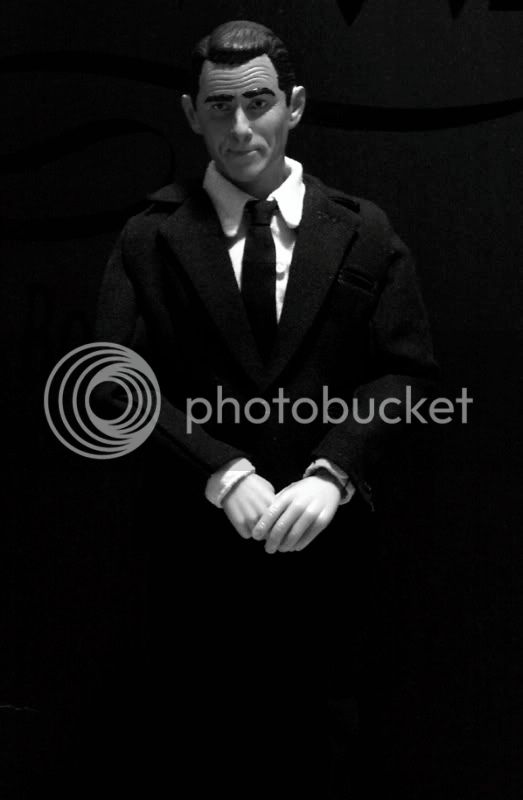
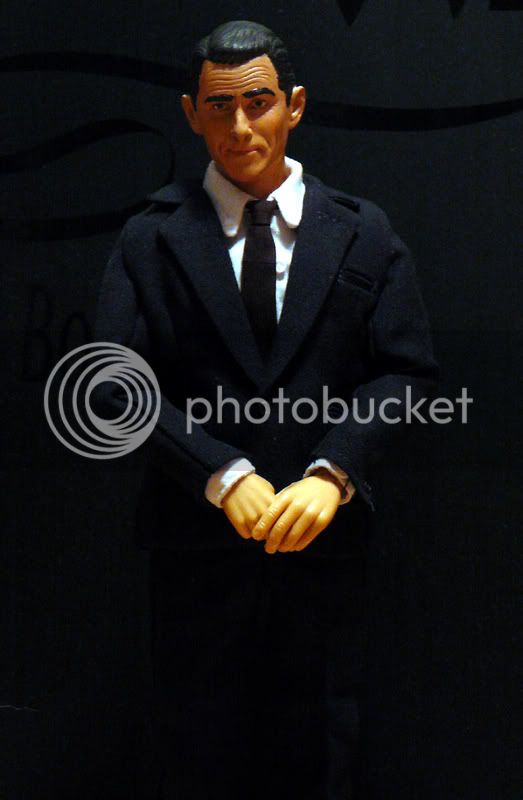
Here are some new pics...
RodBWSS2Wide.jpg
[/IMG]

RodSerlingBW1Personal.jpg
[/IMG]
 
Nice, Hey JLM, what suits are those? Both look very nice.

The grey suit is from Legacy Brosnan Bond with a white shirt and black tie from a couple different figures, the second suit is from a X-files Cancer man with a white shirt and black tie from a couple different figures. I had to break up a lot of figures to make these suits.
 
Is that the same paint up as on page 1? Looks great! And is the cigarette tip still red or am I tripping?

Can't wait to paint mine...
 
Got mine as well and when I presented it to my bud, he flipped out. I think he's going to name his first born after me. :lol

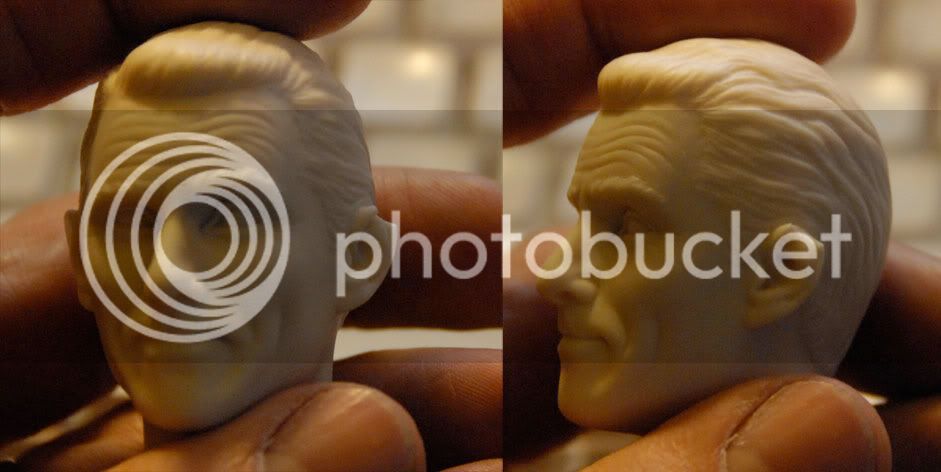
Amazing sculpt and thanks for sharing it with us.
 
Got mine as well. Thank you Andy, this is a real treat.

Don't thank me, thank jmlsuperman! His passion and dedication is what made this happen, I was just the lucky guy he called to sculpt it.

Glad everyone like's the heads. :)


p.s. For the record, I'm a very big fan of the Plastic Earth sculpt. Having studied every inch of Serling's mug I can see that the PE likeness is dead-on, perhaps just a little less stylized than mine. The paint apps might be throwing the likeness off a bit... But the sculptor really did an incredible job.
 
Well I'd like to thank both Andy and jmlsuperman, I had thought about having a Serling fig in my collection ever since Sideshow started the Twilight Zone line. Now I have one, gotta say Andy this sculpt is so good, I think you could slop paint on it and it'd still look great. It was by far the easiest paint job I've had to do, the casting was so clean and features so identifiable, I was gonna paint it in black and white, but changed my mind at the last minute. Anyway thanks alot you guys, and here's a quick shot.
rod1.jpg

rodbw.jpg
 
Beautiful job. You've really captured his glance, which is the trickiest thing, and the thing that brings it to life. He looks like he's about to pronounce a zinger about you-know-where.

I've been jammed, but I did finally find a few minutes to do the first step in mine's ear reconstruction. Hope to do the final step today. It's so tiny. So far, it's looking good.
 
My bud got it last Tuesday and by Friday he was done!

The ear lobes had air bubbles and he had to fill them in with superglue but it came out fine.

Here are a couple of shots. (the eyes picked up two separate highlights so he's really not suffering from "lazy eye"... ;) )


Plastic Surgery

Oh, heck! You'll recall my Serling head arrived like this:

serlingear.jpg


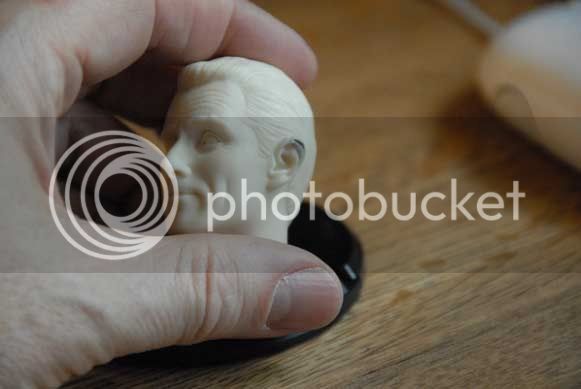
I carefully built up the tip in three steps: a foundation of Aves, a rim of Magic Sculpt, and a scooping under the rim with a needle-size Dremel. Here's a shot before the Dremel:

Step2.jpg


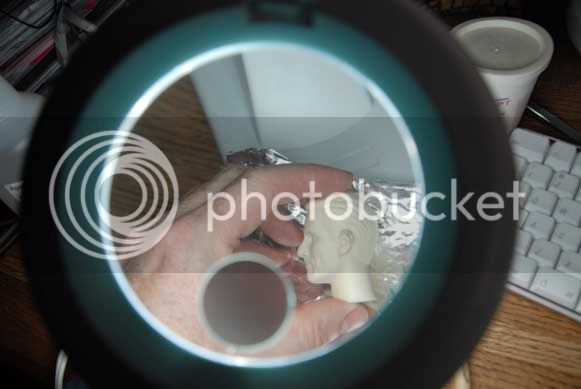
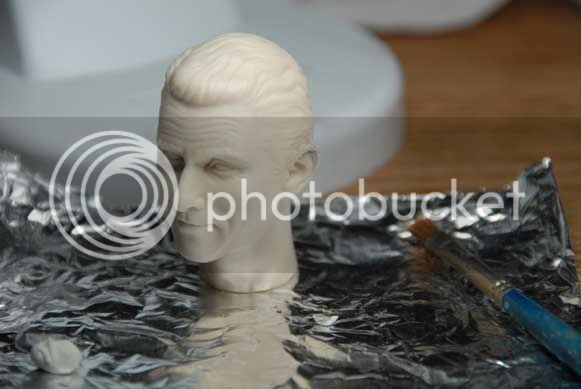
I managed to Dremel without shattering it, it was looking great, so I went to photograph it before spraying on primer to see whether there were any imperfections...and dropped it. Most of my new work broke off. Back to the start. Here's my set-up:

Step3a.jpg


Here's the new ear. I cleared some little nits away after taking the picture, the rim is a little smoother than this:

Step3b.jpg


That little chunk in front of it and to the right is the piece that popped off when I dropped it. Now to leave it alone until next week. Let it get good and hard before seeing if it needs any further buildup, and on to smoothing it with a little fine sandpaper and no pressure.

To be continued...
 
Thanks to all who have purchased this. I'm happy everybody likes it. I'm pretty sure most who wanted this have already purchased it. But to those who might have missed it, I have a only a few more left, the cost is $43 shipped to anywhere in the USA.

Thanks to everybody again!

Justin
 
Back
Top