1/6 Indy Customizations: Image Thread

Collector Freaks Forum

Help Support Collector Freaks Forum:

This site may earn a commission from merchant affiliate links, including eBay, Amazon, and others.
Thanks again mate...That might indeed be a simpler sollution :yess:. I did the jacket yesterday with the sandpaper. Looks much better now..next...the shirt :clap

Any art shop will sell little basic sets of acrylic paint. You will see them between the oil paints and the watercolors. What makes them great is they are water soluble but when they dry they don't come off. You could pick a set up off ebay, but an art shop would be easier? You don't need any fancy expensive ones, just the basics, red, black, white, brown, yellow. You can mix practically anything up from those.

Have fun with man!
:hi5:
 
Thanks again mate...That might indeed be a simpler sollution :yess:. I did the jacket yesterday with the sandpaper. Looks much better now..next...the shirt :clap

How did you do the jacket? What grain of sandpaper did you use? Can you post some pictures?
 
Quick update on my Indy #2, I think it's turning out pretty good
IMG_1499.jpg

IMG_1496.jpg

IMG_1497.png

IMG_1503.jpg
 
Last edited:
I simply bought some at the do it yourself shop..in holland we "gamma"..i just started rubbing with normal sandpaper..i simply damaged the jacket..for the shirt and pants i bought textile paint (black, white, brown, thnx rory and others) and made mudd colors, used a lot if water, and painted with the water...use brownish for the sleeves and neck..when i was done i sinply drenshed the whole thing with the water i used..it was soaking wet, but dirty..then i planted the whole bunch on the heater..dried them and voial! Pictures soon..thinking of 'sanding up' the jacket too.

How did you do the jacket? What grain of sandpaper did you use? Can you post some pictures?
 
Looks great..what is the easiest way to remove the eyeliner without damaging everything?

Can't wait to see yours bbl. What worked for me on the guyliner process is a mixture of flesh and red acrylic paint, watered it down, then I used a fine brush to lightly brush over the inside of the bottom of the lower eyelid, wiped the access paint away, What you want to do is raise the PERS eyes all the way up, in a possessed rolled up motion :lol that way you can really see the bottom of the lid, remember go slow with the wash of paint because you don't want the wash to to seep into the eye balls , wipe it off fast, if it does, I know it sounds complicated, but if you attempt it, you'll see it really isn't.
 
I miss working on my Indy customs. I'm away from home in Africa on a job at the moment, I know my TOD Indy is standing on my desk waiting for some more sweat. This set has become an obsession! Can't wait for my MFisher TOD set as well. Looking a lot better Guyver!

:(
 
I received my Raiders belt and holster from MFisher. Worth every penny. It is a great touch to the figure. I will get a whip after the Holidays. MFisher does great work.
 
Excellent news.... glad these are showing up for everyone... I worked my tail off over Thanksgiving getting them all out ! Just to advise for those interested.. just bought a new craft machine that makes stencils in any scale... sooo... I will be building custom real wood crates with accurate font stencils to replicate the KOTCS warehouse pieces for really sharp KOTCS figure displays... stay tuned... been wanting to do these for some time now.. am really amped to knock a few out to show here at the board..
 
I miss working on my Indy customs. I'm away from home in Africa on a job at the moment, I know my TOD Indy is standing on my desk waiting for some more sweat. This set has become an obsession! Can't wait for my MFisher TOD set as well. Looking a lot better Guyver!:(

Make sure to grab some african dirt to smear all over the figure. Give it a truly exotic adventuring feel :wave
 
Just want to give a shout out to Mike's wonderful work! Anyone still debating on these sets, treat yourself and get one of his gear sets! It makes a huge difference for Indy! :clap:yess: Some more work done on my Indy #2
IMG_1506.jpg

IMG_1510.jpg

IMG_1514.jpg
 
Last edited:
Thank for the info..Gonna get the paint and a microbrush later :)...no need to open the headsculpt then?

Here are some pictures of mine..I made them with my phone though..the shirt is dirty on both sides, but he wears the jacket so you can't see it. I did the pants the same way. Mfishers belt, holster and whip are in the making :clap

Furthermore I made a custom Grail Tablet and a custom Proffesor Jones. Waiting for the 1:6 grail diary from indyfreak26. The suit is from the HT bruce lee. The Grail tablet is made of clay. The inscription was very hard and is hard to read. I don't have the tools or skill to make it perfect. Used acrylpaint. (thnx Rorywan)

indy_feet.jpg


indy_jacket.jpg


indy_shirt.jpg


indy_proff.jpg


tablet.jpg


Can't wait to see yours bbl. What worked for me on the guyliner process is a mixture of flesh and red acrylic paint, watered it down, then I used a fine brush to lightly brush over the inside of the bottom of the lower eyelid, wiped the access paint away, What you want to do is raise the PERS eyes all the way up, in a possessed rolled up motion :lol that way you can really see the bottom of the lid, remember go slow with the wash of paint because you don't want the wash to to seep into the eye balls , wipe it off fast, if it does, I know it sounds complicated, but if you attempt it, you'll see it really isn't.
 
Last edited:
It's an obsession Rorywan, I never understood it..never...no I do understand :exactly:

I miss working on my Indy customs. I'm away from home in Africa on a job at the moment, I know my TOD Indy is standing on my desk waiting for some more sweat. This set has become an obsession! Can't wait for my MFisher TOD set as well. Looking a lot better Guyver!

:(
 
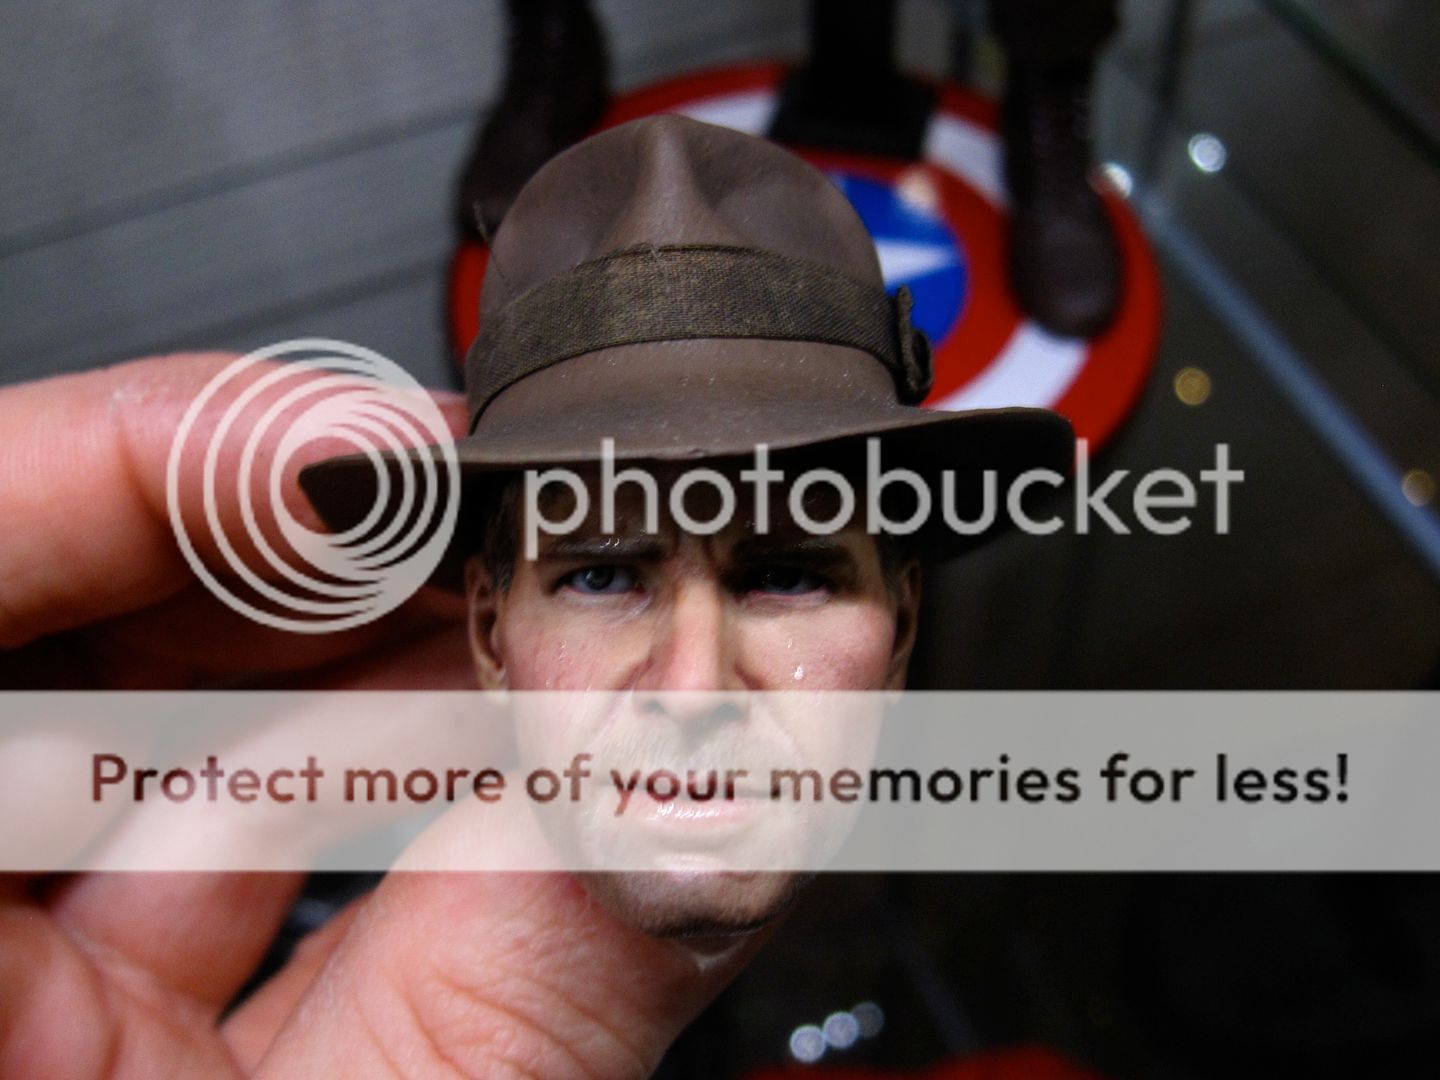
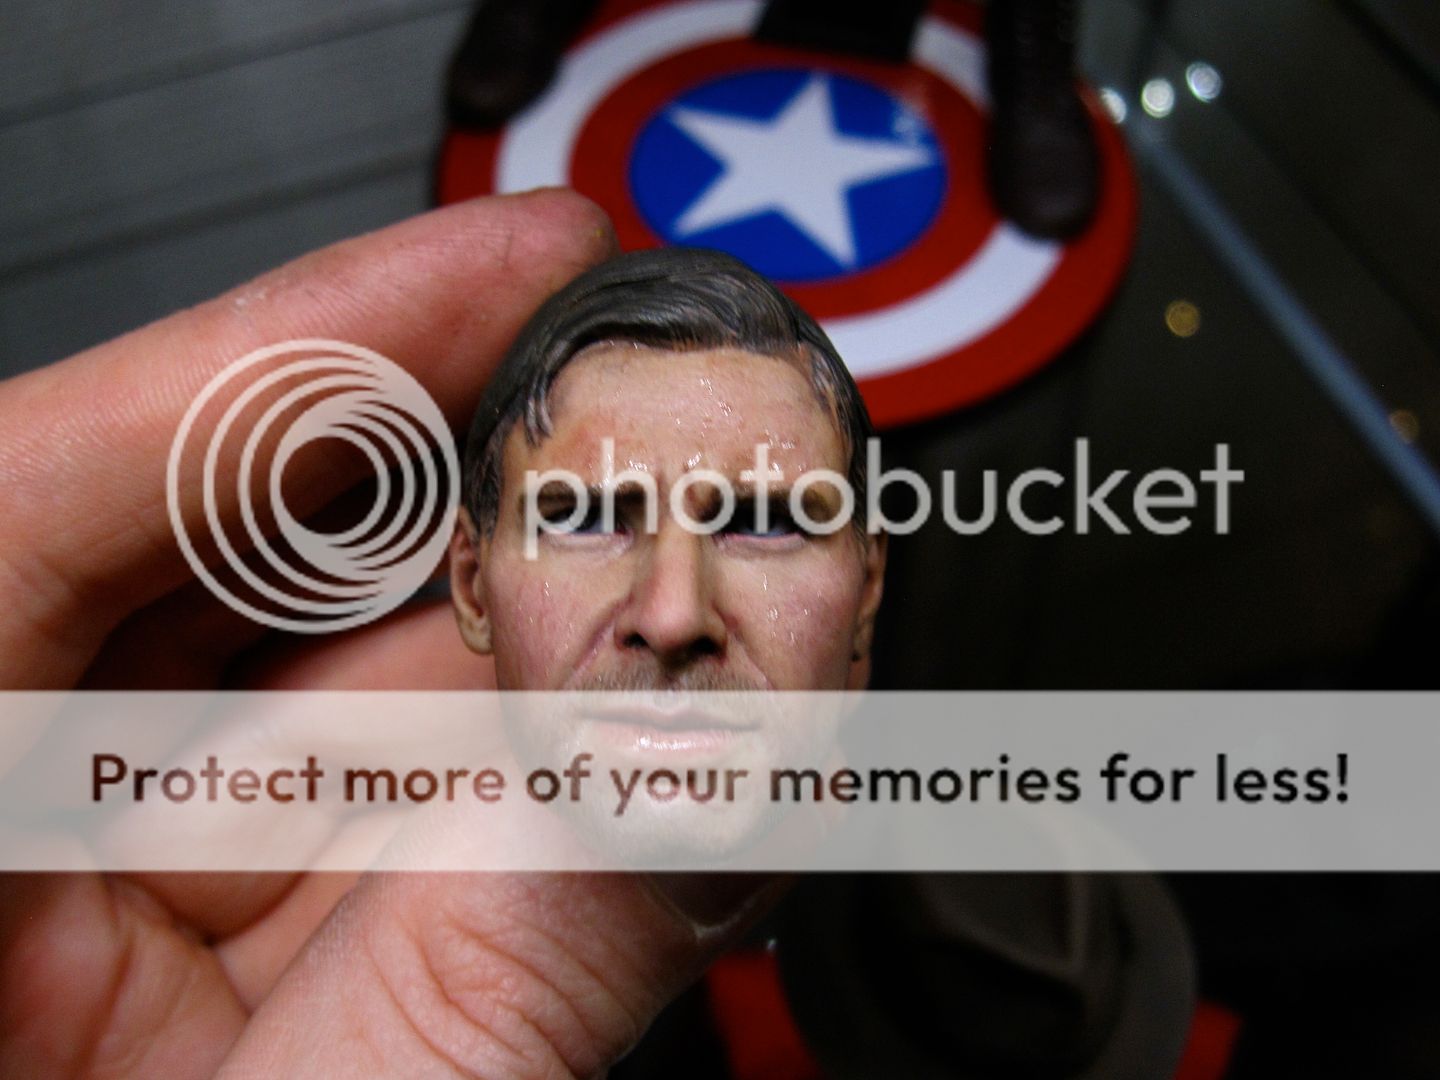
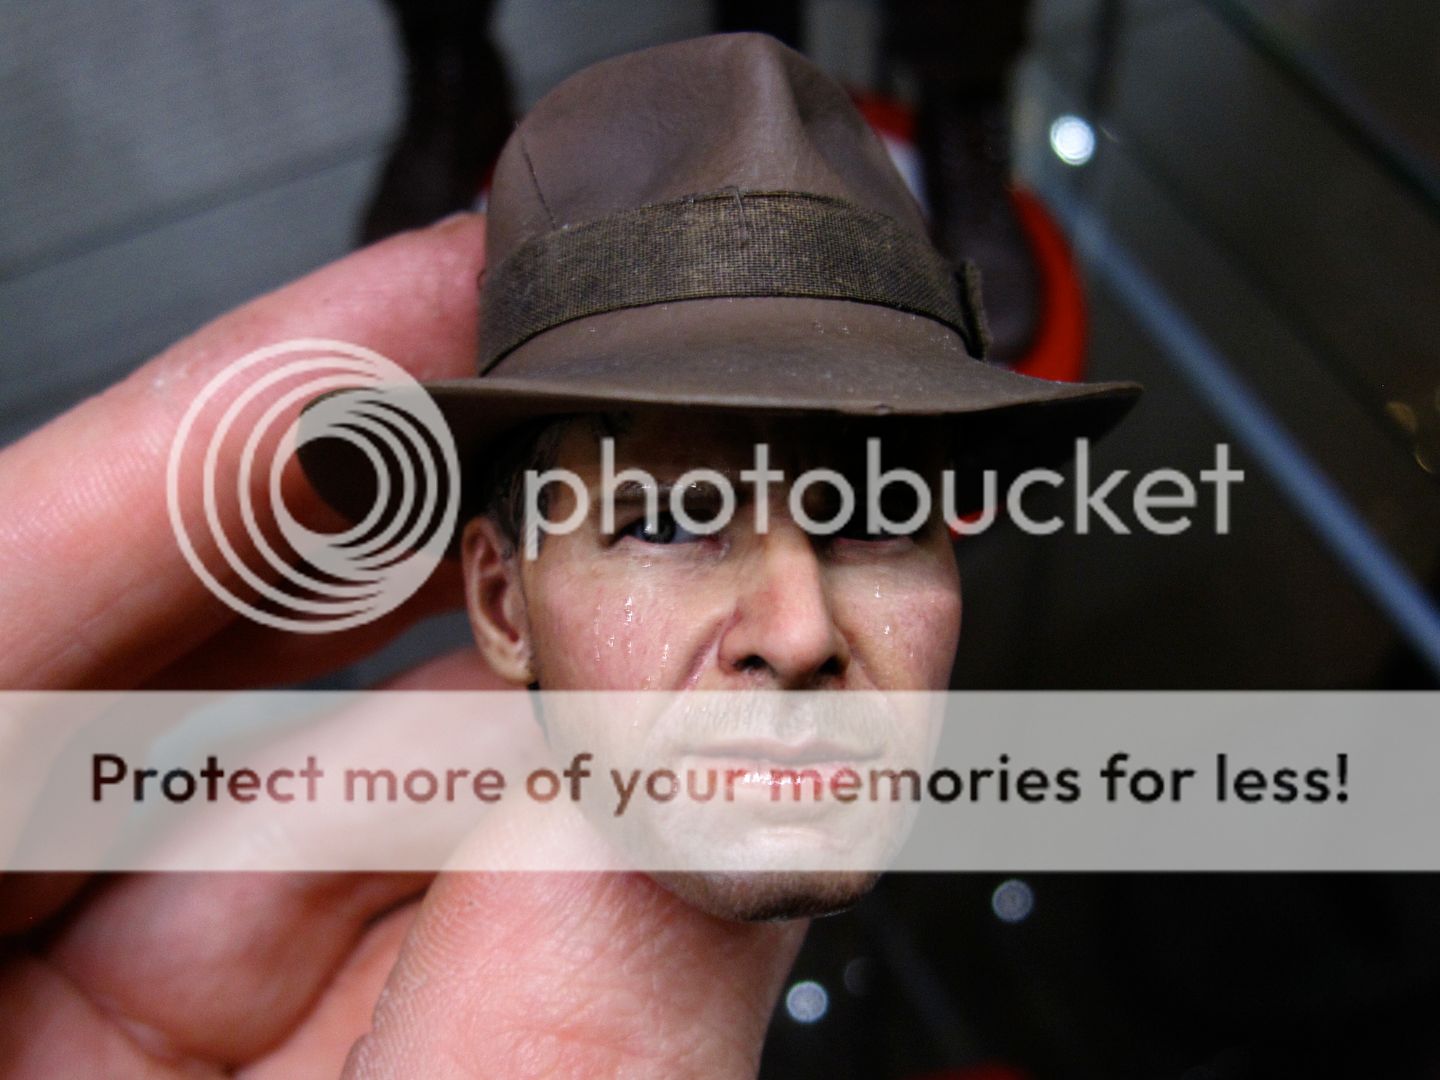
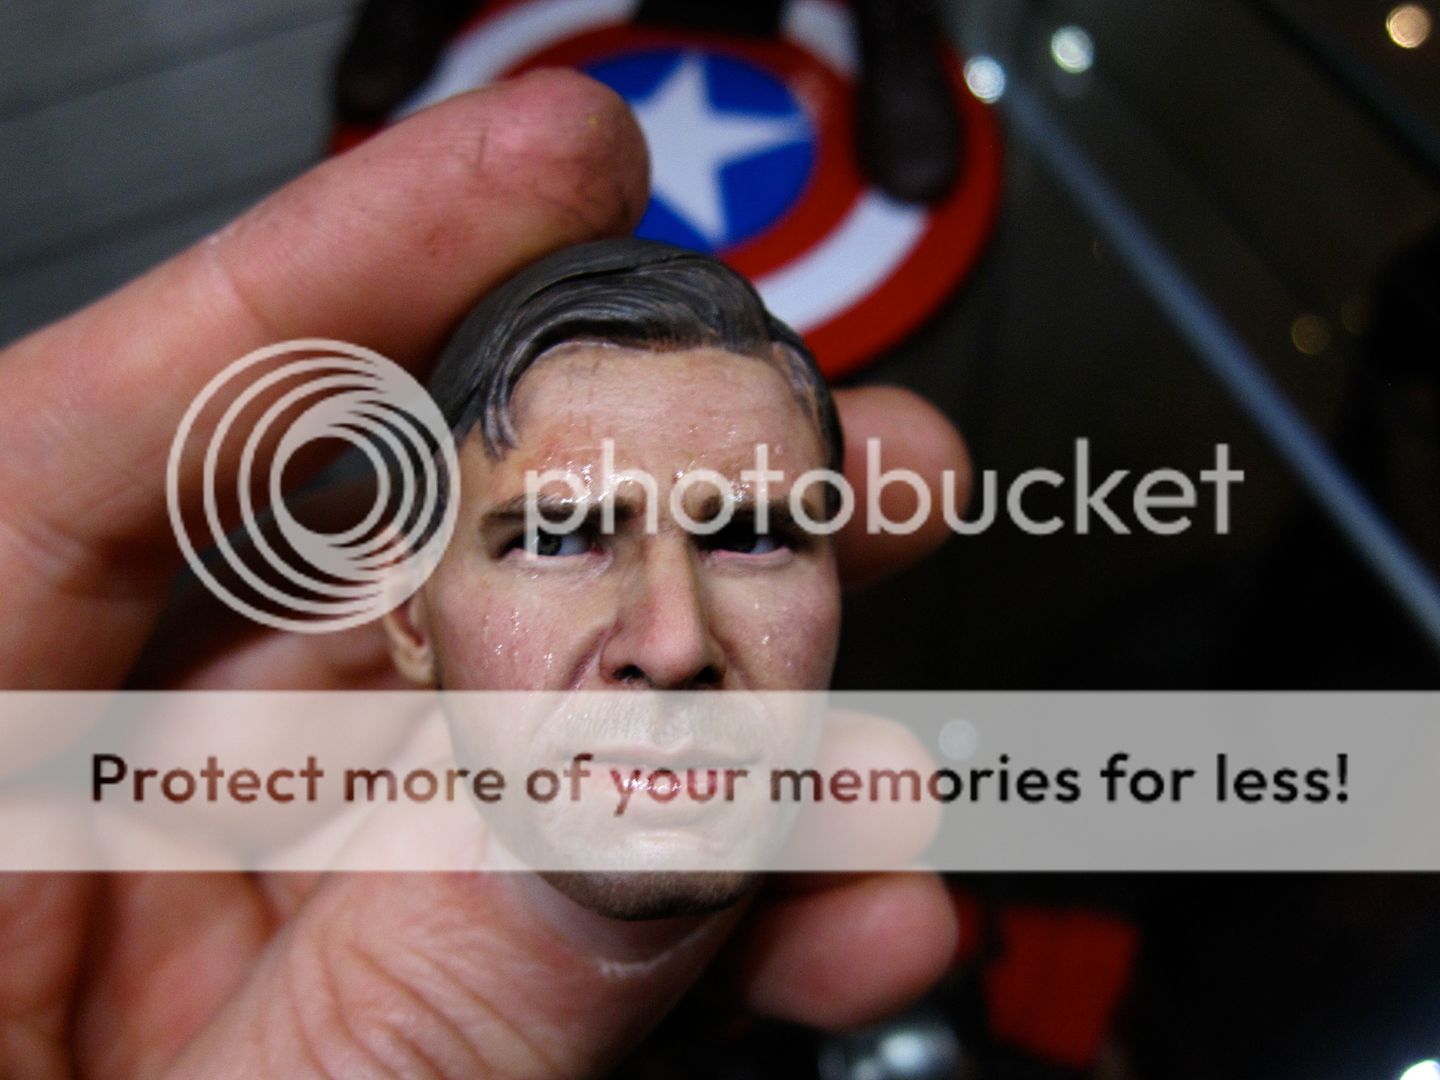
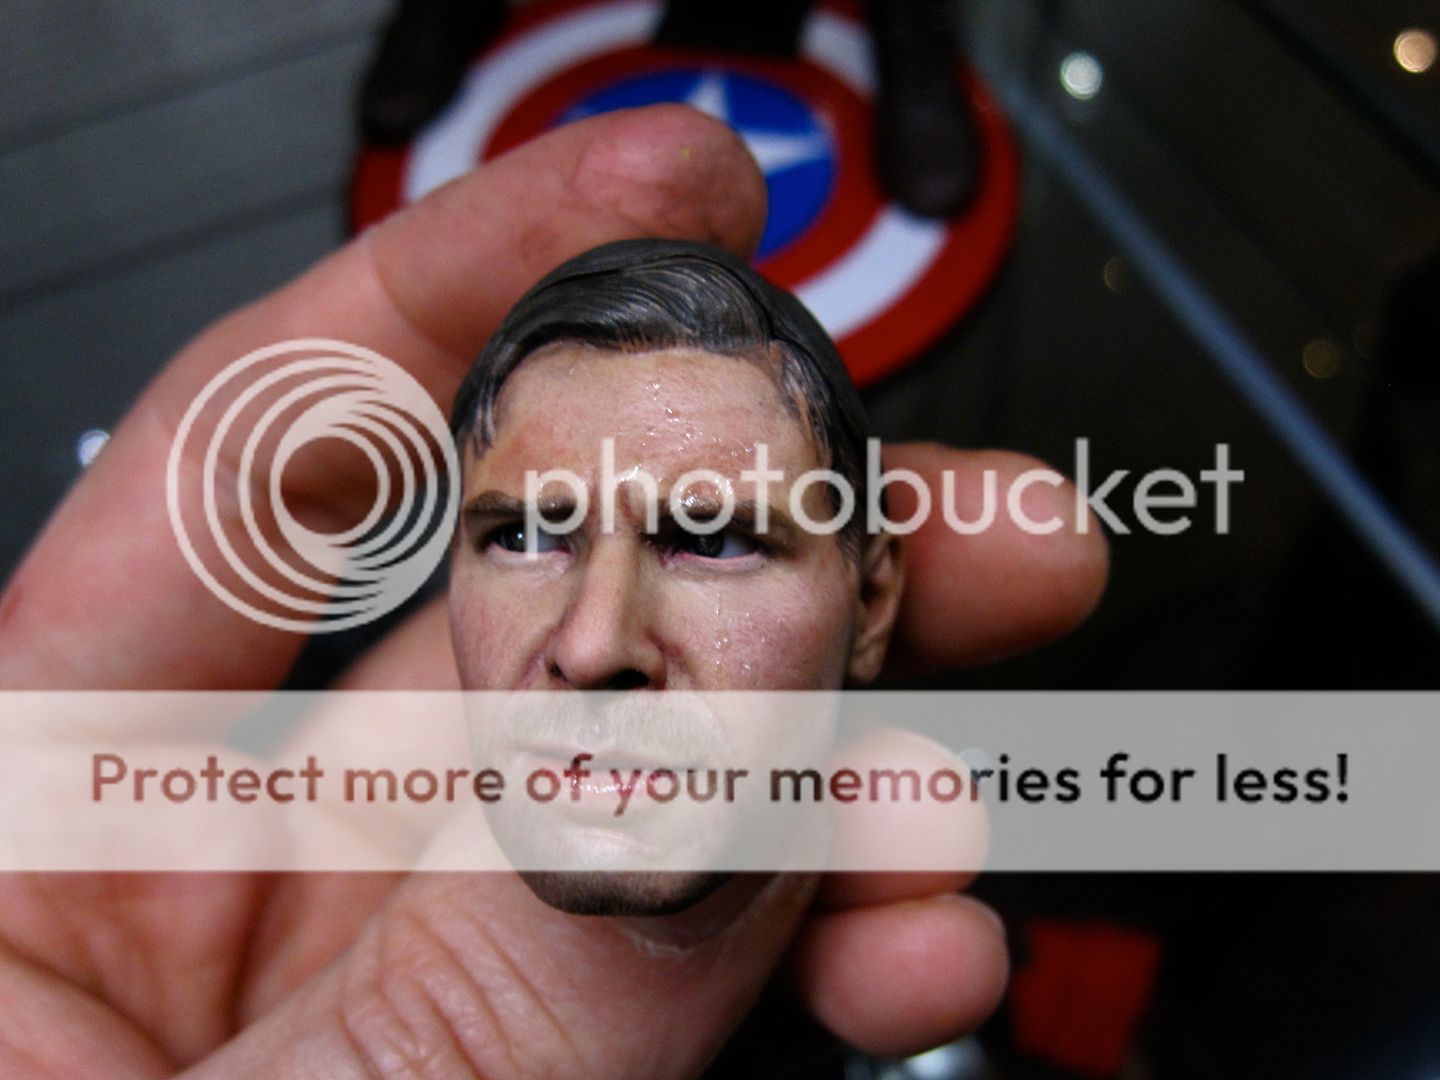
For the guys who doesn't go in the custom section, here is the repaint of my headsculpt by Elvis1976! :)

IMG_4653.jpg

IMG_4652.jpg

IMG_4650.jpg

IMG_4648.jpg

IMG_4647.jpg
 
For the guys who doesn't go in the custom section, here is the repaint of my headsculpt by Elvis1976! :)

IMG_4653.jpg

IMG_4652.jpg

IMG_4650.jpg

IMG_4648.jpg

IMG_4647.jpg

Looks great! Might I ask how you covered the gap in the mouth, what paint did you use, what colors.
 
Last edited:
Will you guys shoot me if I say I think it looks a little weird?
I mean I can see how good the paintwork is, and well done to all involved. But it looks a little 'dead-corpse' Indy to me.

I'm sorry! Don't kill me.
:monkey3:peace


IMG_4647.jpg
 
Deadcorpse?
I think the original looks more deadcorps, it was all grey and brown.

DOn't know.

I think your paintwork is fantastic man, I just think that it looks very pale, mixed with the red and pink flesh tones, it has gone a bit creepy. And the bottom eyelids (which were always a problem on the sculpt itself) look even stranger when painted flesh color?

I feel really bad saying anything because I can see the skill involved in the repaint. And it's the first full repaint I have seen. So well done man, but for me its a little too pale.

I C what you mean.

In hands it looks better, ijust took the pic late last night and with a blue light.
I will try to take better pics.
 
Back
Top