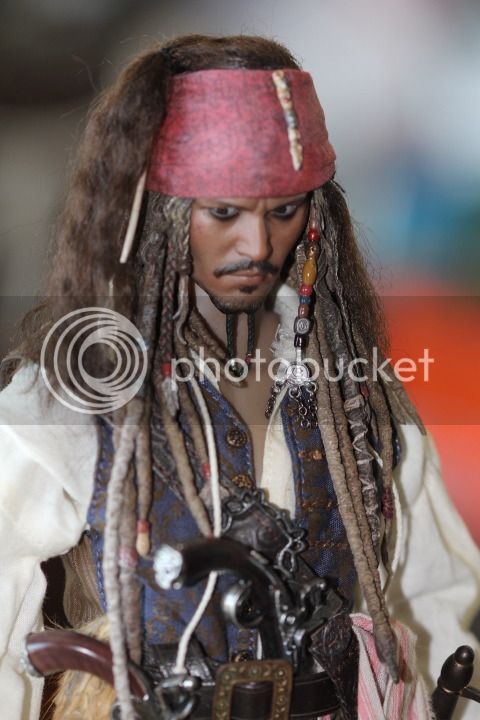
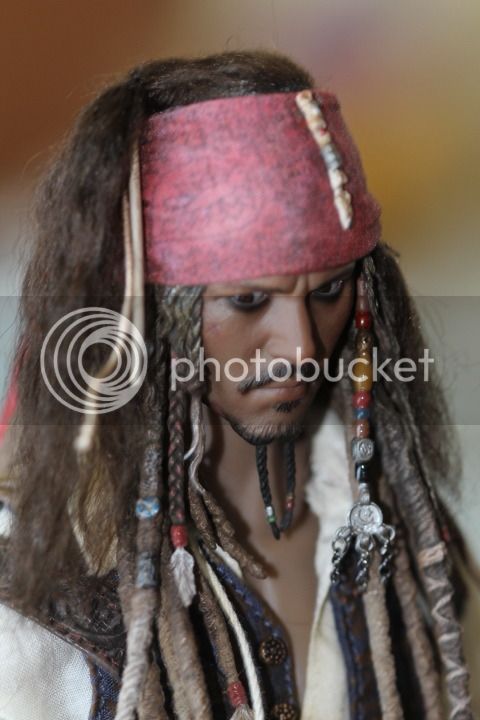
...and really bad eggs drink up me hearties yo ho. Kit 3 coming cloth bandanna for HT

Collector Freaks Forum

Help Support Collector Freaks Forum:

This site may earn a commission from merchant affiliate links, including eBay, Amazon, and others.
Hey guys so I got the pics up now of the cloth bandanna put over the original bandanna and it looks really good. I also did a little tutorial of what parts need to come off of the hair piece.

I worked on the color to try and make it darker and got it slightly darker than before. I can't go too dark or I will start to lose the detail of the pattern on the bandanna. I also found out that if you iron the bandanna do not use steam. It will fade the color and that is part of the reason my first one is lighter. I didn't realize that until I was working on this one.

On to the pics

First is just the original hair piece.
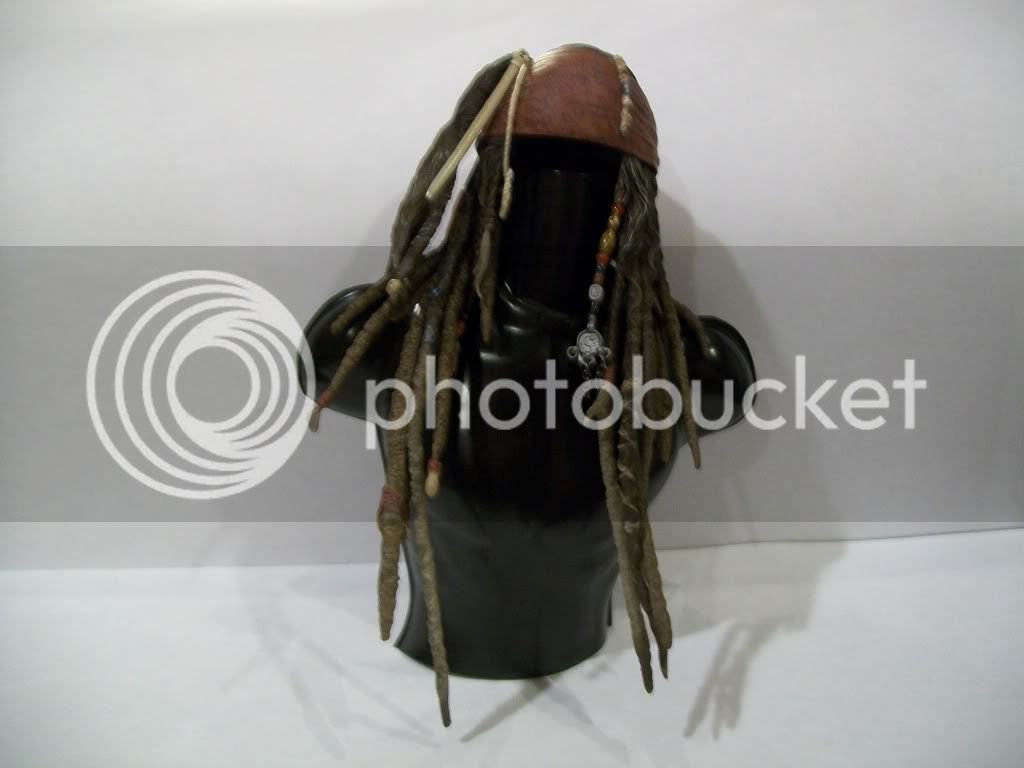
100_3875.jpg


Next you will need to lightly heat up the little bone beads on the front of the bandanna as well as the piece of hair that hangs over the front. You can do this with warm water or a hair dryer I used the hair dryer. The heat will loosen the glue so you can pull them off without damaging the parts.
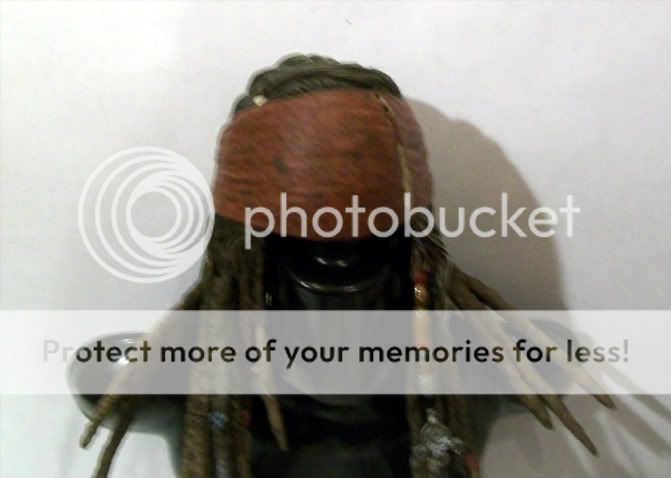
100_3877.jpg


Then do the same thing to the back of the hair piece and pull off the pony tail and the tails of the bandanna.
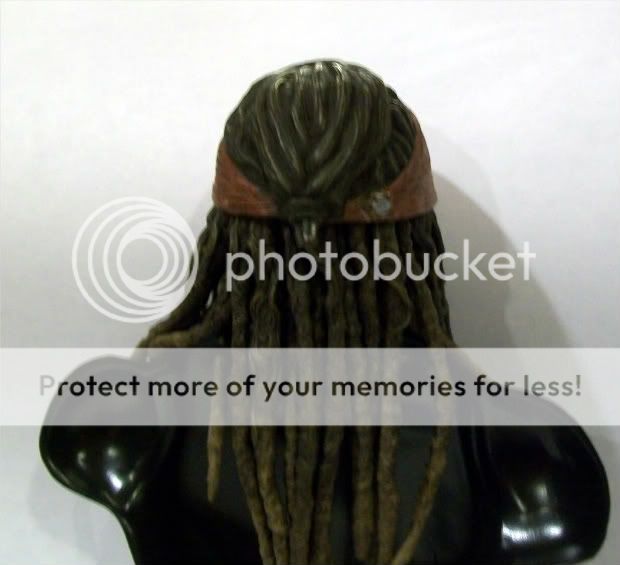
100_3878.jpg


You will then have all the parts removed from the hair piece that you will need to. We will only need to put back on the bone beads, front piece of hair, and ponytail.
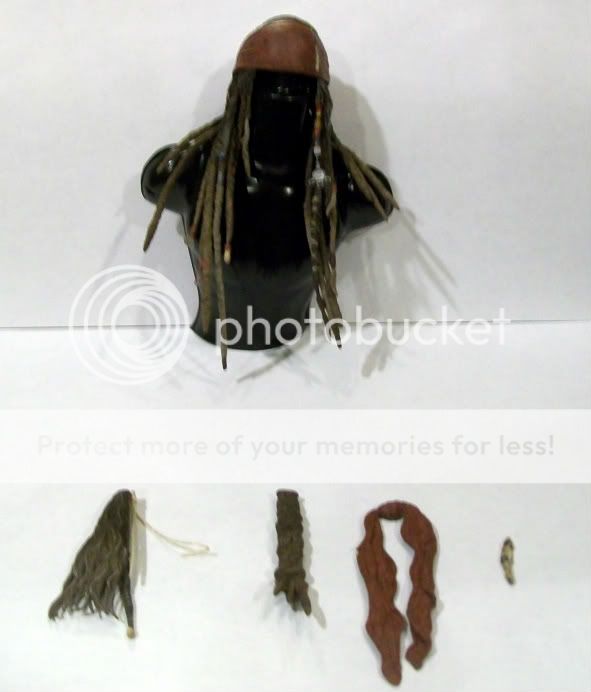
100_3876.jpg


Now here is the bandanna I lightly ironed the basic shape I needed and I will send them out this way. That way you won't have to futz as much to get started.
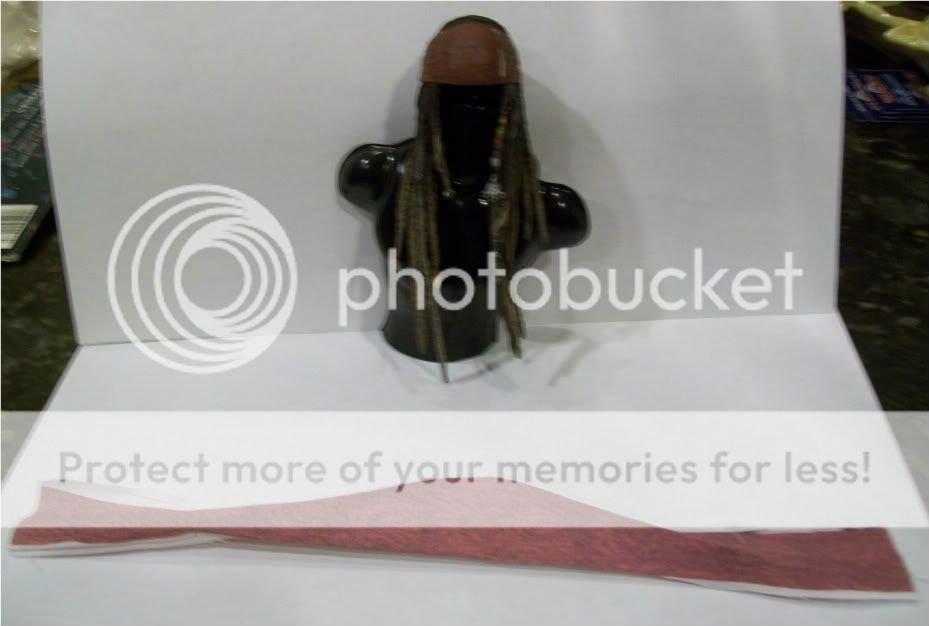
100_3879.jpg


Now comes the fun part of putting the bandanna on the sculpt. This will take a little playing with to get just right and you may need to do some trimming in certain areas. But overall it really shouldn't take more than 20 min to get it all on right.
100_3880.jpg

100_3882.jpg

100_3883.jpg


The knot in the back came out significantly better this time you just need to trim that area a little so it is slightly thinner and you can get a more realistic scaled knot.
 
Now here is all the parts put back on. You may want to slit a tiny hole where the bone beads go so they can plug in more flush to the bandanna.
100_3885.jpg

100_3886.jpg

100_3888.jpg


I hope this is a good enough tutorial for you guys to be able to put these on once they are available. I don't have the best camera in the world lol so bear with me :)
 
PM me if you are interested in getting a bandanna.

The measurements are 10" long and just over an 1"
This will allow you plenty of extra for a good fit.
They will come lightly ironed to shape of the HT DX Jack's bandanna.
I will do it lightly because I am sure some of you will also want to use these for other Jack's and I do not know the dimensions of those bandannas.
 
Hi received mine yesterday. A little different than I had imagined it, so I'd like to ask a few questions.

1 Since the color/design is only printed on one side, what do you do about the white showing on the tail once you've tied/twisted in the back ?
do you paint ? or fold and glue ?
2 Do you trim the white off the horizontal top and bottom before or after applying ?
3 I had presumed i would tuck the bottom under above the forehead
do you recommend that ?
or should the bandana be folded in half ?
or just folded in at top and bottom ?
or are you going entirely with a trim method ?

4 I know you mentioned not to use a steam on the iron.
Can the material be water soaked, or soaked in hairspray or glued in anyway ?

5 Lastly are you applying yours purely with tension tying or are you applying a glue on the old molded bandana ?

Thanks, any help appreciated
 
good questions glad you asked them.
1 I folded over the bandanna parts on each other and then used a small amount of glue.
2 Leave that extra white it gives you a bit more material to work with when you fold the edges over.
3 I did not tuck mine but you could do that if you wanted. The bandanna should be folded at the top and bottom. That is why the little section of white was left over so you had something extra to fold with makes it a little easier.
4 I would not water soak it that could make the ink used to run and ruin the print. I am not sure about hairspray but it can be glued yes. I did glue mine in some areas lightly to hold it in place.
5 I have actually applied the bandanna both ways with tension and with glue. The easiest way is with a light amount of glue. It just helps hold it in place when you are trying to stretch it around.

Hope that answers your questions!!! :)
 
Still available for thsoe interested here are some pics posted by
r5150s
IMG_0100.jpg
IMG_0110.jpg


looks awesome by the way
 
YoHOho!
Got 4 sets for me and RIDDICK from witekite (Set 1 and set 2 for both of us).

Thank you, friend! It was funny to get (ooooh! Post driven us mad indeed ! :D ) and great to use. Very nice addition to Jack Sparrow. Loving the map, handcuff&keys and zee Jar the most. :D Can't wait to get new cannibal Jack from HT to use zee Jar with him. ))))

So again, thank you very much for items and for care, witekite!
My best wishes to you.

PS Head update looks nice, I kinda like it.
 
Glad it finally arrived wow those kits had quite the voyage didn't they???!!

YoHOho!
Got 4 sets for me and RIDDICK from witekite (Set 1 and set 2 for both of us).

Thank you, friend! It was funny to get (ooooh! Post driven us mad indeed ! :D ) and great to use. Very nice addition to Jack Sparrow. Loving the map, handcuff&keys and zee Jar the most. :D Can't wait to get new cannibal Jack from HT to use zee Jar with him. ))))

So again, thank you very much for items and for care, witekite!
My best wishes to you.

PS Head update looks nice, I kinda like it.
 
Realise I am very very late to the party but do you have any items still available from either Kit 1 or 2 by chance ?.

I have Angelica on order to go with my Captain Jack and I would love to get a little display for them. I'd like things like barrels, treasure in a chest and basically what you offer.

I see a display with barrels, a old wooden chest overfilled with coins and jewels, maps, mixed lot of rum bottles, a wanted poster,keys,jar of dirt, mermaid tear bottle, the Chinese movable circle map.

Things that are from all 4 movies. I think with luck some items may be out there but then I have negative luck.

Anyway, back to what I came her to ask...Are any items available still ?. (not wanting bandanna due to fiddly work)
 
100_3291.jpg


Bottle: I first sculpted this off of some pics I found online of Jack with a bottle (he has several throughout the movies) and used the PF one as a little inspiration. It was then cast in a clear Greenish blueish resin because I thought it would look way cooler if it was somewhat see through rather than solid color. It measures about 1.25" tall and .5" wide at the bottom again a hand is included for reference.
100_3288.jpg

100_3290.jpg


Small bag and gold: I always liked the opening scene of the first movie when he arrives at port and pays extra to not tell his name and then steals the little bag. The bag is made of a thin swede like material and is hand sewn with a working draw string so it can be closed. It will also include 10 little gold pieces.
100_3294.jpg

100_3296.jpg


Handcuff: Jack always seems to be getting himself locked up in these so it seemed like a no brainer. They are made as a solid cuff that doesn't actually open. To put them on you need to remove the hands and then slide them on the wrists and then replace the hands. I decided to go that way because it was simplest to produce and will be quicker for me to make multiples of. I may increase the length of the chain to about 3" because it looks a tad short to me at 2.5".
100_3289.jpg

100_3297.jpg


Tattoo: now like I mentioned earlier I have been having trouble with my desktop computer which has all my editing software on there and is also hooked to the printer. So I do not have a finished pic of this part yet. I already know the trick of printing this will be the "P" because if its too light it wont show up on the arm and it may not print all together. Once I get it back to working I will play with it and hopefully I can get the whole thing to work but the "P" may have to be dropped so I want everyone to be aware of that now. As for the direction of the bird I elected to go with what the first movie showed and that was the bird flying away from his body. I know Depp has since gotten the tattoo for real and it faces the other way towards him. But I think for movie accuracy away is the way to go.
UPDATE:
Tattoo pics added...my camera sucks but you get an idea of what it looks like applied to the figure. I will adjust the color on that P a little more before the final release to make it a tad bit lighter. Again I wish I had a better camera it looks way better in person.

100_3360.jpg


That is it for the full reveal! Let me know what you guys think and lets get a list started so I know how many I need to make on the initial run. The price for this set as stated earlier is $15. Drink up me hearties yo ho!


____________________________________________________________

Yharr here be a preview of an accessory set I been working on in my free time. It is meant to compliment a new pirate figure that is coming out soon savvy? Lol anyway more details at the end of the week and a very cool secret piece is going to be revealed with the final pics (free set to whoever can guess what it is before hand). Enjoy and let me know what you think!
100_3272.jpg


Very nice work on all of this and the bandana!!! :clap
 
Back
Top