Alright, in anticipation of 2014's incoming pieces (I have 3 on the way this month alone), I did a bit of re-arranging of the collection room over the holidays. Put together a new besta (three "cubes" high x one "cube" wide).
As you know, Ikea doesn't make a full height clear door for these units, and if you are like me, it drives you crazy if the shelf doesn't line up with the door frame (when using the Tombo doors). So, I created my own using the "VARA" door.
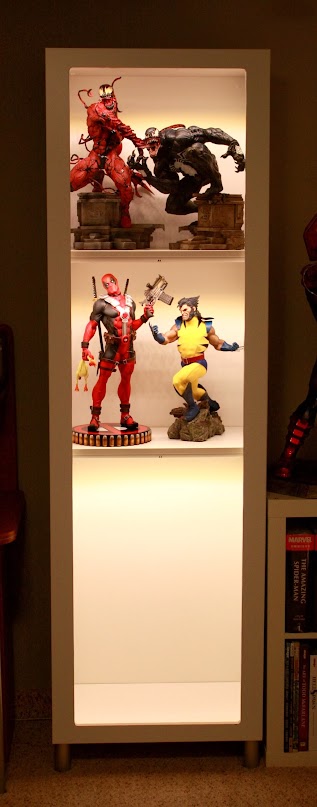
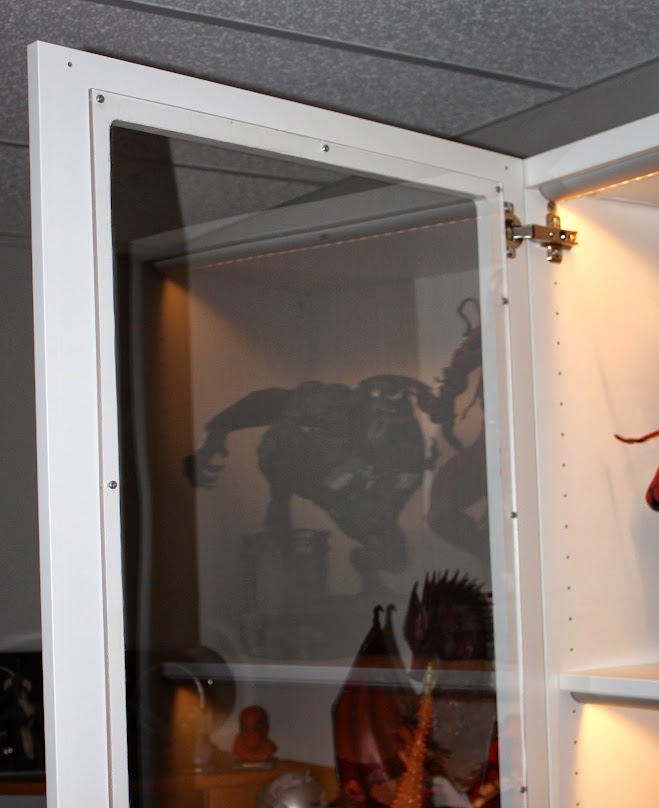
Here is how it turned out (the bottom space is reserved for Thor, but he is currently having some work done):
For those interested, here is how I did it.
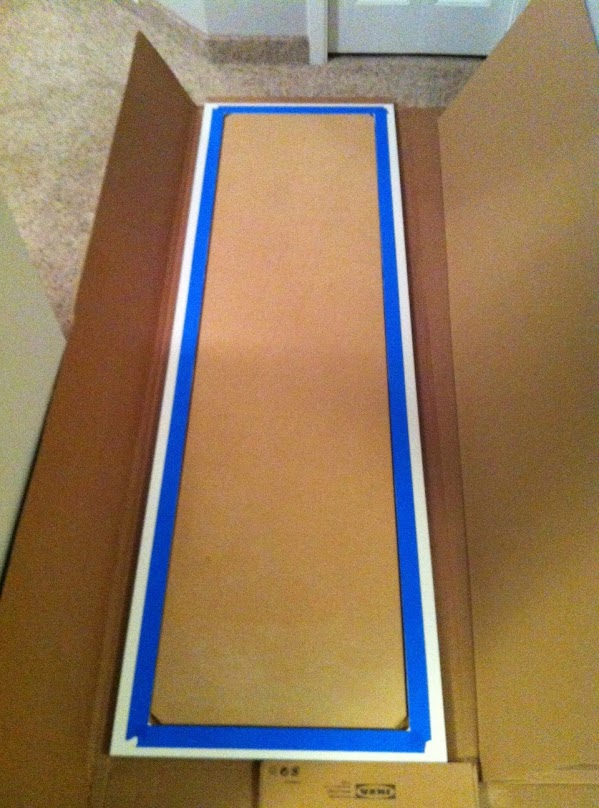
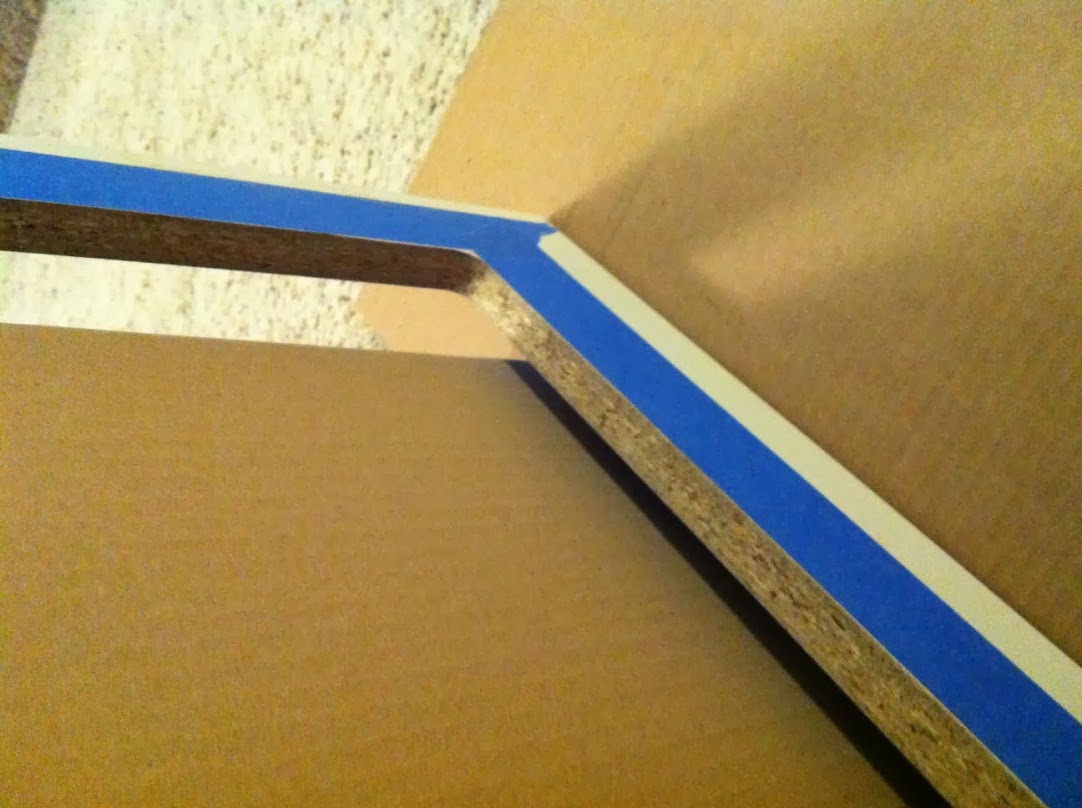
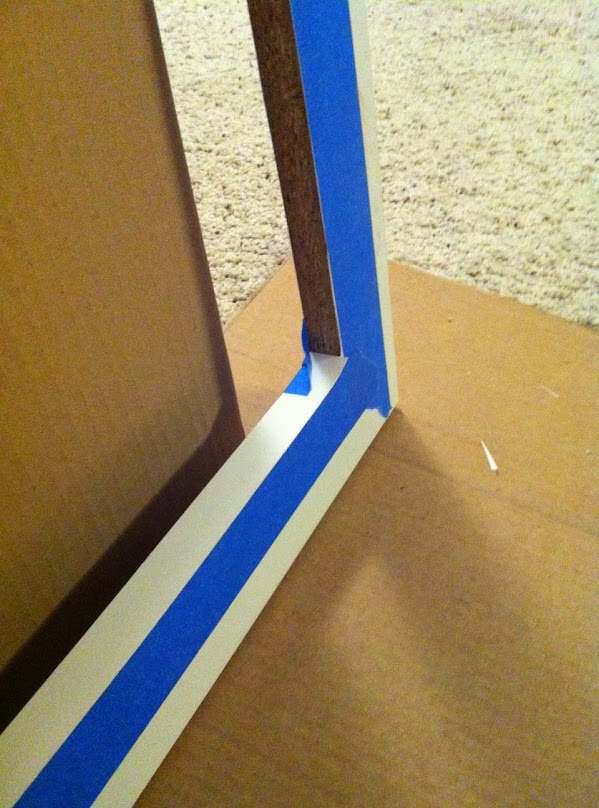
The VARA door is a solid particle board unit. I had the middle cut out of door (my father in law did this for free, as he has a wood working business). I left 2.5" along the vertical edges and 2" along the top and bottom edges. (I masked the edges around the opening to help avoid scuff marks etc.)
The problem with cutting particle board is that you are left with a fairly rough surface that doesn't paint very well.
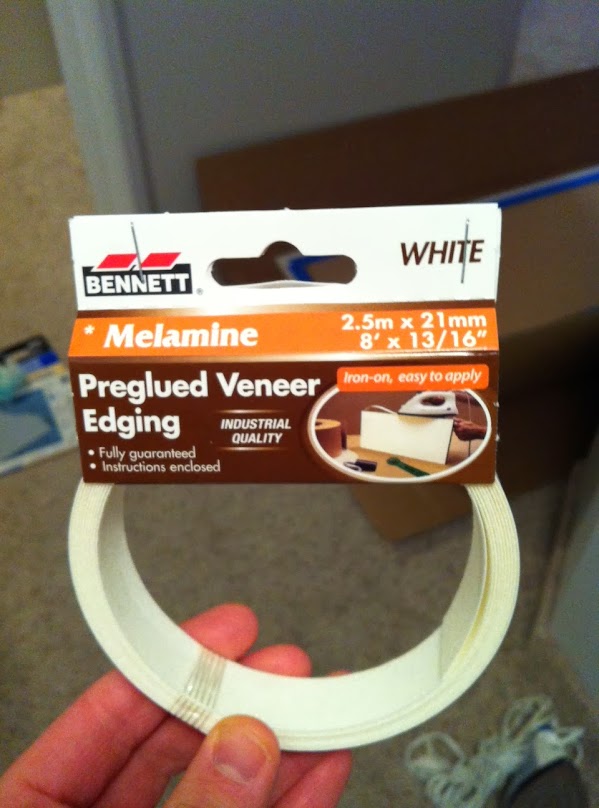
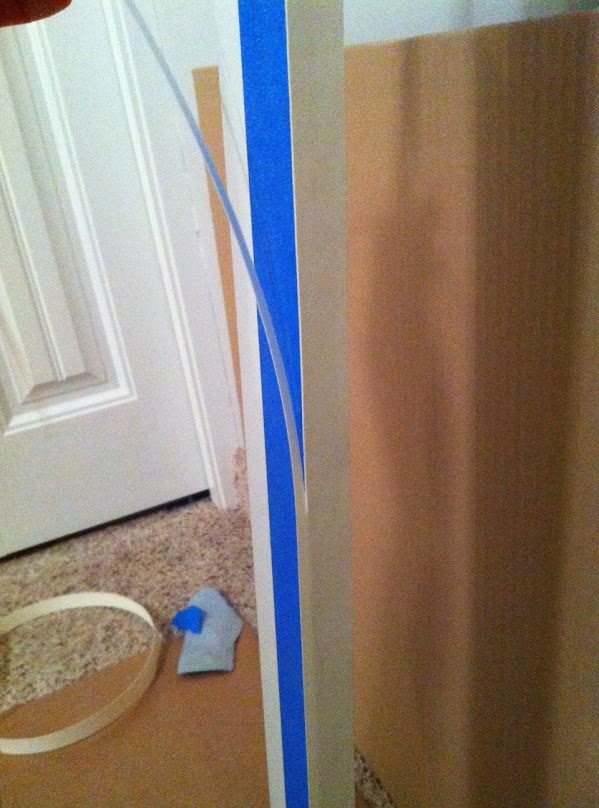
So, instead of painting, I used some pre-glued cabinet edging strips. I was using a white door, so it was easy to find white strip...I know there is a birch colour, too, but not sure about a black-brown. This stuff cost about 3 bucks a roll from Home Depot, and I used two 8' rolls.
So, this stuff works great. You iron it on with a regular house iron...took almost no time at all. I will say that the strips are not very flexible. I had the corners of the opening slightly rounded, and if I did it again, I would go with 90 degree corners. The edging strip did not "bend" through the corners as well as I thought it would. So, just a heads up if anyone wants to give this a go.
The strips are a bit wider than the thickness of the door, so you just have to trim off the excess.
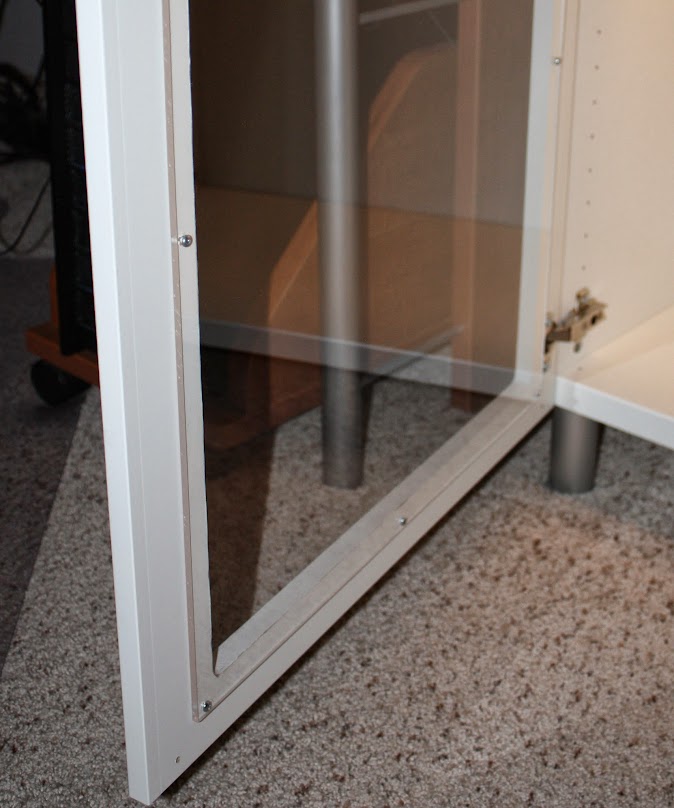
Then, I picked up an acrylic panel from a local plastics manufacturer. The panel I used is 73" tall x 20" wide x 3/16" thick...so the panel was about 0.75" larger than the opening all around. I had the manufacturer drill some 1/8" diameter holes around the perimeter (the center of the hole is 5/16" from the edge of the acrylic panel). In the future, I would drill all the holes myself. I was worried about possibly cracking the acrylic by drilling it, but I ended up drilling a bunch more holes with a regular 1/8" drill bit, and it was super easy...no problems at all. They actually charged me a lot to drill the holes, so I could have saved a good amount of money had I known.
Anyway, then I simply screwed the panel to the back side of the door with #6 screws (5/8" long, with a pan head).
I actually used about 20 screws, to make sure the panel was "sucked tight" to the door frame all around. The nice thing is that this assembly weighs about 12 lbs less than the original VARA door, so the unit doesn't tip when the door is wide open (even when it's empty).
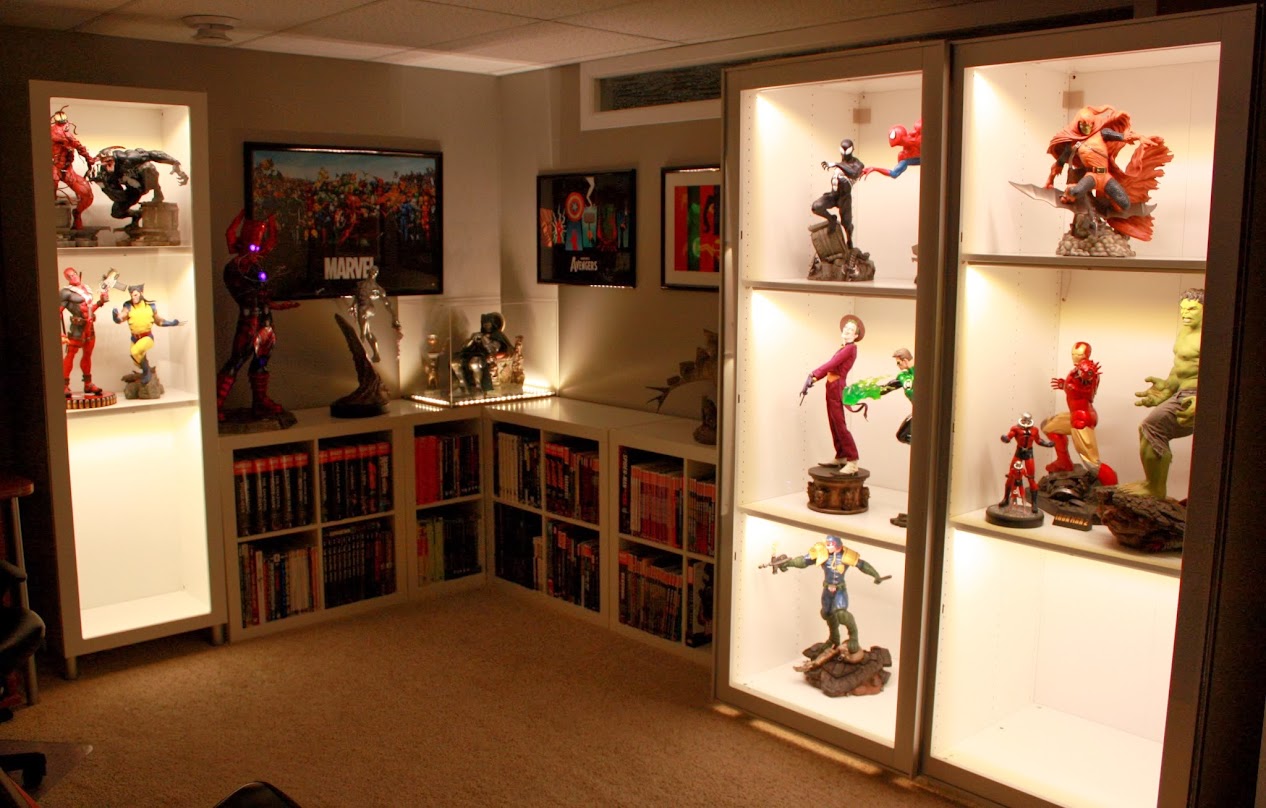
Here is a shot of the overall collection room as of today. Hopefully I can clear a bit more space for all of my upcoming pre-orders.


 you could kinda do the same thing with all the purchases you made in 2013...do one for each year would be a cool idea
 that's some great work on your display cabinet Kris