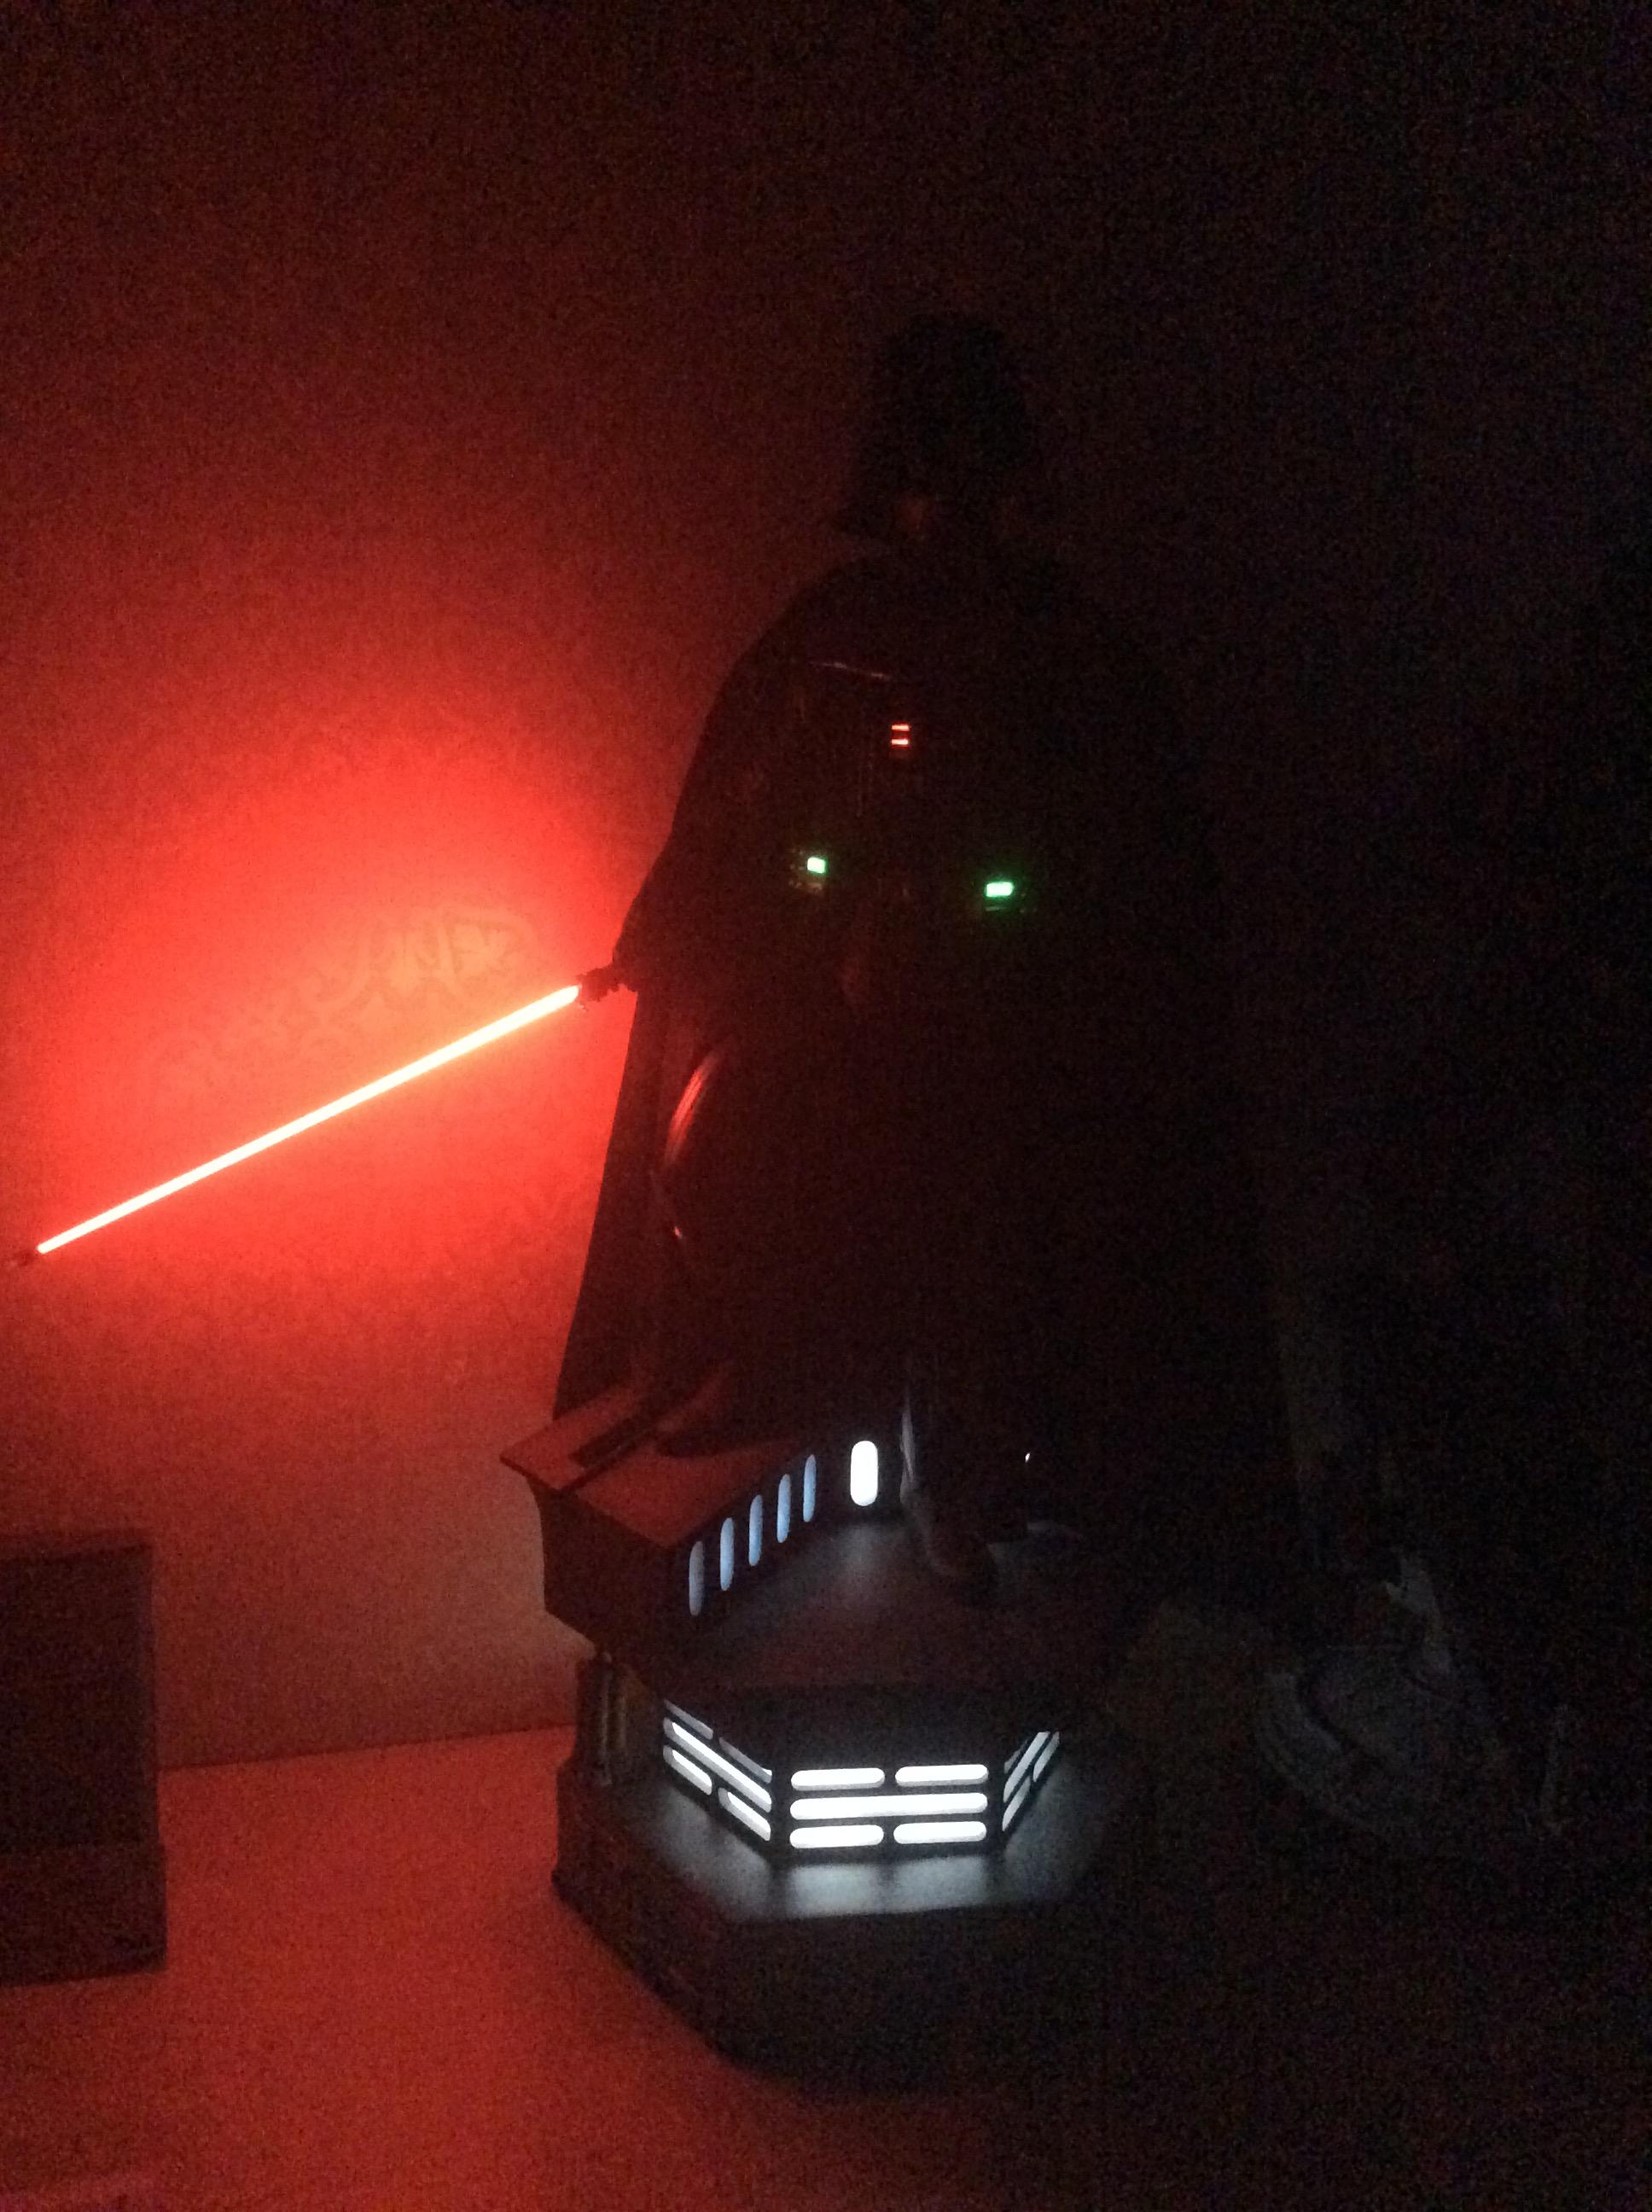
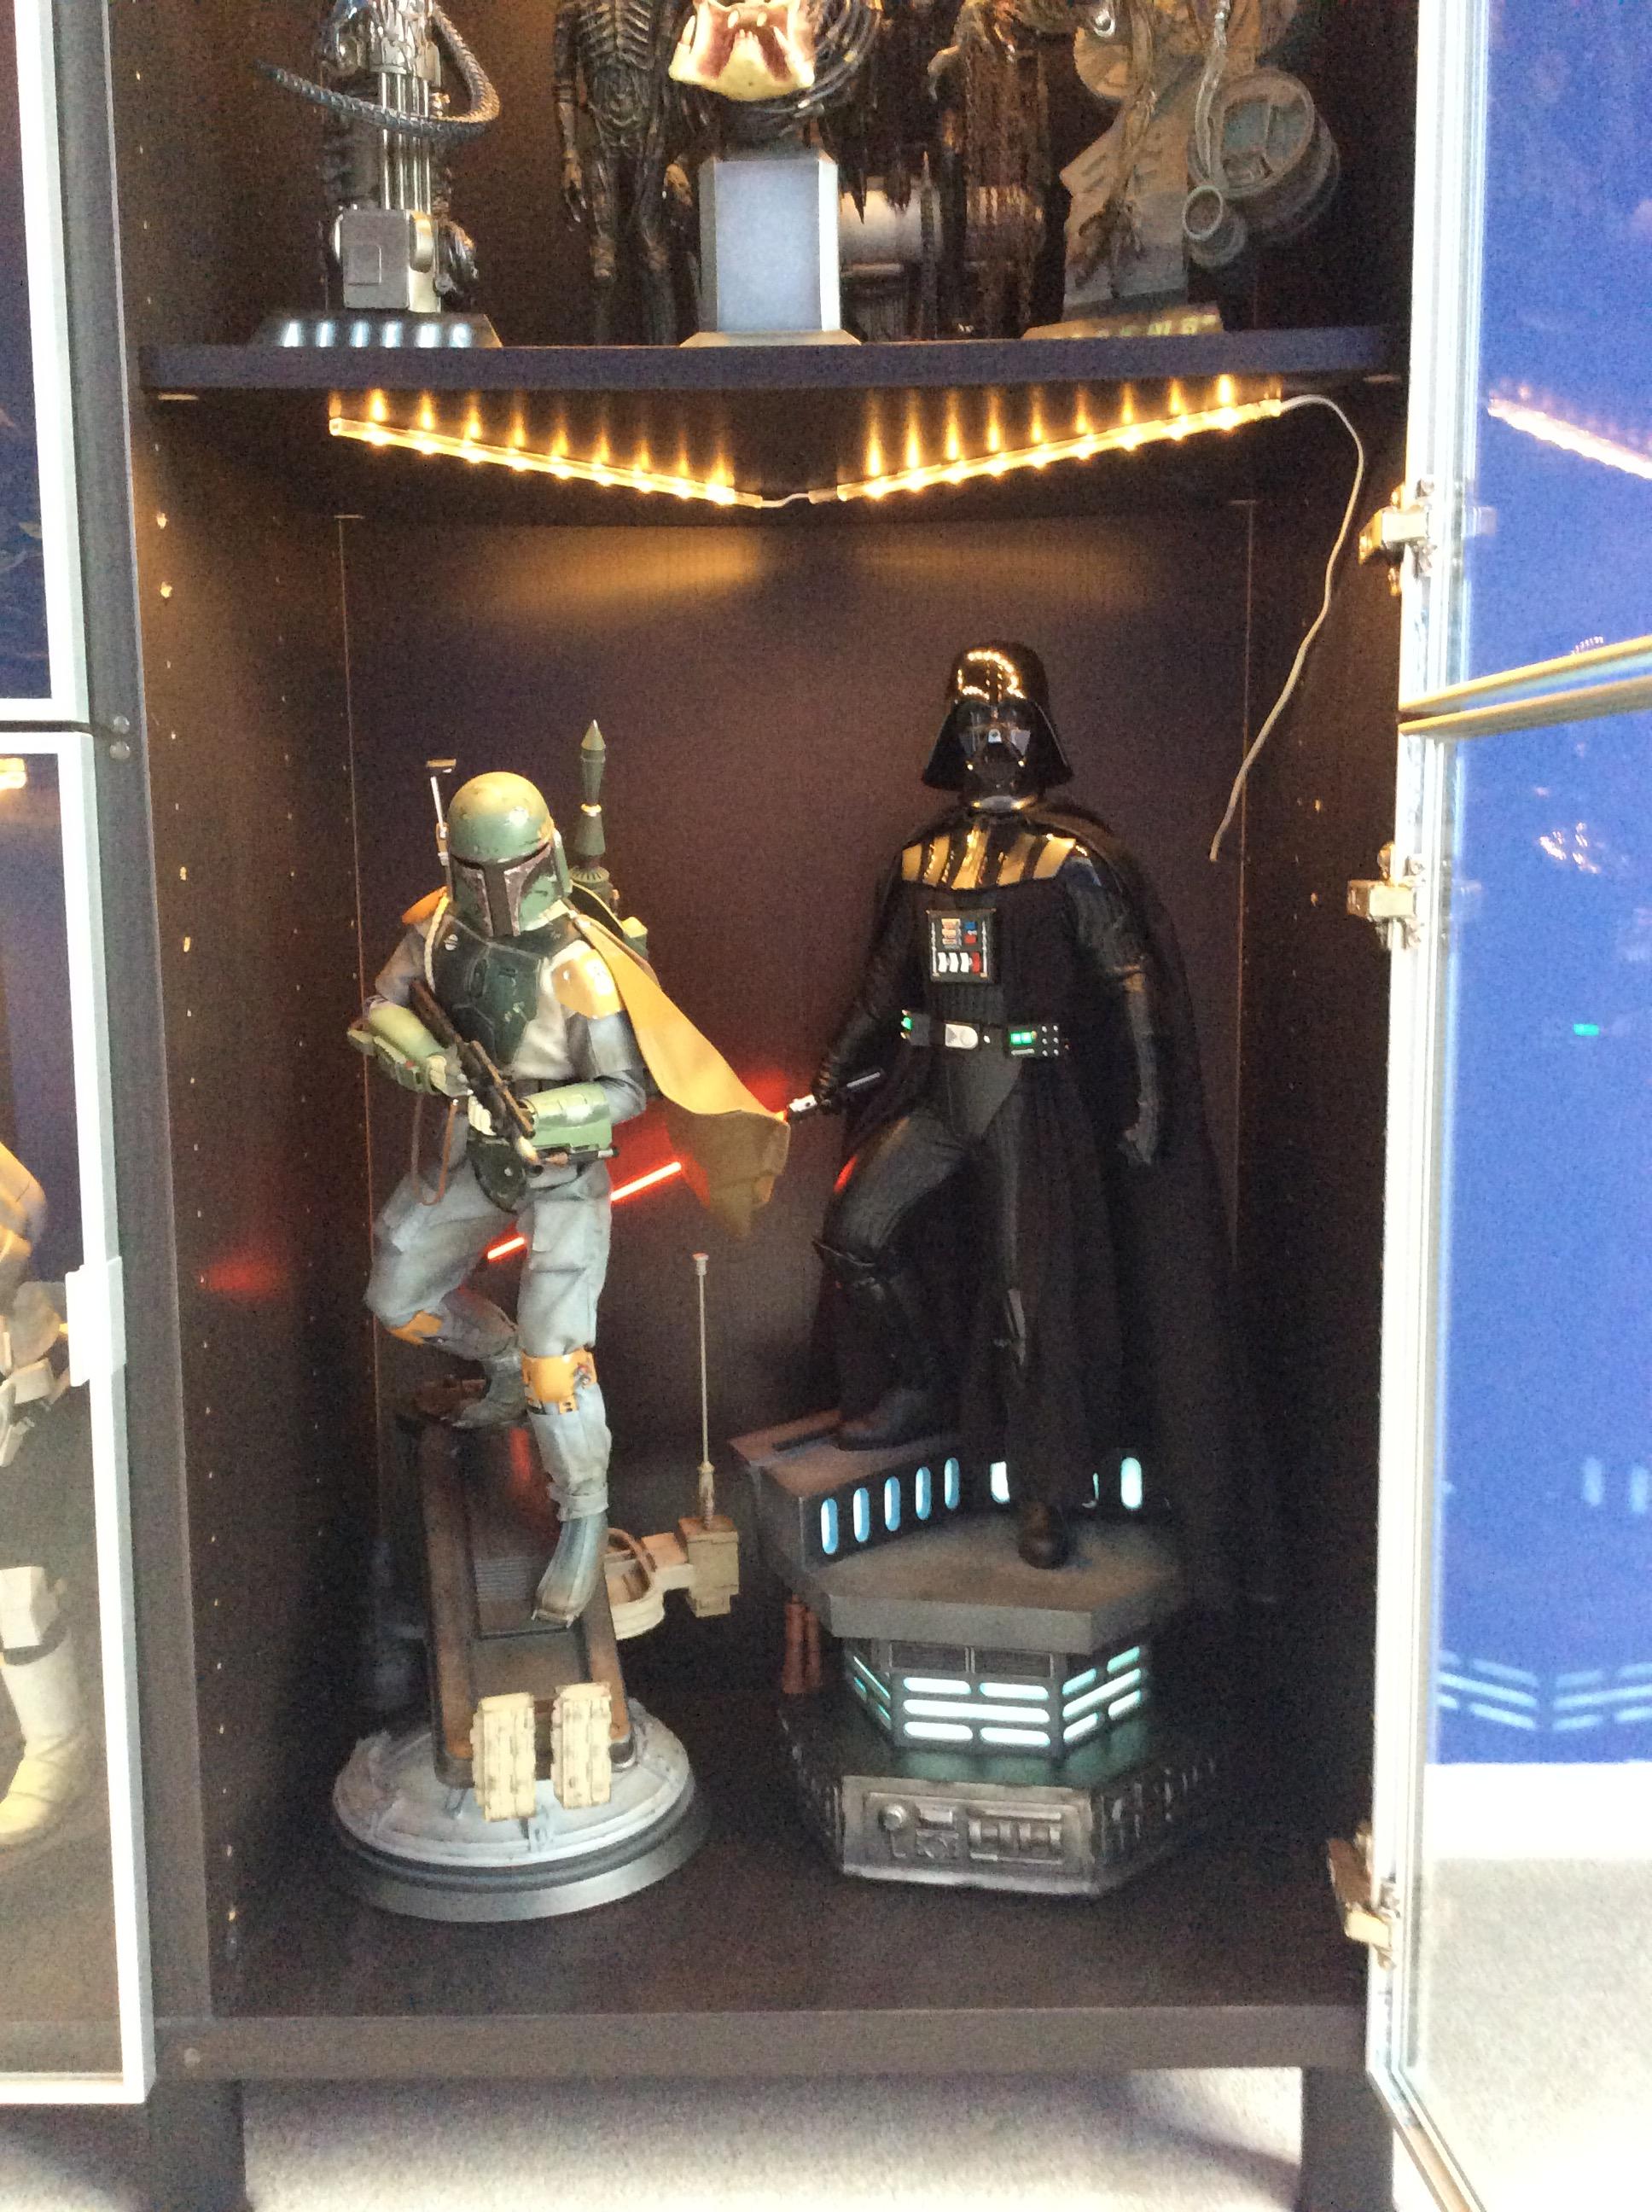
Premium Format Darth Vader [ROTJ]

Collector Freaks Forum

Help Support Collector Freaks Forum:

This site may earn a commission from merchant affiliate links, including eBay, Amazon, and others.
Sideshow Customer support was terrific and sent along the following information. Hope it's useful for everyone. My Vader now works perfectly and looks fantastic. Sideshow's notes are below:


For the batteries in the belt piece, the battery on the right (closest to the very edge of the belt strap) should be placed with the positive side facing up, while the battery on the left (closer to the actual light-up panels) should be placed with the positive side facing down.

For the chest piece, there is only one battery, which should be placed with the positive side facing up.

I hope this helps you with getting this piece all lit up! Please feel free to let me know if you have any additional questions.

Thank you for posting Rugby...that worked for me also...now I just have the glue the velcro back on :rolleyes2
 
Ok so...... It started with great promise but ended will mediocre at best results and that's a stretch.

I def learned a ton and my next attempt will be fantastic I think lol

Just to point out for anyone interested.

1) get a good piece of thin wood. Nothing made from more than one piece. What I used was not bad but between the hole saw well mainly the hole saw it made it tough.
2) get the hole saw with the teeth aligned.
3) leave room for the frame. I did however I had an cracking issue with the plastic that after wood could have been avoided with thicker lexan or plexi like I use in my reef tank. It cuts with my jig saw this did then cracked leaving me short as seen in the pix.
4) all of the above

So as you can see the wood and the holes I left open at the bottom center because Vader should hide them. The wood well, it stays because I'll be doing this over and doing it wiser. That is when I'll do the sides and top.

Sorry to disappoint but fear not it will get better and really from viewing distance this is pretty nice. I'll take pix with light later. No comments on muh dirtay closet heh

NOTE: the frosted plastic I painted is leaning back because it's not fastened yet.
image.jpg
 
My lights for this project are outside and I'm too lazy but here's some pix anyway. The wood texture shows a bit. Looks like s scratched metal or just wood lol image.jpgimage.jpgimage.jpg
 
Sideshow Customer support was terrific and sent along the following information. Hope it's useful for everyone. My Vader now works perfectly and looks fantastic. Sideshow's notes are below:


For the batteries in the belt piece, the battery on the right (closest to the very edge of the belt strap) should be placed with the positive side facing up, while the battery on the left (closer to the actual light-up panels) should be placed with the positive side facing down.

For the chest piece, there is only one battery, which should be placed with the positive side facing up.

I hope this helps you with getting this piece all lit up! Please feel free to let me know if you have any additional questions.

Thank you x1000

This saved me. I thought i had a busted one too!
 
I know right thanks at least I'll be prepared tomorrow when it gets here. I keep feeling like people tossed it around but part of me thinks they see the shipper and are careful lol wishful thinking.
 
Sideshow Customer support was terrific and sent along the following information. Hope it's useful for everyone. My Vader now works perfectly and looks fantastic. Sideshow's notes are below:


For the batteries in the belt piece, the battery on the right (closest to the very edge of the belt strap) should be placed with the positive side facing up, while the battery on the left (closer to the actual light-up panels) should be placed with the positive side facing down.

For the chest piece, there is only one battery, which should be placed with the positive side facing up.

I hope this helps you with getting this piece all lit up! Please feel free to let me know if you have any additional questions.

I LOVE THIS FORUM!!!!
The info that's shared here, on numerous occasions, have saved me from many frustrations. The belt lights up great now :hi5:
This thing is gorgeous! & the box is freaking huge. I could not "be sick" from work today, like I wanted, so today was torturously long. Thankfully my dad came over & house sat for me till it arrived. So, tonight when I got home, there was a massive box sitting in the middle of the living room. I need better light, so I'll need to wait till the morning to take better photos.
 
Ok so...... It started with great promise but ended will mediocre at best results and that's a stretch.

I def learned a ton and my next attempt will be fantastic I think lol

Just to point out for anyone interested.

1) get a good piece of thin wood. Nothing made from more than one piece. What I used was not bad but between the hole saw well mainly the hole saw it made it tough.
2) get the hole saw with the teeth aligned.
3) leave room for the frame. I did however I had an cracking issue with the plastic that after wood could have been avoided with thicker lexan or plexi like I use in my reef tank. It cuts with my jig saw this did then cracked leaving me short as seen in the pix.
4) all of the above

So as you can see the wood and the holes I left open at the bottom center because Vader should hide them. The wood well, it stays because I'll be doing this over and doing it wiser. That is when I'll do the sides and top.

Sorry to disappoint but fear not it will get better and really from viewing distance this is pretty nice. I'll take pix with light later. No comments on muh dirtay closet heh

NOTE: the frosted plastic I painted is leaning back because it's not fastened yet.
View attachment 283076

That will look amazing when completed and when lighting is in place.
Everything looks good except your dirty closet. :lol
 
Sideshow must be getting bombed with emails today. "The box doesn't light up." "The belt is broken". Would it kill them to put an instruction book in there? Even just a piece of paper that said how to position the batteries and where the switches are would be hugely helpful. Even a little head's up as to the hidden panel where the cape is. Had I not been through that rodeo before, I would have never found the cape.

I have gotten the hang of it putting together so many Sideshow pieces over the years, but damn they can be puzzling out of the box. I liked how Hot Toys put detailed instructions in all their figures.

They are very easy to deal with from a service standpoint though (knock on wood). My saber blade is cracked (still lights up but not all the way), so we will see if I get a replacement.
 
one little thing that makes a big difference....

get yourself a handheld steamer. it gets out all the wrinkles in the tunic and cape. looks perfect now. its also handy on other cloth items on figures, like my tusked raider and anyone with a cape. oh yeah, its also way easier to iron shirts and quicker. these things are a must have and cheap.


Let's see some pics!!

Sent from my SAMSUNG-SM-G930AZ using Tapatalk
 
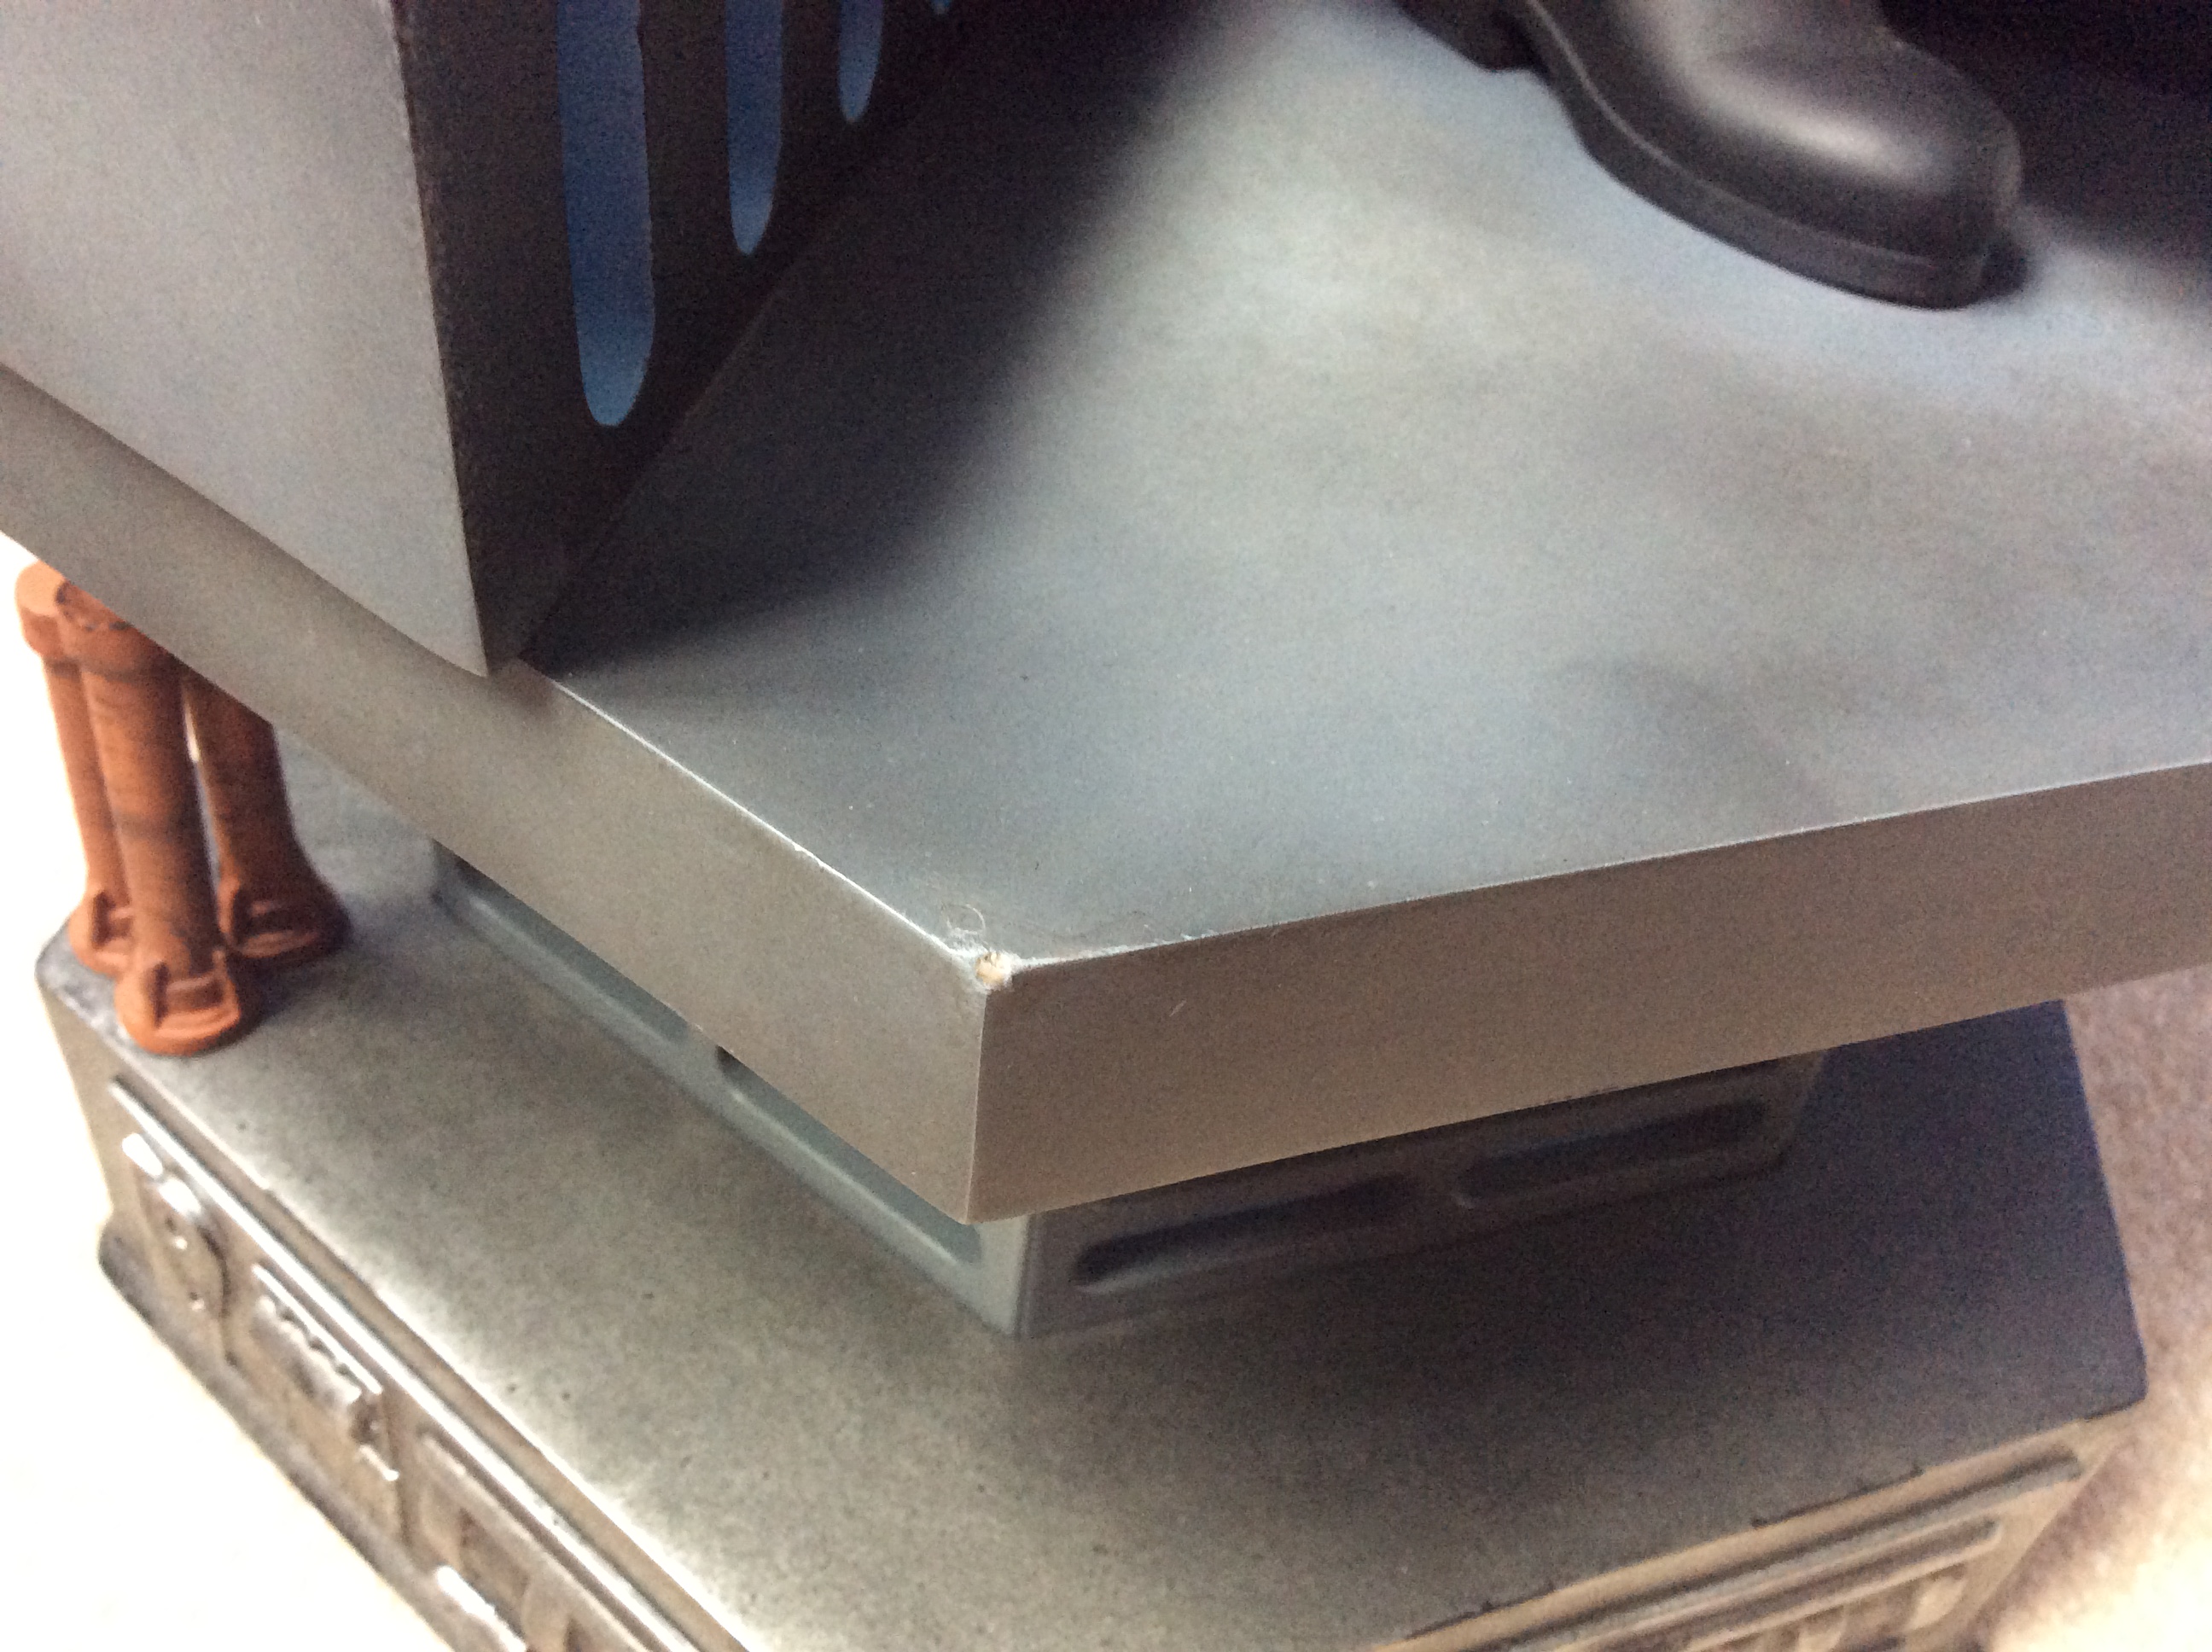
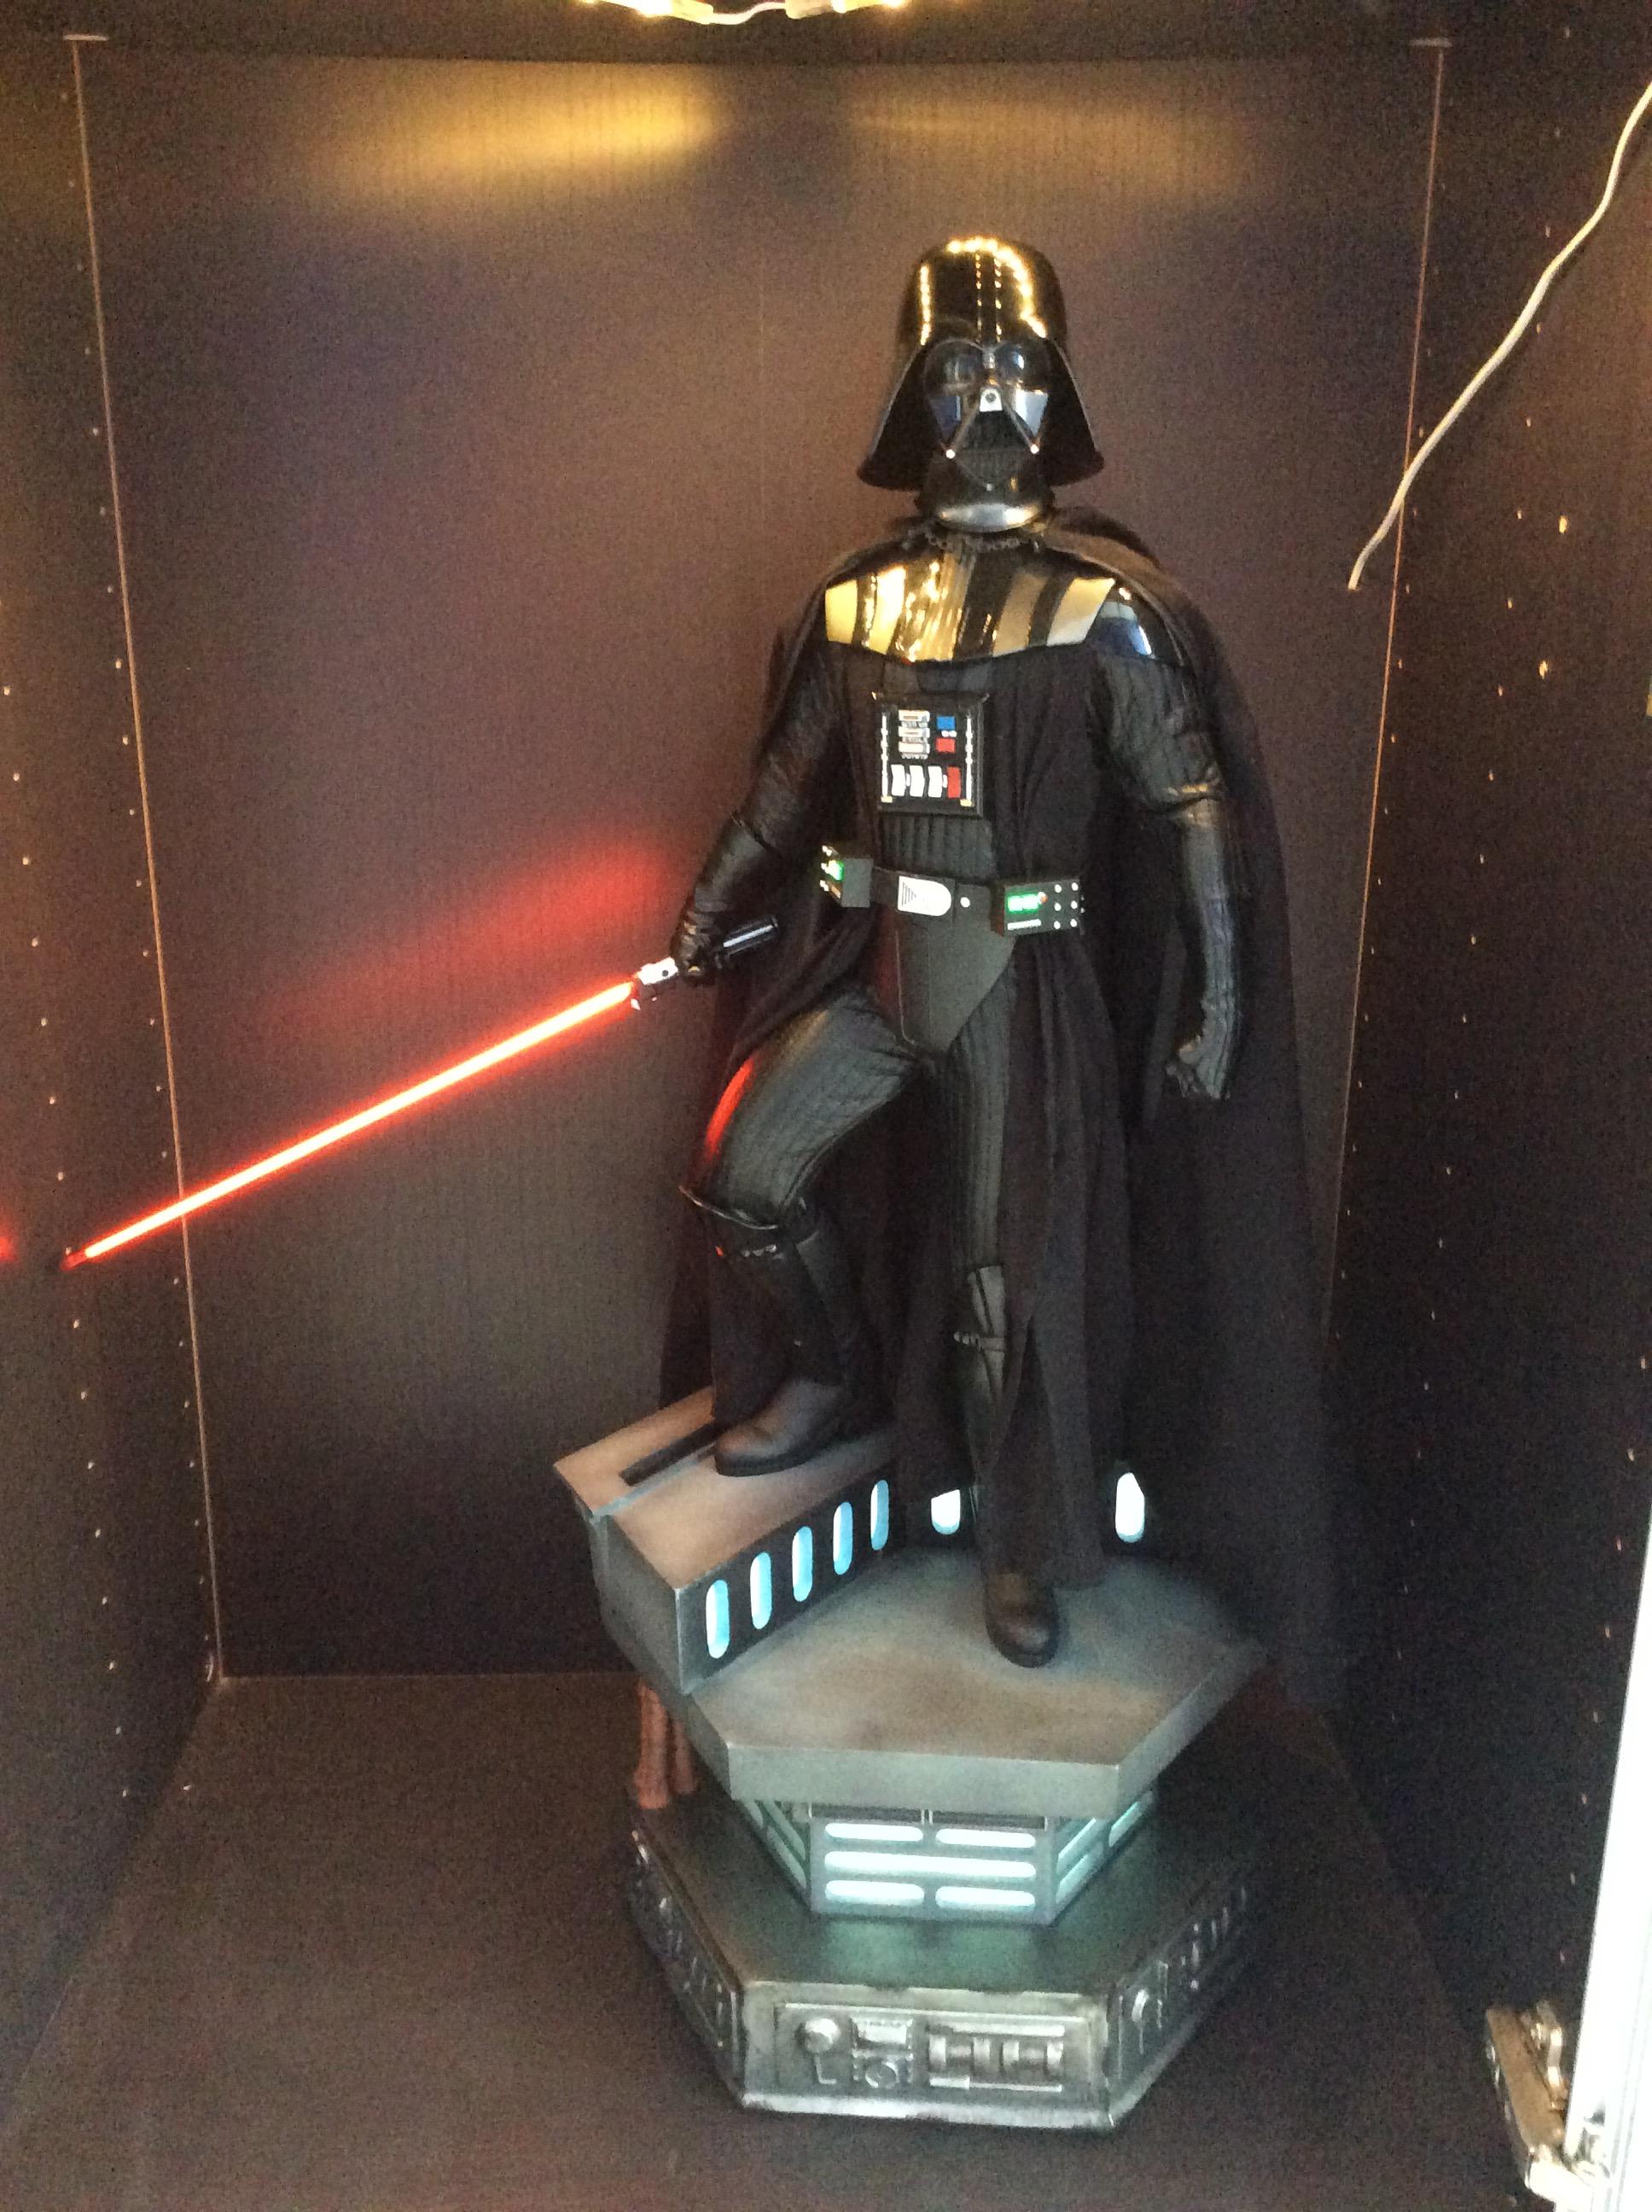
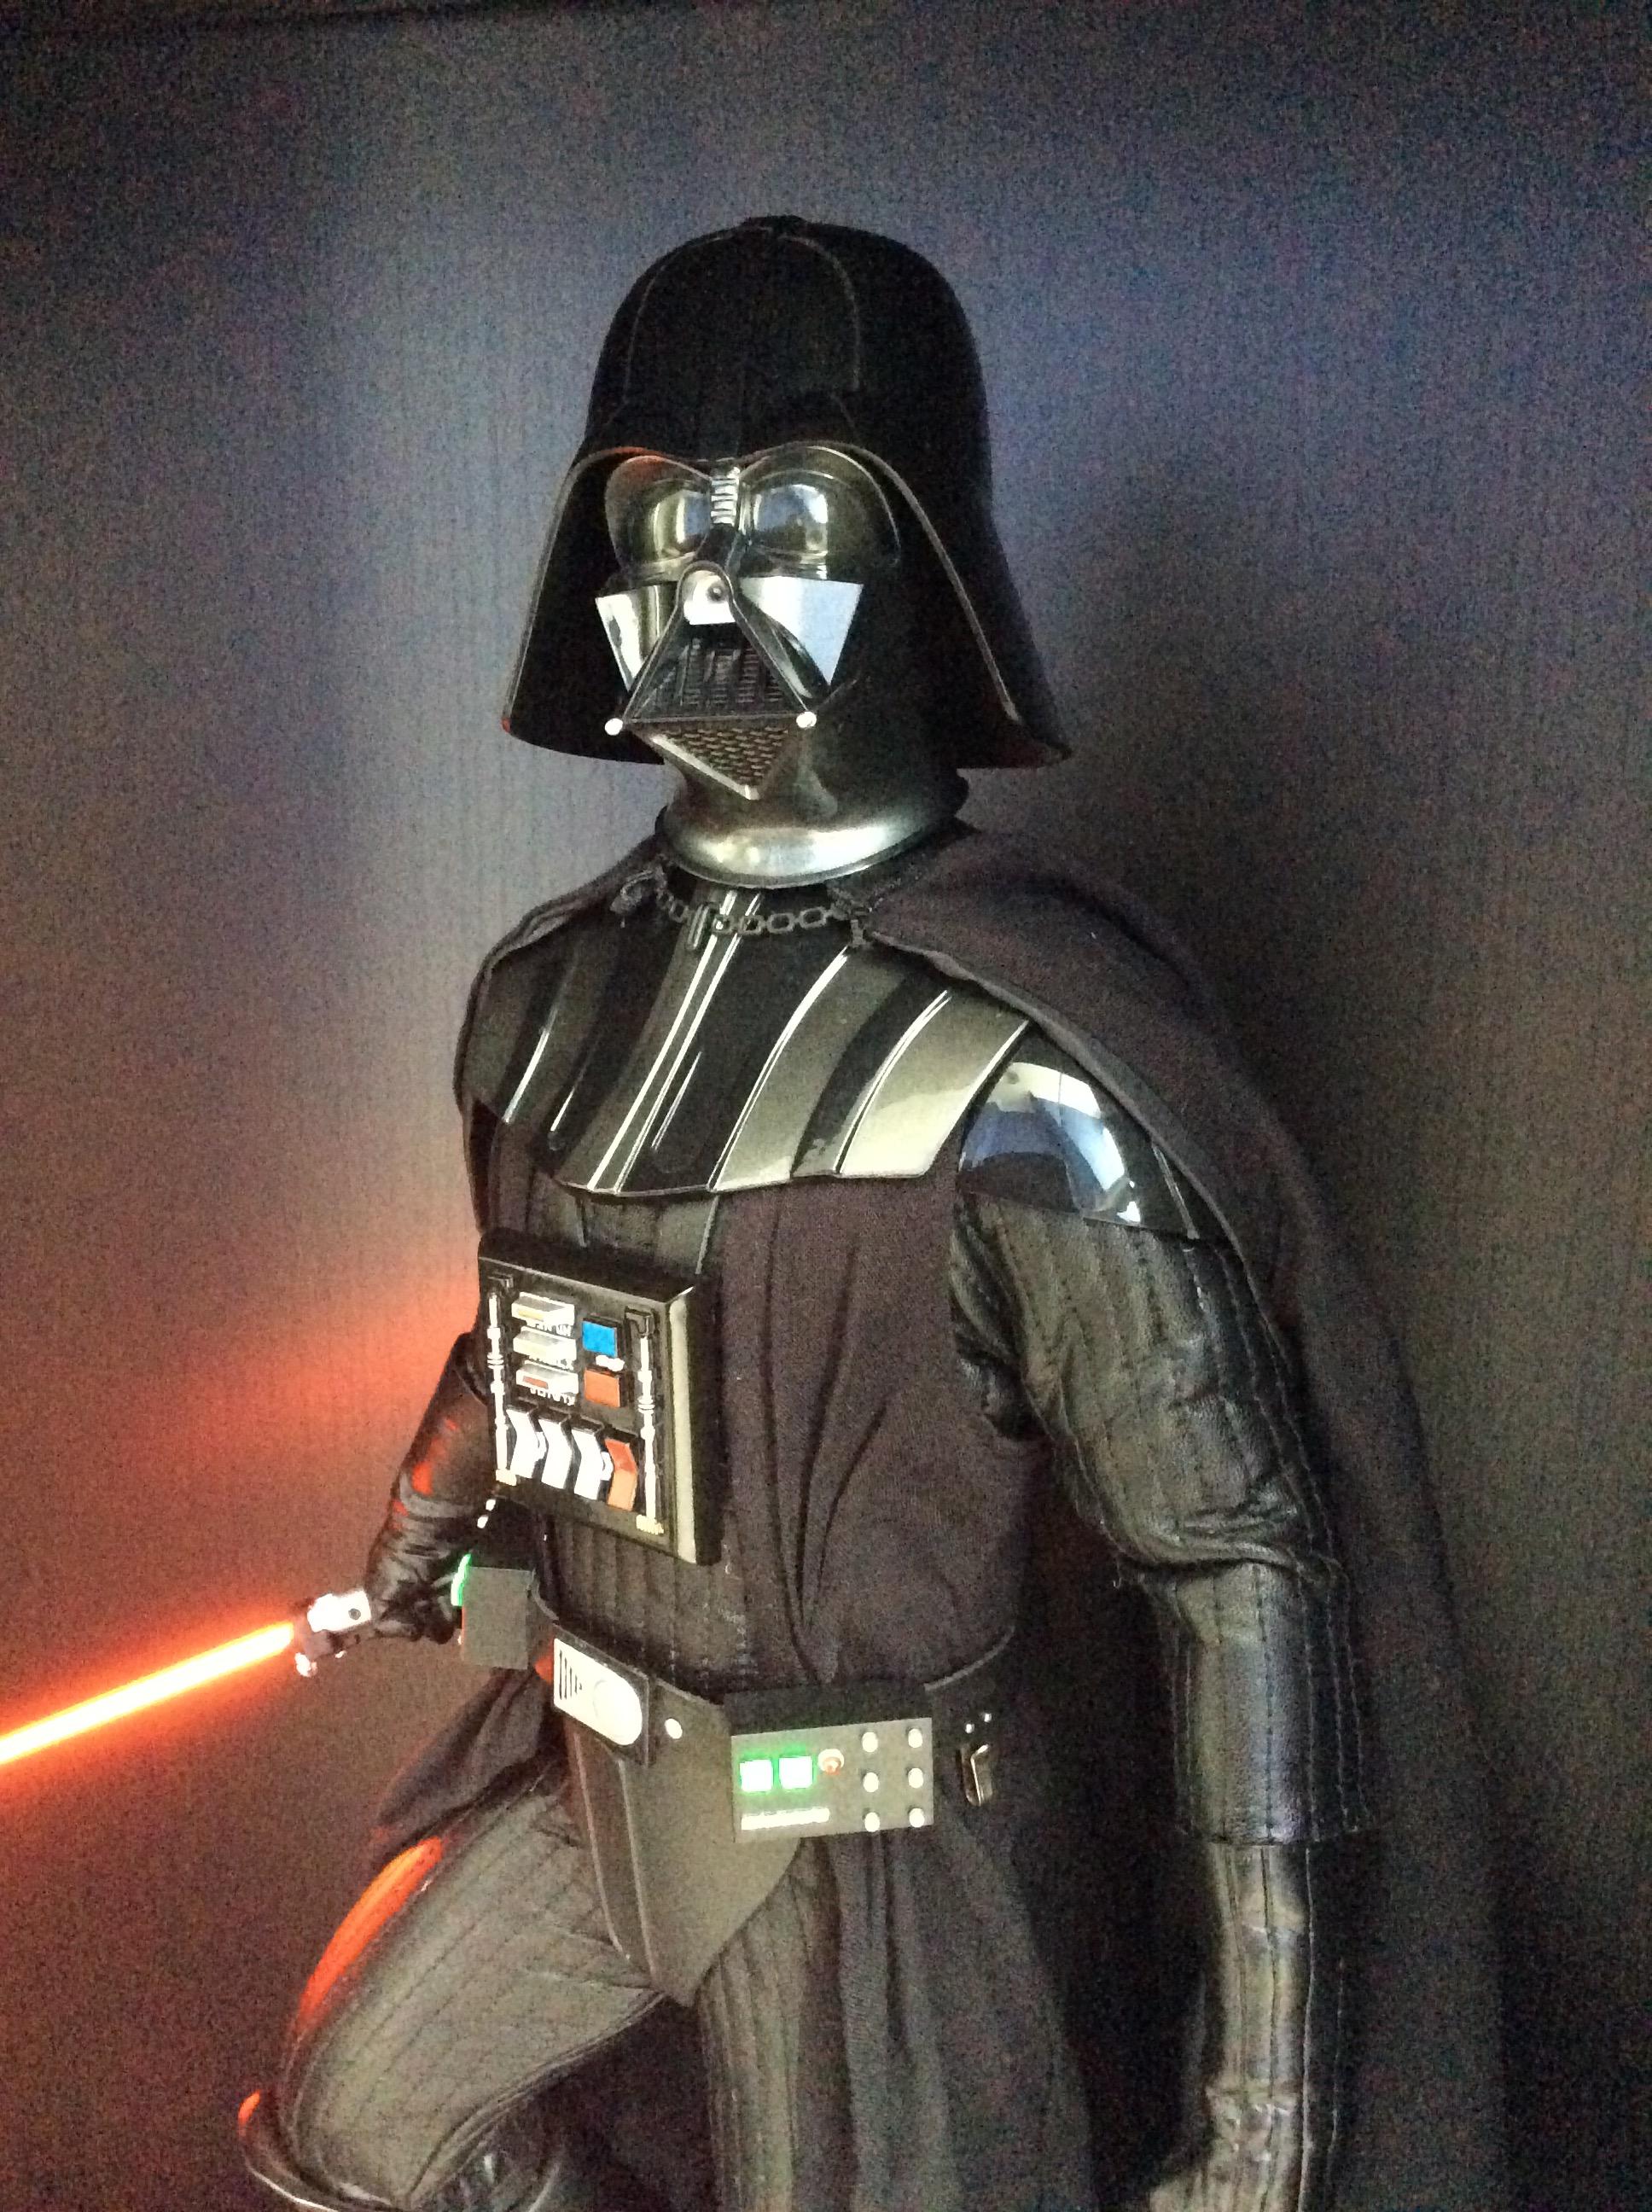
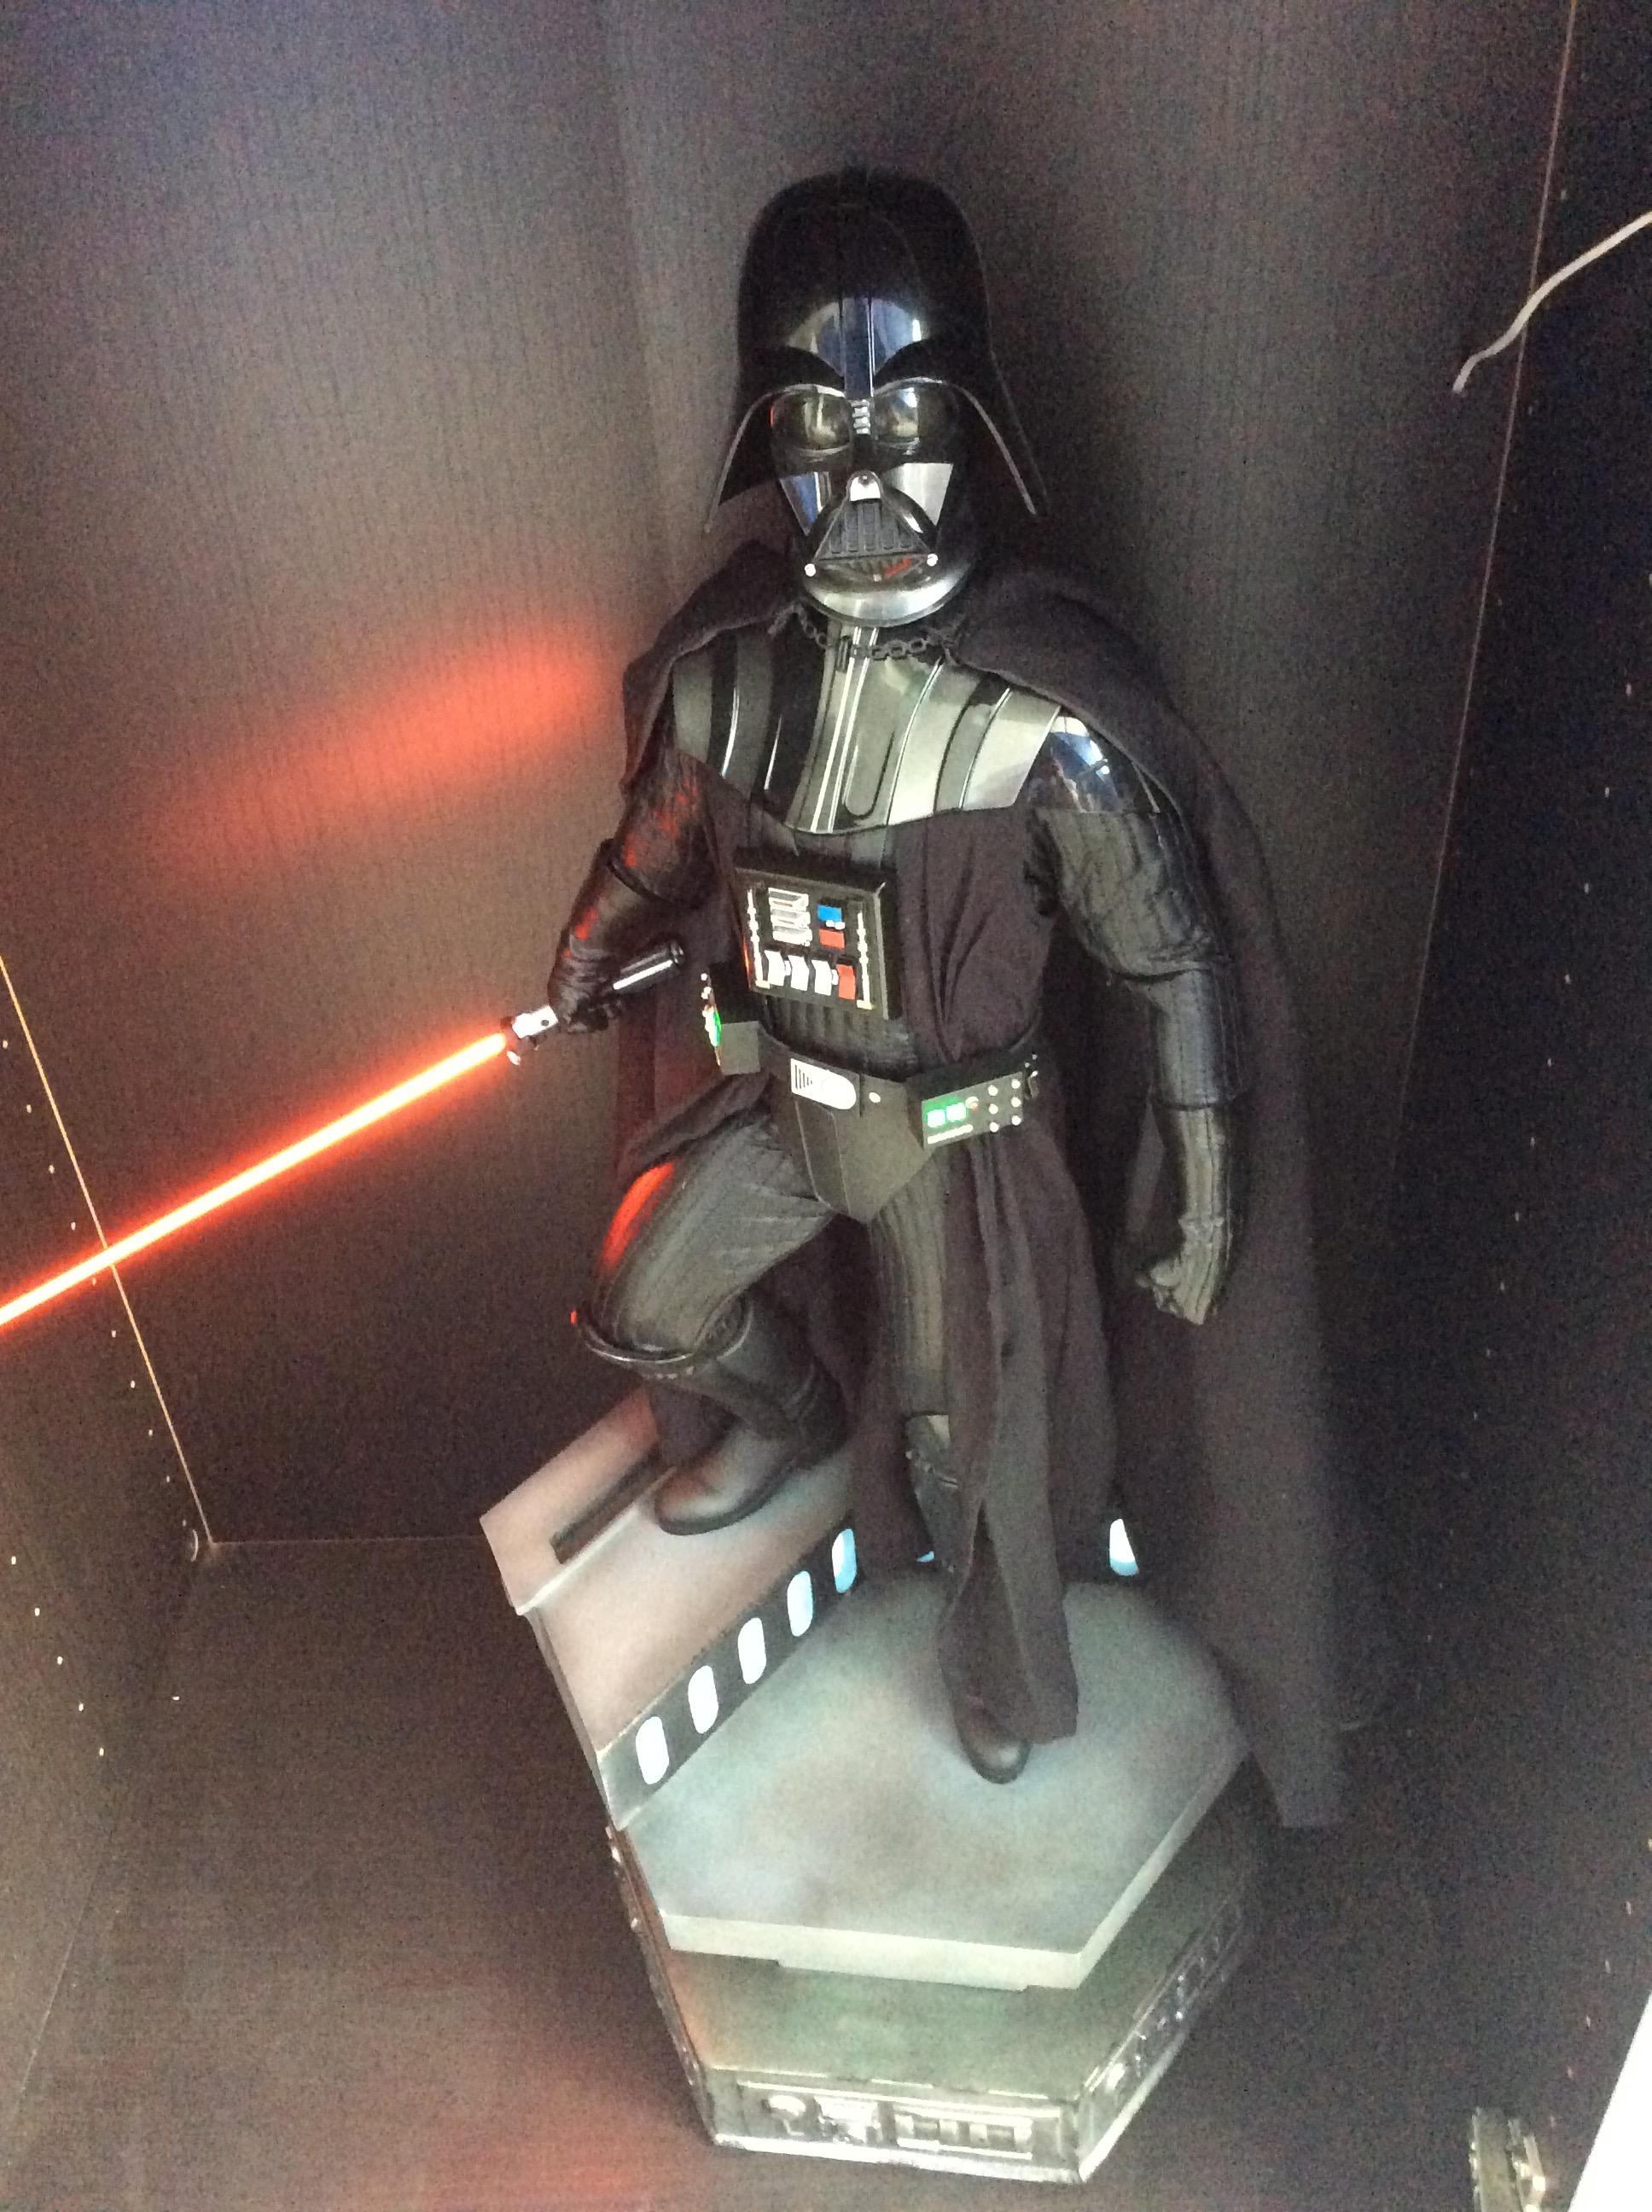
Received mine yesterday. First thing I notice when I take it out of the packaging is the base has a chip in it, couldn't be in a worse place right in the front corner. :mad: Love all the light up features & he's a great Premium Format.

I guess I'll have to wait weeks for a replacement base as Sideshow seem to take an eternity to answer emails now.

emlMEht.jpg

sVX4FSN.jpg

6wnd7xi.jpg

ZK8IvcL.jpg

DPB8rLs.jpg

Su6azsd.jpg
 
Were you able to get the exact height difference of vader and fett?


Sent from my iPhone using Tapatalk
 
Hurray, my lightsaber is apparently cracked :gah:, right out of the box :banghead. I've contacted SS. Let the wait begin. Otherwise, it's a beautiful piece. Aaaand the belt lights up great, thanks to you guys letting me know the proper orientation of the battery installment. Instructions would've been nice. I need a steamer now. Also, the chest box comes with the battery ALREADY installed. I found that out after I unscrewed it.
 
Received mine yesterday. First thing I notice when I take it out of the packaging is the base has a chip in it, couldn't be in a worse place right in the front corner. :mad: Love all the light up features & he's a great Premium Format.

I guess I'll have to wait weeks for a replacement base as Sideshow seem to take an eternity to answer emails now.

emlMEht.jpg

sVX4FSN.jpg

6wnd7xi.jpg

ZK8IvcL.jpg

DPB8rLs.jpg

Su6azsd.jpg

Don't know why I didn't notice it before these pics, but what's the deal with the nose? Is that a hole in the center?
 
My base looks like it was damaged at some point but fixed before it was shipped to me. I can see faint lines where they patched it up. I doubt they would send me a new one. I will need a new cape though, the one they sent me was packaged wrong; the plastic chain that connects the cape was bent which caused the plastic to warp, weaken & turn white.

DvaderCape.jpg
dvadercape2.jpg
dvadercape3.jpg

Ill be emailing SSC later today about the cape and will post more pictures of the PF after work
 
Last edited:
Ok this is pissing me off. Broken stands, bent plastic and cheap coverups. I'm already planning for the worst. I'll have to just relax and get things fixed.
 
Back
Top