I've got a step by step with some pics for you. My camera batteries just died on me

, so I couldn't finish assembling the entire figure, but this should help you get started. I'll post the rest of the guide (with pics) later if you need/want it.
Anyways, as already suggested, using
a hairdryer is must, and will make the whole assembly process go a lot easier.
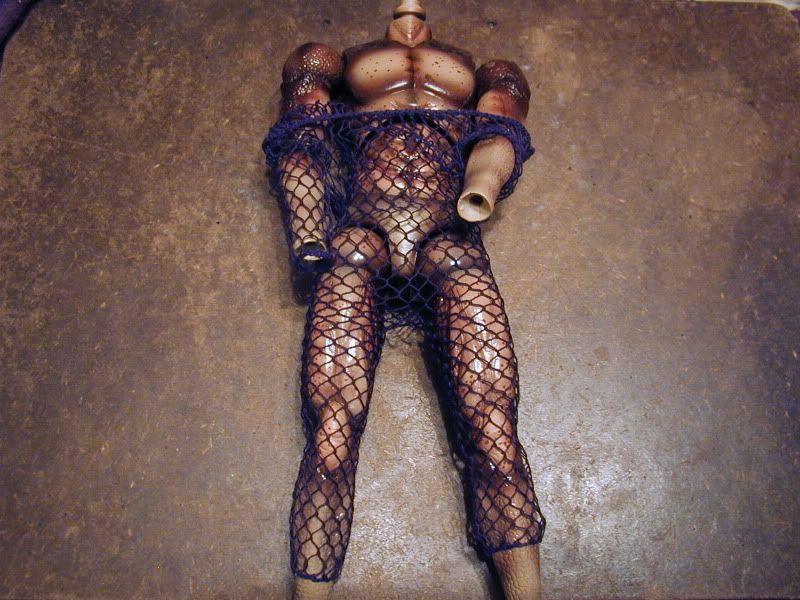
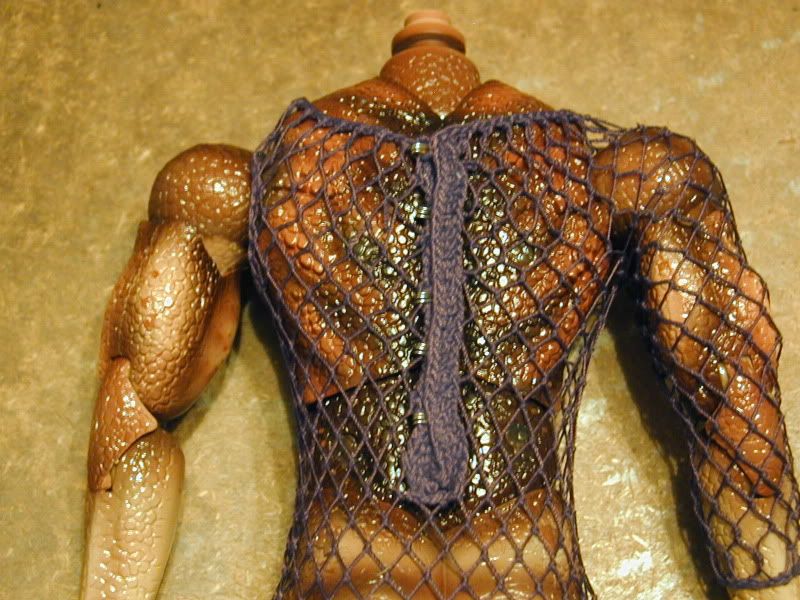
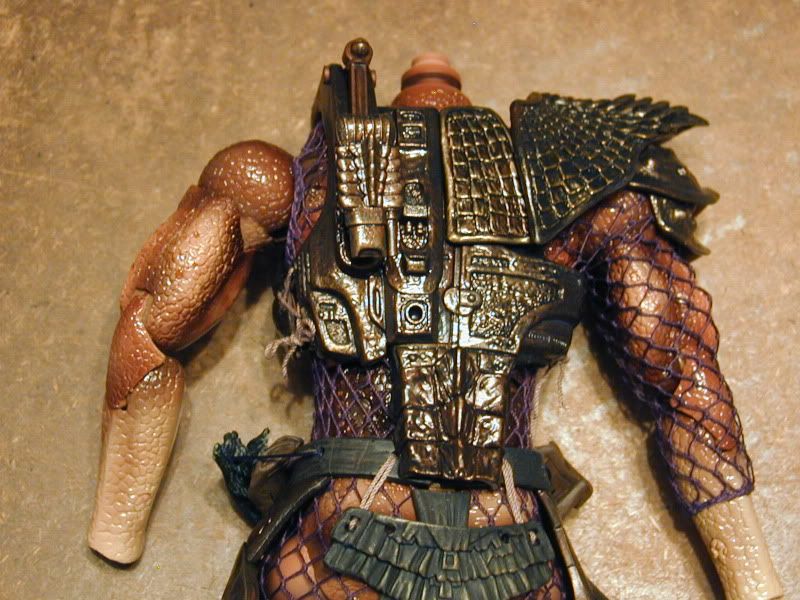
1. Assemble the forearms and lower legs, then carefully work the net suit all the way up over the legs. Then extend the arms forward, (Pic 1) and carefully work the suit up over the arms and shoulders. Then fasten at the back (Pic 2).
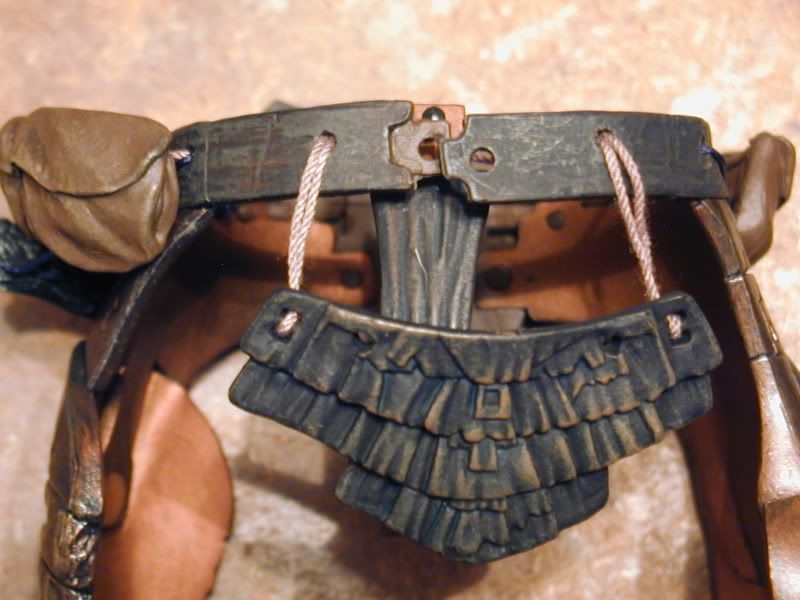
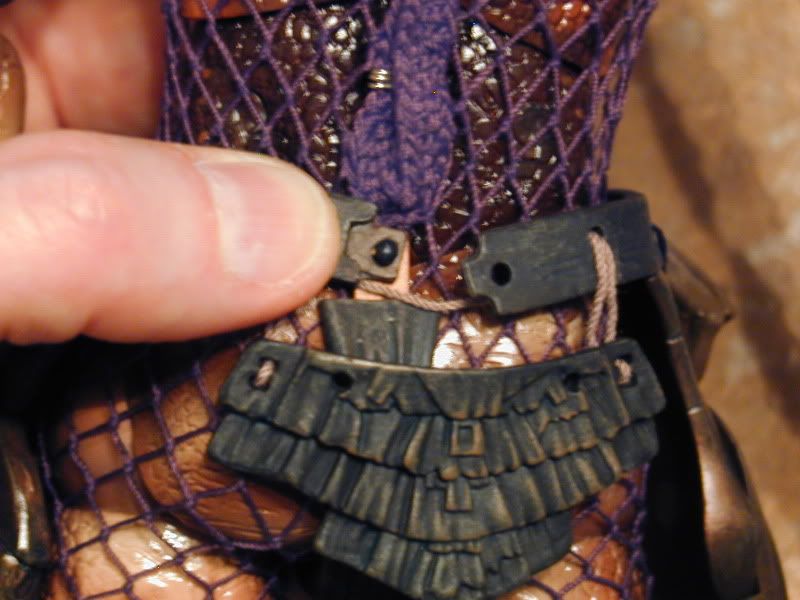
2. Turn your hairdryer on and work it over the belt assembly until it's soft and pliable (rubbery), then carefully lift the ends of the belt off the small pin at the back (Pic 3). Heat the belt up again until it's very flexible, then slip the legs in and work it up over the legs until it's in the correct position around the waist. Use the hairdryer as needed to keep the belt soft and pliable. Give the ends of the belt one more blast with the hairdryer, then reattach them over the pin (Pic 4).
3. The next part can be a little tedious, but if you take your time and work carefully it shouldn't be much of a chore. You can see in the pics that mine is in two pieces. I unfastened the front clasp to make it easier to put the armor on. It was glued and the parts had to be carefully separated, again using the hairdryer and the tip of a hobby knife. You can probably put the armor on without doing this, but you'll need to get it very hot and pliable first. Here's how...
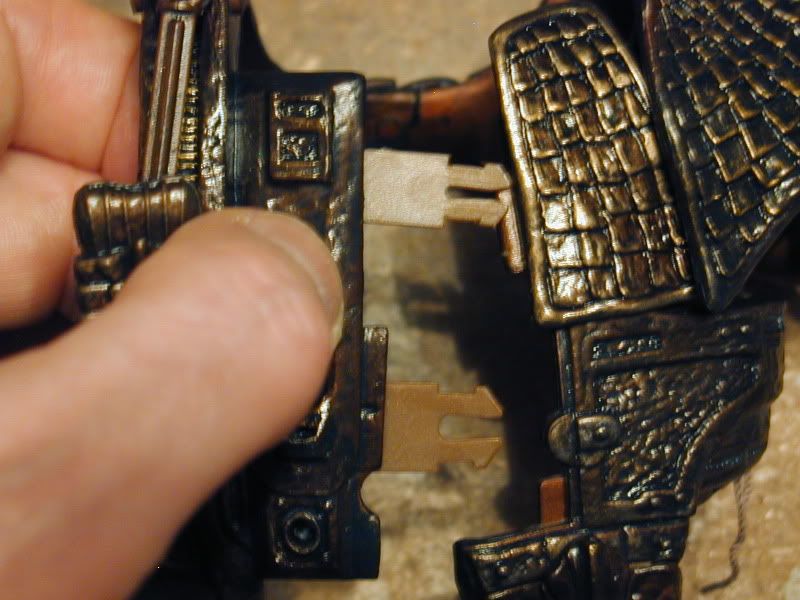
Heat up the back of the armor first, then separate the two parts at the back by gently pulling them apart (Pic 5).
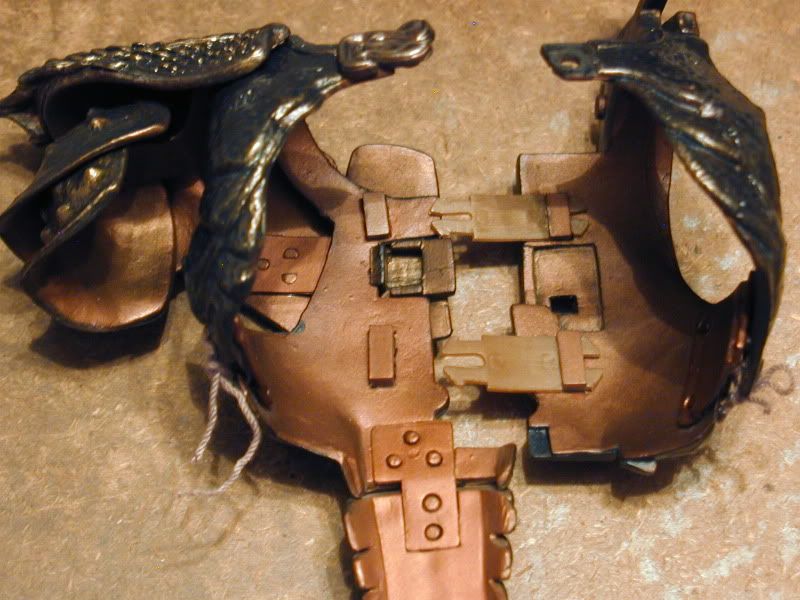
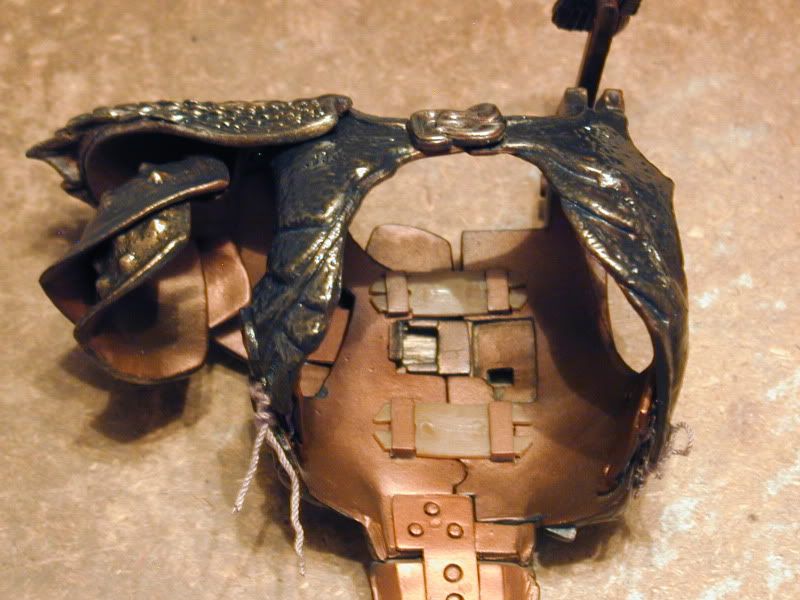
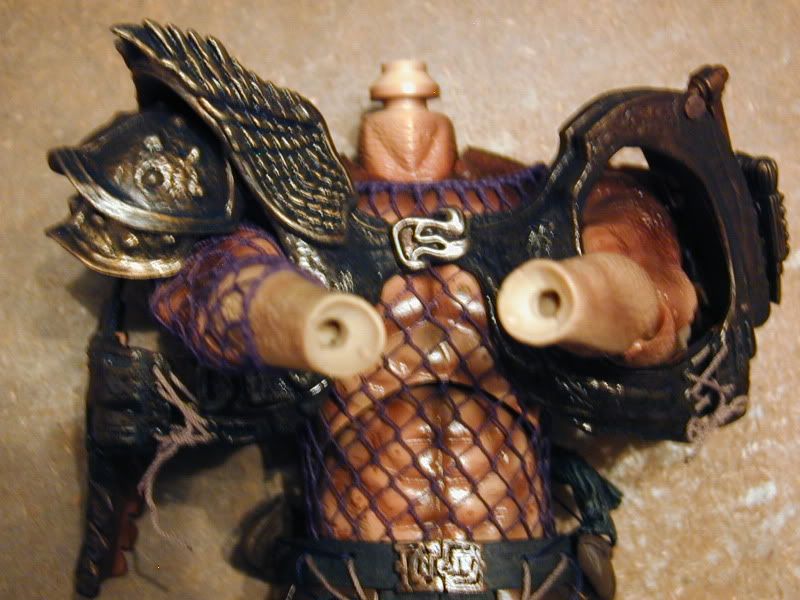
(Note how the pieces should fit together in Pics 6 - 7). Extend the arms forward, then heat up the armor all over with the hairdryer. While it's still hot and flexible, slip it over the arms and then over the shoulders, using the hairdryer liberally as needed (Pic 8). Once you have it all the way around the body, heat the armor all over to recover its shape, then slip the two halves together again in back (Pic 9). It may take a couple of tries, but keep working at it (patiently) till you get it right.
Pic 1.
Pic 2.
Pic 3.
Pic 4.
Pic 5.
Pic 6.
Pic 7.
Pic 8.
Pic 9.

 I always use a hairdryer for HT figures so again one is ready to go. I hope to have some time next weeks to assemble him. Once assembled I'll post some pics


 .
.