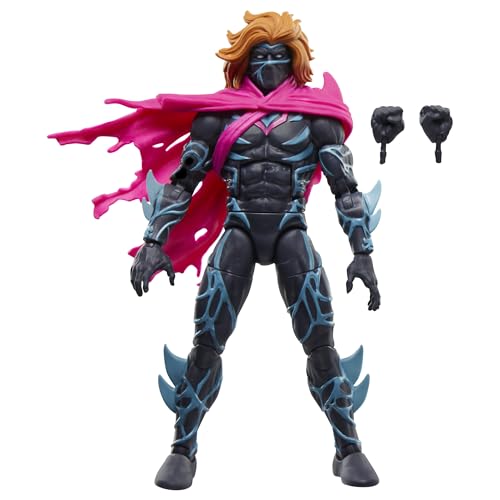
Nice work!
Would you mind showing pics of the dremelled armour parts?
Thanks Alot!
I don't think that photos would help as much as describing the process (since all the grinding's on the inner surfaces and hard to photo):
Basically, I used a rounded-tip cutter to grind along the edges to make them thinner. The edge has a thicker "lip" and you can easily monitor how much you're cutting. After that, wherever needed, I moved the cutter deeper into the part to thin the vinyl. I would guesstimate that the armour is around 2 - 3mm before grinding, and ends up between .5 and 1 mm after grinding.
"Feel" is the most important part in determining how much to remove. Keep a finger on the outside of where you're grinding to feel how thin you're cutting. Don't dwell in one spot for too long. It will feel warmer, and as the vinyl thins, it will become more flexible. Naturally, as it cools it will stiffen; you want it thin enough to flex easily after it's cooled down-- thin enough for the figure's articulation tightness to "override" the vinyl's tendency to remain stiff. Fortunately, Medicom's figures tend to have very tight articulation.
Getting uniform wall thickness isn't important since the surface is unaffected and retains its shape. The only way you'd spot thickness variations is if you held the part up to a light.
If you use a rounded tip cutter and are reasonably careful, there's little danger of grinding through. The rounded tip will let you operate at different angles and you can push the vinyl inward from the outside to control what you're cutting. Very important: Do not use a barrel cutter, unless you like living dangerously. The edge of a barrel cutter can grind through to the outside very quickly if your angle is wrong.
The areas to thin are pretty obvious, and most are easy to access for grinding. The basic idea is to thin parts so that they collapse when contacted by another part. For example, to improve the elbow flex, the bicep and forearm armor are thinned along the edges next to the hinge so that they can collapse against each other. However, the elbow armor's band also needs to be thinned as much as possible so that it doesn't get in the way of the hinge closing (Ideally, this would be a thin piece of elastic or strapping... but I didn't design this stuff).
The hardest (and probably most controversial) area to thin is the opening for the arms. It's hard because you need to remove the chest armor to grind the inside surface. Even when heated, the piece doesn't sleeve over the shoulders very easily. I considered this to be a key area to fix if I wanted the arms to not poke outwards like C3PO, so I used small scissors to trim the openings before I pulled the armor off. That helped a lot. Once that was done, I grinded the edges from the inside, and totally removed the lip at the opening. I said "controversial" since this does change the armor design slightly by removing the armor's inward curve at the lip. Basic mechanics says that if you want the arms to hang parallel at the hinge axis, you've either got to move the hinge axis outward beyond the wall, or make the wall thinner. I think making the wall thinner and more flexible was the best option in this case.
That's pretty much all there is to it... but do it at your own risk!

-Jim
 )
)