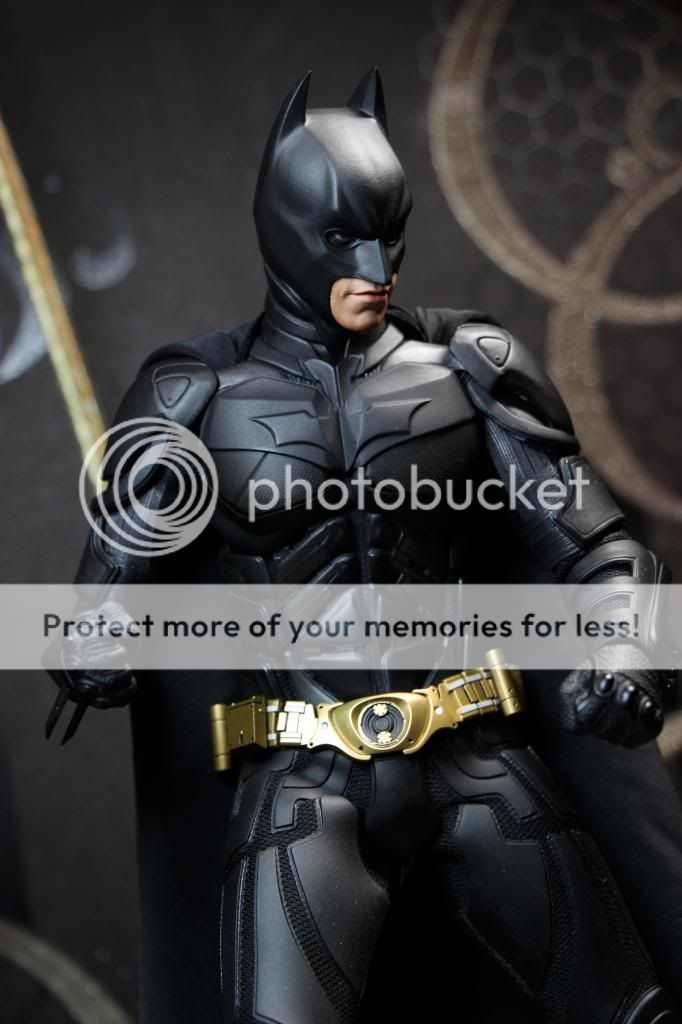
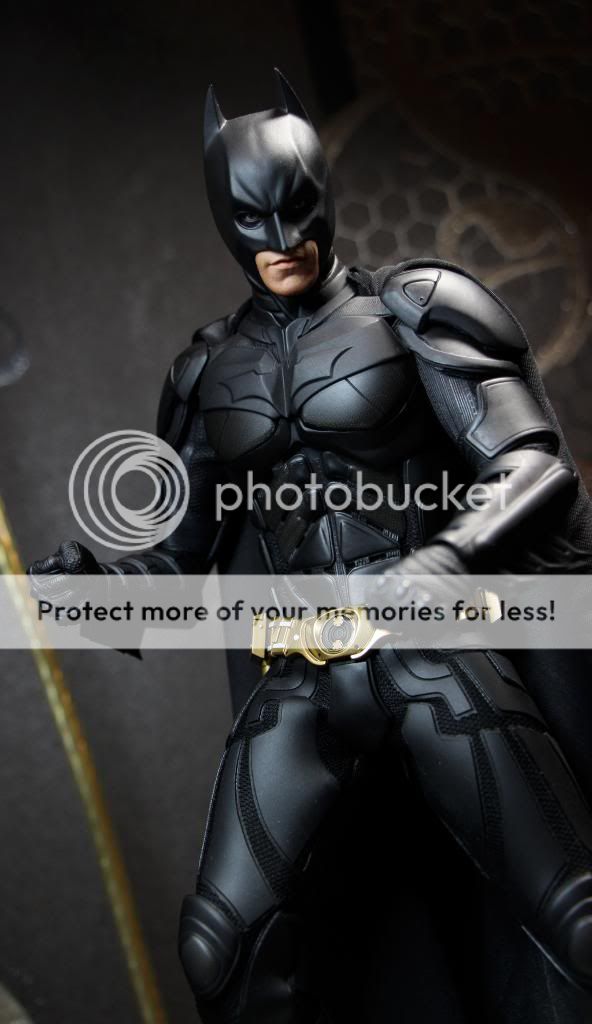
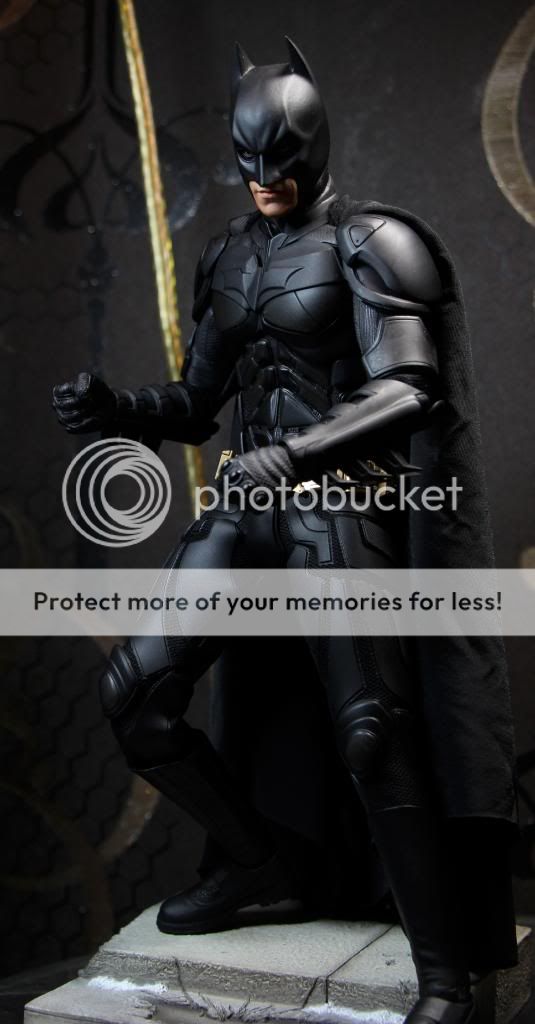
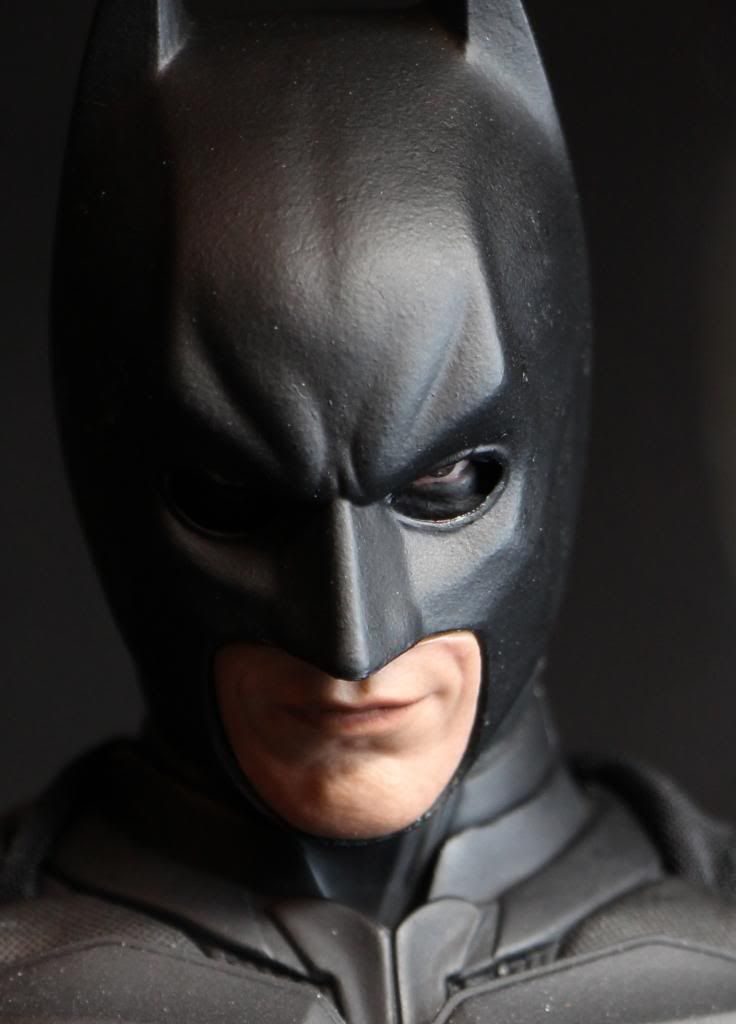
Modification/Customization for the DX12 Batman Figure

Collector Freaks Forum

Help Support Collector Freaks Forum:

This site may earn a commission from merchant affiliate links, including eBay, Amazon, and others.
@EKT:

I mean extra plastic surface.

When you cut the top and bottom part of the shoulder armor, there should be a gap there when you offset both top and bottom plate that far isn't it? :dunno

Ouw. Right. I used a couple of unused shoulder pads to make the bottom ones. Since I'm using DX2's shoulder pads on the figure, the DX12's are free, and I butchered it. It's a bit hard to describe what I actually did, might do some instructions later. My method might not be the best way to do it.
Actually, I'll try describing it.
Obviously, you first make the separation (cut) the top and under plate of the stock shoulder pads apart.
Look at the picture you quoted. See the edge of the bottom plate? There' a cut near the top? That edge piece, you need to cut from the now separated bottom plate. Now you have a little edge piece of a shoulder plate.
Next, you need the shoulder pads of another batman body. That means, not the ones you're working on. Do the separation again, this time, take the top plate, and cut it in about half, keep the shape of the bottom edges intact, don't worry about the top edges. (This is on the second set of shoulder pads).
Now, you have 2 pieces to complete a bottom shoulder pad.
Glue the tiny edge piece onto the bottom edge part of the shoulder pad you cut from the second set.
Now you have 1 complete bottom plate. Use a double sided tape, or blu tack (what I use), and stick it on your Bat.
Phew... Not sure how clear that was...
 
Last edited:
Ouw. Right. I used a couple of unused shoulder pads to make the bottom ones. Since I'm using DX2's shoulder pads on the figure, the DX12's are free, and I butchered it. It's a bit hard to describe what I actually did, might do some instructions later. My method might not be the best way to do it.
Actually, I'll try describing it.
Obviously, you first make the separation (cut) the top and under plate of the stock shoulder pads apart.
Look at the picture you quoted. See the edge of the bottom plate? There' a cut near the top? That edge piece, you need to cut from the now separated bottom plate. Now you have a little edge piece of a shoulder plate.
Next, you need the shoulder pads of another batman body. That means, not the ones you're working on. Do the separation again, this time, take the top plate, and cut it in about half, keep the shape of the bottom edges intact, don't worry about the top edges. (This is on the second set of shoulder pads).
Now, you have 2 pieces to complete a bottom shoulder pad.
Glue the tiny edge piece onto the bottom edge part of the shoulder pad you cut from the second set.
Now you have 1 complete bottom plate. Use a double sided tape, or blu tack (what I use), and stick it on your Bat.
Phew... Not sure how clear that was...

Wow, thank you for trying to explain the process.

It's a little hard to imagine without pictures. But let me digest the info first and see if I can make sense of it.

Ok here it goes, dunno if this is right.

plates.jpg


The Overlaped area is where the piece from the 1st plate glued on top of the Top of the 2nd plate?
Am I right?
 
Last edited:
Wow, thank you for trying to explain the process.

It's a little hard to imagine without pictures. But let me digest the info first and see if I can make sense of it.

Ok here it goes, dunno if this is right.

plates.jpg


The Overlaped area is where the piece from the 1st plate glued on top of the Top of the 2nd plate?
Am I right?

:lol that's great. That's pretty much it. I was gonna photoshop some tutorials together, but I got lazy, plus, I'm on an ipad right now.
 
Finally removed the fatsuit. Massive improvement on articulations. now he's able to turn, twist, and bend, just like a real boy.
Some crappy action pose.

IMG_1163_zps6571cab2.jpg

IMG_1164_zps1bbec381.jpg

slim1_zpsf01cce22.jpg

slim2_zpsfacc35ef.jpg
 
Last edited:
Finally removed the fatsuit. Massive improvement on articulations. now he's able to turn, twist, and bend, just like a real boy.
Some crappy action pose.

IMG_1163_zps6571cab2.jpg

IMG_1164_zps1bbec381.jpg

slim1_zpsf01cce22.jpg

slim2_zpsfacc35ef.jpg

Wow, it looks awesome.

Two mods that I'm afraid to do the most is the shoulder pads separation and this Liposuction.
 
Hi, first of all congratulations for your custom.
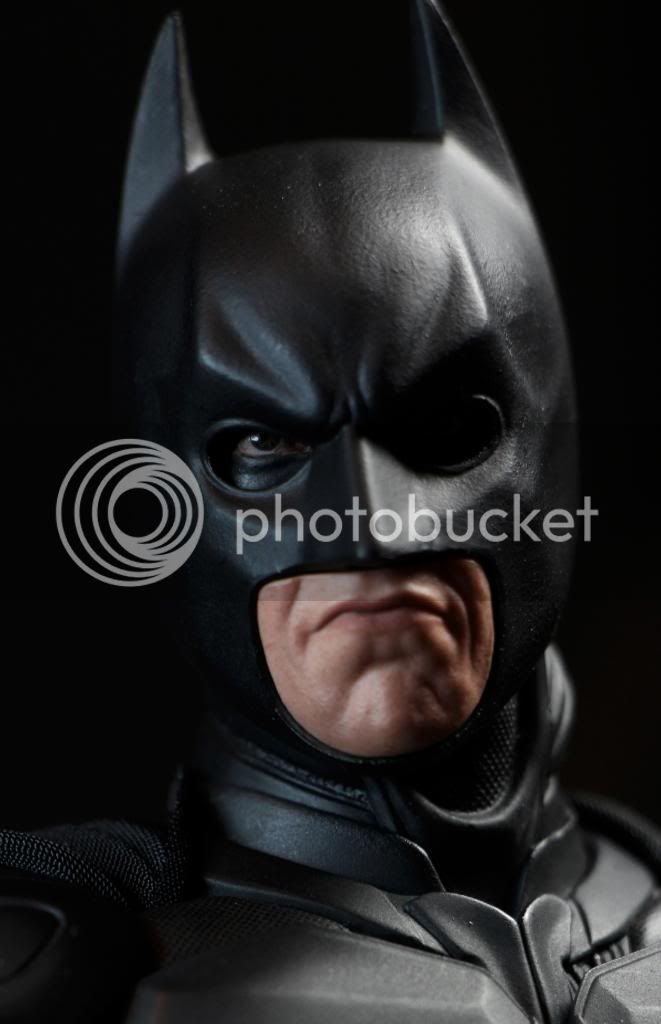
I agree with you, Robbie did a beautiful job with the face plate, but I find that the color of skin and the lips is not realistic enough.
I want to do the same thing as you in cutting directly on the head of BW.
However for the mouth, can you tell me if you have cut the opening behind the mouth in the helmet or if you just cut the face plate ?
(Sorry for my english)

Use Robbie face plate as reference, just use a xacto knife and work your way around it. But you can start by slicing down where his nose is, and bottom of his jaw like I have it on the picture. Pm me if you have any question.
 
Not sure where to post this!

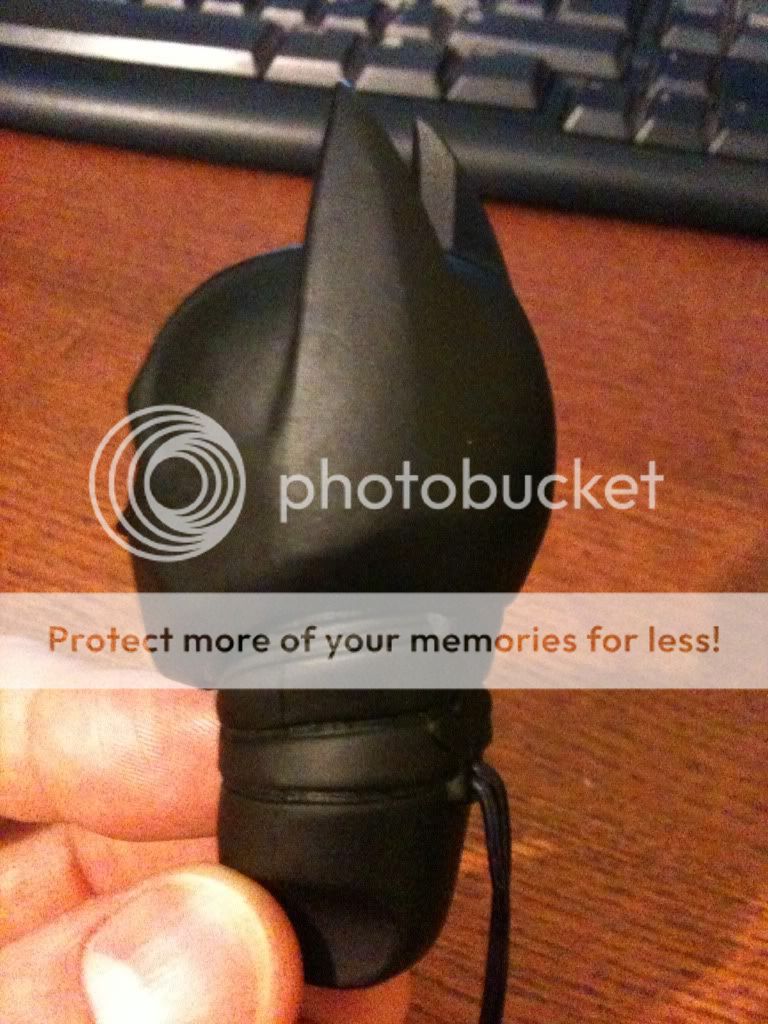
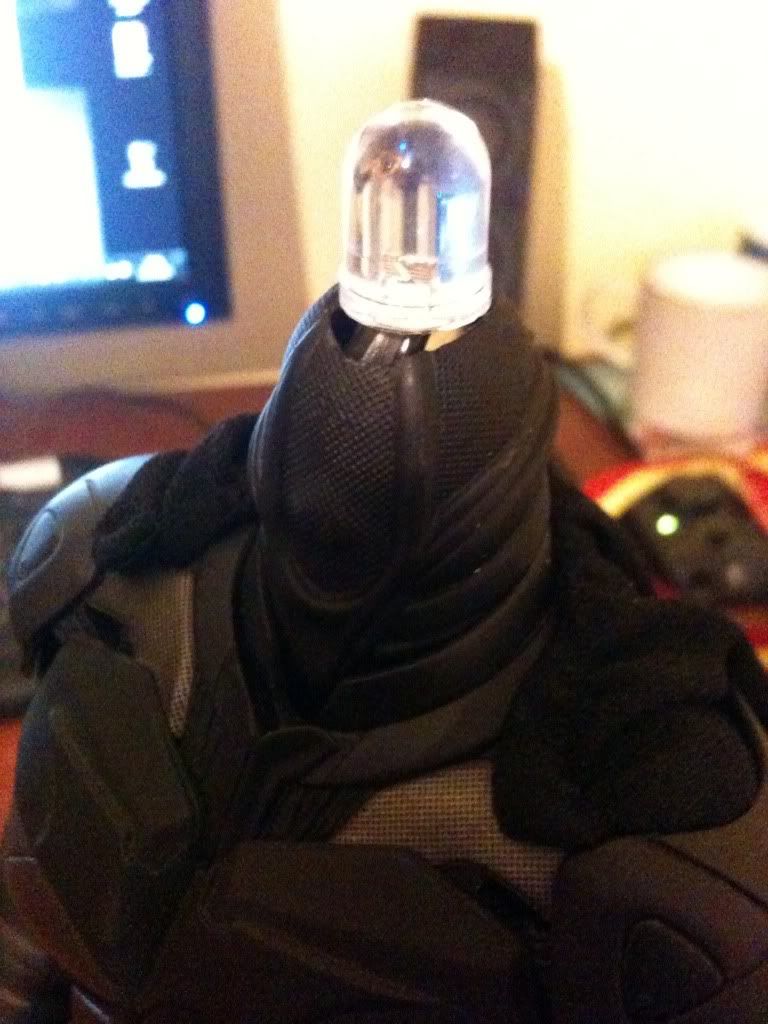
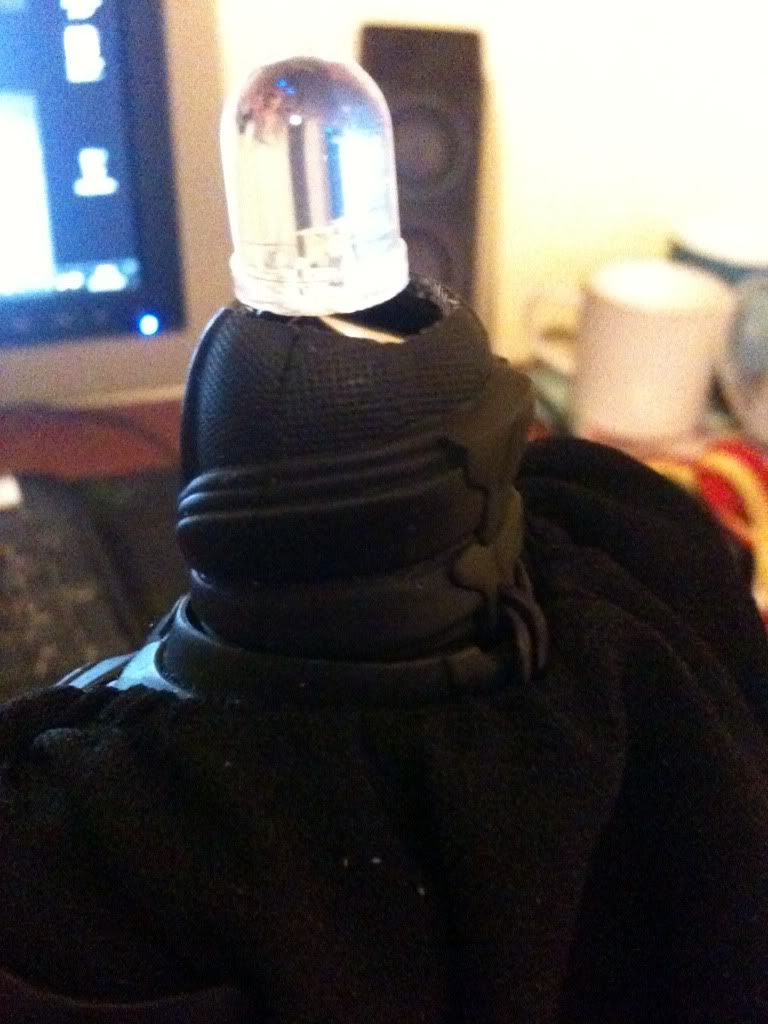
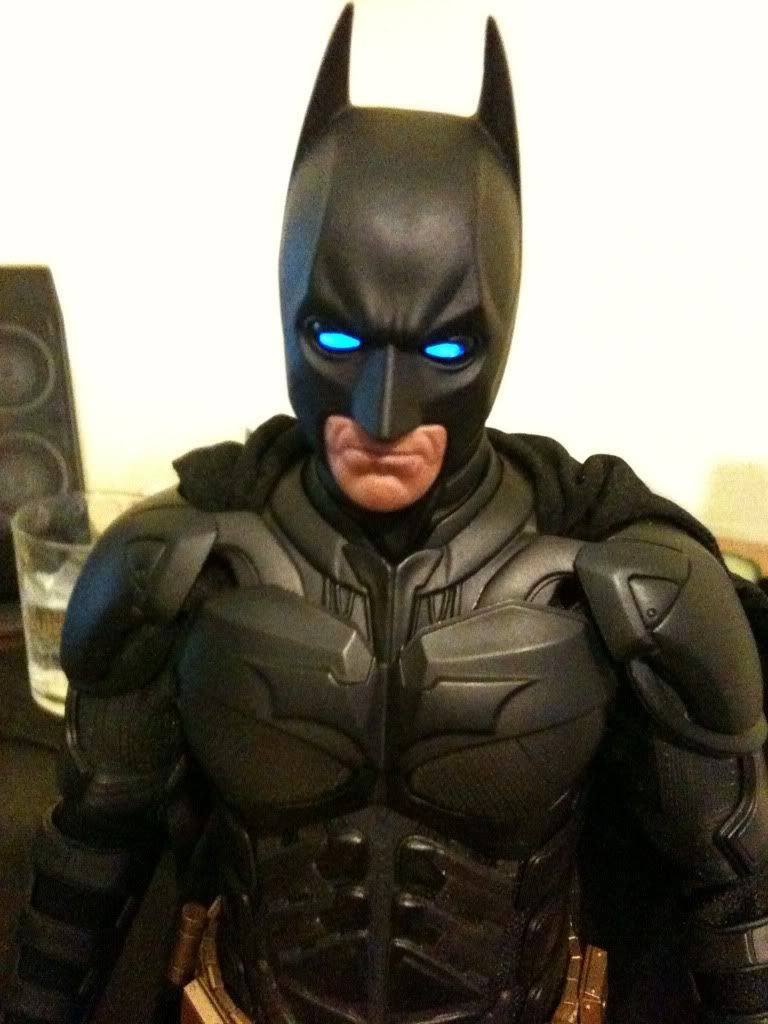
I fitted a mains wired LED into the DX12 neck and added metal plates to the DX02 sonar head so that it would fit on the DX12

2E6564FC-6E24-4B0C-81B0-62B5AFE5F2A9-278-00000022C5B51FE8.jpg

169C2E69-4492-4081-9C8E-B97BE3B42569-278-0000001B9EFF28FE.jpg

DC8A724E-5BB8-413A-8C83-609F1BCB1E43-278-0000001B9ABDDCB1.jpg

83896B7D-C3BB-4569-BE42-21E1AA79943E-278-00000025D529BFFA.jpg


Next stage is to fit the eyes into a DX12 head...

Need this mod. My sonar head is just sitting there, being useless. Please write up some tutorial. even better (prob' harder) if you can move the sonar eyes, to the new sculpt.
 
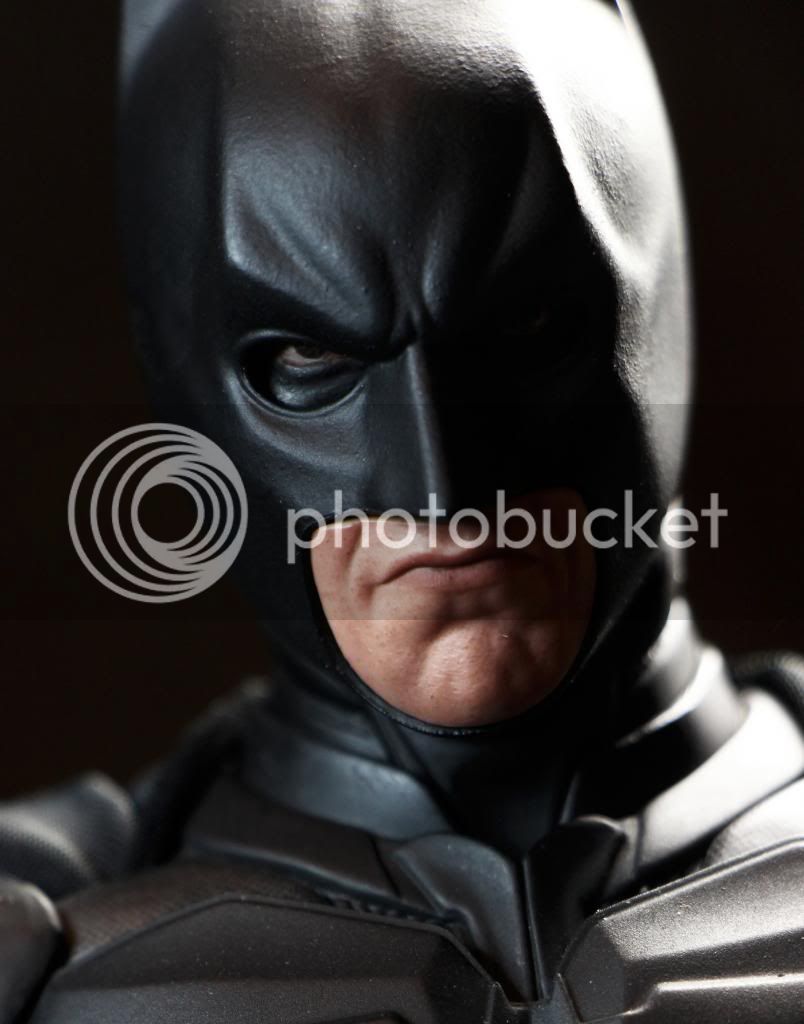
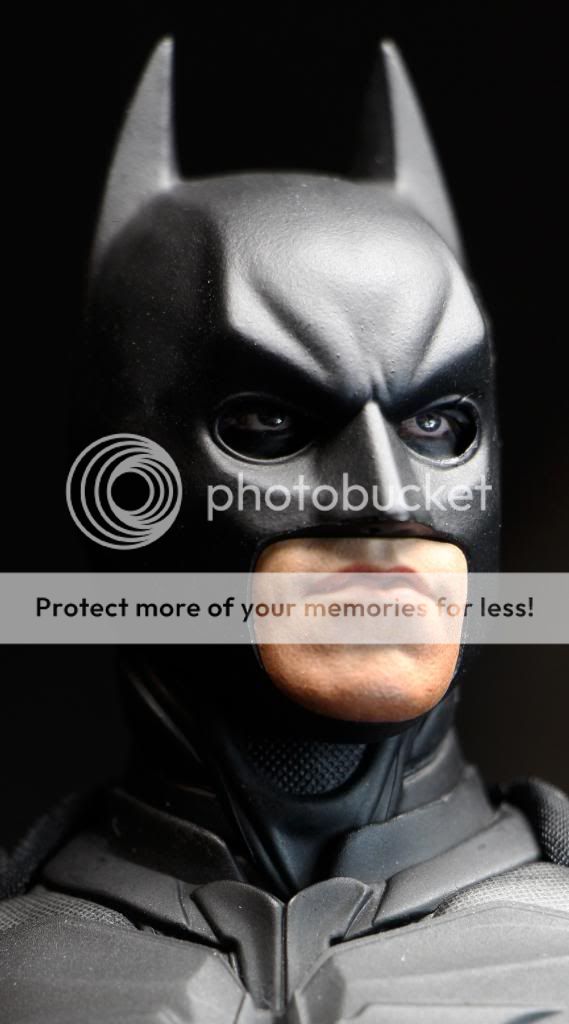
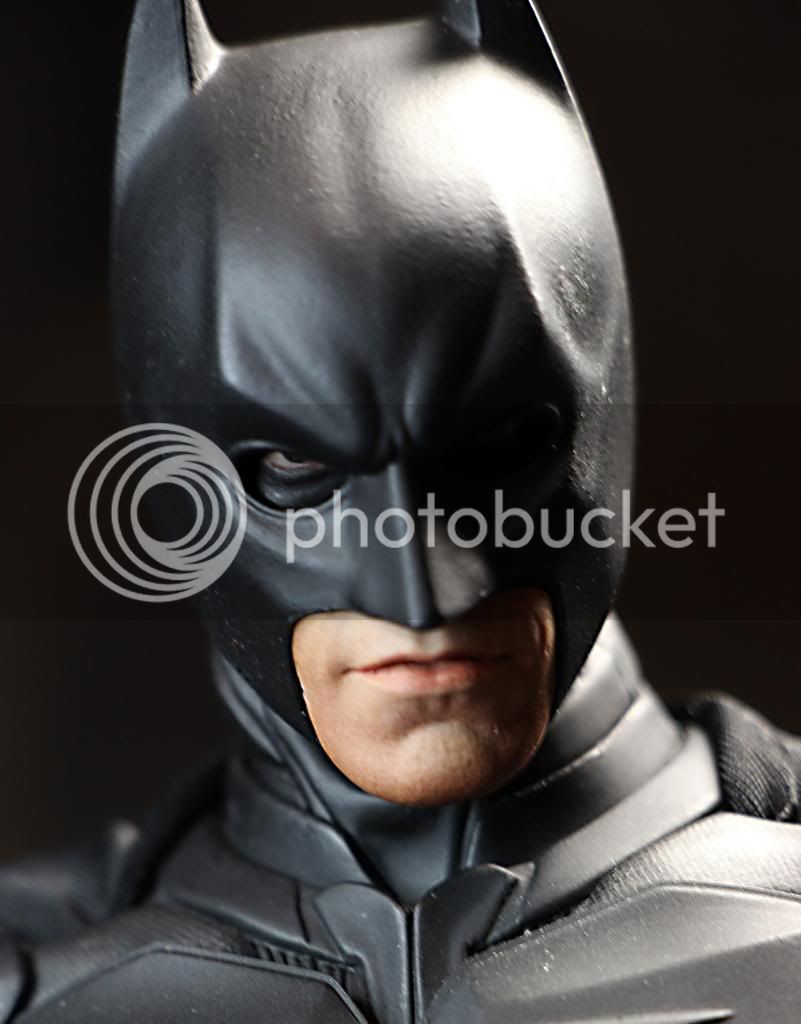
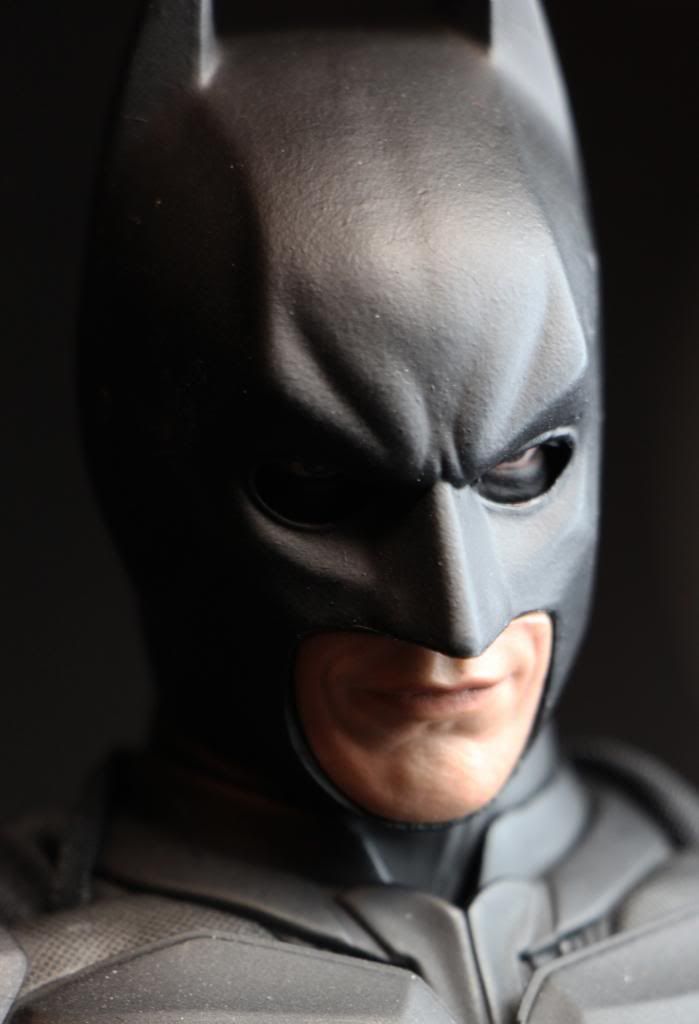
So, I have a spare DX12 cowl lying around, without a PERS plate (I effed up the PERS plate), and I was thinking what to do with it. So, I went crazy and chopped up the Wayne sculpt to make a non-PERS version. I did it a bit differently than others (I think). I shaped the sculpt, so that it would sit higher in the cowl, so that, some of the top of the eyes is covered by the cowl, creating the illusion of a squint. Now, depending on the angle, he can look squinty, or really squinty. I think it works, check it out, let me know what you chumps think.
eye1_zpsaab05b09.jpg

eye2_zpsc2bfbec9.jpg

eye3_zps7474dedb.jpg

eye4_zps35ca3ed4.jpg

eye5_zps2a41f2a6.jpg

eye6_zpscd36af68.jpg

eye7_zpsc3b487cb.jpg

eye8_zpsc64de421.jpg

eye9_zps6e23c097.jpg

eye10_zpsc4ef16ec.jpg
 
Oh come on. It's not like you just closed on a house or anything.

There a lot I have to do, closing was just the start. The house wasn't move in ready. Still much work to be done. Next week for sure. :) all my figure are in boxes. That's the sad part. No lies . Lol
 
Need this mod. My sonar head is just sitting there, being useless. Please write up some tutorial. even better (prob' harder) if you can move the sonar eyes, to the new sculpt.

Will do. The eyes will fit in the Dx12 head, but the plastic piece at the base of the head needs modding to allow them to fit properly. The easiest way to get a good fit with the eyes is to dip the cowl in hot water first. Will post more pics this wknd when I've done it. The nice thing is I don't now have to open up my display case whenever I want to switch the eyes on.
 
Will do. The eyes will fit in the Dx12 head, but the plastic piece at the base of the head needs modding to allow them to fit properly. The easiest way to get a good fit with the eyes is to dip the cowl in hot water first. Will post more pics this wknd when I've done it. The nice thing is I don't now have to open up my display case whenever I want to switch the eyes on.

Cool, looking forward for the tutorial.
 
Back
Top