My attempts to learn to paint headsculpts

Collector Freaks Forum

Help Support Collector Freaks Forum:

This site may earn a commission from merchant affiliate links, including eBay, Amazon, and others.

tuck2197

Freaked Out
Joined
Feb 14, 2011
Messages
221
Reaction score
0
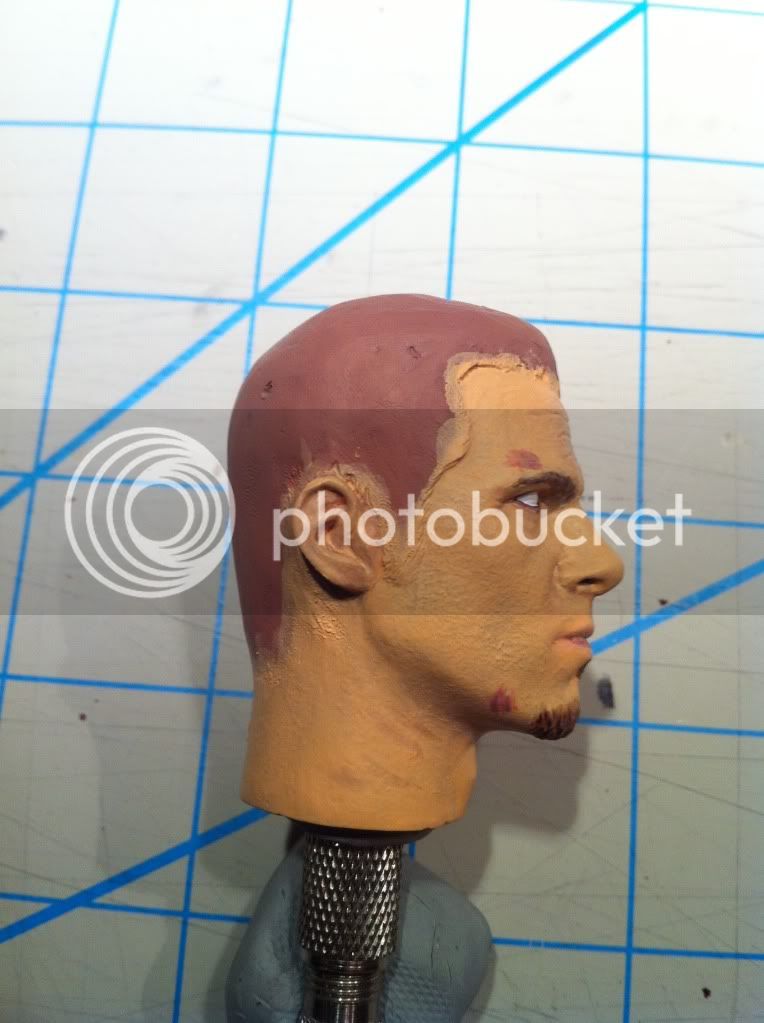
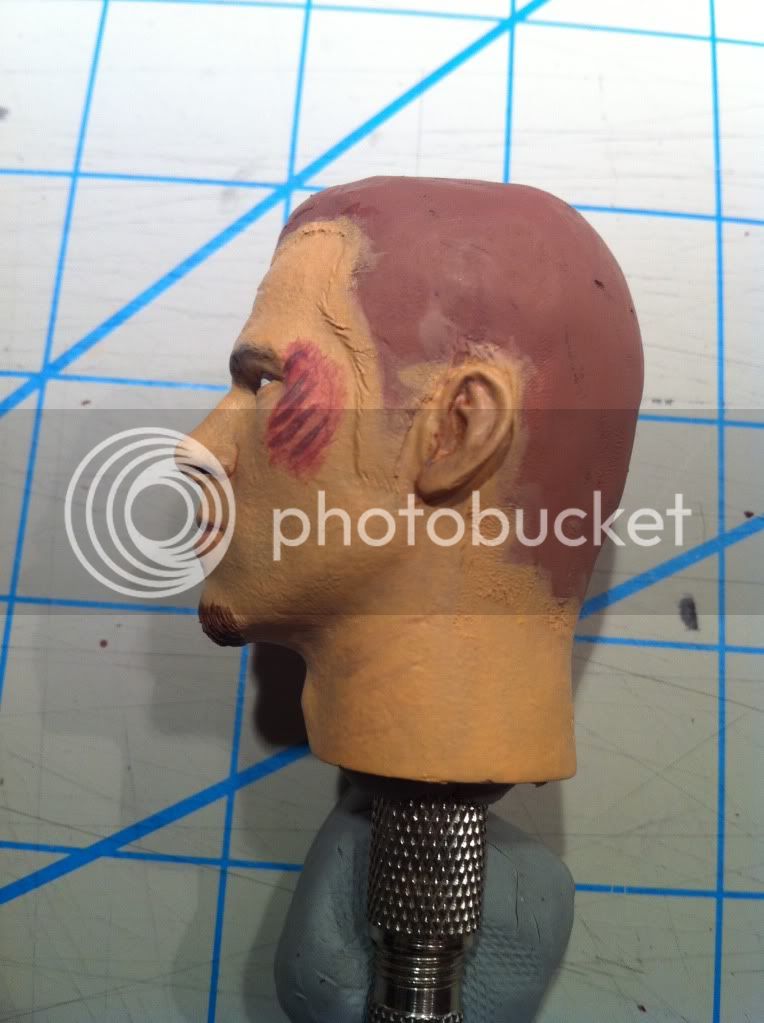
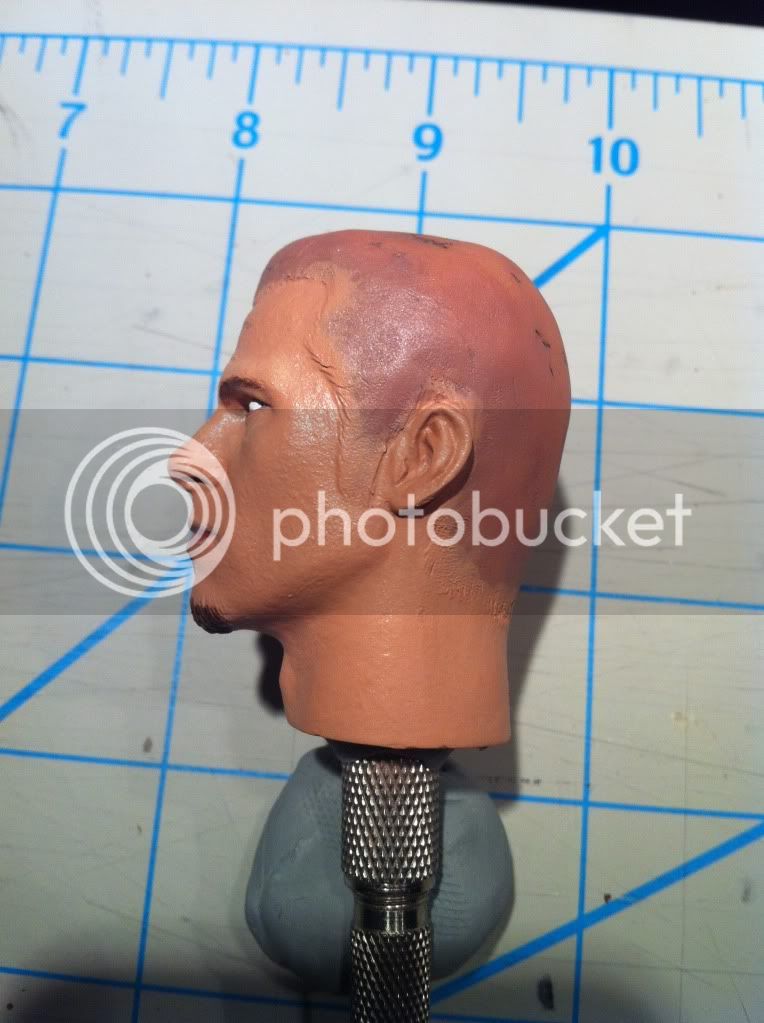
Ok so I tried my hand at doing a paint up on a spare headsculpt I had.

I used a spare head from Brother Productions Tyler figure. I went ahead and removed the hair so I could eventually try my hand at rooting hair as well so just ignore the hair area.

I used Greggo great tutorial as a starting point.

All in all I think it was a crappy first attempt. I learned a lot and, a bit more practice should do the trick. I think the skin tones look ok (I need to work with thinner layers I think and probably give more time for each layer to fully dry). I need to try a few ideas for the lips as I am not very happy with them. And I need to work the eyebrows and chin pubs a bit also. And ignore my attempts at painting in battle damage, that was just an experiment that I am not happy with at all. I didn't paint the eyes yet or apply any of the final clear coats. I'll practice those soon.

Please tell me what you think, and feel free to tell me it sucks:lol
Any tips or suggestions are welcome as well
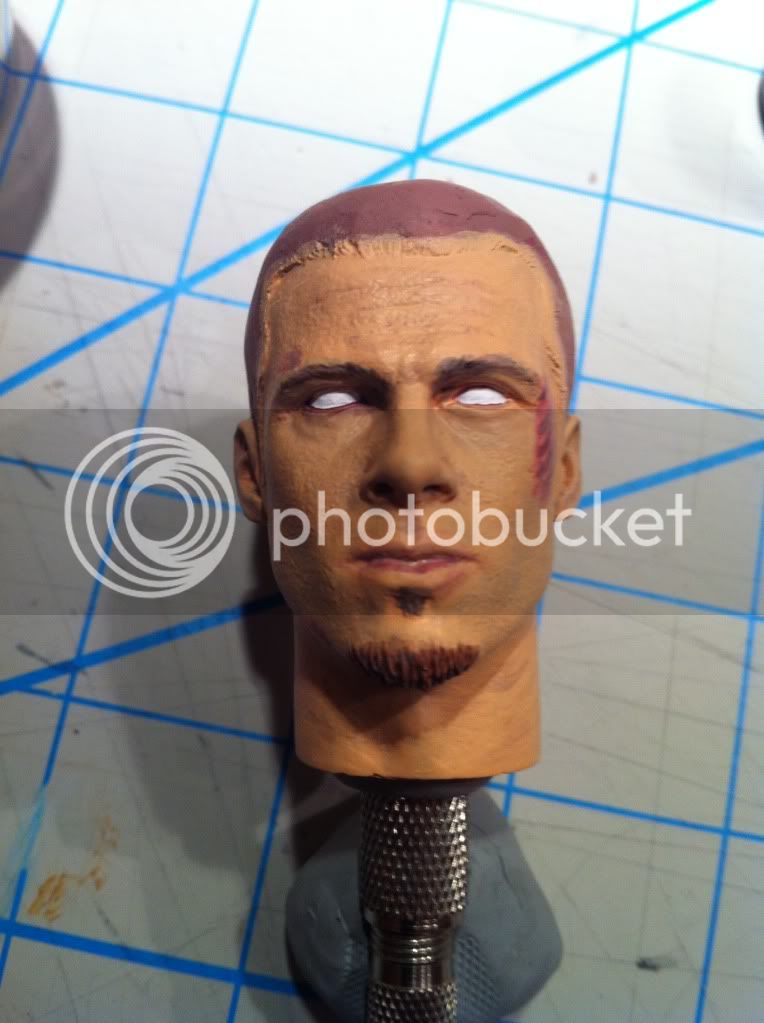
Facepaint-1.jpg


Facepaint-2.jpg


Facepaint-3.jpg
 
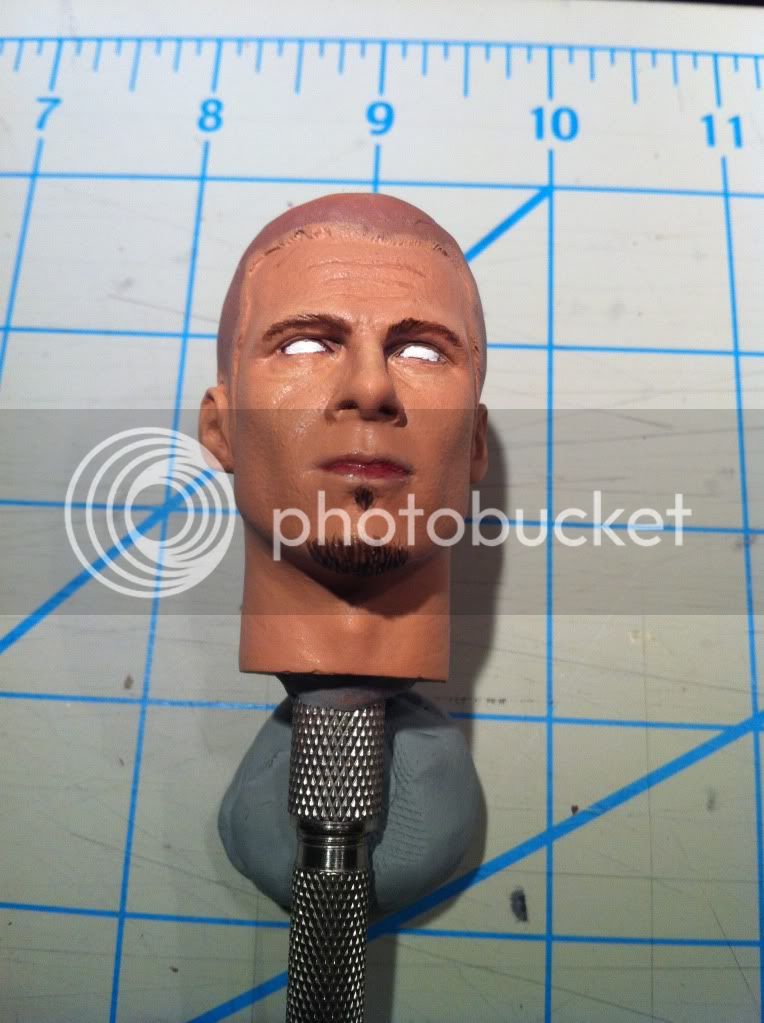
Ok so here is the progress report on my second attempt.

Basically on the first try I took greggo's direction to literally and only applied the flesh tone washes as many times as he indicated so 2 washes of the base coat and then 2-3 more lalers of the 2 lighter colors. And I now know that my paint wasn't nearly thin enough and you can see the results above, terrible.

This time I use 3 washes of the base coat, 2 washes of a slightly lighter color, 2 washes of a then lighter color and 6 washes of minutely lighter and lighter colors. The paint was so thin it was difficult to tell the difference between each wash at first. This is definately the key. You basically have to trust that eventually it will start to look good.

During my first attempt I fell into the trap I am sure most people do their first time. I kept trying to make each layer look perfect and often over painted which actually made the situation worse.

This time I made sure the paint was very thin and just applied very light layers. Using only a tiny bit of paint on the brush at a time. After the 3 layers of base coat I applied washes of red, green, and blue to the areas Greggo indicates. At that point the head looked like a badly painted clown. Applying the subsequent layers of flesh tones became an exercise in paitience as you have to trust that eventually all the layers will knock back the areas you highlighted.

Next up will be to start to subtley bring out the contours of the sculpt a bit more with washes to accenuate creases in the skin, eyes, and ears.

It may be hard to tell with the bad iPone pics but the basic flesh tones look really good to me and all of the detail in the sculpt is still there and there is a really good depth and tone tothe skin. So I am pretty happy with the progress.

facepaint2-1.jpg


facepaint2-3.jpg


facepaint2-2.jpg
 
Last edited:
I should also note that these images were taken under tungsten lighting so there is much more red in the flesh tones in the image seen here than there really is. I will eventually take pics with something other than my cell phone and color correct in photoshop if needed.
 
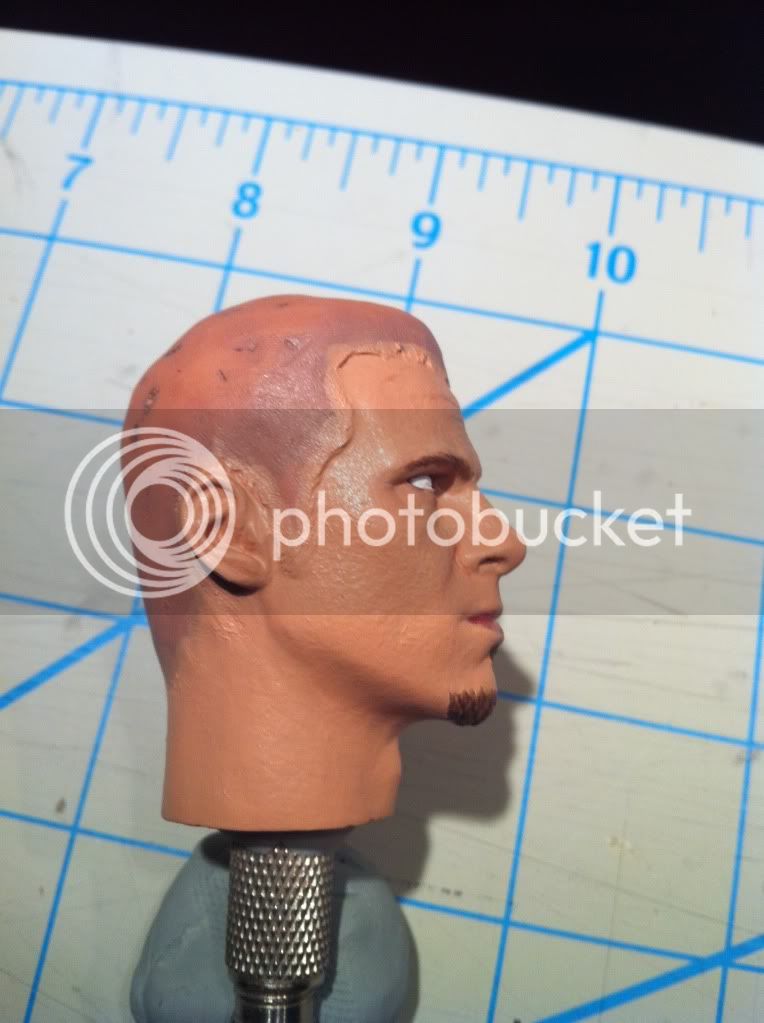
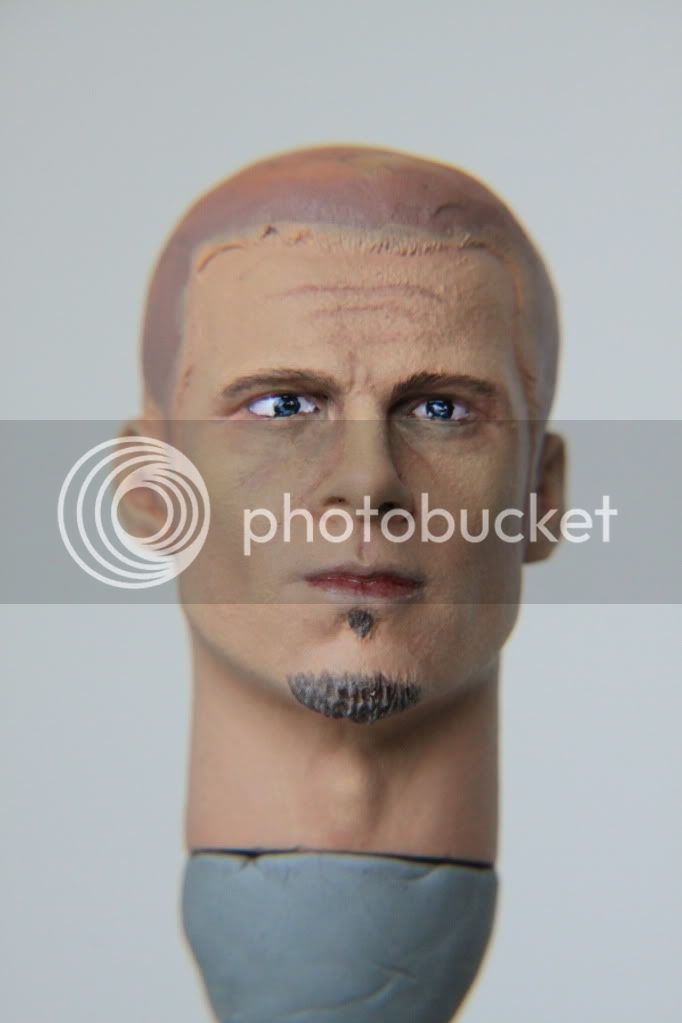
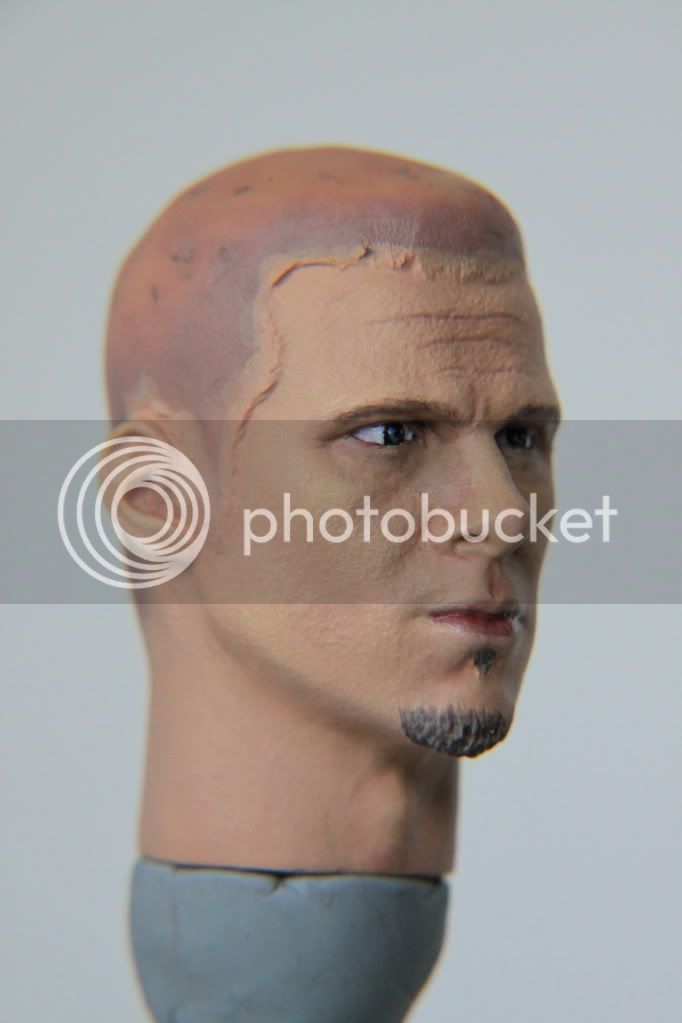
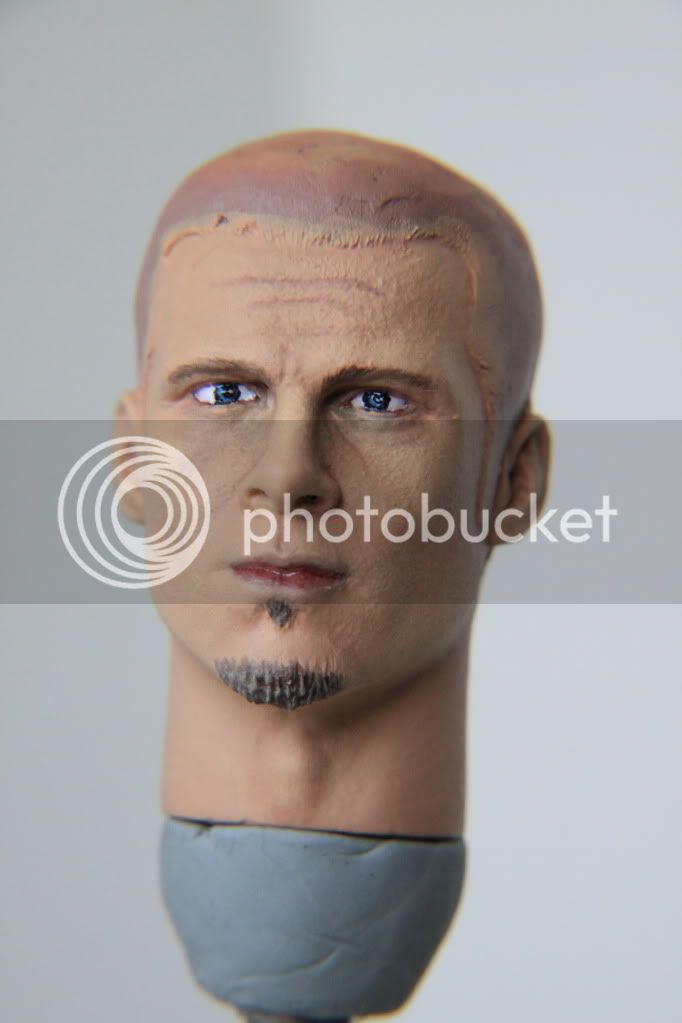
Ok so here is some more progress photos. All in all I am very happy with the progress. I think the flesh tones are a bit yellow and red. But I can easily work on that on future paints. I mainly wanted to see if I was capable of doing this. I am not terribly happy with the eye's, I think I will need to pick up a magnifying glass to use and possibly a smaller brush. I was going blind trying to get these. Also I applied the white paint to thick and while it's hard to tell ended up with too much texture on the eyes. I think I need to thin down the white and apply it in more layers.

As you can see the flesh tones are less red here. While I did lighten the tones a bit as I worked on the details, these new images are shot with a nicer camera and color balanced.

While not picture here I have started apply the hair. Too early to tell if my ideas have any chance of working. My plan is to glue short layers of hair to cover the side of the head. Then drill some holes and root the top. I'll post images no matter how bad it is :)

IMG_4325.jpg


IMG_4326.jpg


IMG_4324.jpg
 
Is the pupil alignment ok? It looks a little bit "cross eyed" to me. I think a magnifying glass for the paint work is necessary.
 
Looking good so far.

Im going to attempt my 1st head paint soon too....its something Im not looking forward to at all though :(
 
It's actually not that hard to get a passable paint, and the nice thing is you can always just strip the paint and try again. The hard part is getting that perfect job that you can zoom in close and it still seems perfect. That's where I am sure it takes years of practice.

I'd suggest using a spare head like I am doing and just playing with it. Learn the techniques for applying the various layers. Once you get those learning how to mix the correct skin tones is the only thing you will have to play with.

Also go very slow. The head as shown above was actually the 3rd paint try. Let every layer fully dry. I basically spent about 5 hrs on the paint, but probably only 45 min of that was actually painting. the rest was just waiting for paint to dry.

Thanks man.
The paint drying process is one of the main reasons Im not looking forward to learning this.
If only it dried quicker.
 
Hey mate I must say your doing a great job indeed. Keep it up, If you want any help or any questions drop us a PM or email me on [email protected] I will help you out as much as I can buddy.
But Your doing a great job.
 
Thanks Greggo! Means a lot coming form you. I can't wait to get my Rainman dude and Trevor Mal back from you all painted up so I can see up close your awesome work.

I will definately hit you up for some tips once I get a bit more practice.

Hey mate I must say your doing a great job indeed. Keep it up, If you want any help or any questions drop us a PM or email me on [email protected] I will help you out as much as I can buddy.
But Your doing a great job.
 
Back
Top