Action Figure Neca 1/4th Predator Custom Mod Thread Only

Collector Freaks Forum

Help Support Collector Freaks Forum:

This site may earn a commission from merchant affiliate links, including eBay, Amazon, and others.
Thanks guys for checkin it out! :panic:

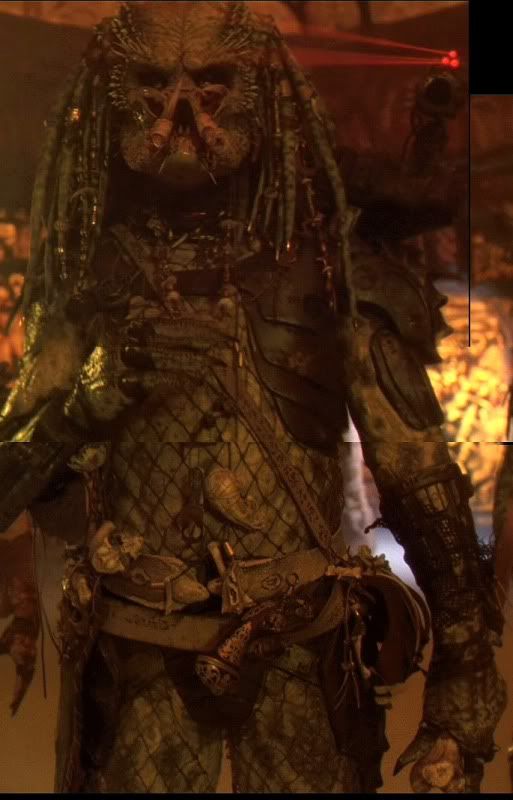
There seems to be some discrepincies regarding the sheath. I have spent hours looking for pictures and doing research. There is only a few good shots of it, and they are not even that good in quality.

From what I can tell from my reference pics, there seems to be a skull on the top of the sheath. Looks like it has some kind of brass thingy hanging from it with some beads and bones attached.

The sheath may be leather or snake skin and has intertwining ropes flanking each side.

The NECA Elder Predator's sheath has a ribcage hanging on it, which is incorrect. Tankman said that the rib cage should be hanging from the Elders pouch on his left side, not on top of the sheath...which is correct.

Elderbeltdetails.jpg
elderloincloth.jpg


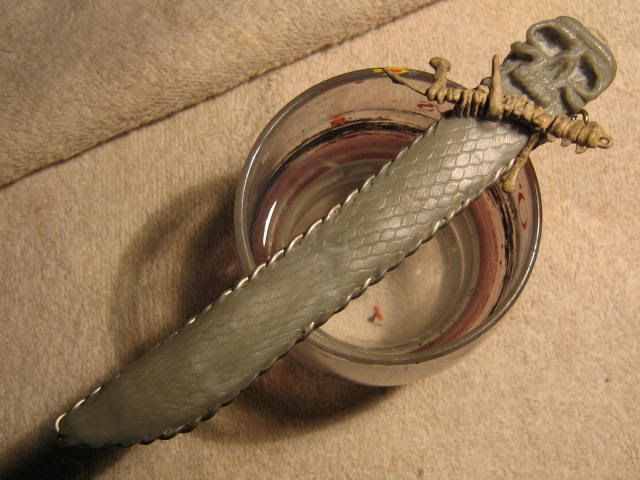
So, I came up with this. For the ropes, I used soldering wire. I attached the ends to a drill and spun it until it was intertwined.

I wrap each side of the sheath with the wires in the wet putty to secure it. I will add the bones and jewelry during final assembley.

Again, using my onion bag, I press a nice snake pattern into the sheath. I also added the little spinal bone. I thought it looked cool below the skull.

I Know it may not be movie accurate, but it will do. And I'm sure Joe is going to make it look awesome!!!

IMG_0573.jpg


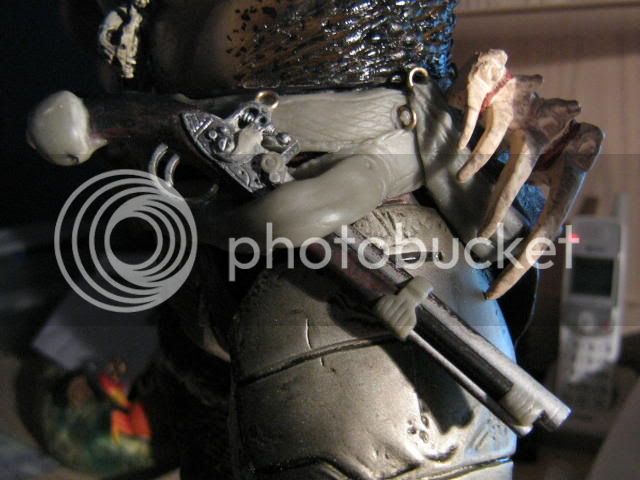
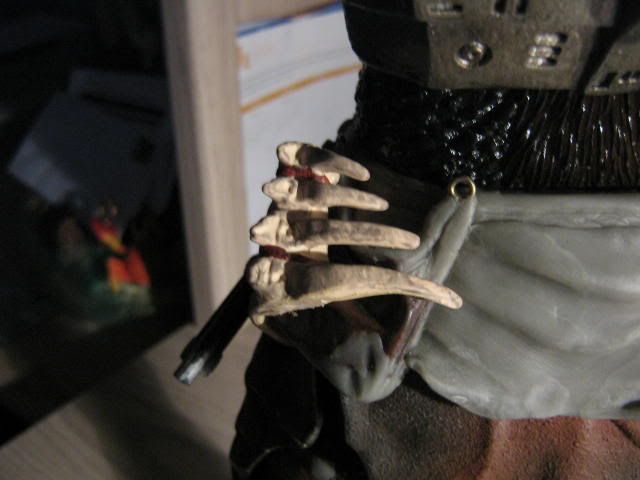
I also found a ribcage in my box of spare parts. It's attached with a nail to secure it. After paint, I'll add the straps that hold it on.

IMG_0643.jpg
IMG_0646.jpg


Now onto the head conversion...:panic: :panic: :panic: :yess:
 
Last edited:
But see what adegregorio is capable of doing with this mod so far, he should be capable of pulling it off.
 
So how could I do all this customizing on this Elder, and not put his laser sights on top of his cannon? Well here it is...:yess:

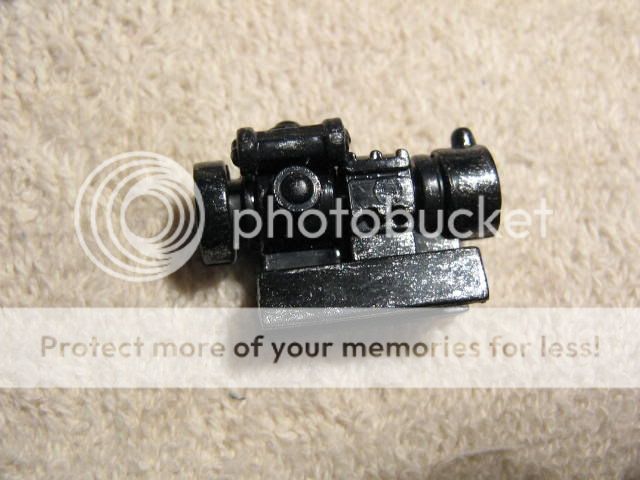
I rummange through my bin of spare parts and find a 1/6 scale scope from a rifle.

IMG_0671.jpg


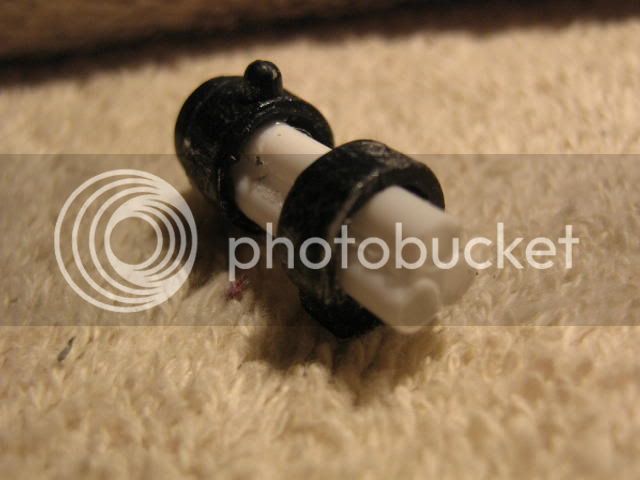
I cut out the center part of the scope and then I drilled out the centers. I then cut 3 q-tips to the desired length and glue them in place mimicking the tri-laser sight.

IMG_0673.jpg


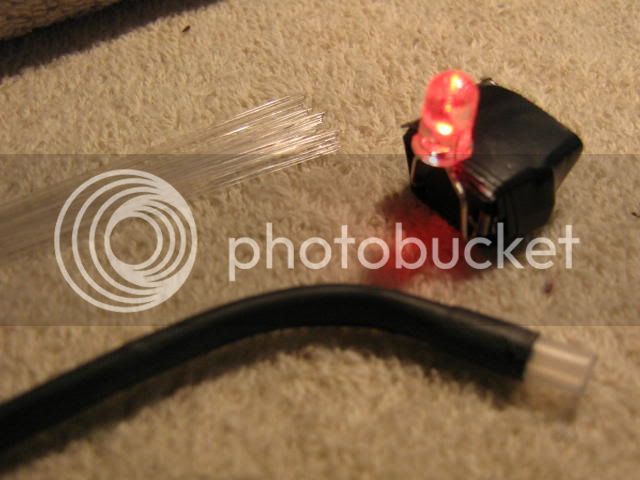
I had some left over fiber optic cable from a previous project I did so I thought I would use them on this.

I also found a nice black hollow cable to house the fiber optic wires.

I'm running 5 fiber optic wires per laser hole...for a total of 15.

I also have a jar of little led light from various toys that I pulled apart. I found a red one...lucky!!!

IMG_0678.jpg


I thread the LED wires thru the black cable and then seperate them into 5 each and slide them down the q-tip cylinders.

Then I push the LED light up into the little plactic cylinder/black tubing that houses the ends of the fiberoptic lights.

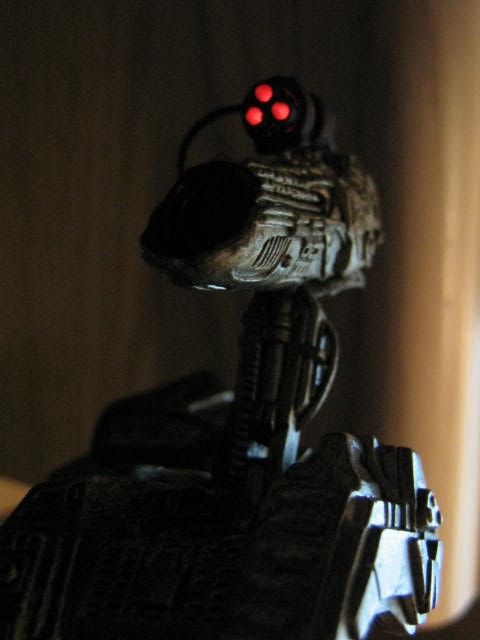
And here it is attached and lit. The great part about using the q-tips is that they are white inside. So when the fiber optic lights go on, it glows all around inside the tube.

IMG_0689.jpg


I still need to sculpt a little box around the LED batteries, which will be placed under neath the open space just above the shoulder where the cannon rests.

More to come, so stay tuned... :hi5:
 
:horror That is freaking awesome :rock:rock:rock

See, I told you you could do it!! :hi5:

That is seriously awesome!! Man I can not wait to see this finished :blissy
 
Back
Top