Action Figure Neca 1/4th Predator Custom Mod Thread Only

Collector Freaks Forum

Help Support Collector Freaks Forum:

This site may earn a commission from merchant affiliate links, including eBay, Amazon, and others.
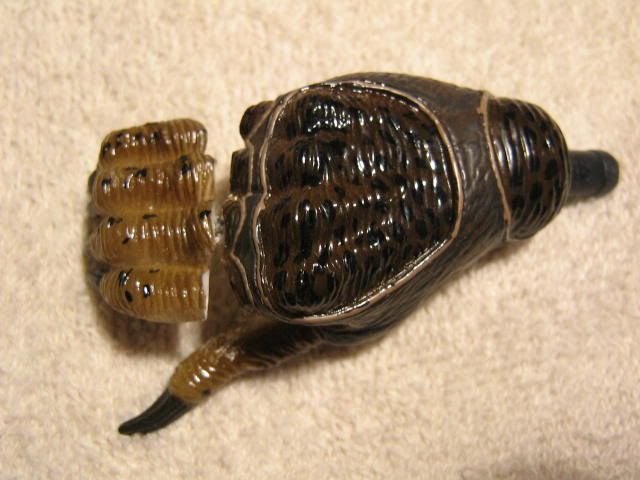
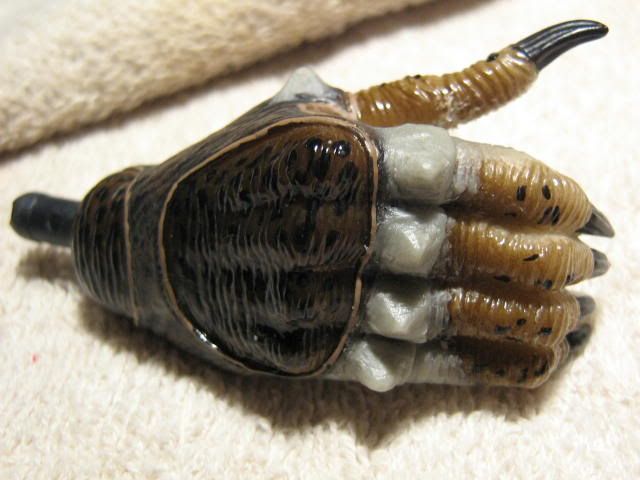
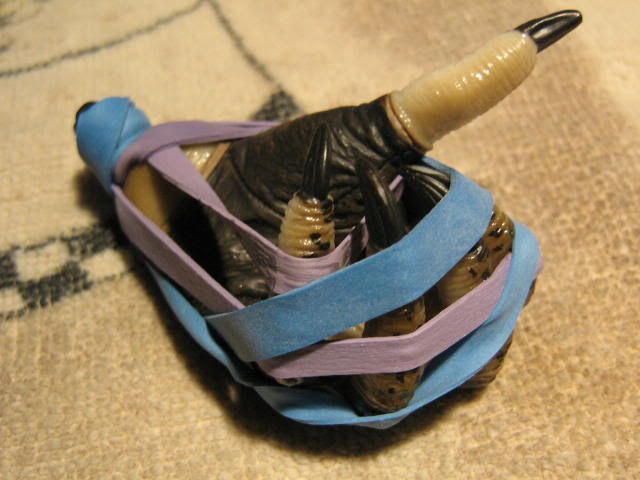
Ok, I threw the left hand into the microwave for a few minutes to soften up the rubber. Then I bend the fingers to the closed position.

I then immerse it in ice cold water to shock it. Then I tied some rubber bands around it to keep it's shape.
IMG_0416.jpg


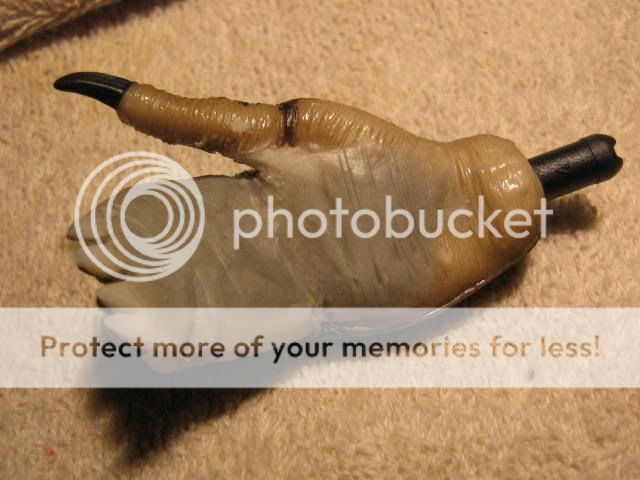
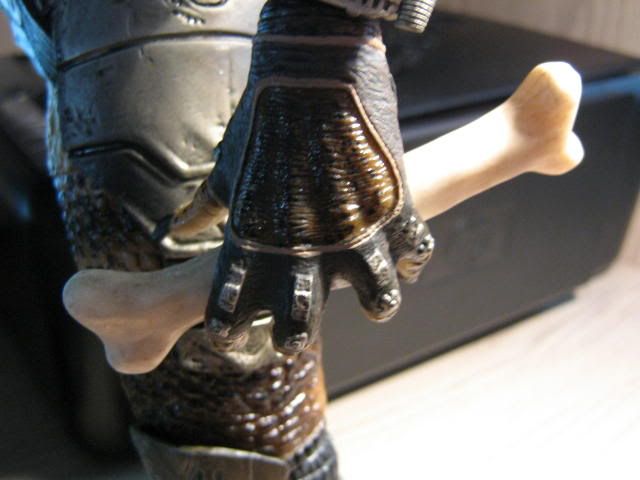
With the hand in the position I want, I set the bone in it. I found these bones at Micheal's craft store last Halloween. It's a perfect fit!
IMG_0420-1.jpg


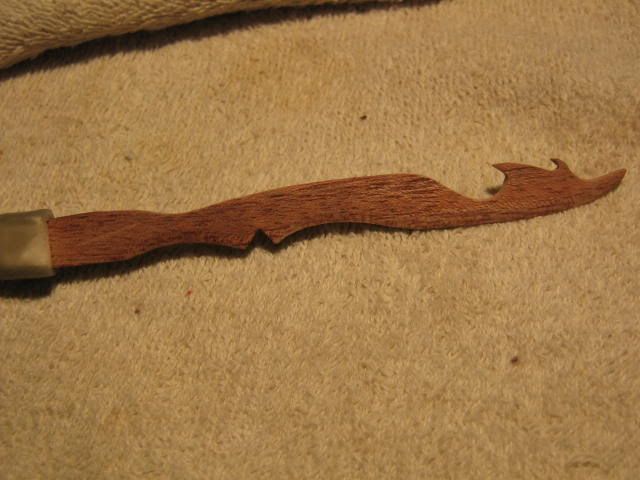
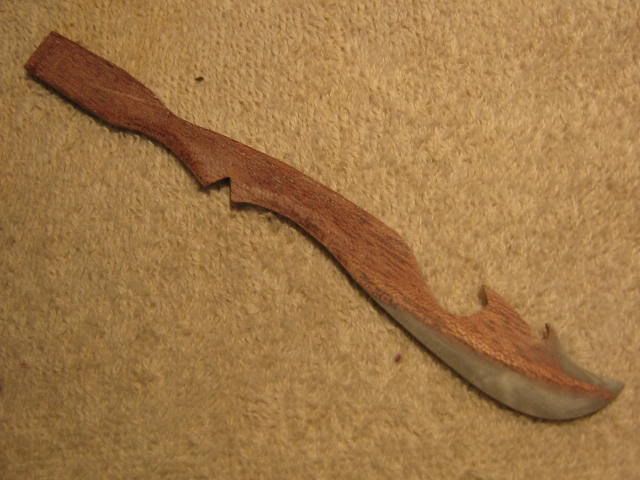
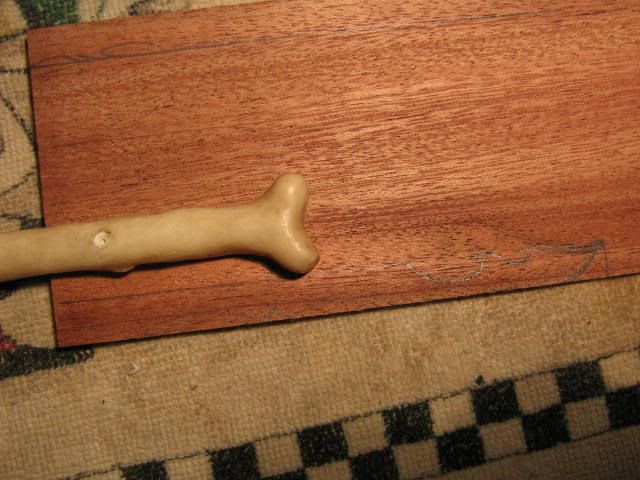
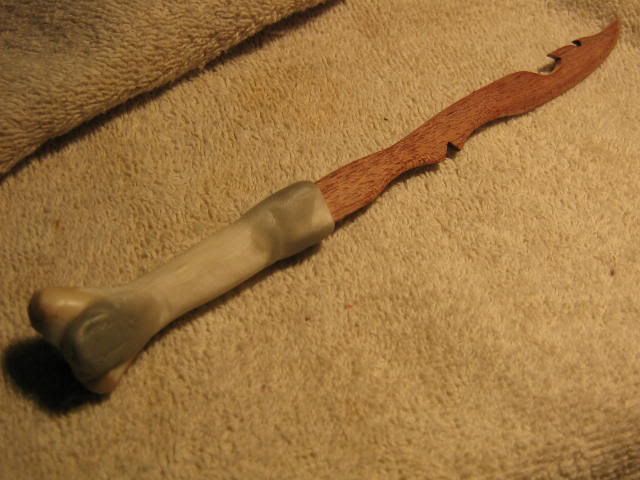
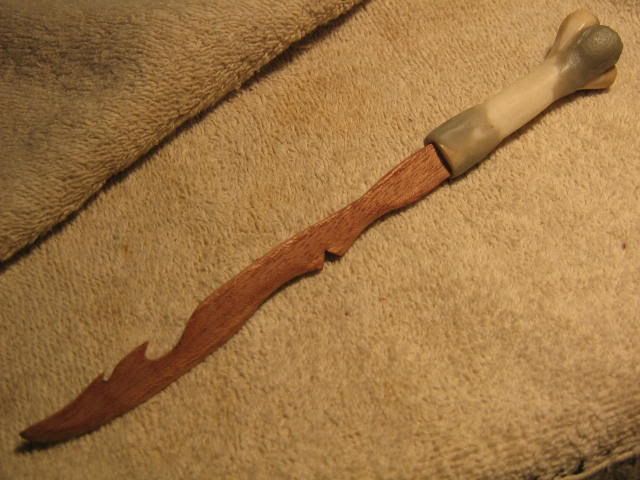
Looking at reference pics, I freehand the Predators blade on a piece of very thin wood. Then I use my dremel and cut out the shape.
IMG_0422.jpg


From looking at the reference pics, the Elders bone has four articular cartilages pointing out. So I sculpt in two more on the top of the bone.
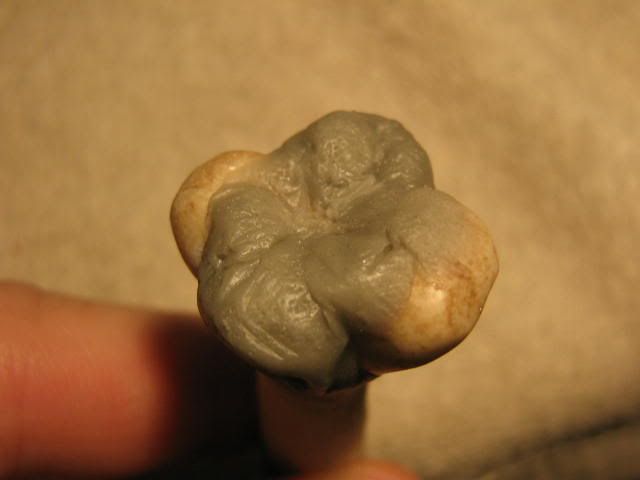
IMG_0427.jpg


And then the finished product. When the time comes, after paint, it will be wrapped with different cloth and chords.
IMG_0428.jpg
IMG_0429.jpg


More to come.....soooooon! :yess:
 
:rotfl Ok, one more try on the Blade. I think this looks pretty good! :yess:

IMG_0571.jpg

I like that! You're doing a good job on it.

And next time, try immersing parts you want to soften up in boiling water, or even just warming them up with a hair dryer. That microwave bit sounds too risky :horror
 
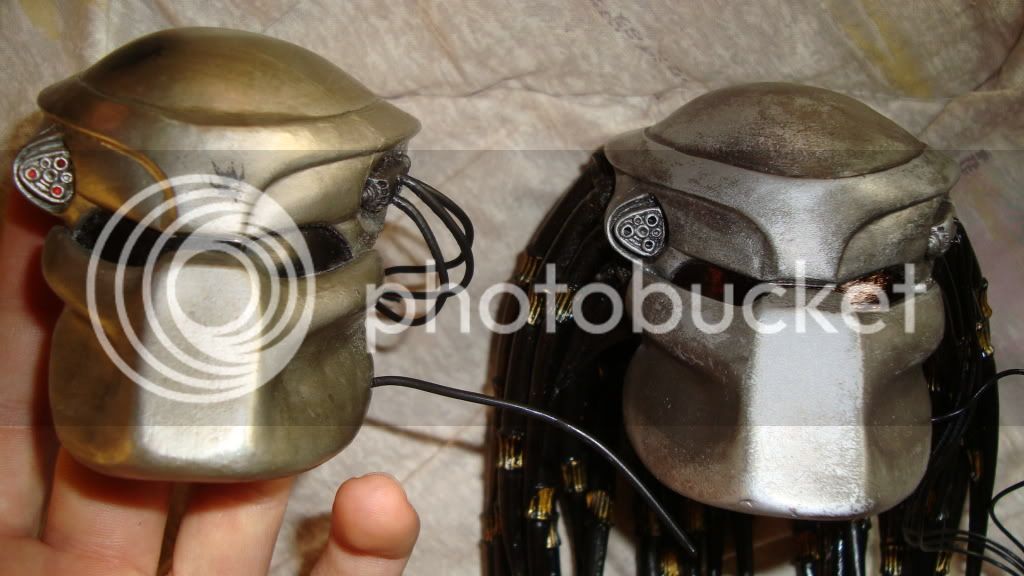
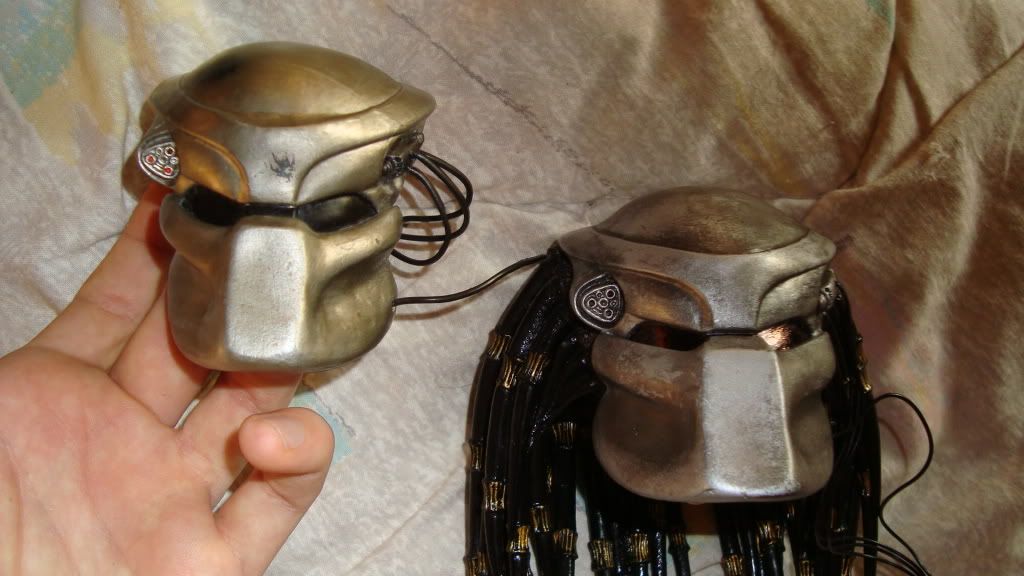
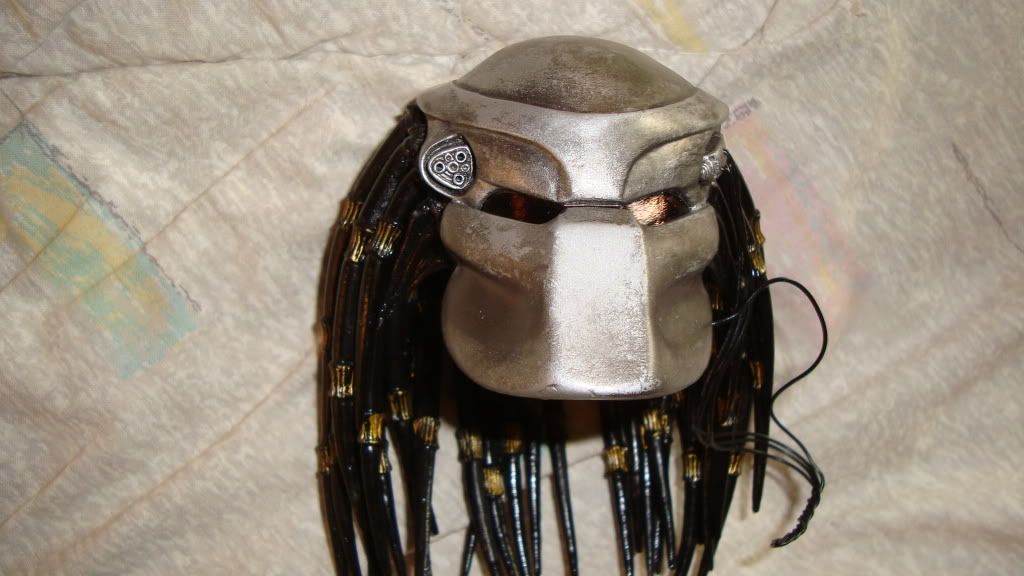
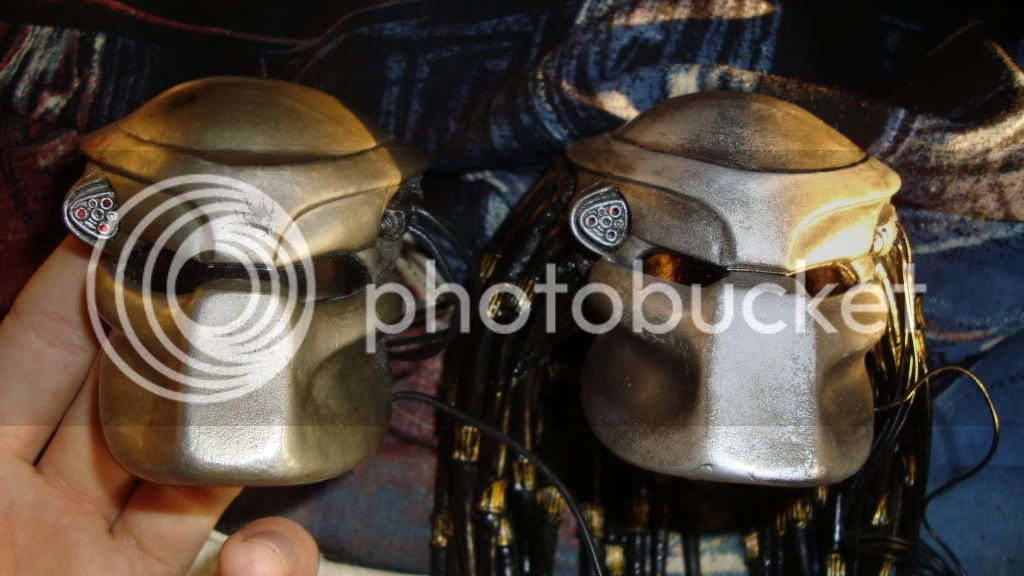
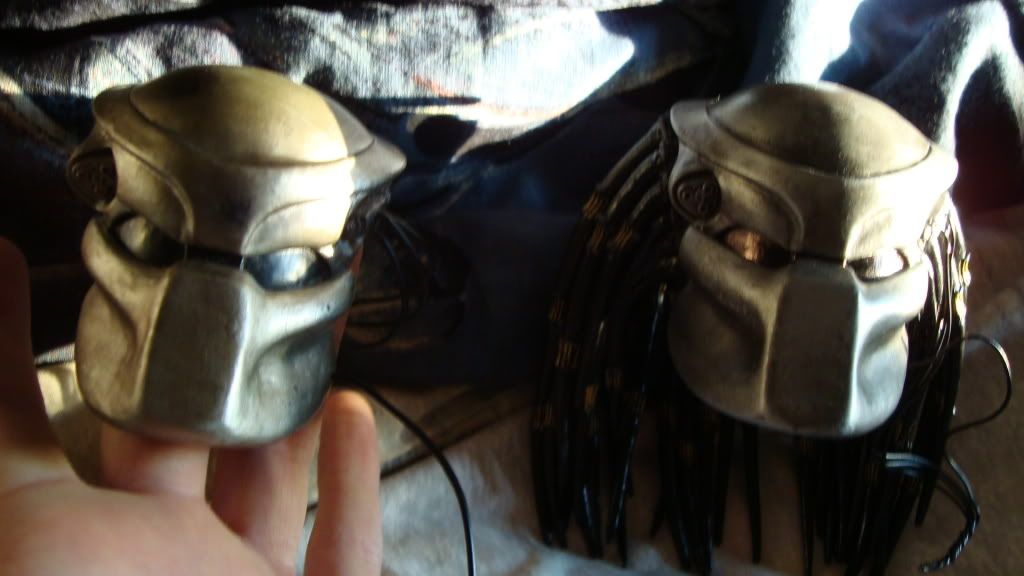
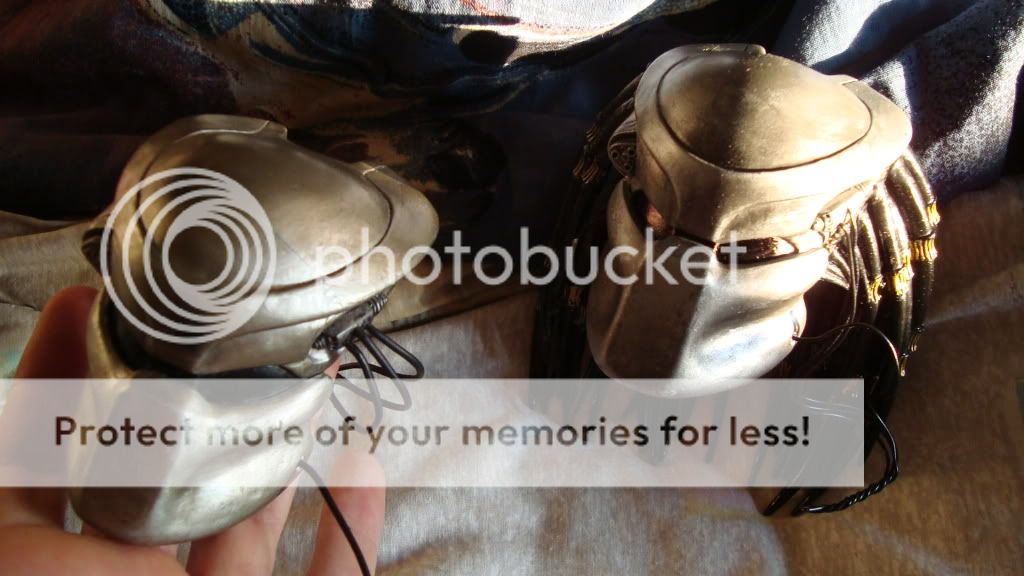
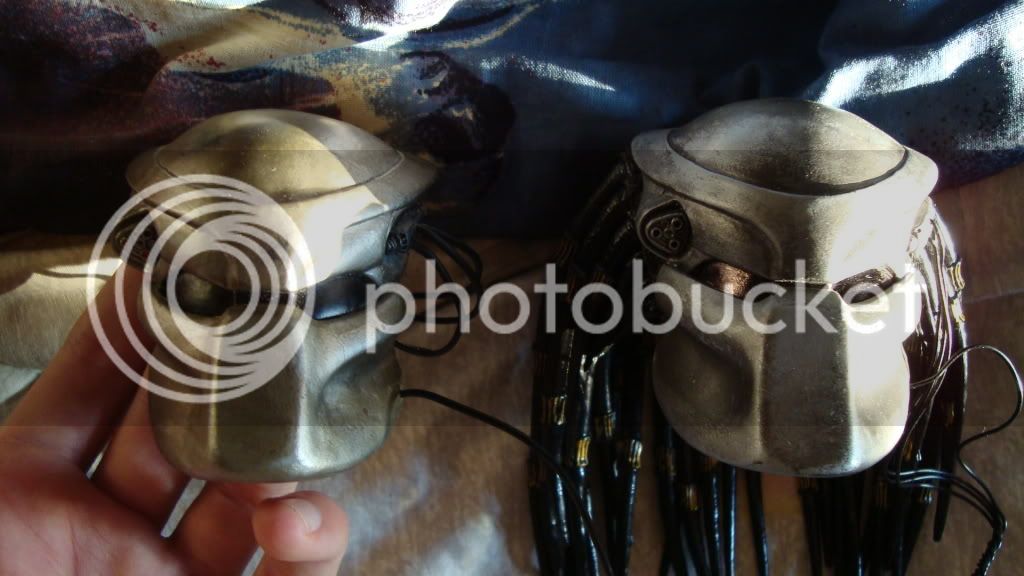
Just got my masked head back with LED from Ashkanls and it's AMAZING! :yess: Added some extra black color on the visor for more glossy look. Side by side comparison with original mask. What do you think? Please excuse my crappy pics!
DSC01897.jpg

DSC01893.jpg

DSC01892.jpg

DSC01890.jpg

DSC01876.jpg

DSC01875.jpg

DSC01872.jpg


Thank you Tankman & Ashkanls :hi5:
 
Ok, I threw the left hand into the microwave for a few minutes to soften up the rubber. Then I bend the fingers to the closed position.

I then immerse it in ice cold water to shock it. Then I tied some rubber bands around it to keep it's shape.

IMG_0416.jpg


With the hand in the position I want, I set the bone in it. I found these bones at Micheal's craft store last Halloween. It's a perfect fit!

IMG_0420-1.jpg


Looking at reference pics, I freehand the Predators blade on a piece of very thin wood. Then I use my dremel and cut out the shape.

IMG_0422.jpg


From looking at the reference pics, the Elders bone has four articular cartilages pointing out. So I sculpt in two more on the top of the bone.

IMG_0427.jpg


And then the finished product. When the time comes, after paint, it will be wrapped with different cloth and chords.

IMG_0428.jpg
IMG_0429.jpg


More to come.....soooooon! :yess:

:rock:rock:rock
Really looking forward to seeing this when complete!
Great work so far. Keep the WIP pics coming!
 
Ok, more updates...

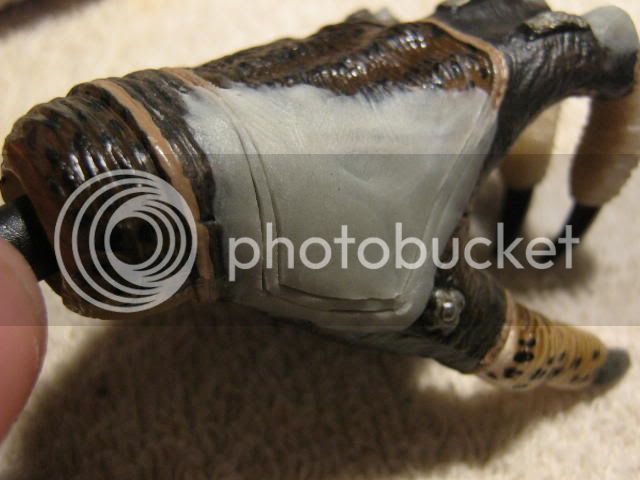
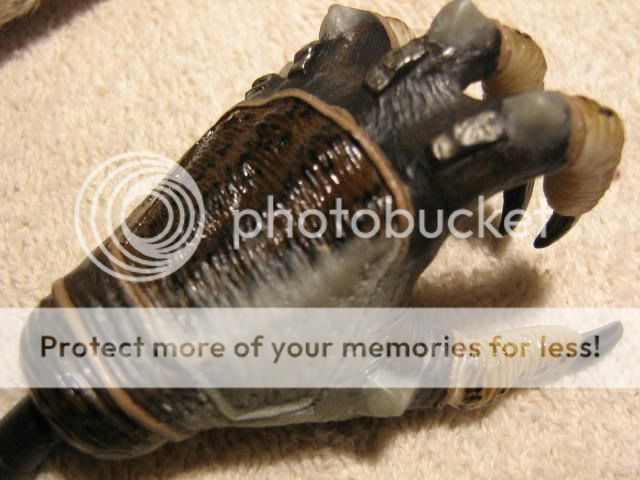
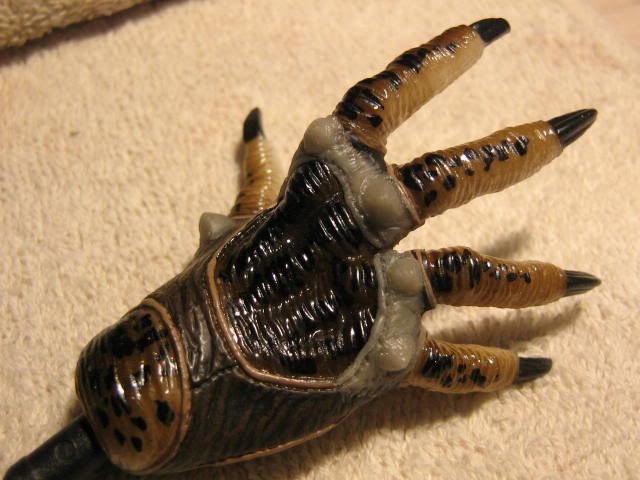
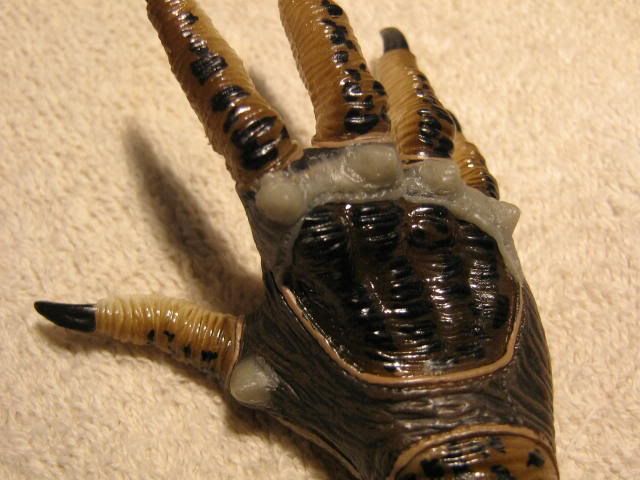
The closed right fist will be modified to an open fist so the Elder can hold his necklace in his hand.

I just cut the hand apart and then cut the fingers and make them straight. I use a pin to add some strength.

Then I use some AVES putty and sculpt in parts of the fingers as well as the silver knuckle guards. No need to sculpt in the palm, you won't see it.

IMG_0458.jpg
IMG_0463.jpg


IMG_0475.jpg


Now on too the left hand that holds the sword. I sculpt in more of the silver knuckles guards to match the right hand.

I widen the glove area a little more and sculpt in the rest of the hand.

I also did the other right hand while I was at it...just in case I wanted to switch out the hands.

IMG_0473.jpg
IMG_0474.jpg


IMG_0464.jpg
IMG_0465.jpg


Thanks for looking, commenting and helping with this project....Cheers guys! :hi5:
 
Thanks for commenting and looking guys! :yess:

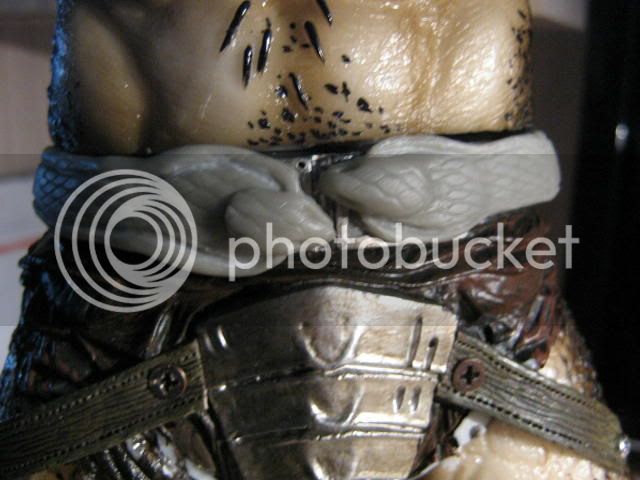
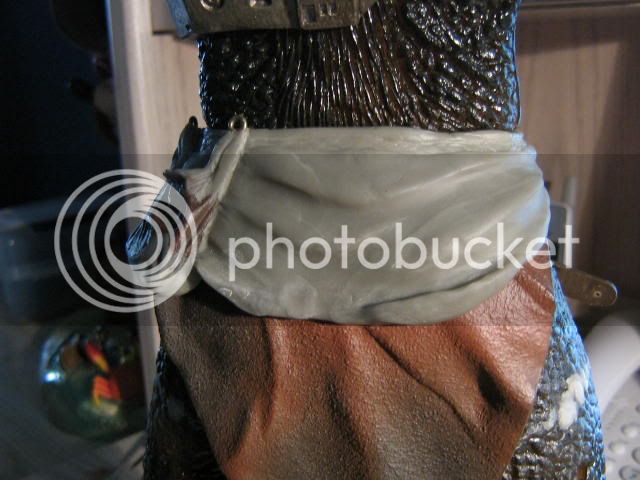
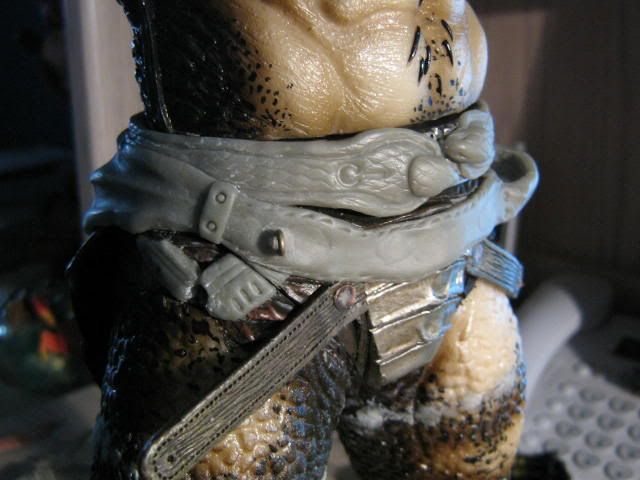
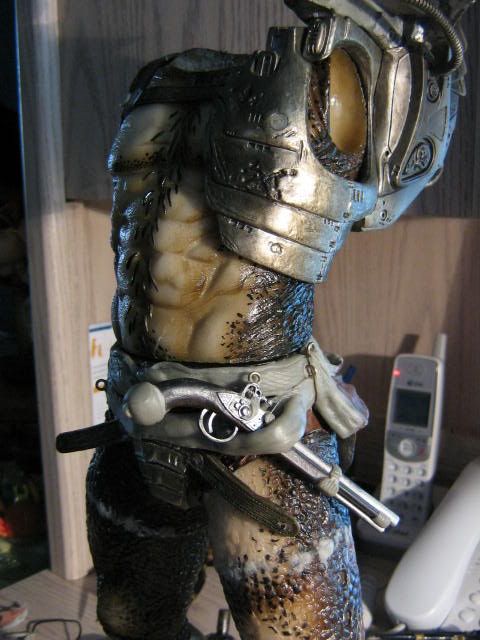
Ok, well here some belt details. I had to really think about how I wanted to do this, seeing as the legs move and pivot around the waist area.

The snake belt was rather easy, I just sculpted over the original belt. I used a small mesh onion bag to get the snake pattern.

While the putty is still wet, I lay the onion bag over the belt and push down. Can't push too hard or my fingerprints will show up.

I also sculpted in a loin cloth over the original one it came with.

IMG_0433.jpg
IMG_0589.jpg


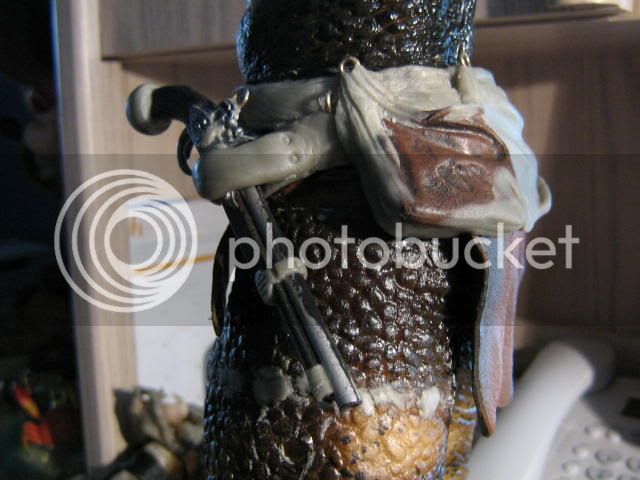
The lower belt which hold the flintlock as well as the swords sheath was a bit more tricky.

Because the legs move and twist right next to the front loin cloth, I had to sculpt the belt higher on the sides and lower in the front running the putty line right next to the break in the leg.
I also need to take the legs off on that part to add the netting later so I opted to go this route.

You can see the tiny break line in the little v-shaped belt that holds the swords sheath. I hate break lines but this one needs to be there.

I had some extra putty left over so I beefed up his side pouch a bit. I also added little round hooks for the strap later on.

IMG_0604.jpg
IMG_0594.jpg


Well it's starting to come together...more to come, and thanks for lookin.... :panic:

IMG_0597.jpg

Very nice work!:clap Thanks for sharing.
 
Thanks guys! More to come... :yess:

This is way fun seeing you make this thing. I'm so looking forward to seeing it when it's finished.

@Tankman...your sculpt is great bud. As I was getting deeper into this project and taking this Predator apart, I really started to notice all the little details you put into this. Very nice job!!! :hi5:
 
So aderegorio, what's up with the drywall screws holding those straps in place? Everything is looking cool, and then we see those screws. I'm sure you have a good reason looking at everything else you've done so far, it's just I can't stop looking at them!
 
So aderegorio, what's up with the drywall screws holding those straps in place? Everything is looking cool, and then we see those screws. I'm sure you have a good reason looking at everything else you've done so far, it's just I can't stop looking at them!

:lol ....those will be gone soon enough... they are there just to hold the strap in place firmly. I'll sculpt the appropriate straps and lay them over those pesky screws...:rotfl :rotfl

:)
 
That, or you could just say he's an elder, so they're just screws protruding out from his prosthetic hips :lol
 
Back
Top