Action Figure Neca 1/4th Predator Custom Mod Thread Only

Collector Freaks Forum

Help Support Collector Freaks Forum:

This site may earn a commission from merchant affiliate links, including eBay, Amazon, and others.
:horror That is freaking awesome :rock:rock:rock

See, I told you you could do it!! :hi5:

That is seriously awesome!! Man I can not wait to see this finished :blissy

Yeah, I was just pulling your leg... :lol

I had the LED's in mind right from the start. I wanted him to look exactly like he did from the end scene.

Walking out, laser on, holding his sword and necklace.

:yess:
 
Yeah, I was just pulling your leg... :lol

I had the LED's in mind right from the start. I wanted him to look exactly like he did from the end scene.

Walking out, laser on, holding his sword and necklace.

:yess:

:tap Oh, we have a wise guy, huh?!


That's awesome :rock

Too many prudes on this forum :D
 
So how could I do all this customizing on this Elder, and not put his laser sights on top of his cannon? Well here it is...:yess:

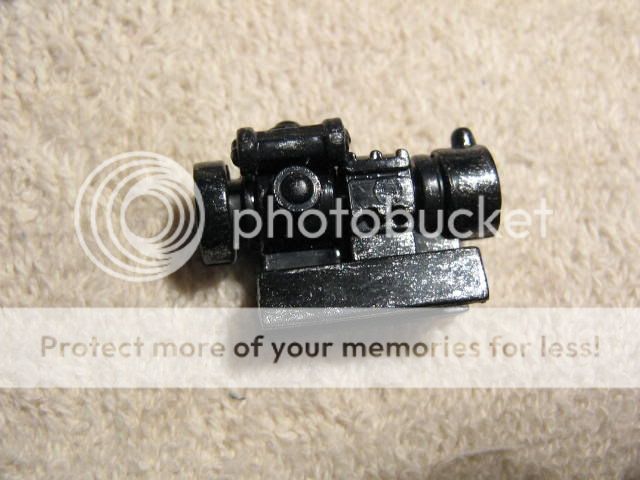
I rummange through my bin of spare parts and find a 1/6 scale scope from a rifle.

IMG_0671.jpg


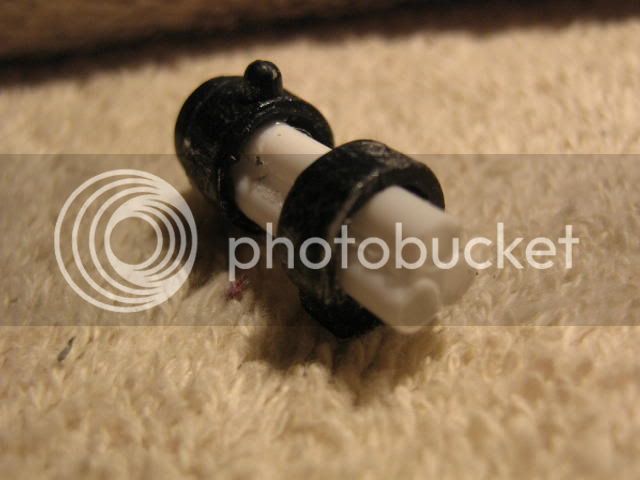
I cut out the center part of the scope and then I drilled out the centers. I then cut 3 q-tips to the desired length and glue them in place mimicking the tri-laser sight.

IMG_0673.jpg


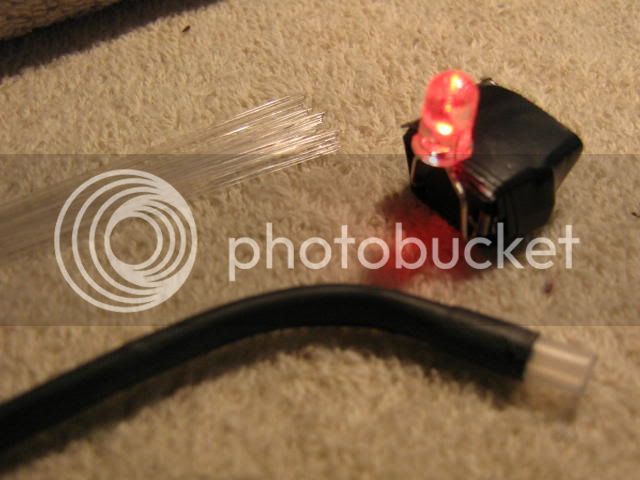
I had some left over fiber optic cable from a previous project I did so I thought I would use them on this.

I also found a nice black hollow cable to house the fiber optic wires.

I'm running 5 fiber optic wires per laser hole...for a total of 15.

I also have a jar of little led light from various toys that I pulled apart. I found a red one...lucky!!!

IMG_0678.jpg


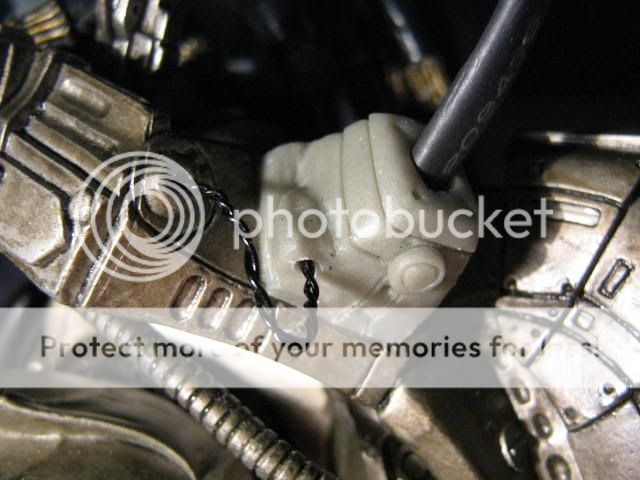
I thread the LED wires thru the black cable and then seperate them into 5 each and slide them down the q-tip cylinders.

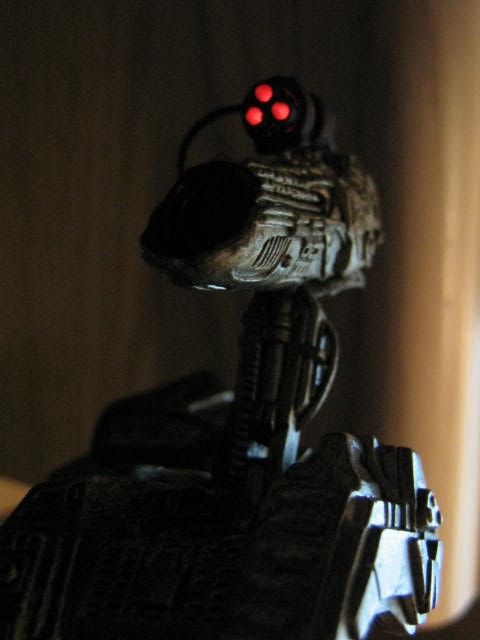
Then I push the LED light up into the little plactic cylinder/black tubing that houses the ends of the fiberoptic lights.

And here it is attached and lit. The great part about using the q-tips is that they are white inside. So when the fiber optic lights go on, it glows all around inside the tube.

IMG_0689.jpg


I still need to sculpt a little box around the LED batteries, which will be placed under neath the open space just above the shoulder where the cannon rests.

More to come, so stay tuned... :hi5:

this is really really awesome!!
 
That's one hell of a bin of spare parts you got there lol.

I think I can safely say this will be the best conversion I'll ever see, looking forward to more!

Looking at the work you're doing I'm starting to wonder how difficult it would be for someone to convert this figure into a P2 Pred?

It would mean completely stripping the armor and fabricating new armor but it looks like it could be done.
 
Last edited:
Yeah, I was just pulling your leg... :lol

I had the LED's in mind right from the start. I wanted him to look exactly like he did from the end scene.

Walking out, laser on, holding his sword and necklace.

:yess:

:lol:rotfl:lol:rotfl:lol

I thought it was a bit strange that you can do all these nice mods but you couldnt wire a simple LED system!:lol

This is great stuff youre doing bro.
 
Hey adegregorio, after you're done with this custom, send your magic box my way. I think you have enough "spare parts" in that thing that I could build a life-size, working T-800 endo.
 
No kidding man, I'd love to paint that up! But I don't hold a candlestick to guys like Joe.
 
Thanks for all the compliments and all the help through PM's. :clap

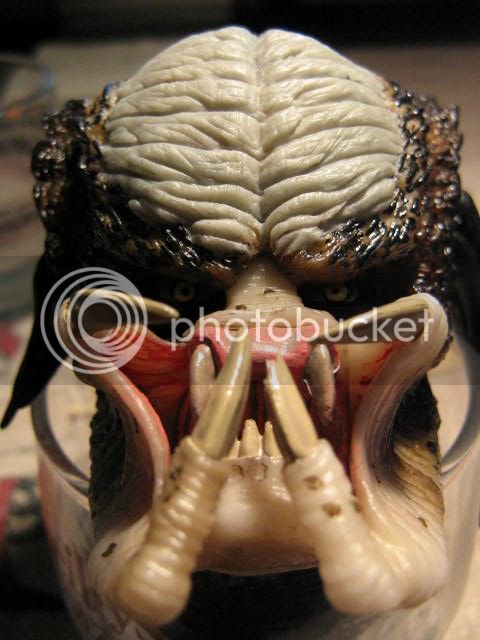
Ok, so we all know the head (and the body as well) is the original predator head modified to look more like an older Predator.

For example: the boney protrusions, broken tusk, more quills, colored dreads and beads, and multiple ridges in the forehead area.

All these things are what makes Predator Elder stand out. I saved the head for last because I knew this would make or break this custom figure. So here we go...

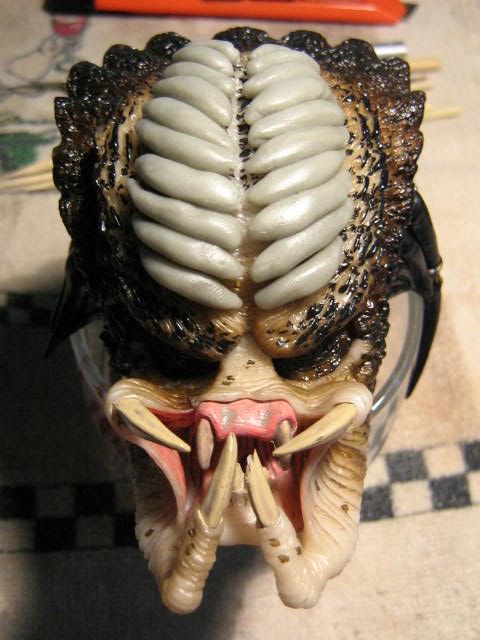
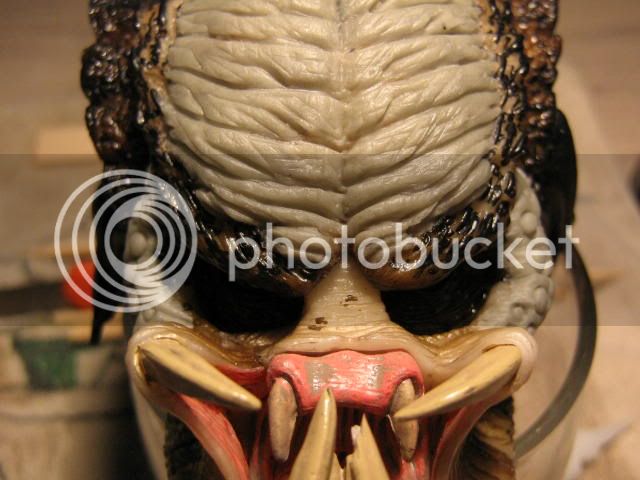
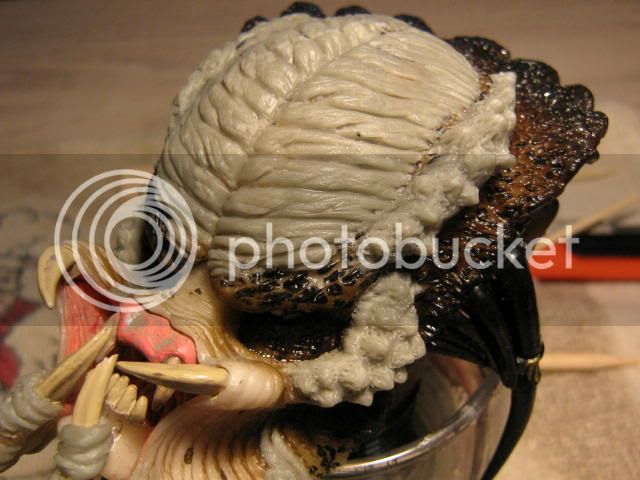
I started on the head detailing. I roll out some AVES in long tubes and run them parallel leaving a ridge right up the frontal bone.

I use a pointed wooden dowl wet at the end and start sculpting in my lines. I use irregular patterns to make it look more natural. I also smooth out the edges to make them blend in with the already sculpted head.

One trick I use to get multiple lines at once is I use a long threaded bolt. I take the thread side and lay it on the wet putty and twirl the bolt in different directions.

You can go deep or hard depending on how thick the threads are on the bolt.

IMG_0482.jpg
IMG_0488.jpg


More to come... :yess:
 
I found this netting in a beach. This is the net of a supertele ball. It 'the same structure and material used by Neca, but the size of the squares seem to correspond better.

ekrfrp.jpg
 
I sculpted this little box to house the LED and fiber optic cables on top of his shoulder cannon. I tried to make it look like part of the backpack.

The wires come from inside the box to the laser sight.

I know it's not movie accurate, but I needed it for the LED conversion.

IMG_0826.jpg


Now back to sculpting the rest of the head... :)
 
More head detailing...

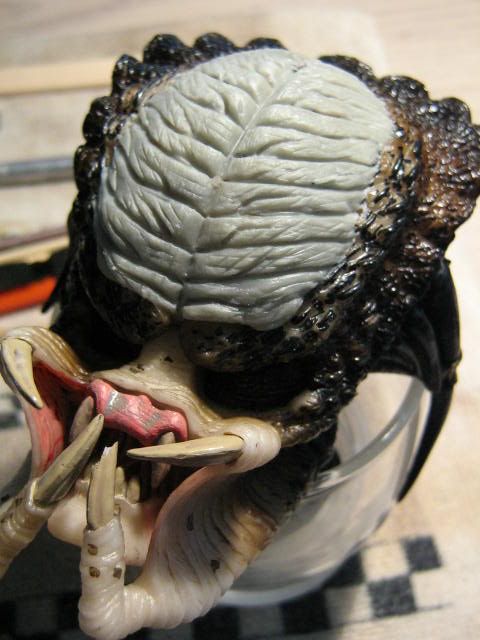
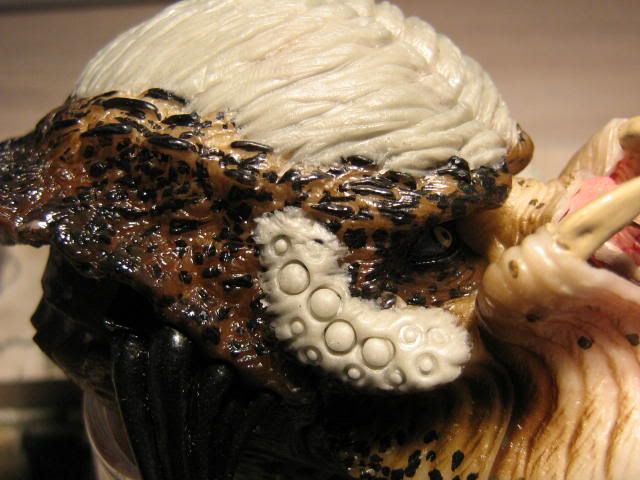
Now onto the sides and lower mandibles. I spread some putty around the cheek bones simulating a half moon.

I use a little paint cap to position where I want to place the boney protrusions. Then I drop a little ball of putty on the circle and manipulate it into a little bone.

I mirror the same to each side of the cranium using the previous step.

IMG_0489-1.jpg
IMG_0491-1.jpg


IMG_0498.jpg


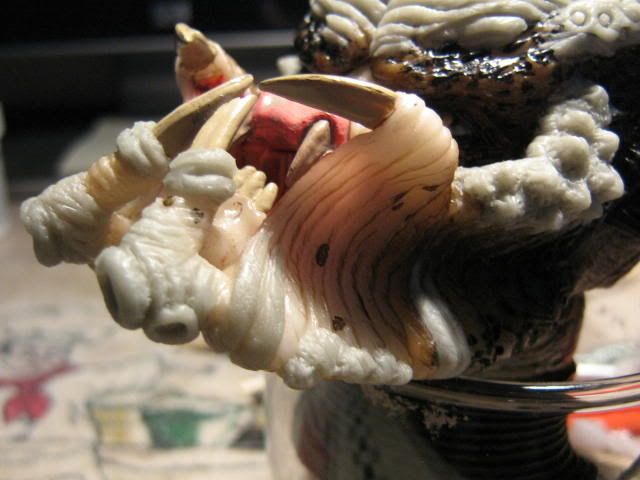
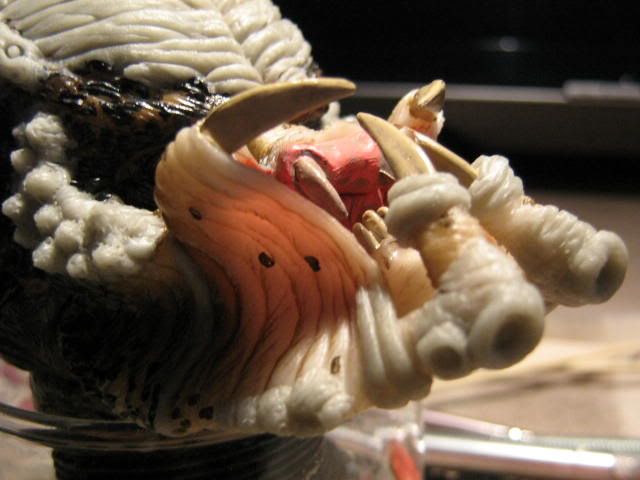
I alter the mouth gums by adding two more sets of teeth. I also add some little boney protrusions on the lower part of his cheek.

I fill in those pesky break lines where the factory added the closed mouth on. For example: under his chin, sides of his cheeks and the top of the mouth.

IMG_0495.jpg
IMG_0496.jpg


More to come...:yess:
 
Back
Top