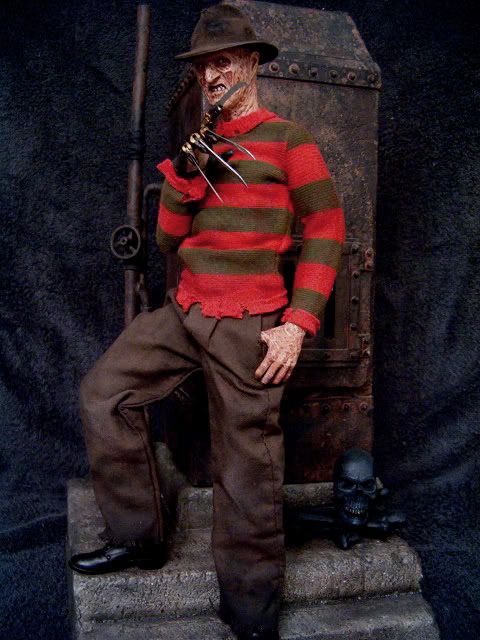
Sideshow Freddy Krueger SilentSurfer Style

Collector Freaks Forum

Help Support Collector Freaks Forum:

This site may earn a commission from merchant affiliate links, including eBay, Amazon, and others.
If I ever get around to it and do the flames in the furnace, I'd think buying one of those fan powered imitation flame lights like Spencergifts sells. That way you actually can see the flames flickering behind ol' Freddy, I think it'd look creepy in the dark
 
HPIM5663.jpg

If Sideshow made a 1/4 scale PF exactly like that, then I'd have to think seriously about buying one.

PsychoCenobite :monkey5
 
Cant wait to see what you've done!

Maybe some kind of X-Mas lights would work for the inside of the furnace?

Or maybe the lights that are used for those flameless candles?

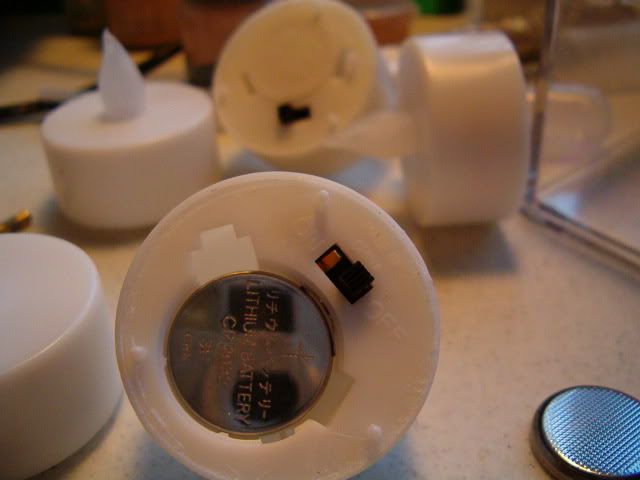
All you guys crack me up. I hadn't even read all the suggestions yet, but that's exactly what I did. The flickering effect is what I wanted, and I think it's going to be crazy looking in the furnace. I already got a pack of six tea lights with the flickering LEDs just like the ones on that instructibles page and took five of them all apart to use in the furnace. I'll be soldering them together and inserting them into the furnace in the next couple days (trying to knock out some commissions too). Time permitting, I can have it finished by Wednesday.

I so can't wait to show it to you all. I even used a slightly smaller scale skull I got ages ago for my old GEOMetric Predator model to use inside the furnace as a child's skull.
I think I can post some more WIP pics tomrrow for you. Stay tuned.

BTW, anybody know how to post a video here? Never done it before. I think I should eventually do that to show off the full effect of the flickering furnace.

Your easiest bet is to just upload it to YouTube and then use the "object" code on YouTube to hotlink it here.
 
Your easiest bet is to just upload it to YouTube and then use the "object" code on YouTube to hotlink it here.

I figured that would be the best bet. Never uploaded anything to youtube. I suppose it's easy enough to figure out, but any tips I should know about?

Anybody ever upload a video to Photobucket?
 
Well, I know my little digital camera takes short videos. Maybe I can make that work. It won't have sound though. My phone would though. I wonder how good the picture quality would be though.

Thanks for the help. I'll make it work somehow.
 
In the mean time, here's some WIP pics.

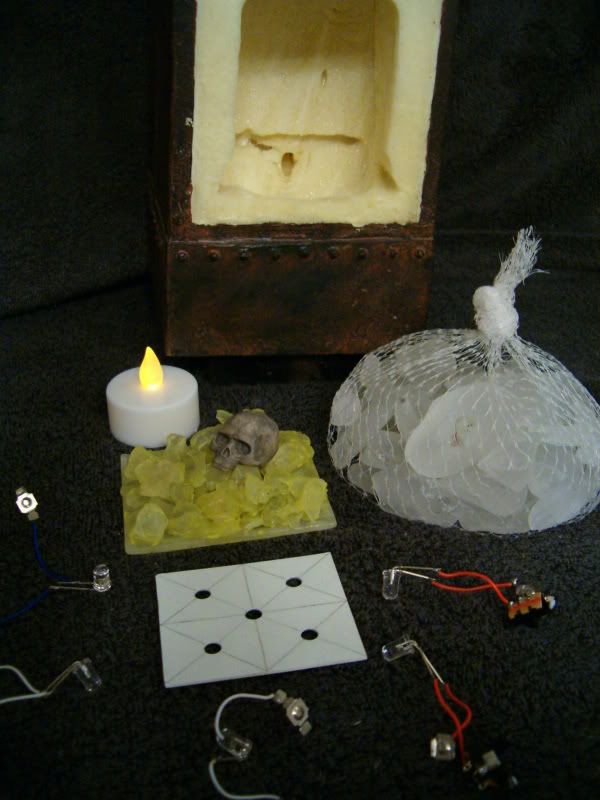
Taking apart the tea lights.
HPIM5680.jpg


Did you know that these little lights get there name from their actually flame counterparts because those were designed to sit under your tea kettle to keep the tea inside warm? I learned that watching Cash Cab on Discovery Channel this morning.
HPIM5681.jpg


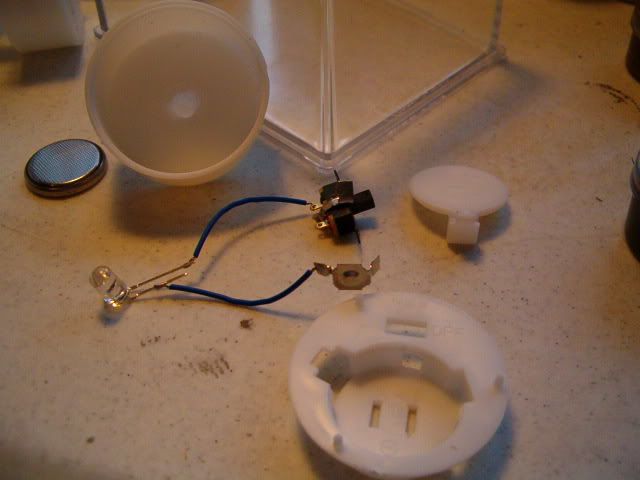
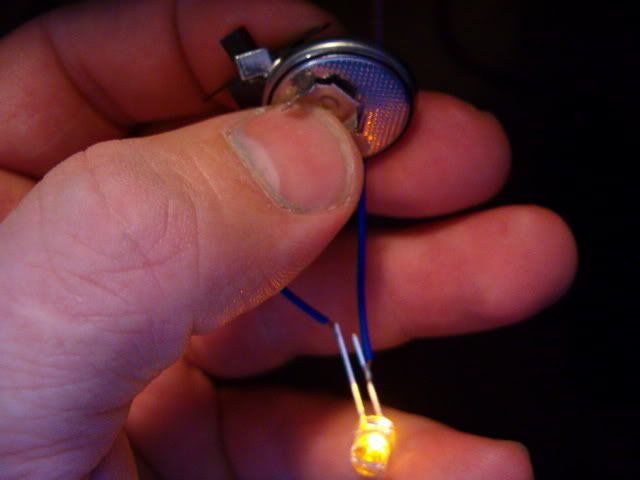
Making sure I know which wire and which part of the battery is positive and negative.
HPIM5683.jpg


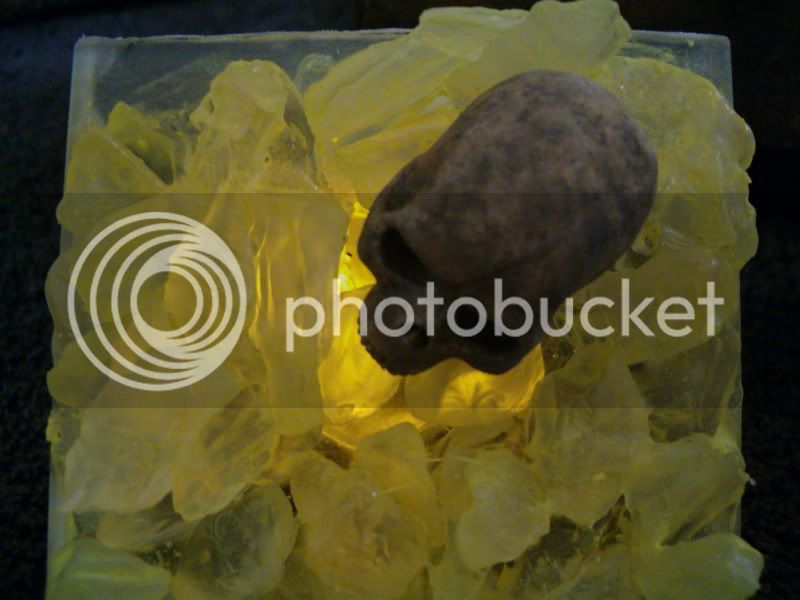
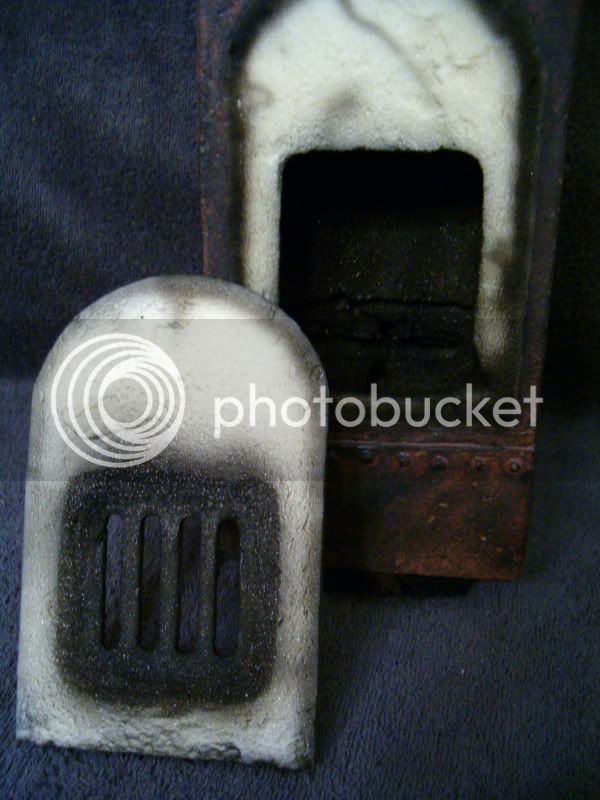
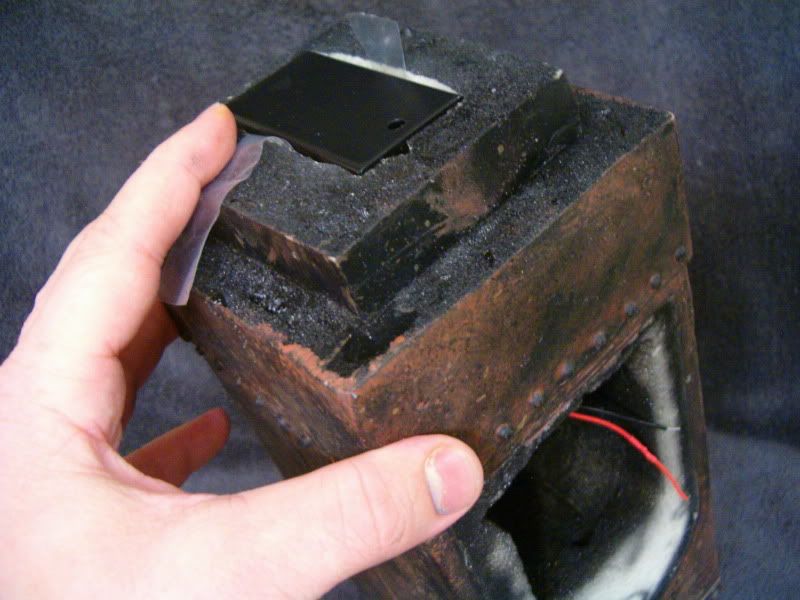
I've got all the lights dismantled. The furnace is hollowed out. Using the smallest pieces from a bag of decorative broken glass, I made what will be the burning embers by gluing them and the skull to the cut, clear lid of a trading cards holder. You can see the grooves in the furnace where the ember plate fits in nice and snug. It will sit almost flat, but tilted just a bit toward the door.
HPIM5695.jpg


I already gave the ember plate a translucent coat of yellow and put one unmodified tea light behind it so you can see a bit of the effect I'm after. I painted the skull to have a boney color, but to look dirty and ashed up.
HPIM5696.jpg


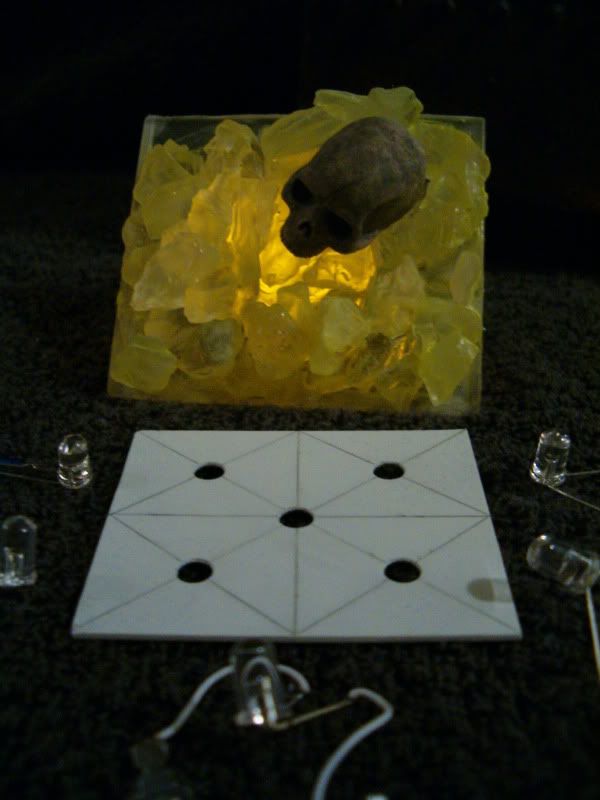
I cut a sheet of styrene to hold the LEDs, and using a series of lines, figured out the most uniform positioning for five LEDs figuring the interior would be dark and not much light would actually come out if I only used one light.
HPIM5698.jpg


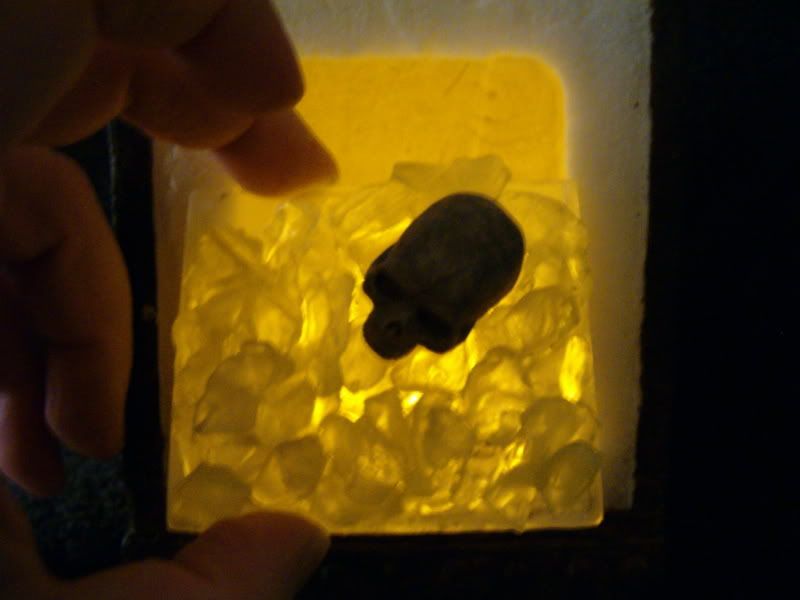
Here's a shot of the ember plate in front of the furnace with a tea light inside. Right now there is a lot of light reflecting off the unpainted, bright yellow foam of the interior making me think that five lights will be overkill, but once the inside is painted black, the plate is finished with a deep red highlights and black 'snow peaks', and the LED tray is positioned beneath it, I think five lights won't be too bright.
HPIM5699.jpg


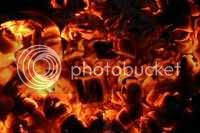
Ultimately, I want to achieve a look like this, but not quite as dark.
coals.jpg
 
Damn man, the furnace is turning out better than I could've imagined. Awesome job on the embers, it's gonna look perfect when it's all painted up in there!


Cash cab rules btw :rock
 
Cash cab rules btw :rock

Cash Cab does rule. I've learned all kinds of trivial stuff watching that. If I ever got to New York, I really hope I end up in the Cash Cab. I'll suck at it and get kicked out in the snow, but I just want to experience the ceiling lights coming on unexpectedly.

That'll be my next custom: Ben Bailey in a 1/6 Cab with LED ceiling.:lol

"And we're suck at a red light, and that triggers a 'Red Light Challenge!'"

Funny game show host, horrible comic. I would equate his timing and delivery to the sound of a tone-deaf Christmas caroler.
 
Yea, I love that show, but saw his standup one afternoon on comedy central and he should definately stay with the Discovery channel.

That furnace is looking incredible, can't wait to see it finished. Be sure to make a youtube video or something so we can see it flickering.
 
Three, four, better lock your door.

Three, four, better lock your door.


Or in this case, paint the back of it black.
HPIM5709.jpg


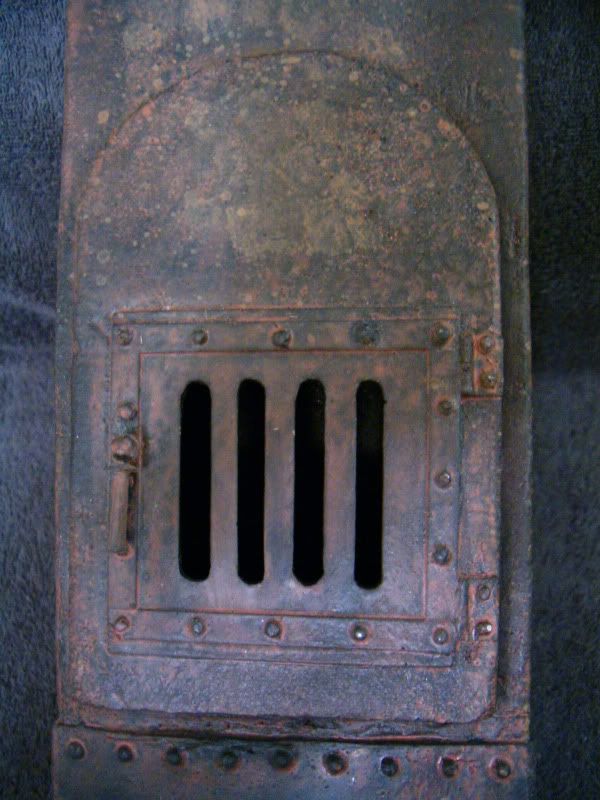
Until Freddy's home, the furnace is cold and dark.
HPIM5710.jpg


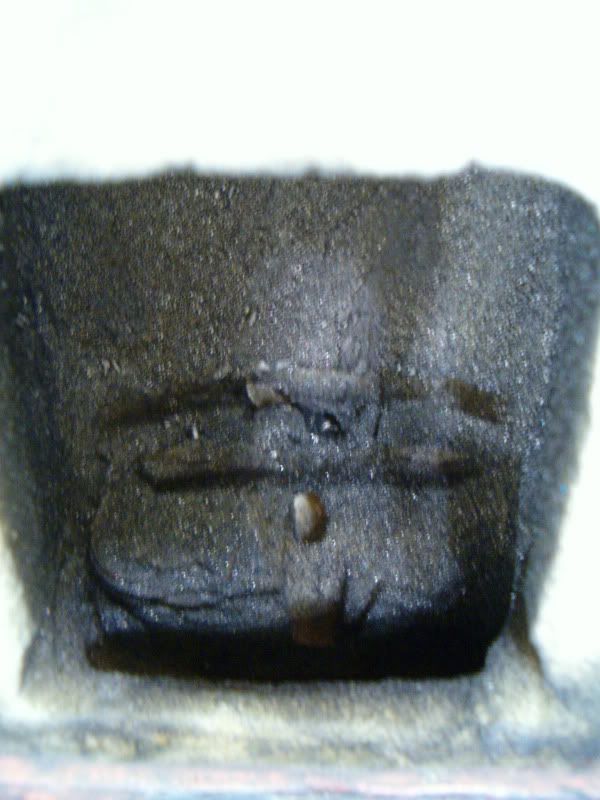
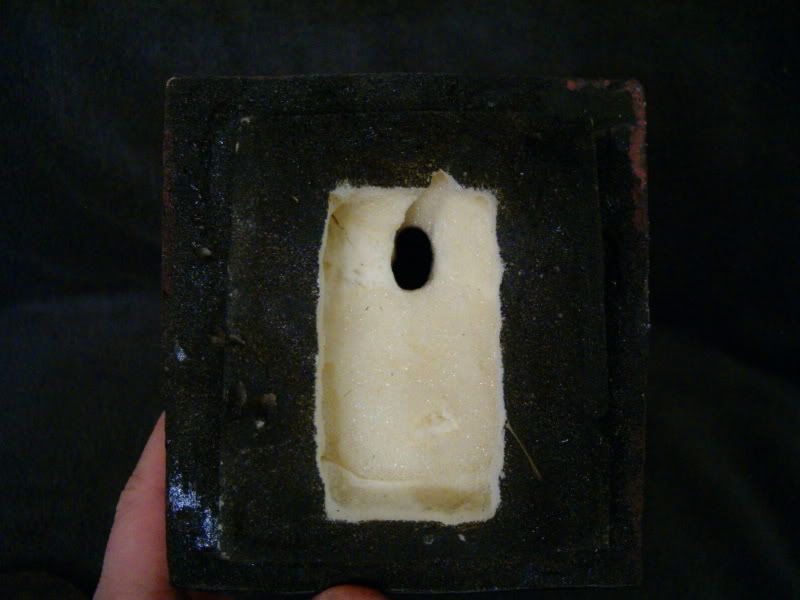
All my carving out is done. I have a slot for the ember plate, plus a recess for the LED tray. This is kind of a funky shot. You are looking down into the furnace.
HPIM5713.jpg


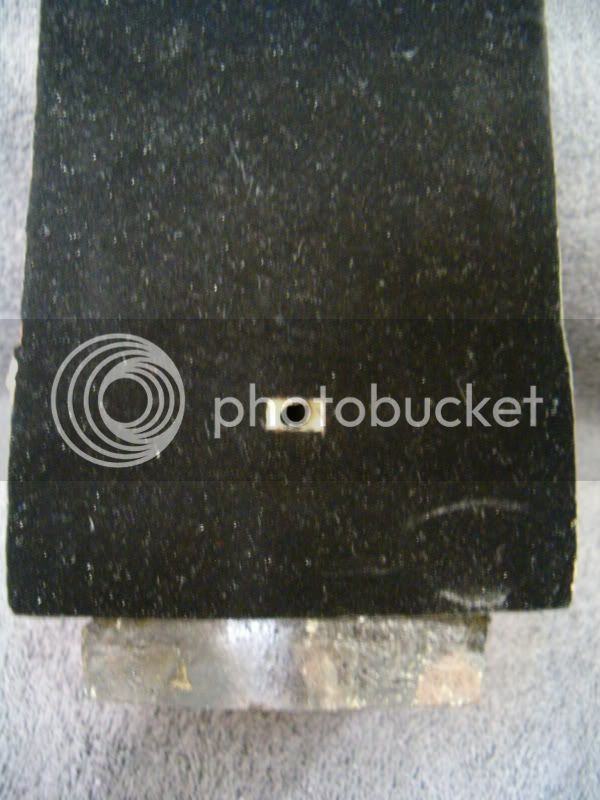
I drilled holes for the switch (from one of the tea lights) in the back...
HPIM5712.jpg


And to the alcove for the battery pack (enclosed, 2 battery, AA holder)...
HPIM5711.jpg


Which fits tight and snug. So tight in fact that I need to put a piece of plastic under it, so I could pull it out to change the batteries at some later date.
HPIM5714.jpg


-"We're close on this one, I can feel it." -Spangler
-"I can feel it. We're very, very cose." -Venkman
 
Five, six, grab your crucifix.

Five, six, grab your crucifix.


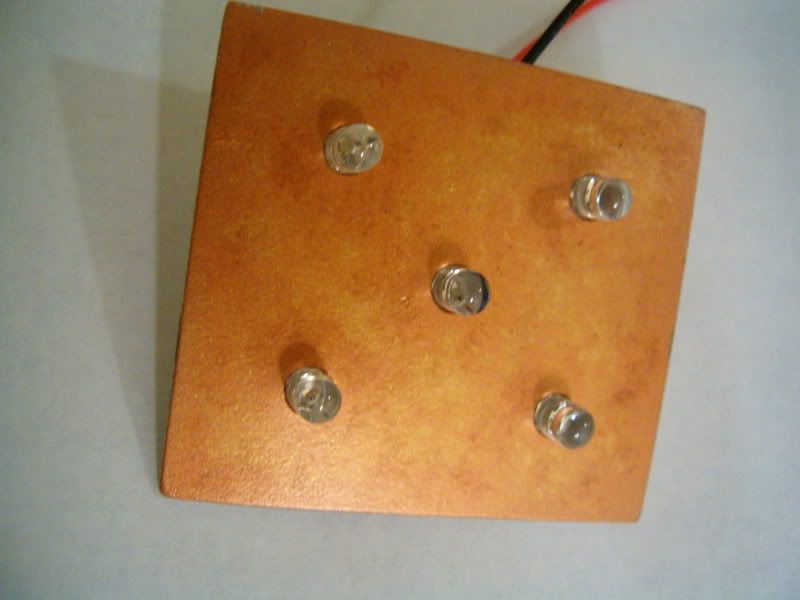
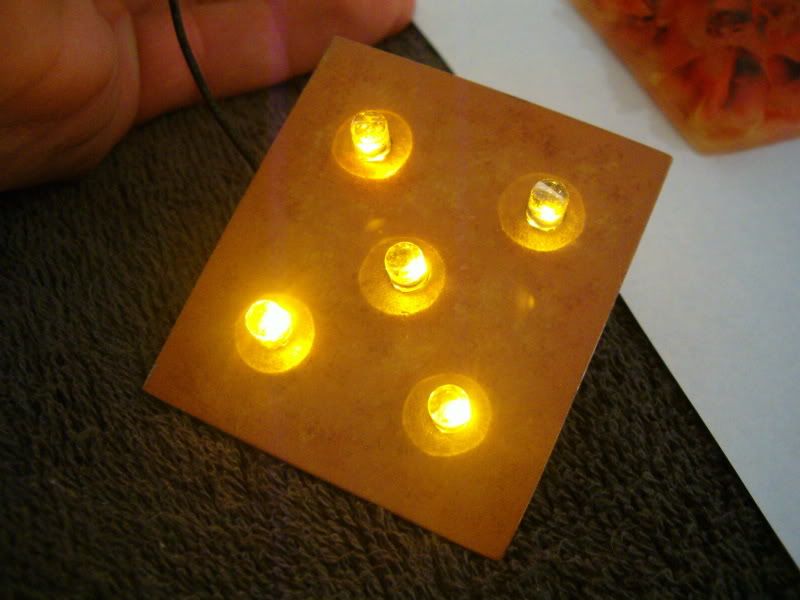
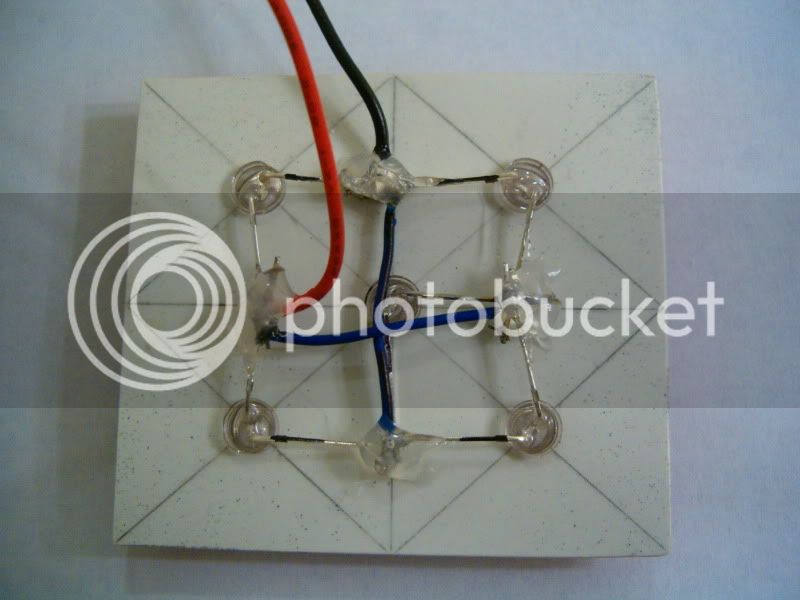
Or soldering iron, and play connect the positives and negative, but not to each other. If I had soldered these in a series, ie, postive to negative to positive to negative, I would have had to supply it with 15 volts of juice to light up properly. Instead, I power five lights with 3 volts each, using only 3 volts of juice (2 AA 1.5 volt batteries) by doing a creative version of a parallel connection, ie, all positives touching and connected to the positive wire, and all negatives touching and connected to the negative. I just didn't do them in the traditional parallel rows. I connected the nearest three pos. and leap frogged it to the other two, and likewise with the neg. The negatives are the wires with black Sharpie marker on them. For an extra secure connection, I covered each solder point with hot glue.
HPIM5701.jpg


The other side is painted in a mottled gold & copper fashion to be reflective, yet interesting to look at, though I will likely never see it again.
HPIM5702.jpg


HPIM5703.jpg


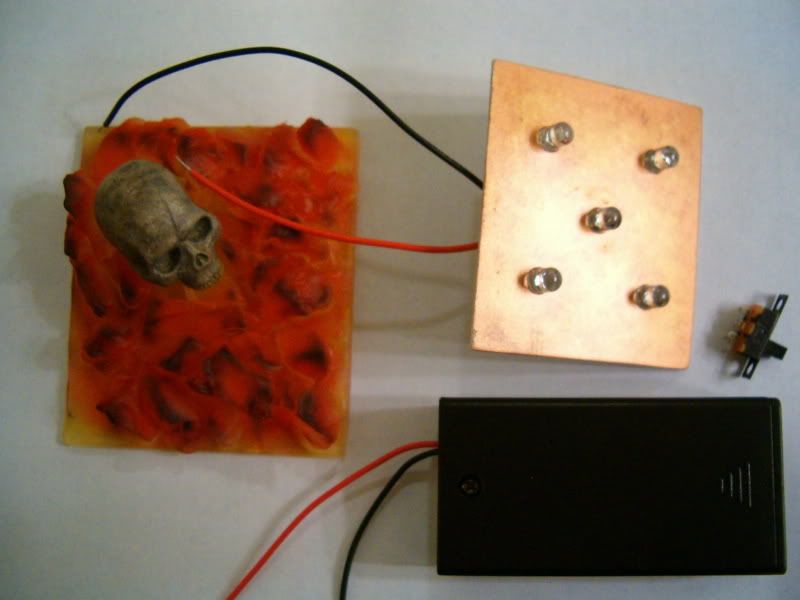
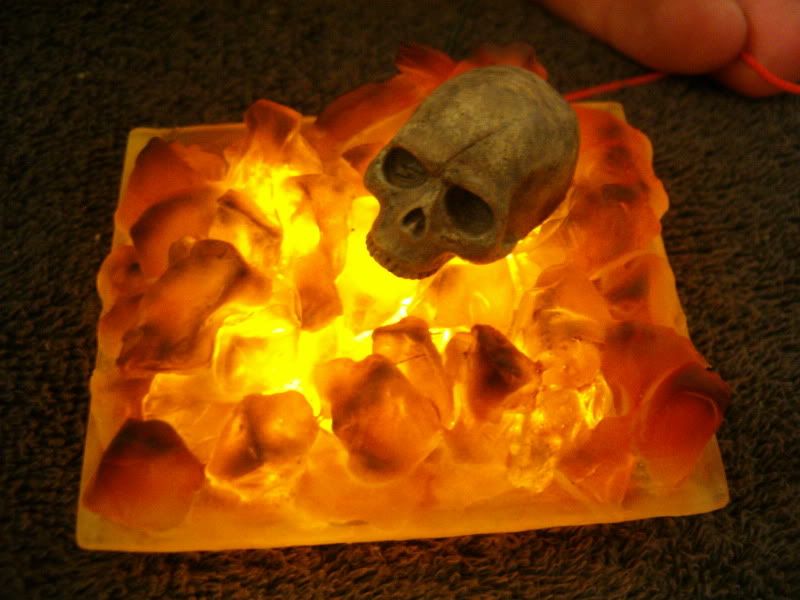
Here it is with the battery pack, switch, and the fully painted ember plate. The plate looks really red and not at all translucent in this pic.
HPIM5700.jpg


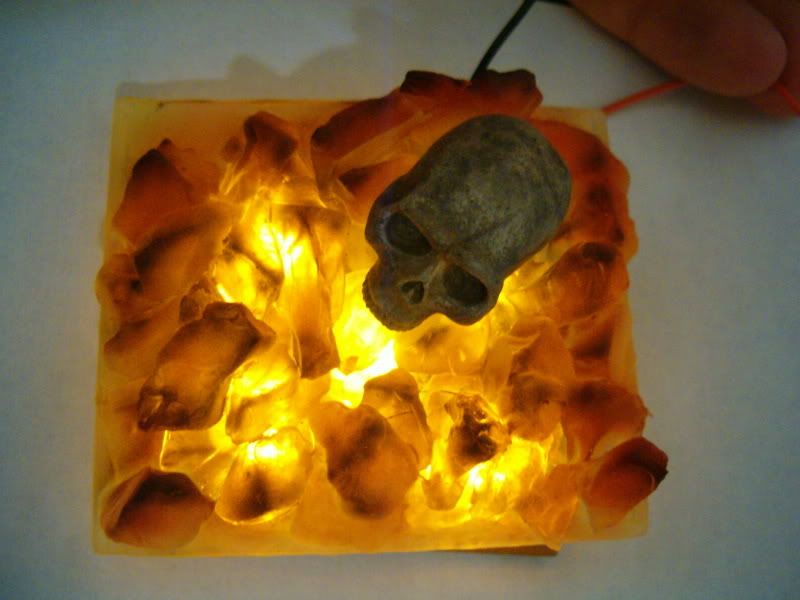
But in these shots, it looks pretty friggin' awesome, don't you think?
HPIM5704.jpg


You should see it with the flickering going on.
HPIM5705.jpg
 
Last edited:
Back
Top