**16k**
Super Freak
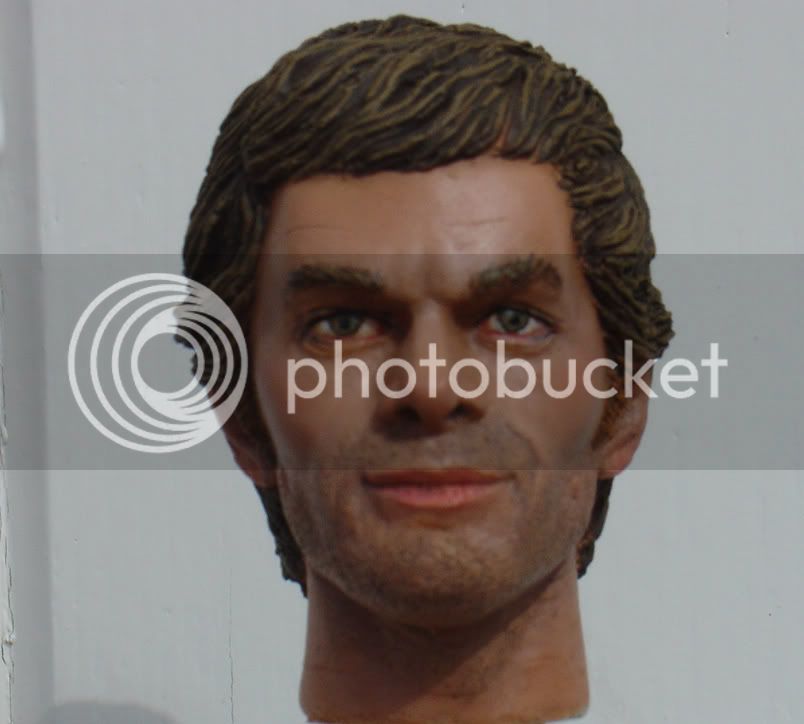
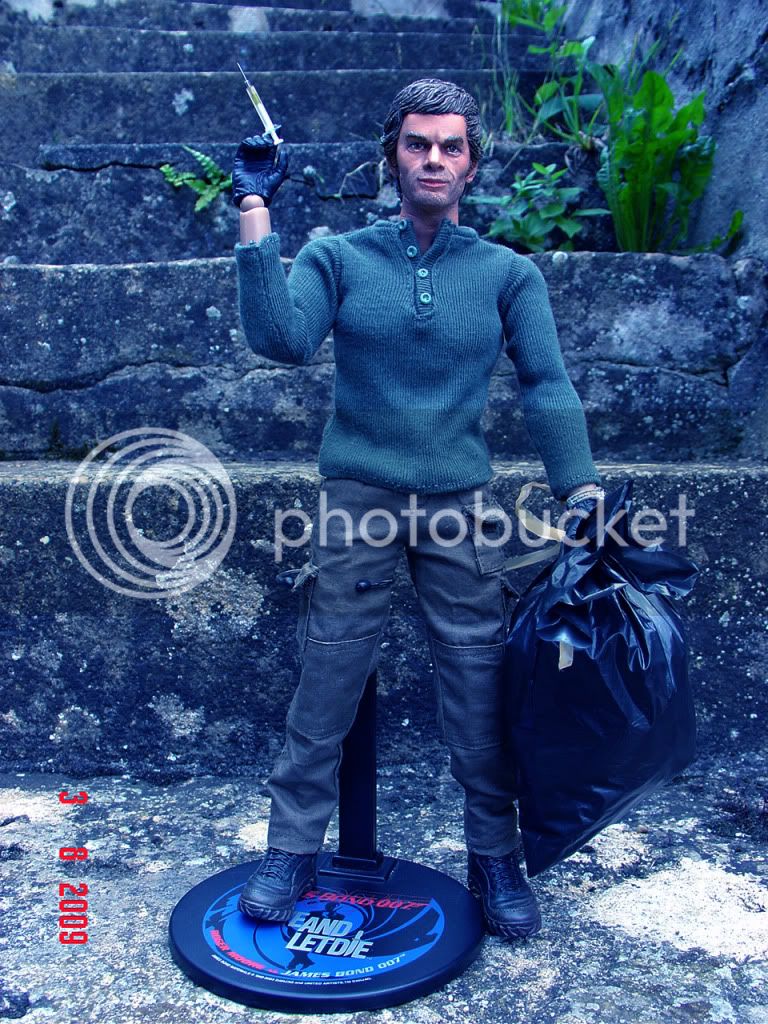
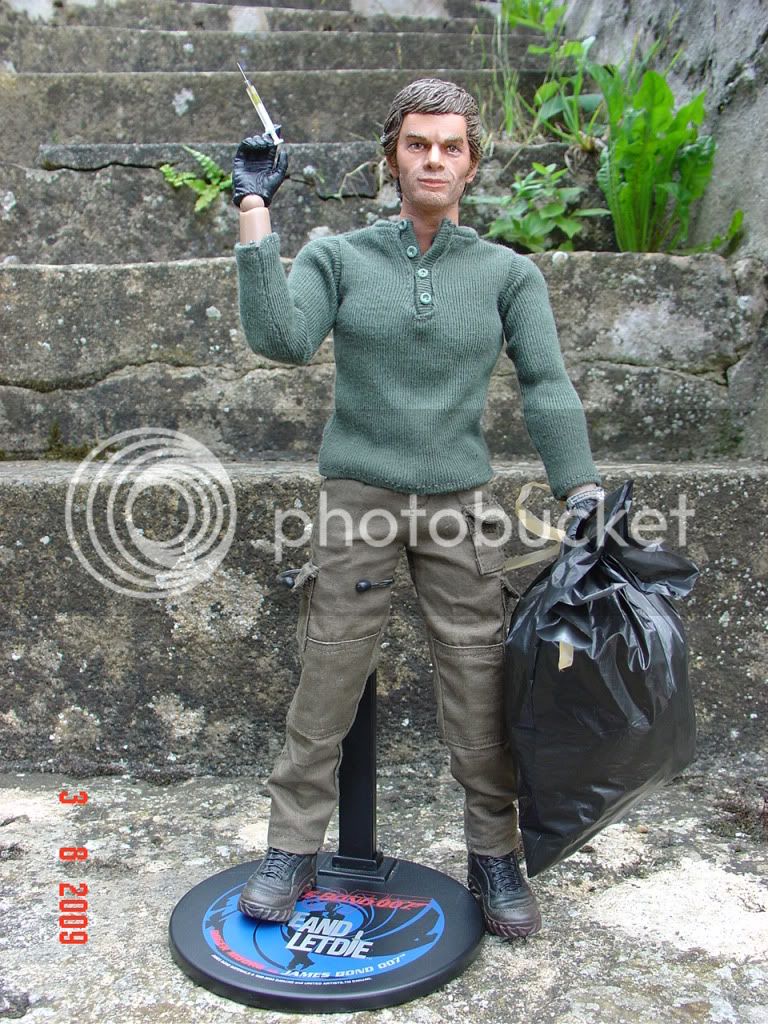
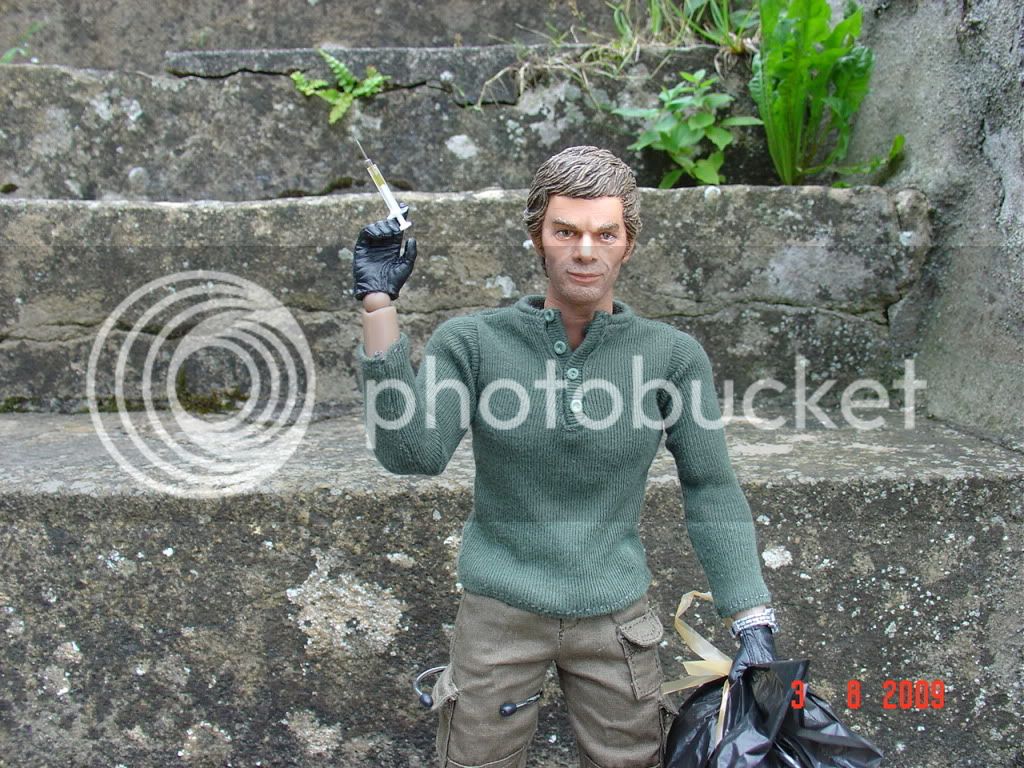
In this thread, you will find the progress on my Dexter custom. I’ll start with a painting guide in ten stages… I’ll include photos very soon but my battery is out for the moment.
For my French compadres, I will make this available in French tomorrow on 12”.com !
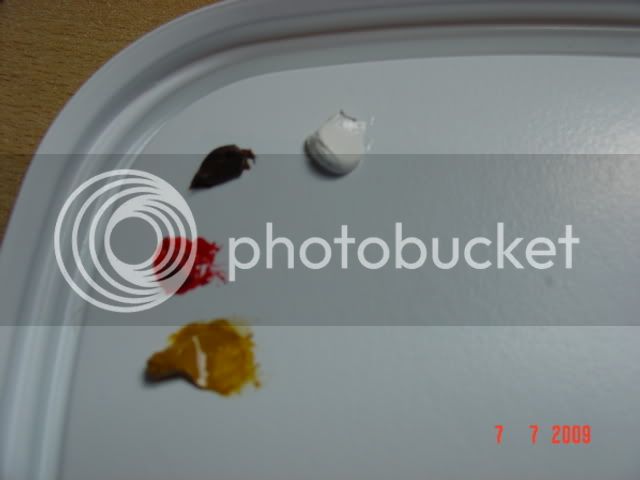
First, you will need some material: Different brushes, acrylic paint and oil paint, thinner (I use turpentine).
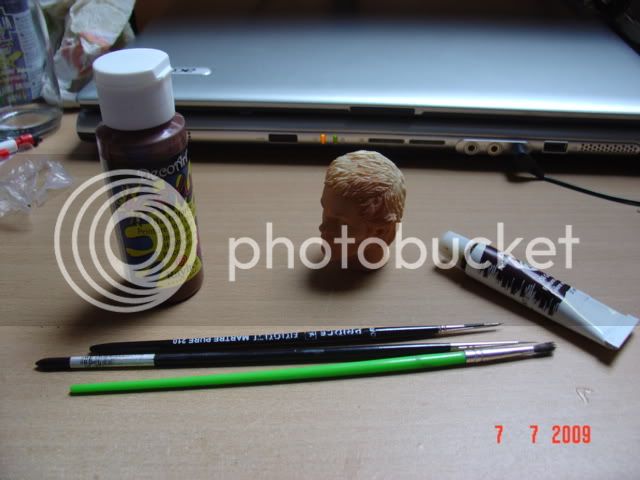
Stage 1: The base
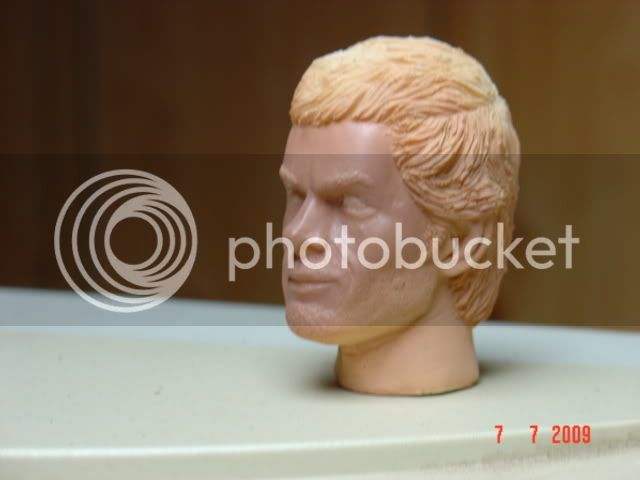
Make a very liquid mix (acrylic paint) in a rather light flesh color. The actual hue is irrelevant as it will be covered later. If you can airbrush it, so much the better, but if you don’t have an airbrush, no problem, just pint several very diluted layers. That should do the trick. My own personal mix contains 50% acrylic paint, 25% water and 25% rubbing alcohol (roughly).
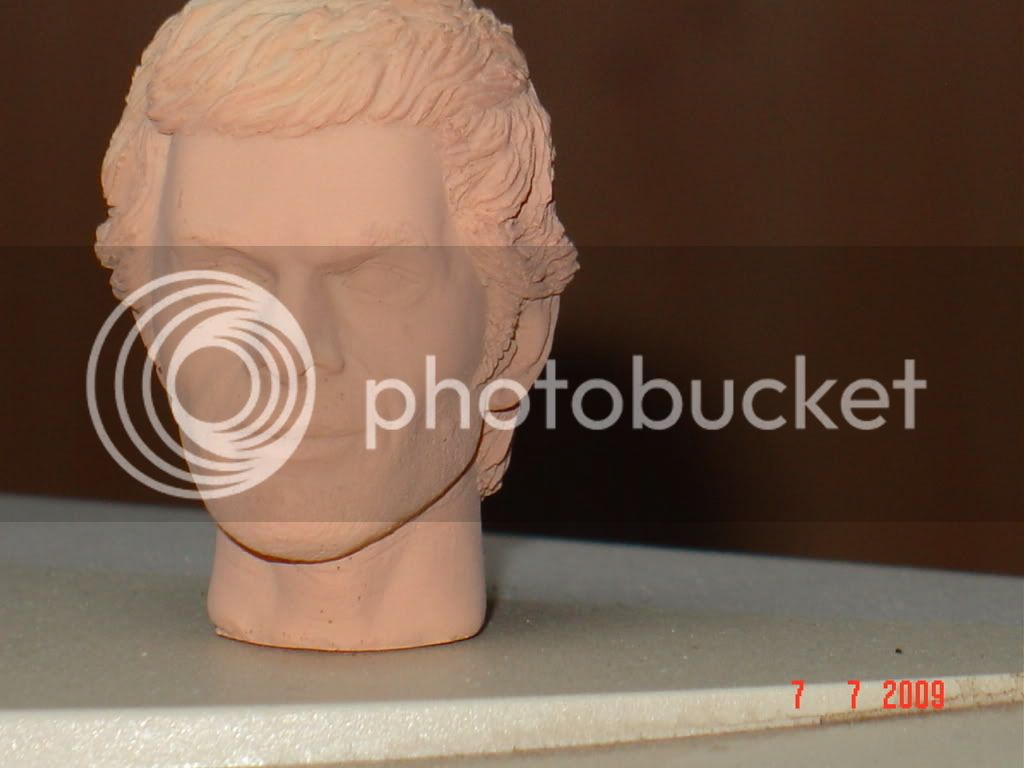
Stage 2: The white of the eyes
Paint the white of the eyes with white acrylic paint. Let dry
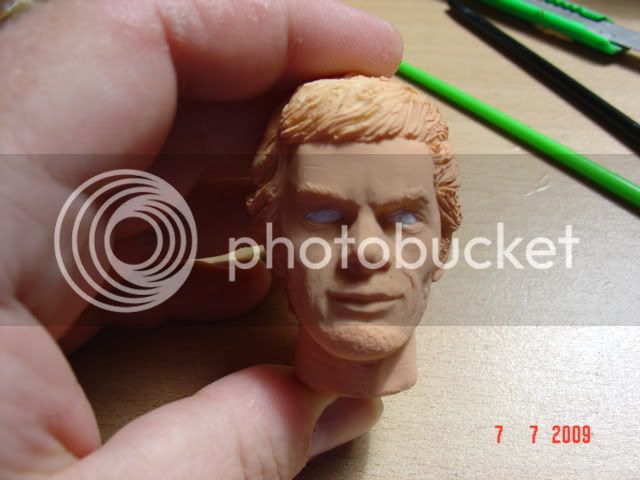
Stage 3: Fundation
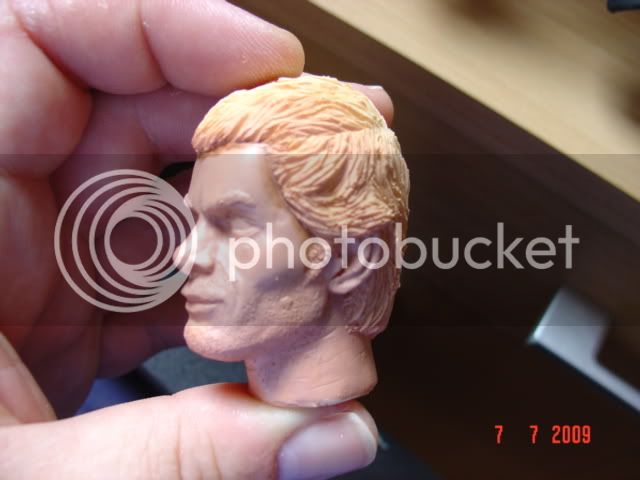
Once the base is dry, time to start the real work. Mix oil paint (I use brown, yellow ochre, white and red) until ou get the flesh color you want. Do not thin it! It’s got to be thick! With your brush, add a spot of the color on the raised areas one after the other(forehead, cheeks, nose, chin and neck). Then with a clean, dry brush, blend that spot with the base by tapping the brush lightly on the paint. Do not do brush strokes! The thickness of the paint must completely blend with the base. You’ll probably cover the white of the eyes when you’ll paint near the eyes! Don’t worry about it now! In fact, I suggest you paint over the white for the moment!
Stage 4: Shadows
Take some brown oil paint and thin it until it very liquid. With a thin brush, paint along the hairline, the with the brush you used in the preceding stage, blend the brown with the fundation until the color is smooth and uniform. Repeat the same technic in every crease or hollows of the skin
Stage 5: The white of the eyes (part two)
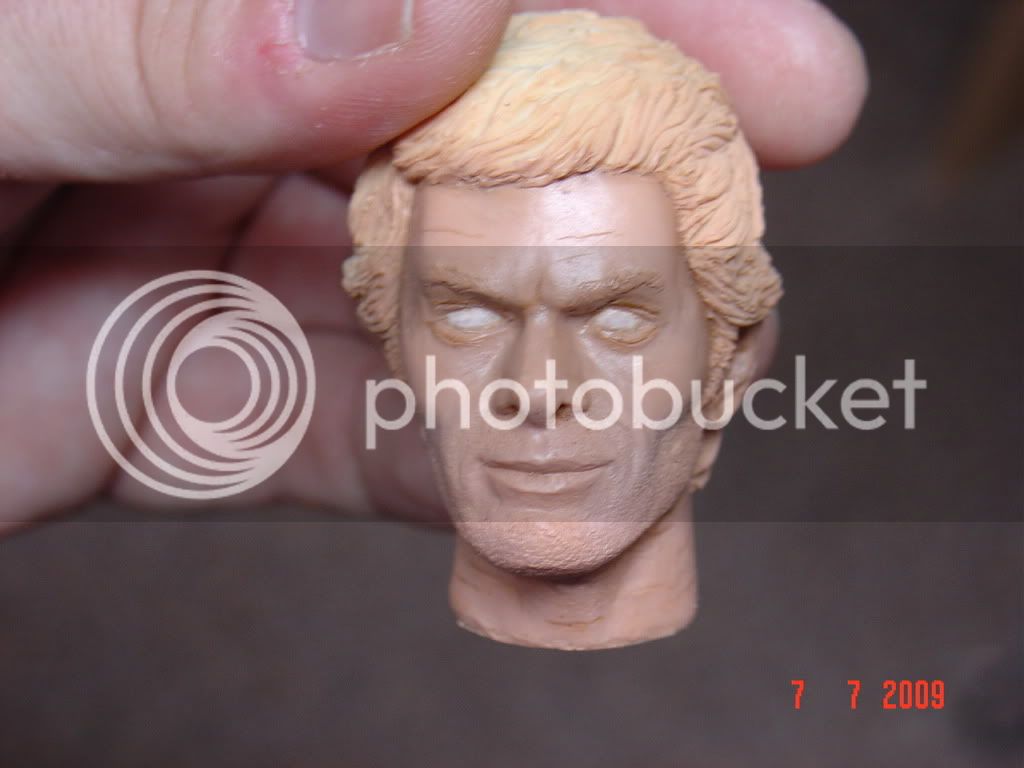
Now, with a clean, smaller brush, clean the covered white with pure turpentine. The purpose of this stage is to give the white an organic color, not just a dull, plain white
Stage 6: Light areas
On the forehead, bridge and tip of the nose, cheekbones, put a very small stroke of pure white paint. Blend IMMEDIATELY according to the previous method.
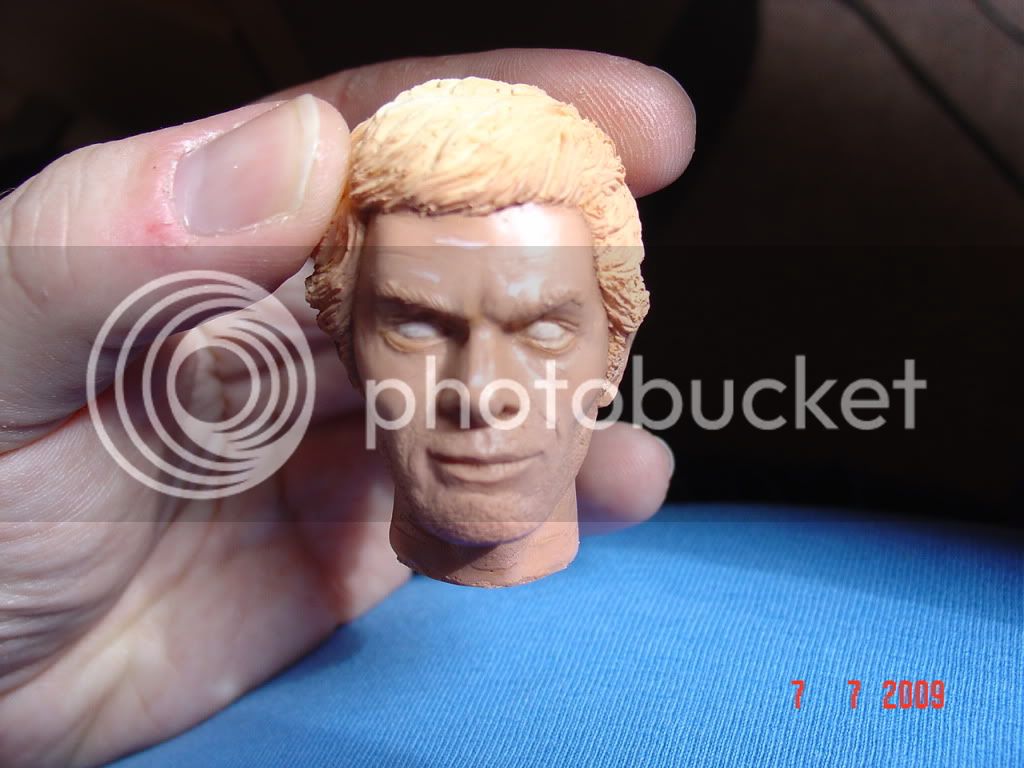
And this is where my battery died! But I'll be painting a second head for my second custom Dex and will add the missing pictures then!
Stage 7: Make up
Take some red paint and thin it until it’s very liquid. With a thin brush, add that red in VERY small quantity, and blend IMMEDIATELY according to the previous method. Do the same for the lips, but add a brown wash on them when the red has dried
Stage 8: Five O’ clock shadow
Take some black paint, add stokes of black on the lower cheeks, under the nose on and under the chin and upper neck and blend IMMEDIATELY! Let dry a few hours. Then, thin some black paint until it’s very liquid and with a small brush, paint over the beard area. If you do this correctly, the paint will settle and dry in the skin pores.
Stage 9: Eye painting.
Here, I suggest using a magnifying glass!To thin some red and paint the lower part of the eye. Let that wash go int the corners. Add a black line along the upper eyelid and along the first third of the lower eyelid. Let dry a few hours. Take some black acrylic paint and paint the iris as a black spot (first third of the pupil should be hidden by the upper eyelid) Let dry. Mix the appropriate color to simulate the iris (for Dexter, light brown, yellow ochre, grass green), make that paint very liquid and paint INSIDE the iris, leaving a black rim. Let dry. Use the same mix, but make it lighter (with more yellow ochre, here) and do the same thing, put paint only the LOWER part of the iris. Let dry. Thin some black paint and add a dot in the very center of your iris. Much later, when you’ve sealed the paint on the face, use some gloss to make the eyes look alive.
Stage 10: the hair and the eyebrows
Dexter apparently has ligt brown hair, verging on the red near the sideburns. To simulate this, we’ll use acrylic paint. Mix some brown and a smidge of black. This color will be used as a base for the hair and eyebrows. When it is dry, use the same brown (without the black), add some reddish brown, yellow ochre and… the secret ingredient: GRASS GREEN. The grass greew will break the color, making it more dull and less doll-like. Take a dry brush, put some paint on it and dry it with a paper until there’s almost no paint left on it. Then dry brush the hair. The paint will only settle on the raised areas. The method is the same for the eyebrows, but, of course, use a smaller brush and caution!
There it is! Your Dex is painted! Since my method uses oil painting, I suggest you let the head dry for about a week before spraying sealant on it or glossing the eyes! Hope it helps!
Cheers,
JP
Last edited:


