1/6 Indy Customizations: Image Thread

Collector Freaks Forum

Help Support Collector Freaks Forum:

This site may earn a commission from merchant affiliate links, including eBay, Amazon, and others.
WOW! That's what I want -- dirty Jones!


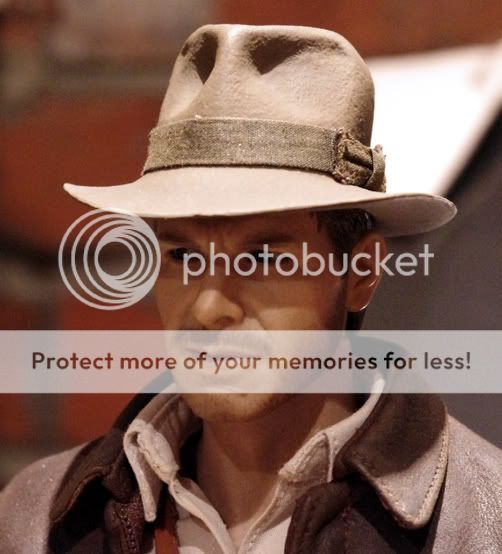
FINALLY got my hands on a Sovereign Jacket (been after this for years) thanks to a member here...

SovJacketcomp.jpg
 
Wow that mod looks good!

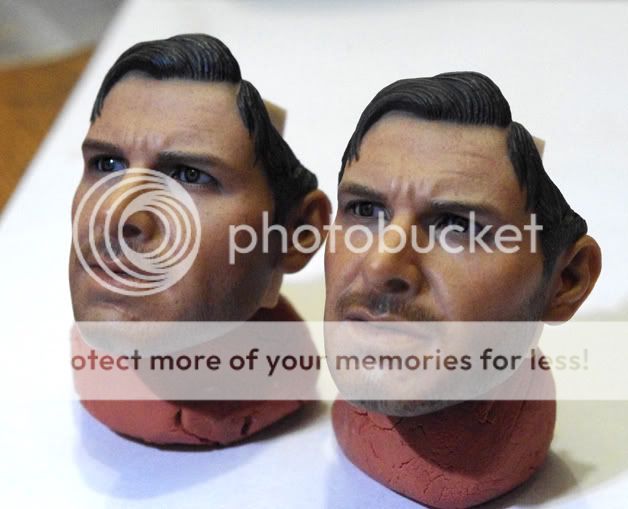
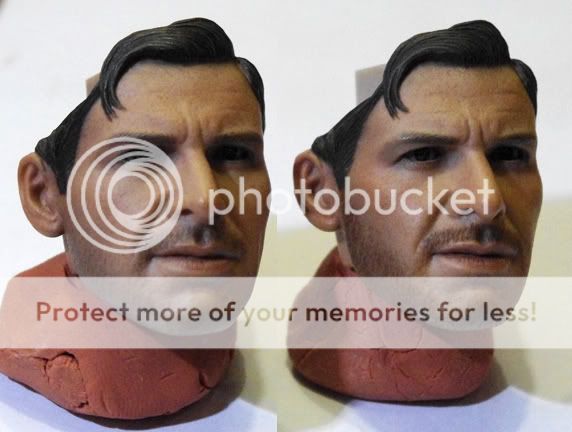
I painted a darker beard on a HT head, this is the result. Has a thinning effect to the features. Let me know what you think:
HTbeard8.jpg

HTbeard3.jpg

HTbeard5.jpg


I also warmed up the skin tone slightly with a weak wash of 'Light Red' but this is less apparent in the pics.

Oh, also I removed the darker area on the lower eyelids to see if that helped to soften the guyliner effect.
 
Those improvements have certainly brought more of the likeness out ! What type of paints did you use ? I'm going to do this to mine now ! How did you remove the colour from the lower part of the eye ?
 
Vandyke Brown gouache on the beard. The head has so much texture in the beard area that you only need to apply washes of brown to bring out the details. A lot different to painting the SS head which is very smooth in comparison.
As for the eyelids, I dismantled the head and used my trusty scalpel to scrape away the colour. Very carefully.

ETA: I think the moustache area is a little too dark now and a bit 'Dirty Sanchez' so I plan and knocking that back a bit.

Brilliantly done. This page is saved for later.I like the heavier beard and stache personally. I thought a heavier beard would help and I'm glad to know it works.

Was it easy to remove the PERS? Could the work be done without? I was wondering if you tightened the screws if the PERS eyes would be pushed ever so slightly forward.
 
I'm not sure tightening the screws will have an effect. The screws really only hold in the lever. The eye carriage is pushed into sockets in the sculpt. You don't really need to remove the screws to access the eyes. Just unstick the pers mechanism to get at the eyes then lever them out.

Hang on a mo and I'll take pics to show you.
 
Vandyke Brown gouache on the beard. The head has so much texture in the beard area that you only need to apply washes of brown to bring out the details. A lot different to painting the SS head which is very smooth in comparison.
As for the eyelids, I dismantled the head and used my trusty scalpel to scrape away the colour. Very carefully.

Thanks for the tips, Cav. Just yesterday I dismantled my DX Joker PERS head. I hadn't moved the eyes in a bit and was afraid of moving the joystick and breaking things, so I opened it to move and loosen stuff inside carefully. Anyway, I feel more confident now about opening pers heads and will open the Indy one to get rid of the guy liner using your exacto tip.;)
 
Here we go then.
Hair off, we all know what this looks like:
head01.jpg

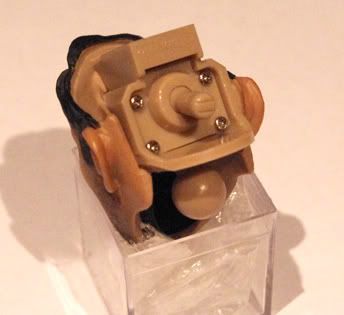
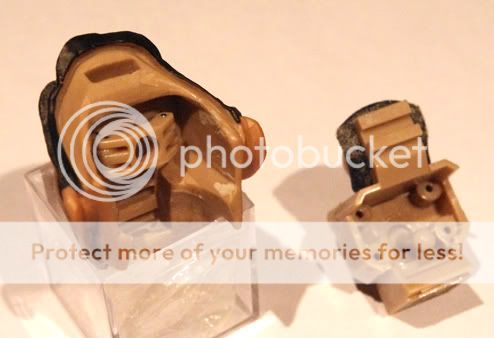
Next remove the whole rear section. no need to undo the screws they only hold the manip lever. ETA: maybe it is wise to take the joystick out before you remove the back section the first time, might put strain on the lever.
The rear section is glued in and needs prizing out and it is as tough as taking off SS Indy's Hat:
head02.jpg

Here you see the eye carriage inside the sculpt.

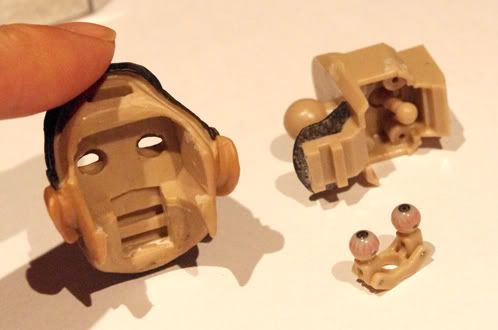
Next I prized out the eyes they will pop out, but warm the sculpt if you like to ease the process:
head03.jpg

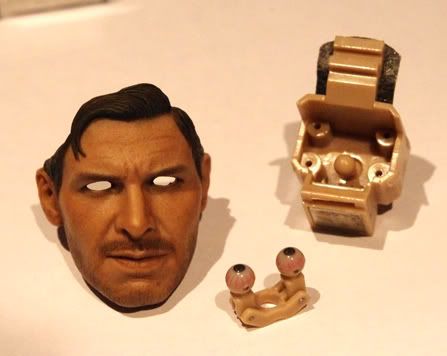
And then very carefully scraped away the darker eyelid colour. But be really careful. I take no responsibility for your actions.
head04.jpg


Didn't overpaint the eyelashes, they happened to be lighter on the sculpt I chose to do these mods on.

Now excuse me whilst I put this puppy back together again.
 
Last edited:
Here we go then.
Hair off, we all know what this looks like:
head01.jpg

Next remove the whole rear section. no need to undo the screws they only hold the manip lever. ETA: maybe it is wise to take the joystick out before you remove the back section the first time, might put strain on the lever.
The rear section is glued in and needs prizing out and it is as tough as taking off SS Indy's Hat:
head02.jpg

Here you see the eye carriage inside the sculpt.

Next I prized out the eyes they will pop out, but warm the sculpt if you like to ease the process:
head03.jpg

And then very carefully scraped away the darker eyelid colour. But be really careful. I take no responsibility for your actions.
head04.jpg


Didn't overpaint the eyelashes, they happened to be lighter on the sculpt I chose to do these mods on.

Now excuse me whilst I put this puppy back together again.


Excellent, THANK YOU!

I'm a little scared to pry anything out... I don't want to beust my PERS, but I'll investigate this and see how daring I get.

Much appreciated for the tutorial! :hi5:
 
Back
Top