1/6 Space marines.....

Collector Freaks Forum

Help Support Collector Freaks Forum:

This site may earn a commission from merchant affiliate links, including eBay, Amazon, and others.
TG- that is looking Amazing!! Can't wait to see what other detail you add!!


On a personal note, work has begun on my Space Wolf- so far it's just picking out paint - Model Masters Gunship Grey and "sumthin" Yellow...

Clean up begins!
 
Thats cool ElCalvo.. that would be a real challenge and Thunder pants is looking good :)

Rex.... can't wait to see some pics mate... think my Wolf maybe to bluish :(
 
Well been out most of today but managed to squeeze one out :)....

Working on a chest rig instead of an aquilla....


marine755.jpg


marine756.jpg


marine757.jpg
 
Mmmm , I've 2 options I'm considering . The first is to sculpt it into/onto a milliput panel ( this would be the most straightforward , though tricky) and the second would be to find some kind of 3D lettering stickers , which is dependant on them being the right size/typeface etc . I'll probably go with the milliput , but as it'll most likely be the last stage , I've a while to practice my sculpting/build up the guts to do it ! :lol
 
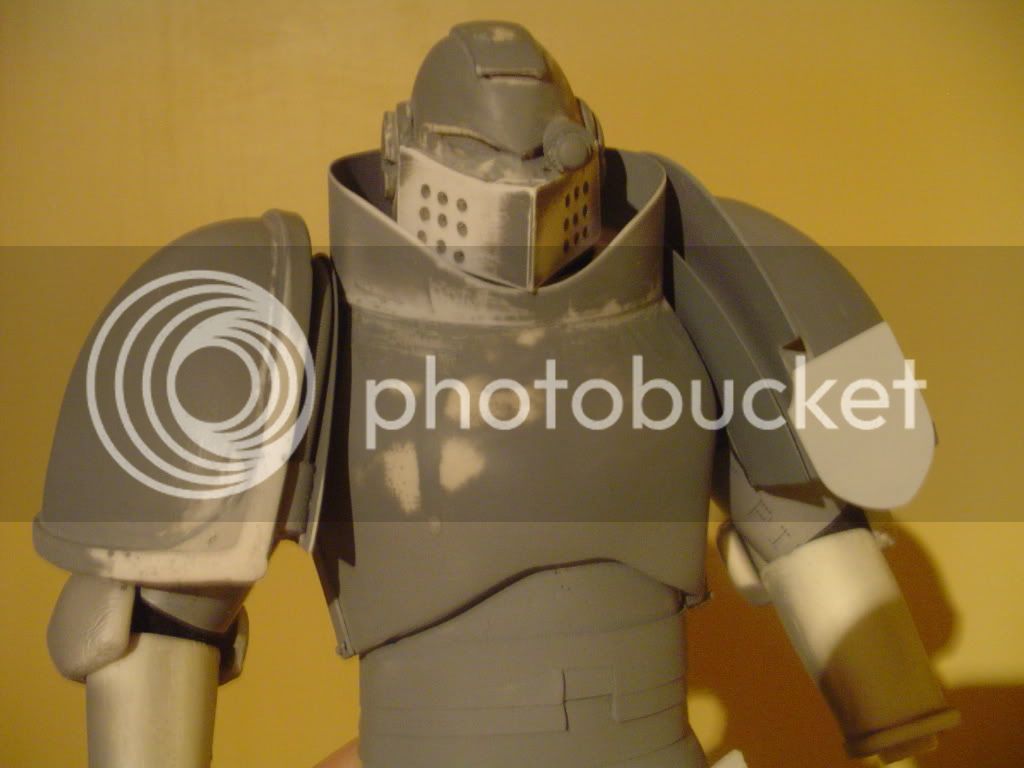
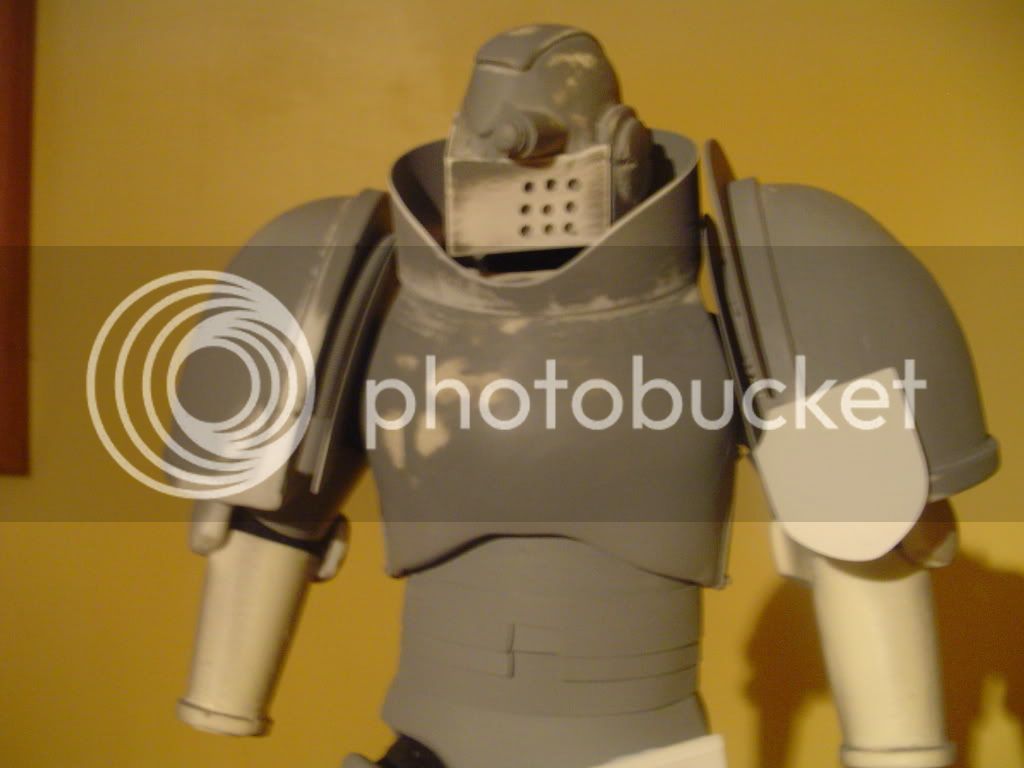
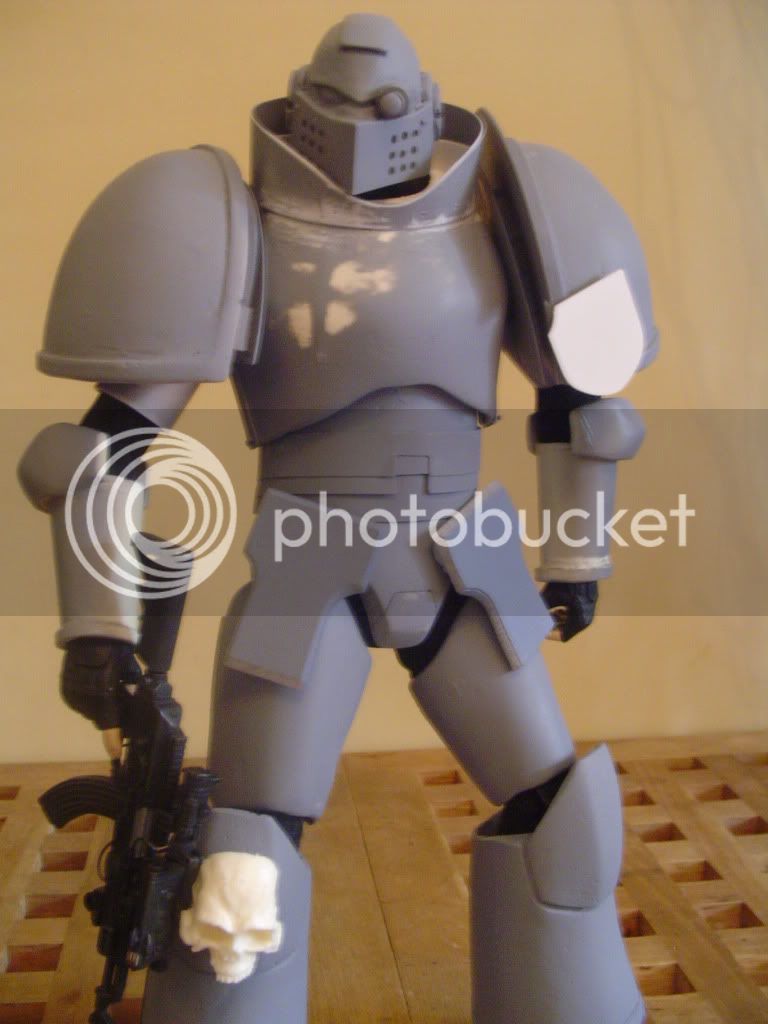
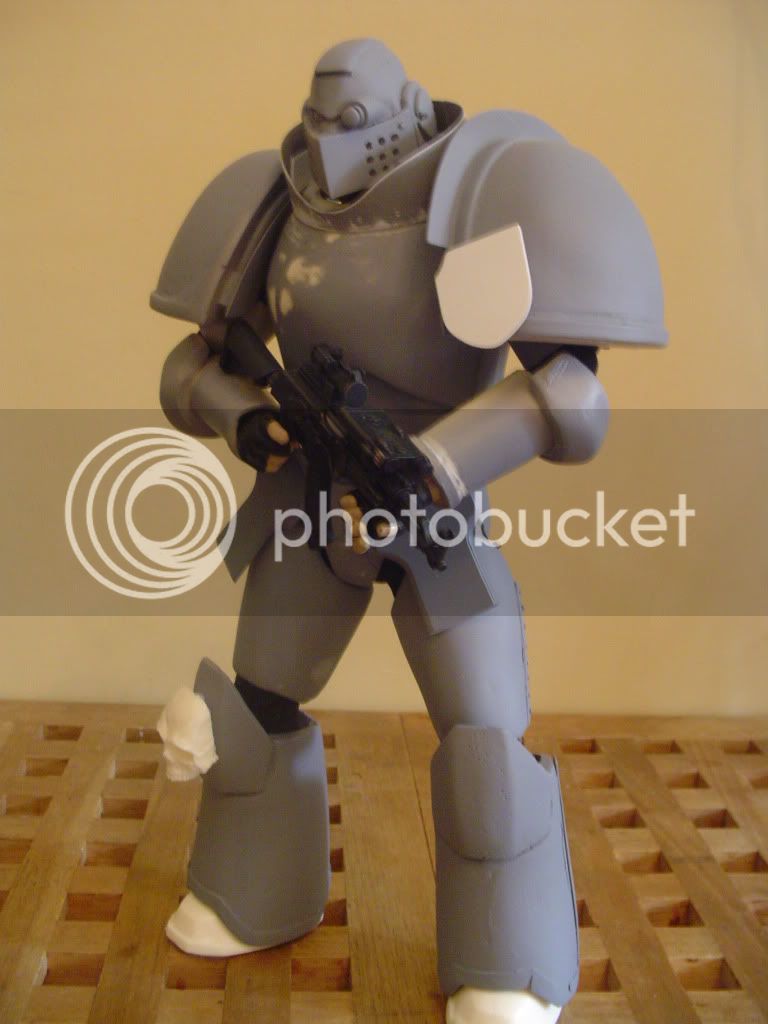
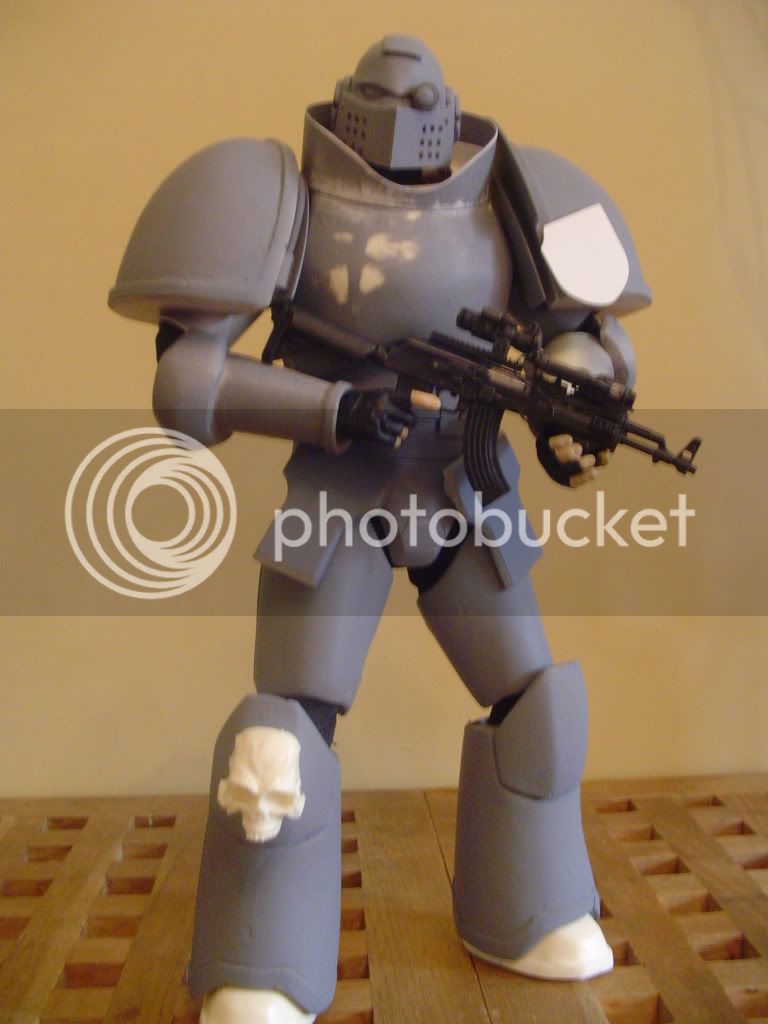
Couple of quick shots of my Grey Knight . I wasn't completely happy with the collar I'd made , so I re-did it . Actually made a bit of a Horlicks of it , but I quite liked the way it turned out so I'm going with it ! The "shield" shaped badge is one of two different ones I've made and I'm not decided on which to use yet . I'd wanted to add the "rivet" detailing to the helm , pauldrons and collar piece today , but I went and snapped me little bit ! " NURSE "!! ( trademark D.Snow esq )

DSC03912.jpg


DSC03910.jpg


Absolutely LOADS to do yet , but it's coming along quite nicely and I'm making good progress ( for me !) :wink1:

WOW he is coming out great cant wait to see it finish.:clap
 
Whats that girly hobby with the photos & cuty thingys & stencils? I'll bet their stores will have gothic text stamps that could be pressed into plastercine & cast?

It's the weekly shopping trip later and I'll take a detour into the local craft store . There must be some kind of printing set that could be utilized .:wink1:
 
have you got any ideas on how to do the gold text set into the armour Allan?

I've actualy got a suggestion.

Take a look at the FInE detail on these gaming minis
https://www.dakkadakka.com/gallery/images-12878-1853_Few Green Stuff, Dark Angel Converstions..html

those details on the extra armor plates are done by laying out a layer of a carve-able sculpting medium ( like super sculpy, or milliput) and letting it dry in a flat sheet.

Then you use a pencil to draw onto the sheet of sculpy your design in reverse. You then take a sculpting awl, and carve out your sketch. lastly, you press greenstuff into the relief, and then peel it out ( using vasaline as a lubricant) and apply it to the model.
Couldn't be simpler.

This would be a good way of approaching this , though I'm beginning to think it might be a case of taking a sledgehammer to crack a nut ! If my drawing/ sculpting talent was good enough to sketch and then carve the design in reverse first , would it not be easier to sculpt it straight onto the milliput " 1st generation " , as it where ?
I'm going to have a crack at it this way and see how it goes . After all , I only plan on doing 4 of these panels ( unless , of course I end up surprising myself with my skills !) so if I can do it once , I should be able to repeat the process ! Or, if 1 turns out o.k and the rest crap , then I can figure a way of creating a cast . ( That's the theory anyhoo !) :lol
DSC03916.jpg


DSC03915.jpg


DSC03914.jpg
 
AAAAAAAHHHHHHHH....... Rumble Trouser God that is looking top class and I LOVE IT!!! I love the reword Shoulder ads and that helm is so good.. I am getting fired up to have a bash at one I hope... and I have got to try make some Terminator armour for sure.....
 
Right done a wee bit more on the marine.... with the bigger chest I can really bulk him out and I have made a big ol belt :)


marine758.jpg
 
Back
Top