You are using an out of date browser. It may not display this or other websites correctly.
You should upgrade or use an alternative browser.
You should upgrade or use an alternative browser.
1000toys
- Thread starter Lawrence
- Start date

Help Support Collector Freaks Forum:
This site may earn a commission from merchant affiliate
links, including eBay, Amazon, and others.
@Username, dude you rock so hard
No worries. Glad to help.
Here we go. Sorry about the delay. Had a busy day.
As you can see here, there is a screw tab on the rear of the hips.
Because this was a bootleg and i didn't care, i just prised it out with this sharp needle tool.
Not pictured, but seen here, you can see the pegs on the ball joints in the hip. Those also need removed and were both glued in place. To get them out, i drilled tiny holes into them, screwed in tiny jewellers screws to the holes and then used pliers on the screws to pull them out.
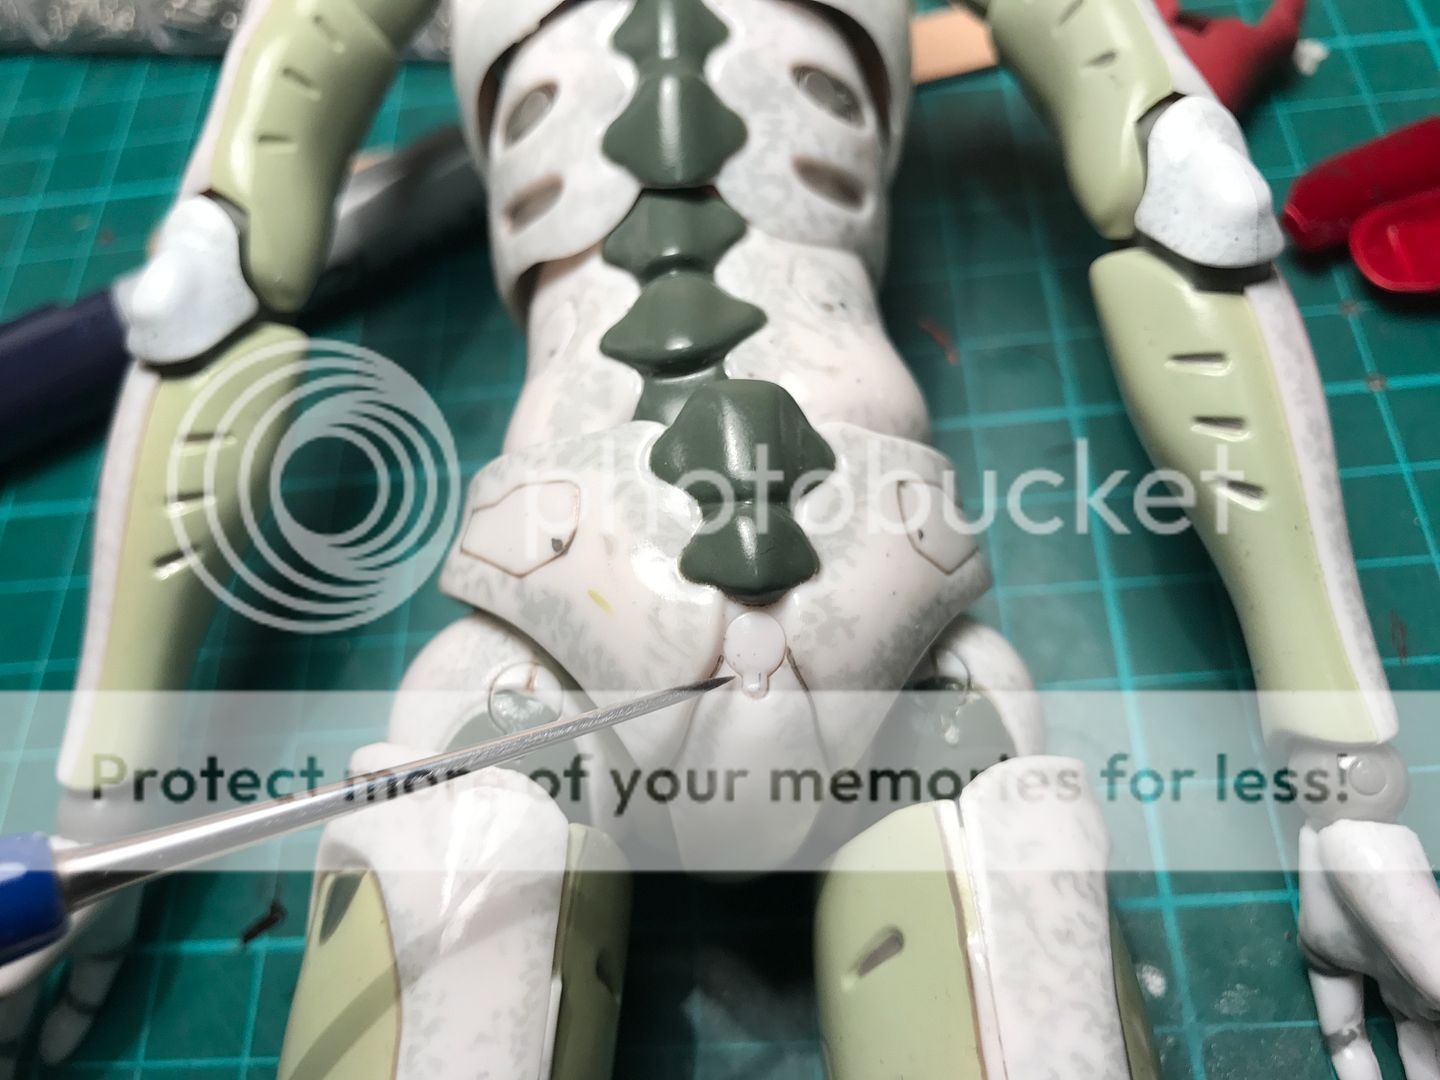
Peg is out and screw is visible:
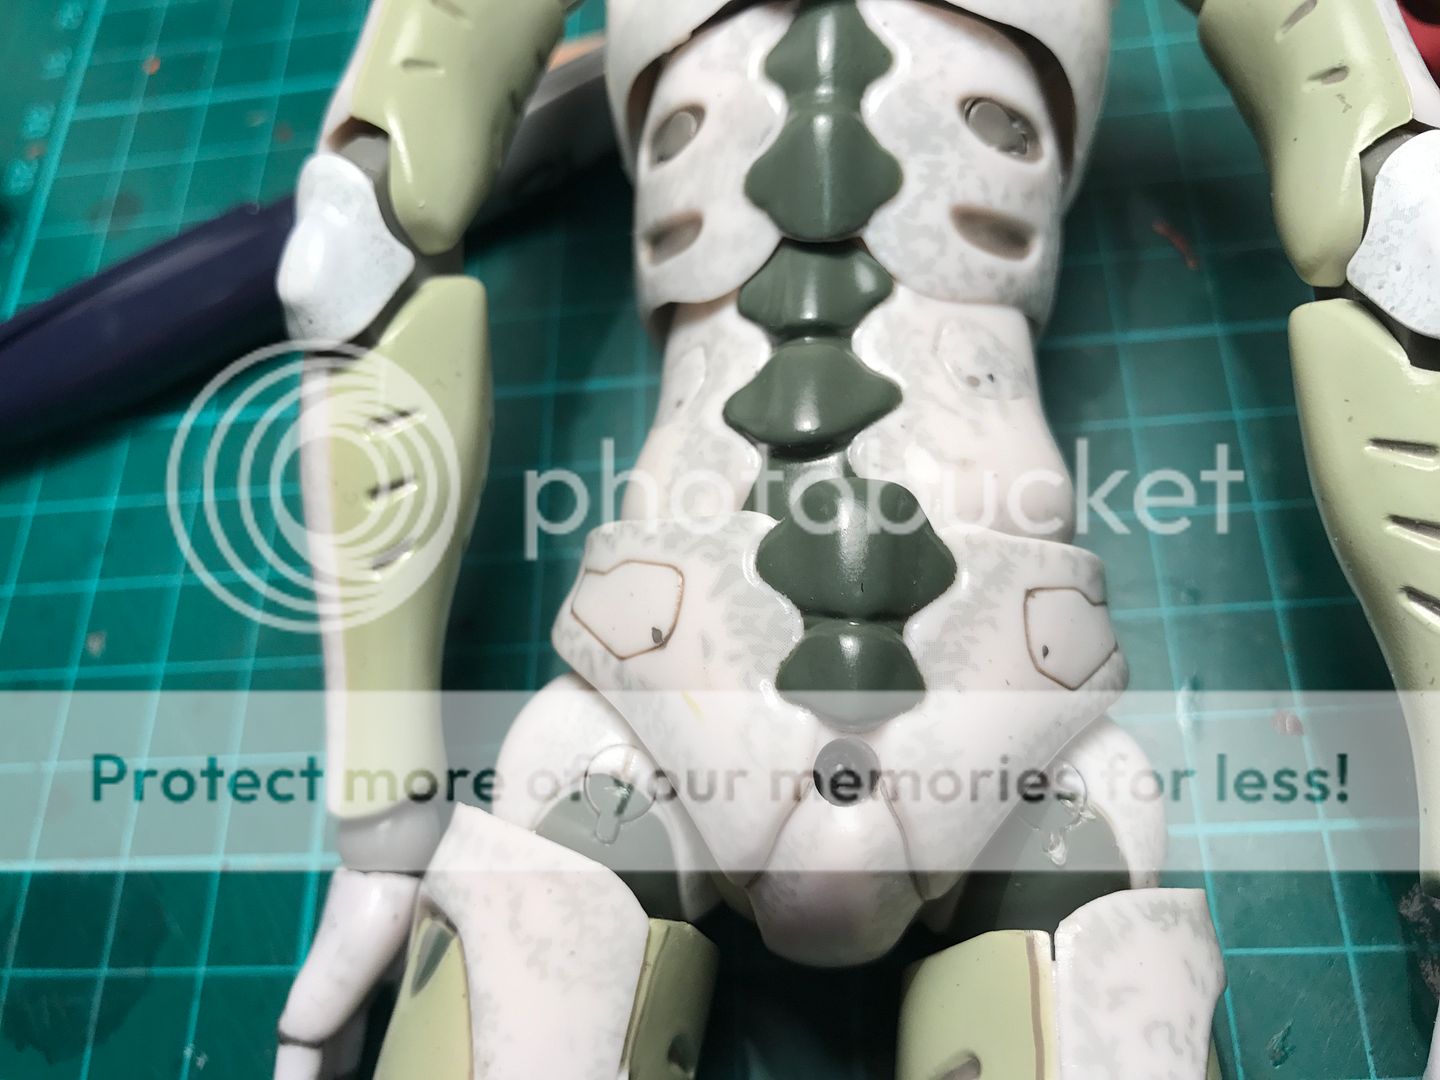
Unscrew.
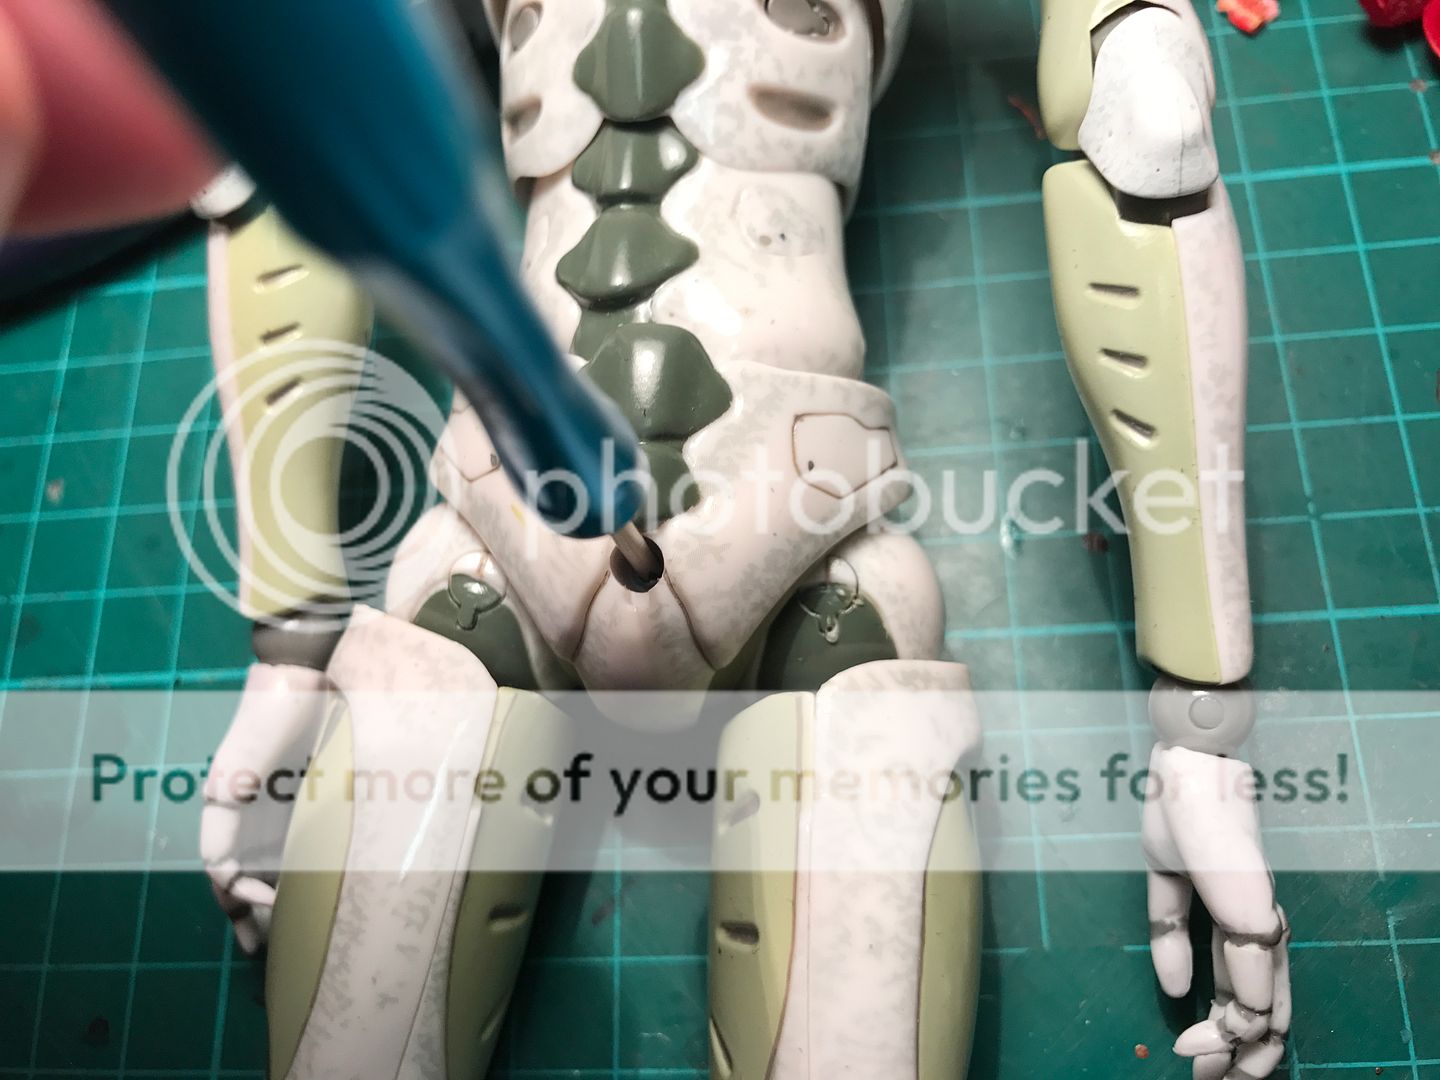
Hips off, you can see the ball joint pegs easier.
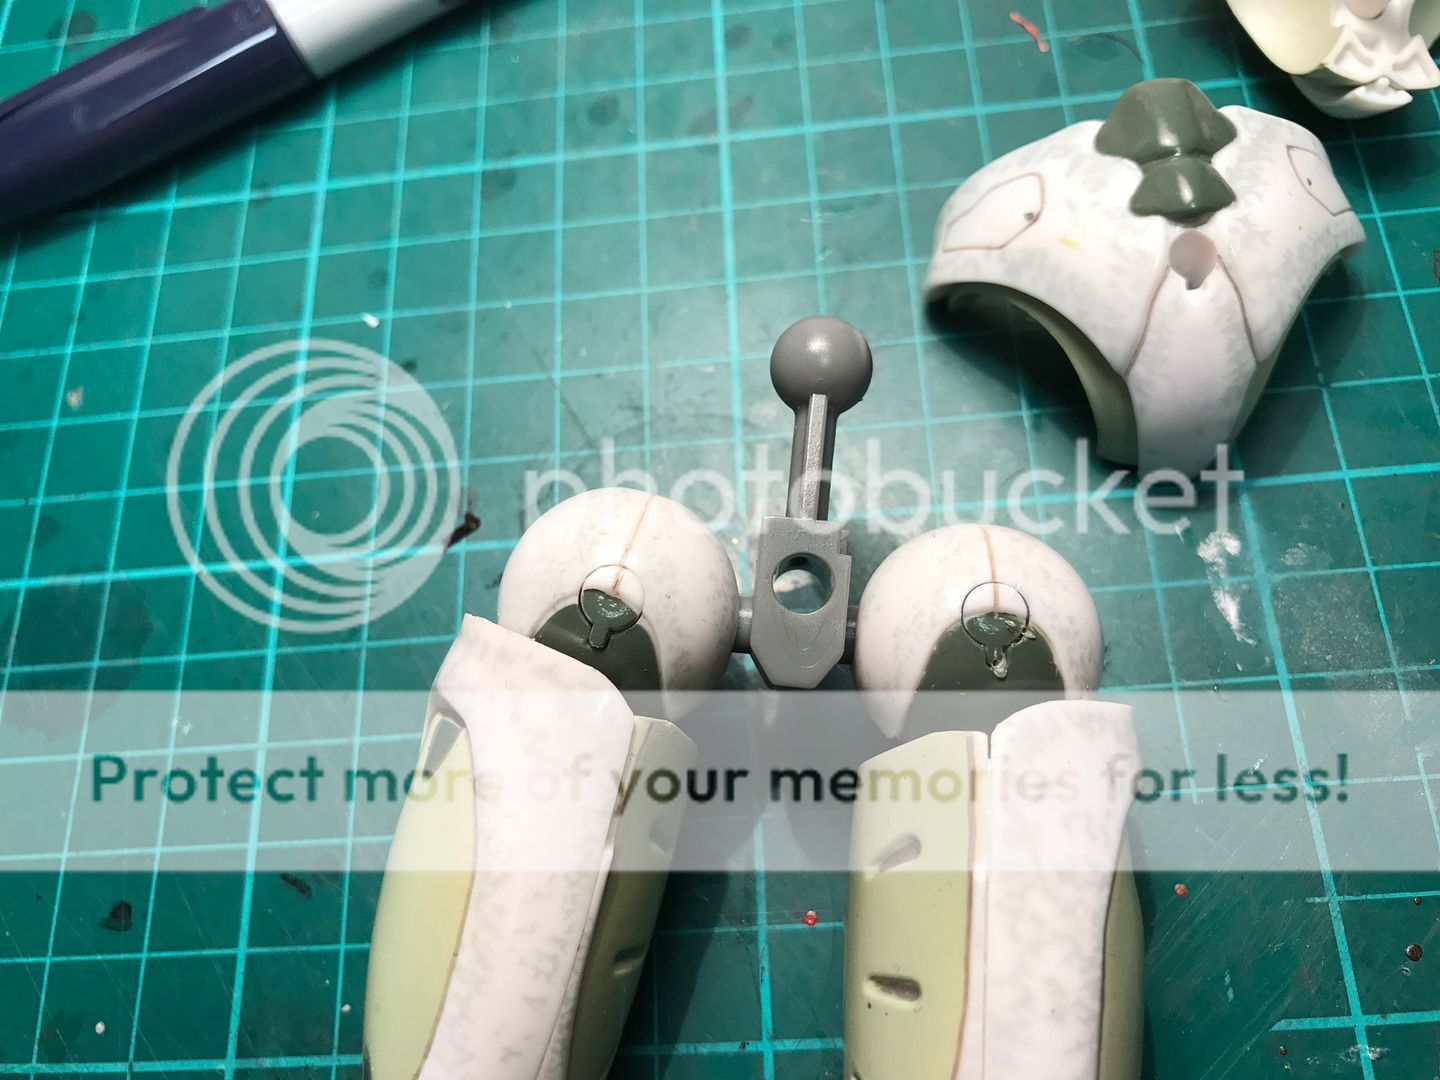
And with them removed:
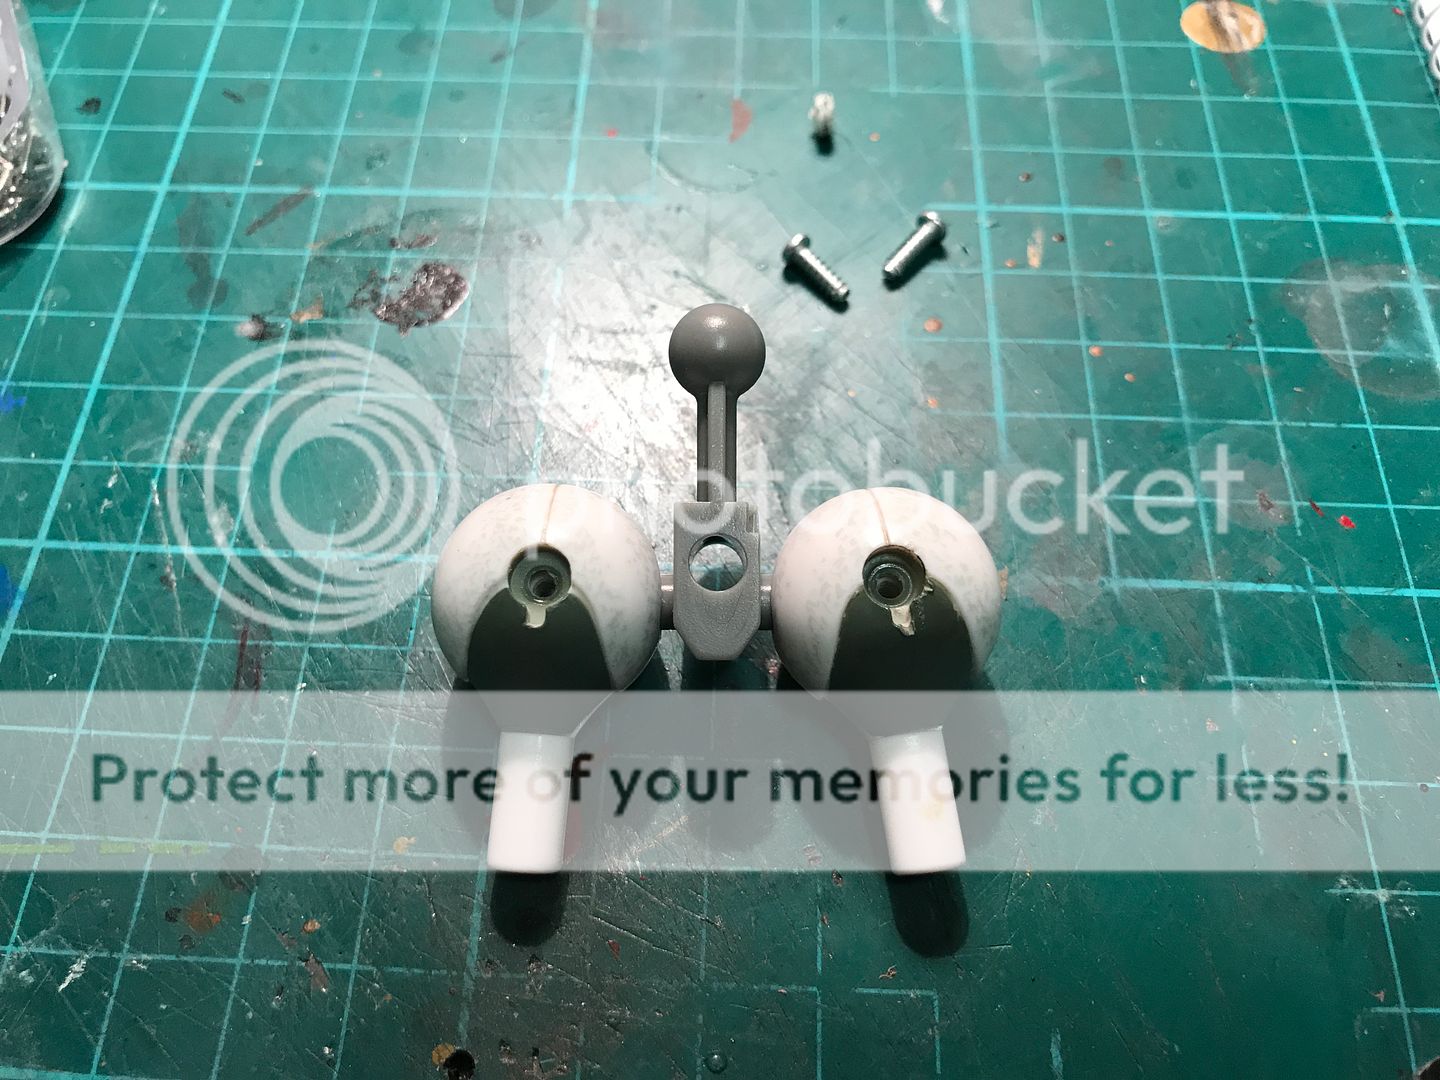
You see here the T-piece i mentioned before. The manufactured tolerances just allow for a bit less friction than is required. For an easy quick fix, i just lifted the t-piece out, put a couple of tiny blobs of blue tack on either side of the gape it fits into, and put it all back together again.
It's really tight now and if i ever have to alter it again, it's easy to get apart.
If you wanted to take your time, i'd recommend taking the separated t-piece and carefully painting it with a few layers of paint or the aforementioned polish. It will build it up and if you give it a few days to harden, will not "glue" the parts together as previously happened.
Obviously, as seen here, the legs just pop off the lower hip parts.
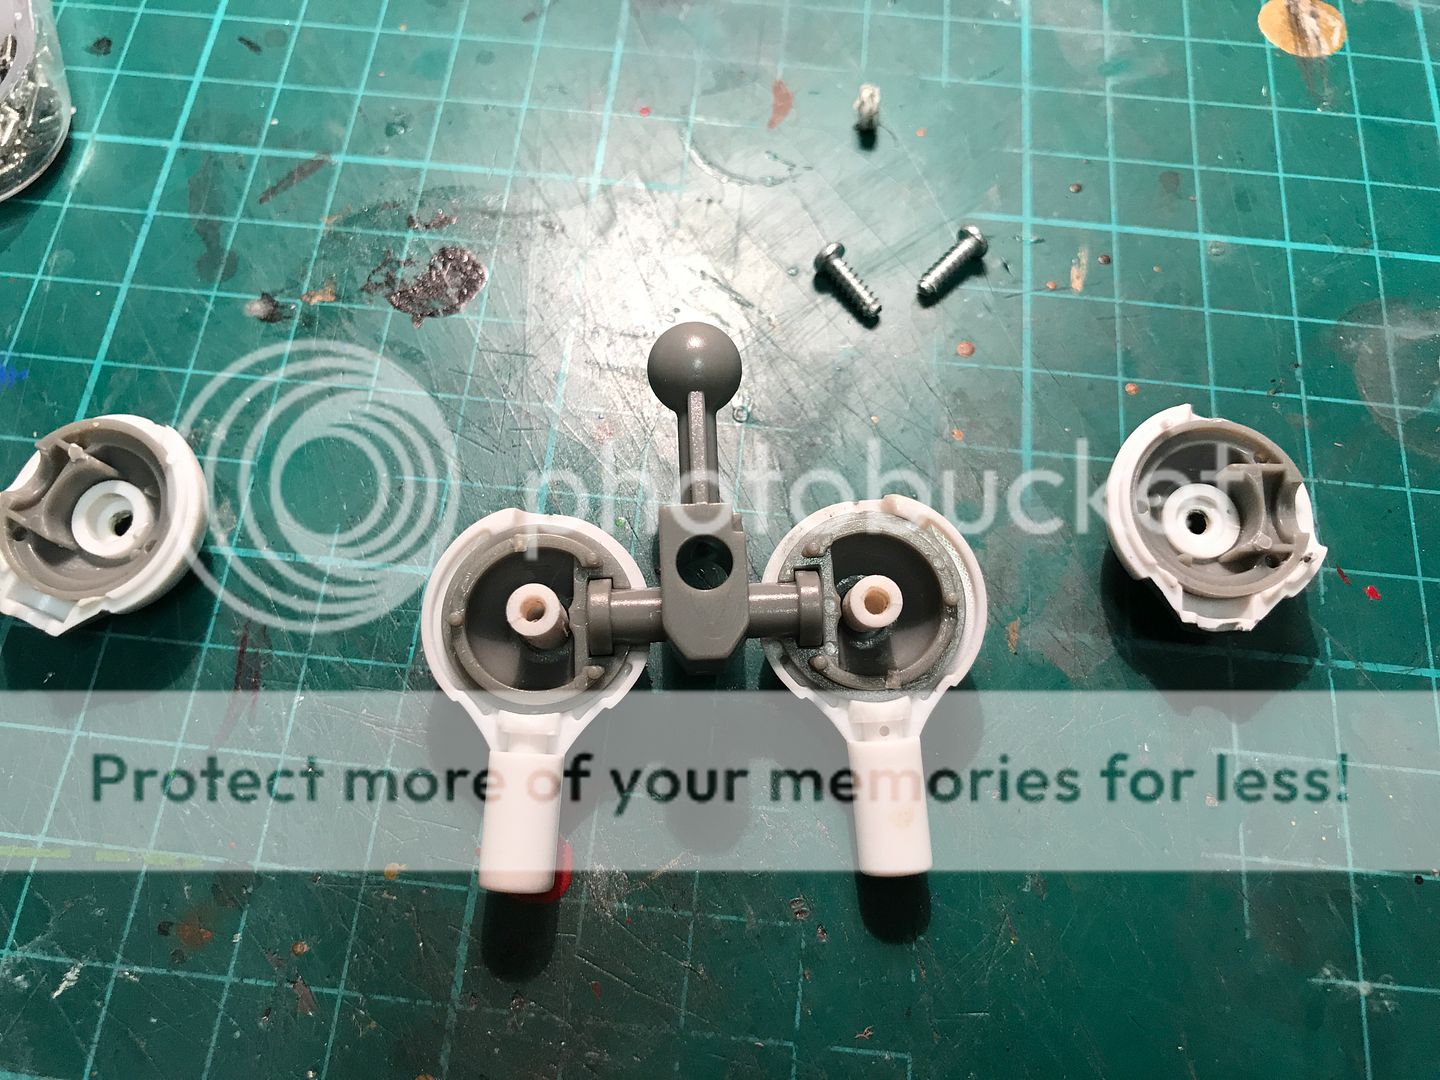
When you put it back together, the screw cover is damage right? That is what happen on mine when I took it apart. ENded up getting a replacement hip section. I guess, if you take it apart that far, you can also apply a little floor polish on the t area to get it thicker.
No worries. Glad to help.
can you tell us more about the section that requires drill?
do you know how to remove the wrist peg from the arm? mines broken.
monsterism
Freakalicious
- Joined
- Jan 6, 2017
- Messages
- 25
- Reaction score
- 0
When you put it back together, the screw cover is damage right? That is what happen on mine when I took it apart. ENded up getting a replacement hip section. I guess, if you take it apart that far, you can also apply a little floor polish on the t area to get it thicker.
Usually the cover is damaged slightly if it needed prised off. No-one is looking at it's ass anyway, lol.
can you tell us more about the section that requires drill?
do you know how to remove the wrist peg from the arm? mines broken.
It was just one of the screw covers on the hip ball joints. As for the peg, just use the same technique. Drill a very small hole in it and screw in a little screw. When the screw is deep enough, use a set of pliers on the screw to pull that(And the peg) out.
Awesome mate
No problemo.
It's easy to trip apart when you aren't worried about destroying a $50 doll, as opposed to a $200 one!

$14.99
DC Comics, 12-Inch Superman Action Figure, Collectible Kids Toys for Boys and Girls
Bopster USA Inc
Usually the cover is damaged slightly if it needed prised off. No-one is looking at it's ass anyway, lol.
It was just one of the screw covers on the hip ball joints. As for the peg, just use the same technique. Drill a very small hole in it and screw in a little screw. When the screw is deep enough, use a set of pliers on the screw to pull that(And the peg) out.
No problemo.
It's easy to trip apart when you aren't worried about destroying a $50 doll, as opposed to a $200 one!
hi, the wrist peg seems to be clamped between the arm, the peg is actually larger than the hole coming out of the wrist so i think to get it out you need to split the wrist up?
monsterism
Freakalicious
- Joined
- Jan 6, 2017
- Messages
- 25
- Reaction score
- 0
That is correct, same as the leg
monsterism
Freakalicious
- Joined
- Jan 6, 2017
- Messages
- 25
- Reaction score
- 0
So after applying WD40 to fix the tight joints, and using nail polish to tighten joints. I have to conclude this KO is everything I wanted as an art mannequin. I feel comfortable man handling the figure instead of worrying all the time on my original synthetic. If anything buying the KO has made me want an original again. So any artist should definitely cop this, you need to actually do some work to make it function 100% but besides from the passable paint job, hasbro like plastic its definitely a bargain.
So after applying WD40 to fix the tight joints, and using nail polish to tighten joints. I have to conclude this KO is everything I wanted as an art mannequin. I feel comfortable man handling the figure instead of worrying all the time on my original synthetic. If anything buying the KO has made me want an original again. So any artist should definitely cop this, you need to actually do some work to make it function 100% but besides from the passable paint job, hasbro like plastic its definitely a bargain.
Did you have to take everything apart on the hip to apply the fix?
Getoninja
Super Freak
got the KO last week. Took about 2 weeks from China to California.
had Ebay bucks and paid about $44shipped.
Even at $44 for a basically nude figure, took me a few days before I bought the robot. But at the end it was well worth it.
For a KO, the box is not cheaply made, and figure is good quality.
Most joints were firm to tight, unfortunately have the loose ball hip joint swivel.
I was able to take apart the head and remove the eyes, which are all glued together to the skull.
But the eyes do not lock into the eye sockets, they tend to fall back in the head easily. I plan to mod the inside to fix this issue. Will also remove the plastic pegs on the eyes and replace them with metal pegs for strength .
overall a great robot figure
box was wrapped in foam sheet pieces. Did have few dents from shipping but box was not damaged.
maybe better than double box from HotToys/Sideshow
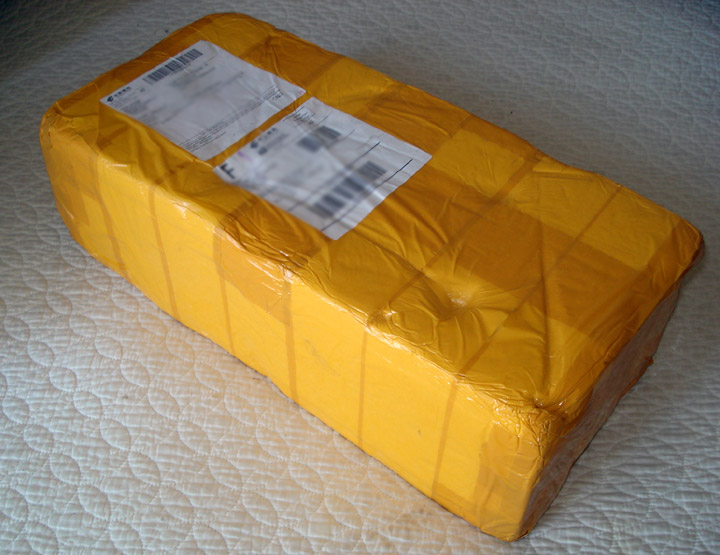
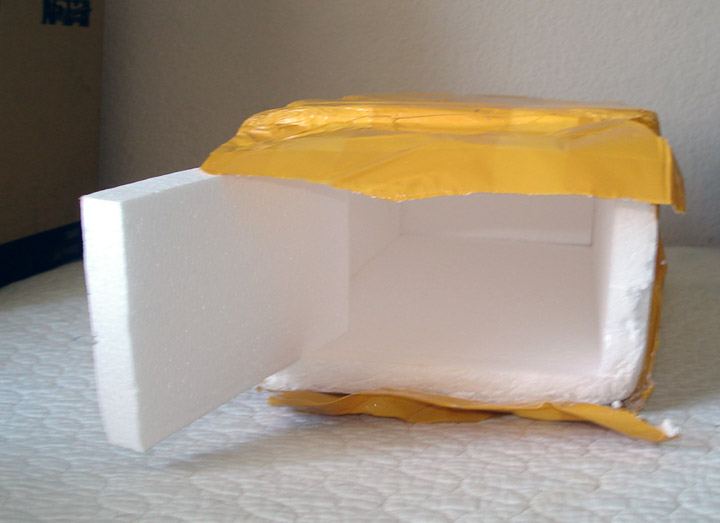
The box does have a crease dent but I'm pretty sure this was done before it was packed. Cause the foam package did not have any dents to align the crease dent.
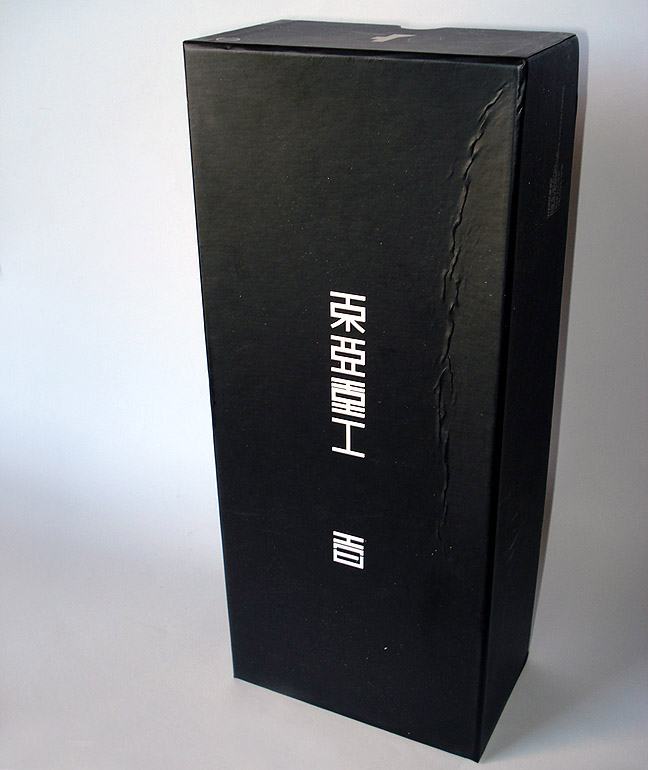
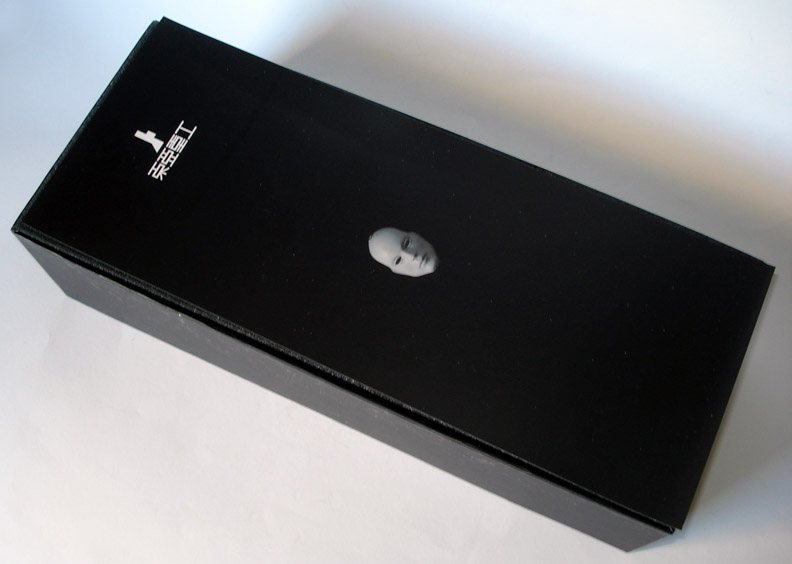
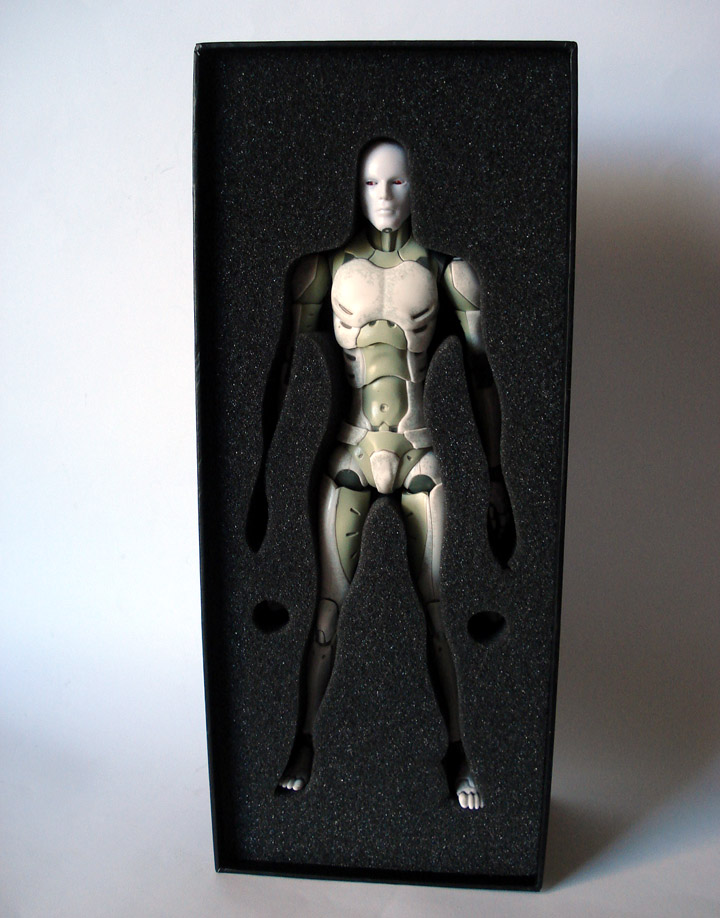
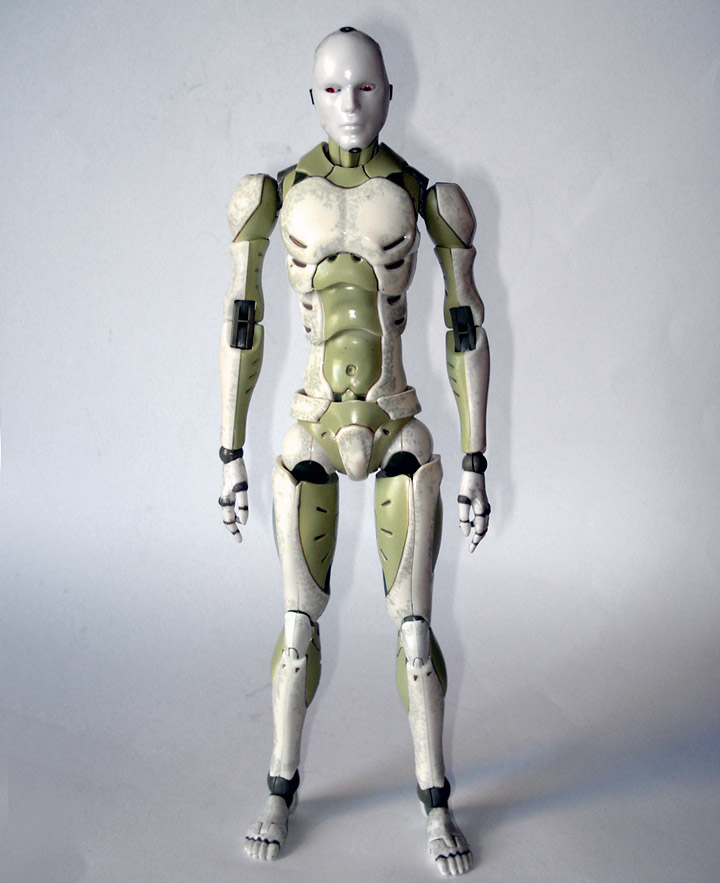
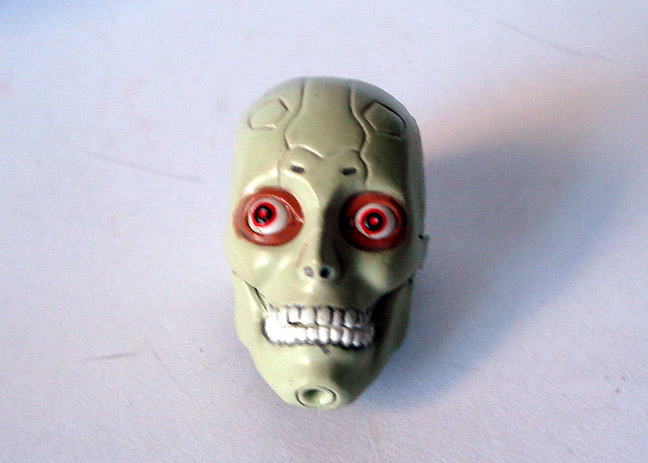
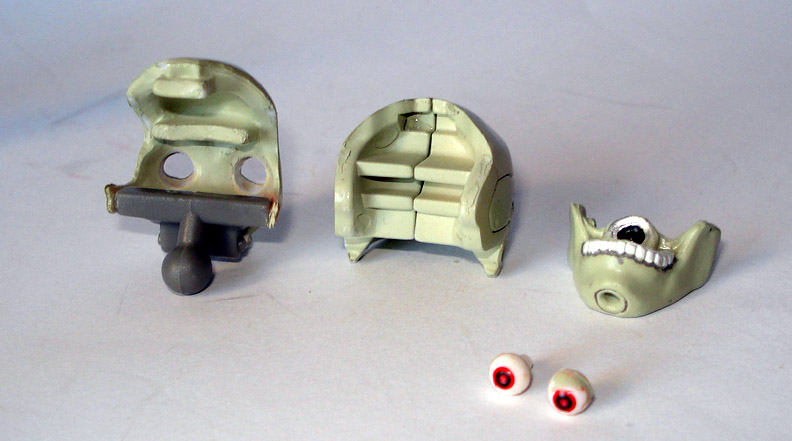
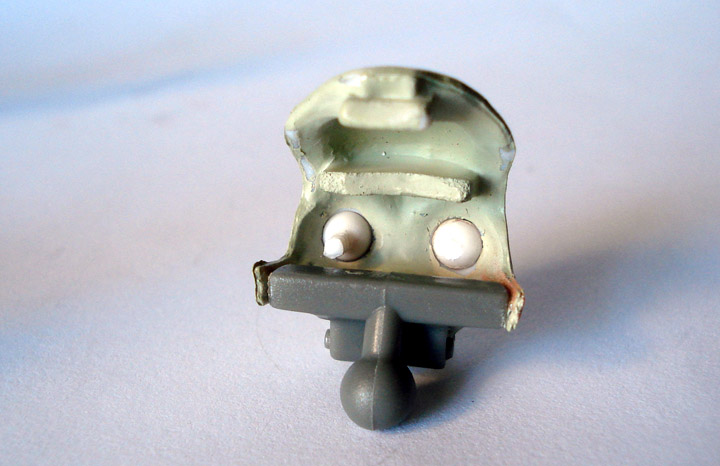
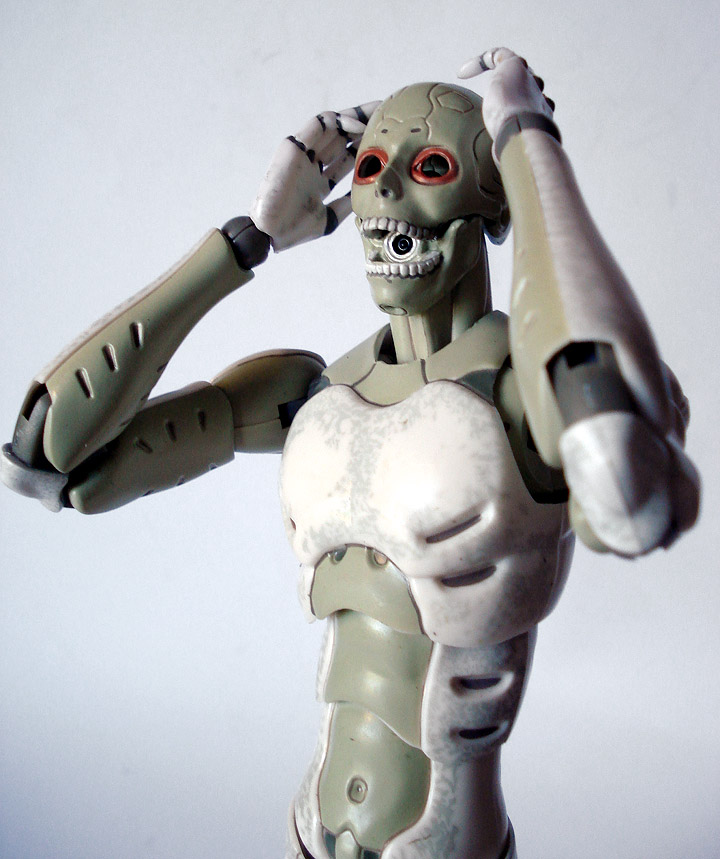
had Ebay bucks and paid about $44shipped.
Even at $44 for a basically nude figure, took me a few days before I bought the robot. But at the end it was well worth it.
For a KO, the box is not cheaply made, and figure is good quality.
Most joints were firm to tight, unfortunately have the loose ball hip joint swivel.
I was able to take apart the head and remove the eyes, which are all glued together to the skull.
But the eyes do not lock into the eye sockets, they tend to fall back in the head easily. I plan to mod the inside to fix this issue. Will also remove the plastic pegs on the eyes and replace them with metal pegs for strength .
overall a great robot figure
box was wrapped in foam sheet pieces. Did have few dents from shipping but box was not damaged.
maybe better than double box from HotToys/Sideshow


The box does have a crease dent but I'm pretty sure this was done before it was packed. Cause the foam package did not have any dents to align the crease dent.


Attachments
Thanks for the good advice and photos everyone.
Getoninja, can you post a link to your eBay seller's listing? I have been waiting for about 60 days for my purchase. Thanks.
Getoninja, can you post a link to your eBay seller's listing? I have been waiting for about 60 days for my purchase. Thanks.
monsterism
Freakalicious
- Joined
- Jan 6, 2017
- Messages
- 25
- Reaction score
- 0
Did you have to take everything apart on the hip to apply the fix?
Yup, thanks again
Chiefrocka
Super Freak
Would you say USD 215 shipped for a 2016 reissue Synthetic Human (1/6) is good?
Yes.. any more where that came from? Lol
monsterism
Freakalicious
- Joined
- Jan 6, 2017
- Messages
- 25
- Reaction score
- 0
Awww crap, added too much polish on the torso and the joint snapped
Awww crap, added too much polish on the torso and the joint snapped
The Torso seems tight on both of mine, why did you add more on it?
I broke the wrist peg though. so becareful.
monsterism
Freakalicious
- Joined
- Jan 6, 2017
- Messages
- 25
- Reaction score
- 0
The Torso seems tight on both of mine, why did you add more on it?
I broke the wrist peg though. so becareful.
It wasn't really tight on mine, it was acceptable but not the torso is broke.
However, managed to just bung it full of blu tack so while the 2nd segment doesn't move anymore at least I can still do ab crunch and rotate.
monsterism
Freakalicious
- Joined
- Jan 6, 2017
- Messages
- 25
- Reaction score
- 0
I snapped my hip joint because I put too much polish on mine too couple pages back. The KO plastic is super fragile and cheap.
How did you fix the joint?
Similar threads
- Replies
- 4
- Views
- 1K
- Replies
- 10
- Views
- 4K
- Replies
- 27
- Views
- 14K


