Attn: Custom Artists!! Newbs, ask Questions here!

Collector Freaks Forum

Help Support Collector Freaks Forum:

This site may earn a commission from merchant affiliate links, including eBay, Amazon, and others.
Re: ATTENTION all Custom Artists!!

A friend of mine that used to work on prosthetics for video productions suggested mixing acrylic paint with rubber cement but I never tried it.
 
Re: ATTENTION all Custom Artists!!

what type of necks do the hot toys batman figures have? does anyone have any pics?
 
Re: ATTENTION all Custom Artists!!

the gloss effect i'm looking to do with my HT Batman rubber boots is this

BatmanRealSuit42.jpg
 
Re: ATTENTION all Custom Artists!!

well it really depends of the sculpt
most of the HT Batman figs have sculpted neck connected with the head
but here are the necks you use with the Bruce Wayne heads

https://cgi.ebay.com/HOT-TOYS-1-6-B...hash=item260326195914&_trksid=p3286.m63.l1177

and i think this is the adapter you use for the sculpted necks if i'm not mistaken

https://cgi.ebay.com/1-6-HOT-TOYS-B...5|66:2|65:12|39:1|240:1318|301:1|293:1|294:50

what about the joker heads: each of them:confused::confused:
 
Re: ATTENTION all Custom Artists!!

the Joker heads have sculpted necks, so you would need the adapter
Two-Face's neck is sculpted as well
the only one that has a seperated neck are the Bruce Wayne headsculpts
 
Re: ATTENTION all Custom Artists!!

Instead of drilling out a neck post, another option would be to slush cast your head instead of filling the whole mold with the liquid plastic.
Just pour about a 1/4 of plastic into the mold and "work" the liquid around the mold until it sets up.
Get about 1/8" thickness around the neck area so that it would be able to fit over the neck post.
On a side note if you are getting into this hobby a dremel is still a must have!

That's a good idea! I've always poured the resin in to the top, but this might be a good alternative. I'll save a bit of resin at least!
Thanks for the tip!
 
Re: ATTENTION all Custom Artists!!

Instead of drilling out a neck post, another option would be to slush cast your head instead of filling the whole mold with the liquid plastic.
Just pour about a 1/4 of plastic into the mold and "work" the liquid around the mold until it sets up.
Get about 1/8" thickness around the neck area so that it would be able to fit over the neck post.
On a side note if you are getting into this hobby a dremel is still a must have!

DSC06744.jpg

i dont think i understand this, what does slush mean?
how would you do this for a sculpted neck (ht joker)?
 
Re: ATTENTION all Custom Artists!!

the Joker heads have sculpted necks, so you would need the adapter
Two-Face's neck is sculpted as well
the only one that has a seperated neck are the Bruce Wayne headsculpts

what type of smooth-on works best for a sculpted neck?
and what's the easiest way to carve out a neck?
:confused::confused::confused::confused::confused:
 
Re: ATTENTION all Custom Artists!!

A slush mold is when you put a little resin in the mold and while it is 'slushy' keep turning it so it coats the inside of the mold while leaving it hollow.
 
Re: ATTENTION all Custom Artists!!

and how would this work if you're using a joker head, with a sculpted neck???
 
Re: ATTENTION all Custom Artists!!

if i was to cast a joker head, with a sculpted neck, how would i approach this, in any style????

with the slush mold, how would the casted head stay on the neck????

how would i do a slush mold for a sculpted neck???
 
Re: ATTENTION all Custom Artists!!

if i was to cast a joker head, with a sculpted neck, how would i approach this, in any style????

with the slush mold, how would the casted head stay on the neck????

how would i do a slush mold for a sculpted neck???

Well, if you used the slush method for a molded head that had a neck sculpted onto it, you'd just have to make sure that the resin made it out onto the neck area while you were slushing.

The neck and the head would be hollow, and would just slide over the neck post. You'd probably have to glue it on though, because it's really hard to make a neck perfectly adapted to stay firmly on the post and also just pop off when you want it to..

I personally don't use the slush method, I just fill the mold completely to the top and then use a dremel or other rotary tool to carve out the neck area so it will fit on a neck post. But to each their own...
 
Re: ATTENTION all Custom Artists!!

Well, if you used the slush method for a molded head that had a neck sculpted onto it, you'd just have to make sure that the resin made it out onto the neck area while you were slushing.

The neck and the head would be hollow, and would just slide over the neck post. You'd probably have to glue it on though, because it's really hard to make a neck perfectly adapted to stay firmly on the post and also just pop off when you want it to..

I personally don't use the slush method, I just fill the mold completely to the top and then use a dremel or other rotary tool to carve out the neck area so it will fit on a neck post. But to each their own...

could you explain how to use the dremel to carve out a sculpted neck???
that is what i am leaning towards.
 
Re: ATTENTION all Custom Artists!!

could you explain how to use the dremel to carve out a sculpted neck???
that is what i am leaning towards.

It's easy! When you pull out your freshly casted head, the neck should be pretty flat on the bottom...where you poured it.

You take that in your hand, grip it securely with the neck sticking up. Get the Dremel tool, with a tip on it that will drill a round hole without a problem (usually I use one that the carver has a cylindrical shape).

You turn the dremel on and carefully begin carving in the middle of the flat part of the neck. First and foremost you shape the edges of the area you are carving..

Imagine a circle within a circle. You don't want the circles to intersect at all, that way the wall of the neck is still strong and won't break. You carve a good 2 or 3 inches into the neck, until it fits on the adapter you want it to. Some need you to go deep, some don't.

You will figure it out over time, it takes practice and patience. Just do it carefully and slowly, and you will be just fine.
 
Re: ATTENTION all Custom Artists!!

Yeah what Josh said, and he even still has most of his fingers too.. :rotfl
 
Re: ATTENTION all Custom Artists!!

Well, if you used the slush method for a molded head that had a neck sculpted onto it, you'd just have to make sure that the resin made it out onto the neck area while you were slushing.

The neck and the head would be hollow, and would just slide over the neck post. You'd probably have to glue it on though, because it's really hard to make a neck perfectly adapted to stay firmly on the post and also just pop off when you want it to..

^^^ Exactly what DA said. Heres a quick tutorial on the slush method with a head with a sculpted neck fitting on to a Hot toys neck.

Step
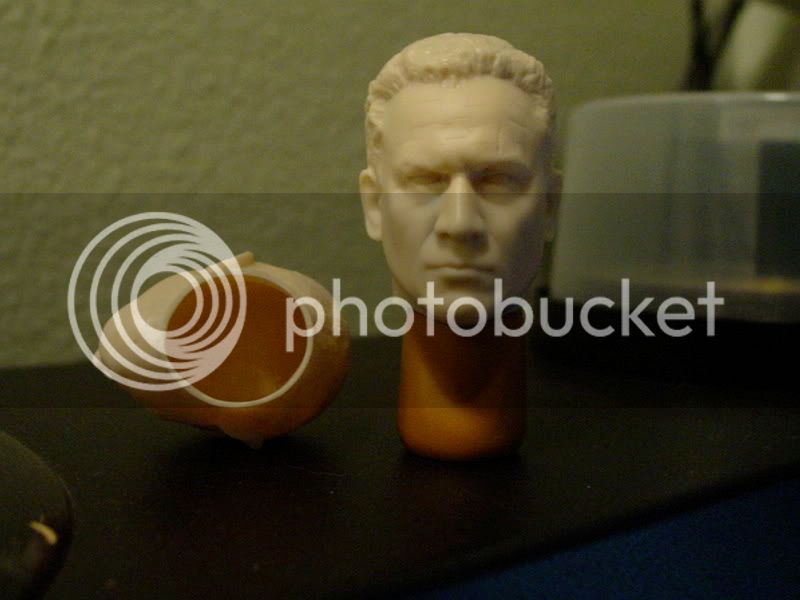
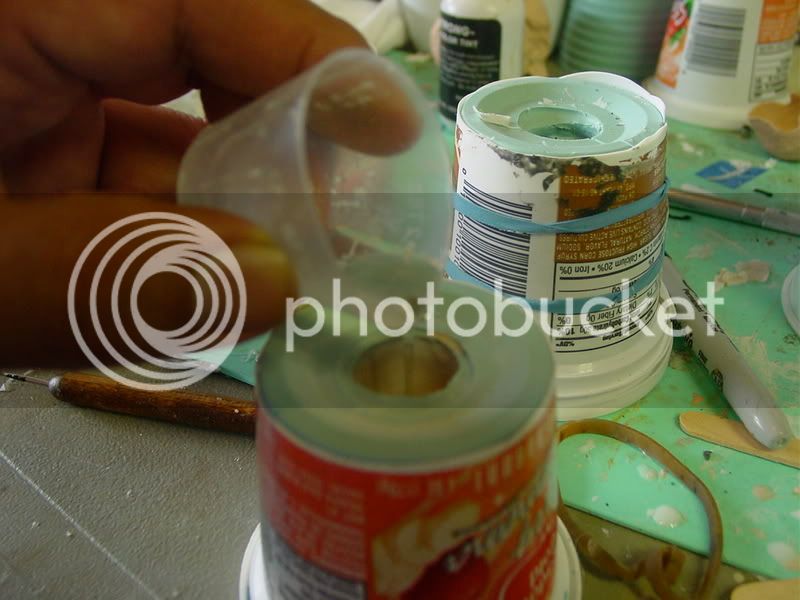
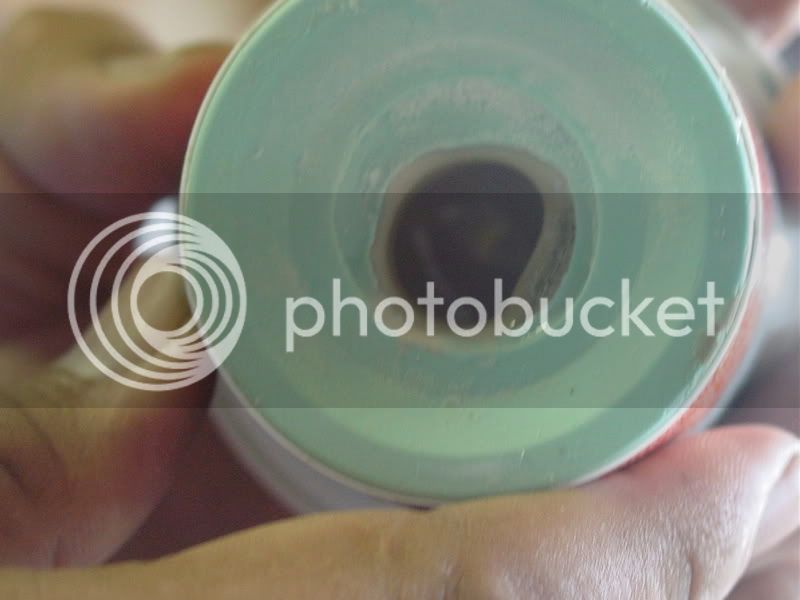
1. Here is a simple one piece mold made with Smooth on Omoo 25 Silicone. It has a layer of resin inside that has been "slushed", the head inside is hollow but is very thin.
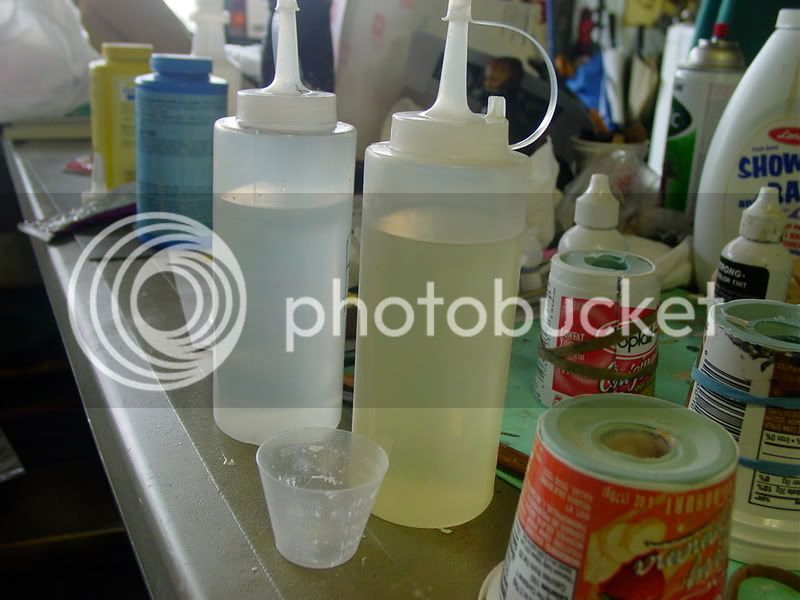
2. This shows the casting resin, here I'm using Smooth cast 300. It sets up in about 4-5 minutes.
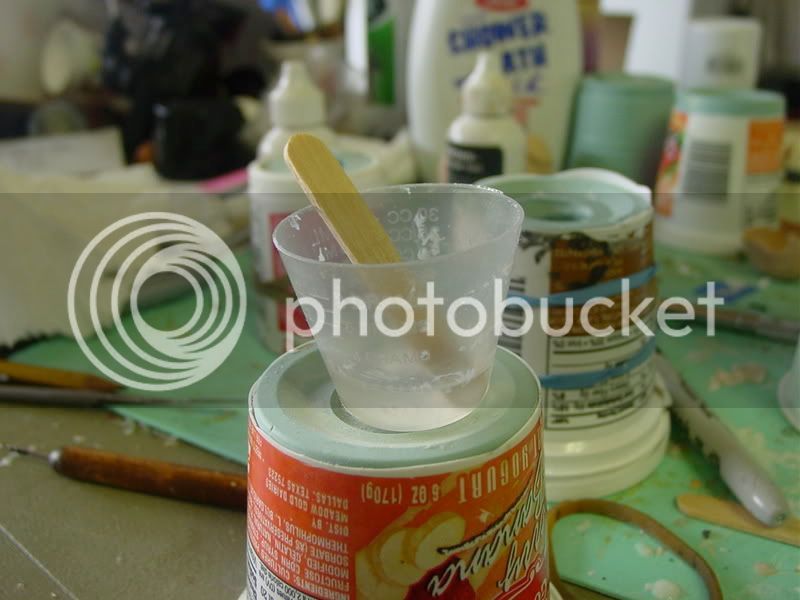
3. You need to mix equal parts of "A" and "B" together till you get all the streaks out.
4. Quickly pour it into the mold.
5. Now as the resin begins to "gel" you keep turning/spinning the resin around within the mold especially towards the neck area. You would want to build this area up thick enough to fit over the neck piece.
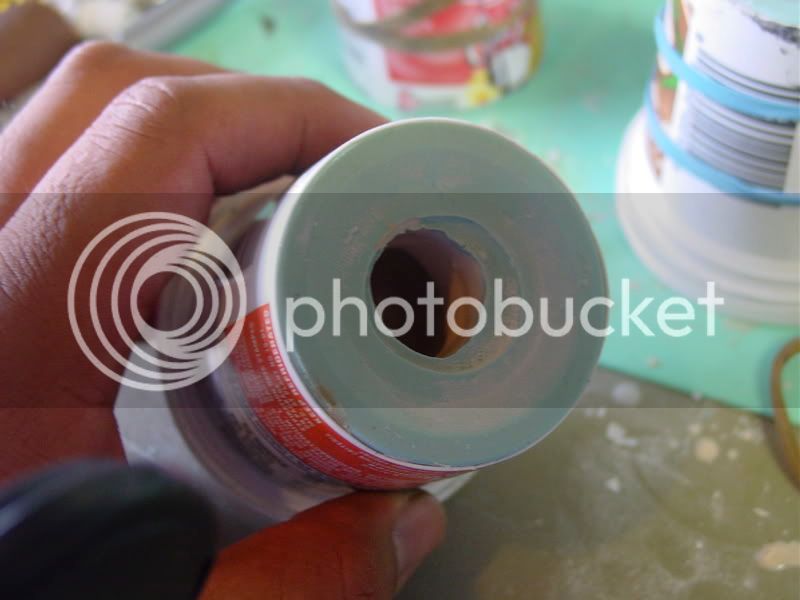
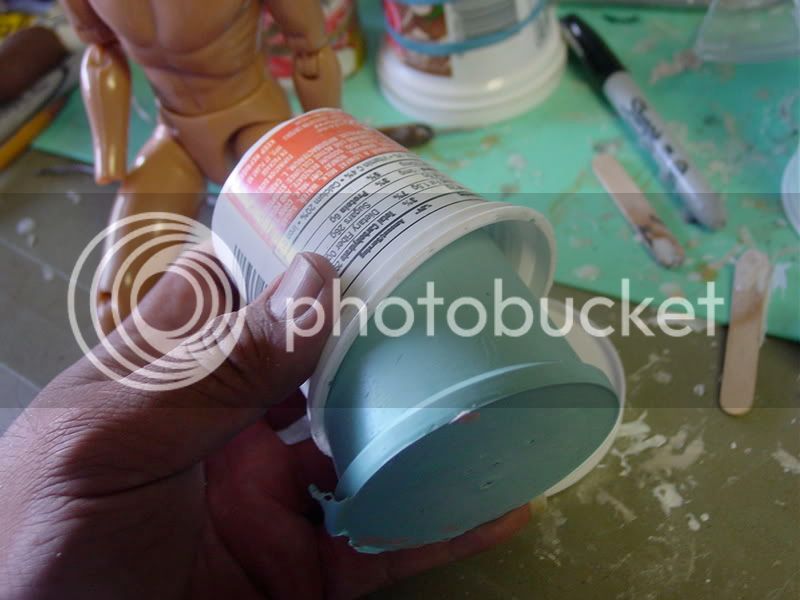
6. After that sets up around 5 minutes remove the mold from the outer shell. In this example I'm using the yogurt cup I made the mold out of with the bottom cut out.
7. Remove the head.
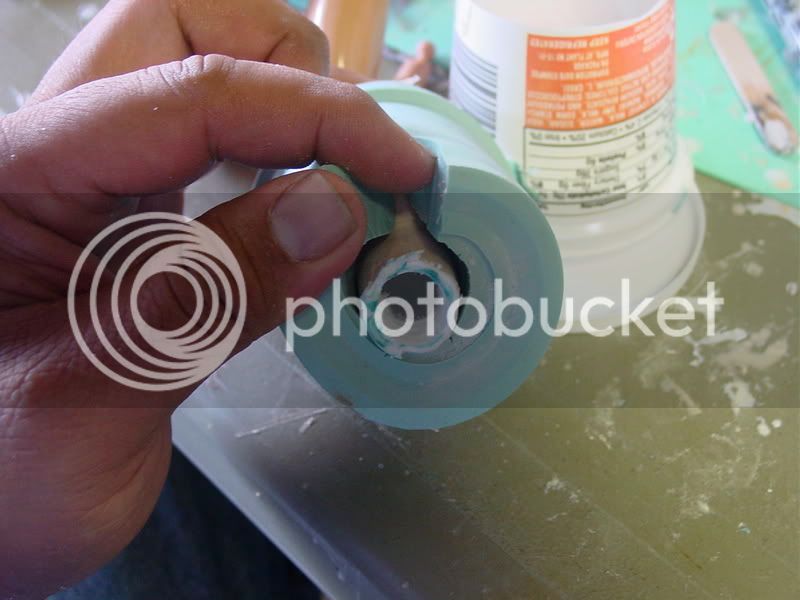
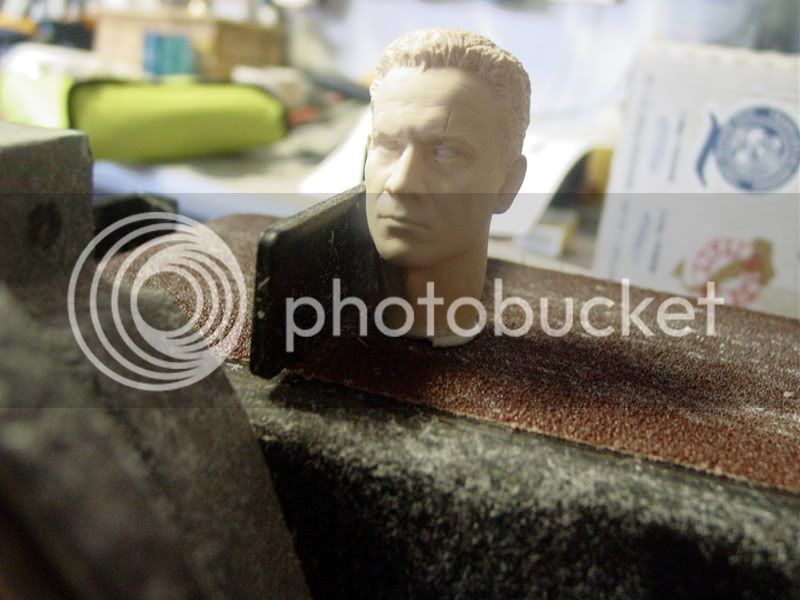
8. As you can see the bottom of the neck is uneven due to the slushing process so you need to sand it down flat so that it fits flush on the neck post and to the proper height. Also you still need to dremel out the inside of the neck to get that perfect fit.
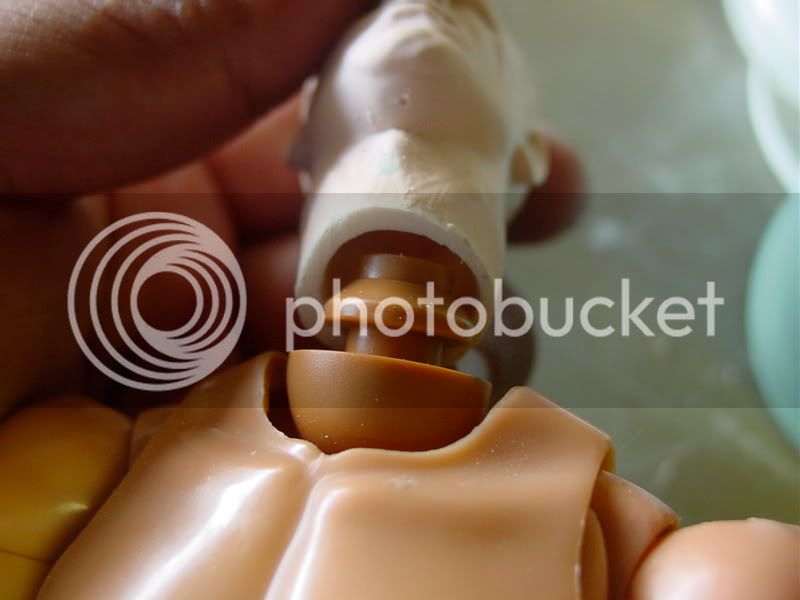
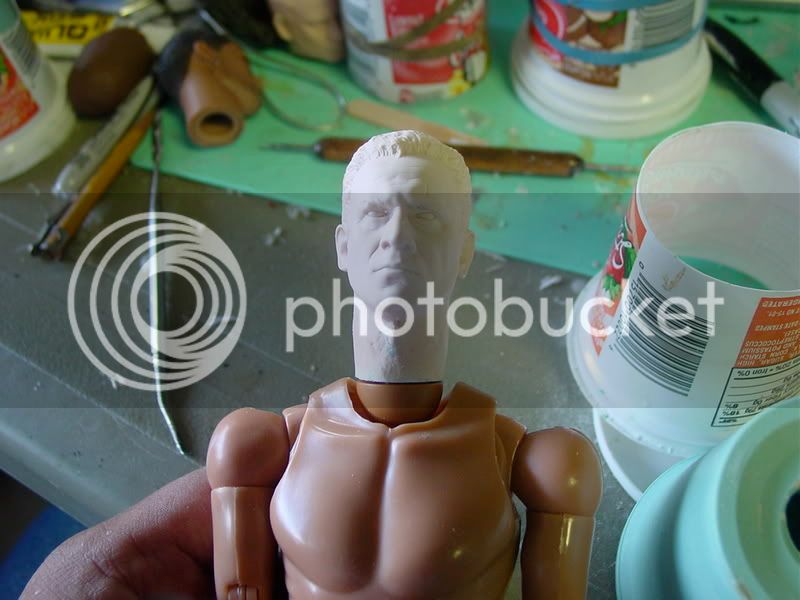
9. Next simply pop head on to the Hot Toys neck. As DA pointed out it would be a good idea to glue the head onto the neck post for a nice snug fit. I recommend using rubber cement so the head is not permanently glued on.
Again this is one way of doing it, if you are doing a lot of casts I would use the two part mold. No dremeling or sanding for that method.
Sorry about being so long, hope this helps.
DSC06788.jpg

DSC06789.jpg

DSC06790.jpg

DSC06792.jpg


DSC06796.jpg

DSC06798.jpg

DSC06799.jpg

DSC06800.jpg

DSC06801.jpg

DSC06803.jpg
 
Re: ATTENTION all Custom Artists!!

Well, if you used the slush method for a molded head that had a neck sculpted onto it, you'd just have to make sure that the resin made it out onto the neck area while you were slushing.

The neck and the head would be hollow, and would just slide over the neck post. You'd probably have to glue it on though, because it's really hard to make a neck perfectly adapted to stay firmly on the post and also just pop off when you want it to..

^^^ Exactly what DA said. Heres a quick tutorial on the slush method with a head with a sculpted neck fitting on to a Hot toys neck.

Step
1. Here is a simple one piece mold made with Smooth on Omoo 25 Silicone. It has a layer of resin inside that has been "slushed", the head inside is hollow but is very thin.
2. This shows the casting resin, here I'm using Smooth cast 300. It sets up in about 4-5 minutes.
3. You need to mix equal parts of "A" and "B" together till you get all the streaks out.
4. Quickly pour it into the mold.
5. Now as the resin begins to "gel" you keep turning/spinning the resin around within the mold especially towards the neck area. You would want to build this area up thick enough to fit over the neck piece.
6. After that sets up around 5 minutes remove the mold from the outer shell. In this example I'm using the yogurt cup I made the mold out of with the bottom cut out.
7. Remove the head.
8. As you can see the bottom of the neck is uneven due to the slushing process so you need to sand it down flat so that it fits flush on the neck post and to the proper height. Also you still need to dremel out the inside of the neck to get that perfect fit.
9. Next simply pop head on to the Hot Toys neck. As DA pointed out it would be a good idea to glue the head onto the neck post for a nice snug fit. I recommend using rubber cement so the head is not permanently glued on.
Again this is one way of doing it, if you are doing a lot of casts I would use the two part mold. No dremeling or sanding for that method.
Sorry about being so long, hope this helps.

thanks...what's the two-part mold???
 
Re: ATTENTION all Custom Artists!!

Hey Villiansfan,
Check out this link here. This has a tutorial on how to create a mold with a neck post opening.
I haven't done this myself, cause I prefer the ease of a single split glove mold. But it seems like what you need if you don't have a dremel!
Good Luck!
By the way, I love the smooth on stuff. I use the Oomo 25 for the molds and the smooth cast.

This one.:joy
 
Back
Top