Boba Fett Customizations/Modifications: Image Thread

Collector Freaks Forum

Help Support Collector Freaks Forum:

This site may earn a commission from merchant affiliate links, including eBay, Amazon, and others.
What benefit did you find from this? just curious lol

Black electrical tape turns to mush in a year or 2, watch out in case you get a sticky gunky mess!

I read it on this thread I think.

Yes Mortifactor, good point indeed. Well I can still switch the bottom legs portion in the near future.

I would just have to remember..:lol
 
[/B]
I read it on this thread I think.

Yes Mortifactor, good point indeed. Well I can still switch the bottom legs portion in the near future.

I would just have to remember..:lol

might be worth keeping the tt slim lower legs, but getting some HT ball ankles to replace ssc pegs and save the worry, I've had to throw screwdrivers out before cus of the gunk, but WD40 may have got rid of it in hindsight.
 
might be worth keeping the tt slim lower legs, but getting some HT ball ankles to replace ssc pegs and save the worry, I've had to throw screwdrivers out before cus of the gunk, but WD40 may have got rid of it in hindsight.

Ironic that I have the Medi-Fett boots attached to the HT TT lower legs.

Thanks Mortifactor. Sounds like a good small project this weekend.

:duff
 
I was checking out the Tomy helmets and wondered how that one stacks up to the Medi and SS?
 
The first Iron Man MK 1
View attachment 53475
desuzyqy.jpg
 
I was doing the vest mod when I got a little overexcited and cut too close to the little peg - is superglue still the best way to go? Any other suggestions if any works better?

Thanks
 
View attachment 53879

View attachment 53880

View attachment 53881

View attachment 53882

View attachment 53883I ended up redoing my whole flak vest alltogether becuase i ruined mine you should see it it makes you cry . I started by repositioning the armour plates i then superglued them - bad idea !!!!!! because if you make an error , it will pull the material off . i then repainted the jacket to its true off whiteish grey colour - bad idea the paint cracked atfer a while . So yeah ruined .

BUT ................. I decided hey you know what , I am going to sew and make a whole new jacket bloddy scary thought min you but it is possible and easy .

SHORT STORY
First you need to find the material you wnat to use and the colour . I Then traced the shape of the original jacket (pulled apart) onto baking paper , then cut it out and traced around the cut out shape on to the material. I then sewed together the main seams and made the sleeves . I Glued the edges after folding them , then checked to make sure it fiited him tightly . I then got some adhesive velcro tape and placed on the back just like the original . ONCE I was happy with the look , I then HOT GLUED the armour on , i sued hot glue because if you stuff it , you can heat it up with hair dryer and move it around. THis allowed me to get perfect positioning which looked even better than the damn original . My biggest headache was the shoulder armour positioning , and it tooka few goes but I nailed it . ONce i attached the homemade redone wookie braids he was ready to reassemble . I repainted the neck to match the material i used and then added weathering to the new vest . I added extra weathering to the whole figure for more better detailing . I also repainted the back of the helmet to match exactly like the movie version . The outcome - is wow even better than when i first got him. You see the Armour colurs are correct , it the original colour of the original jacket that makes the armour look pale green - its a contrasting issue trust me ,because when i added my offwhite newly made jacket the green looks alot darker - illusion perhaps - no this is how it should look . the only disappointment now is the missing triangle imprints on his helmet - does anyone have any suggestions ?

Cheers -- also here is some photos , and i have also kept templates of the jacket should anyone need them to remake theirs. I used a material that has a backing on it that i think you use for curtains that keeps the sunlight out .
 
Last edited:
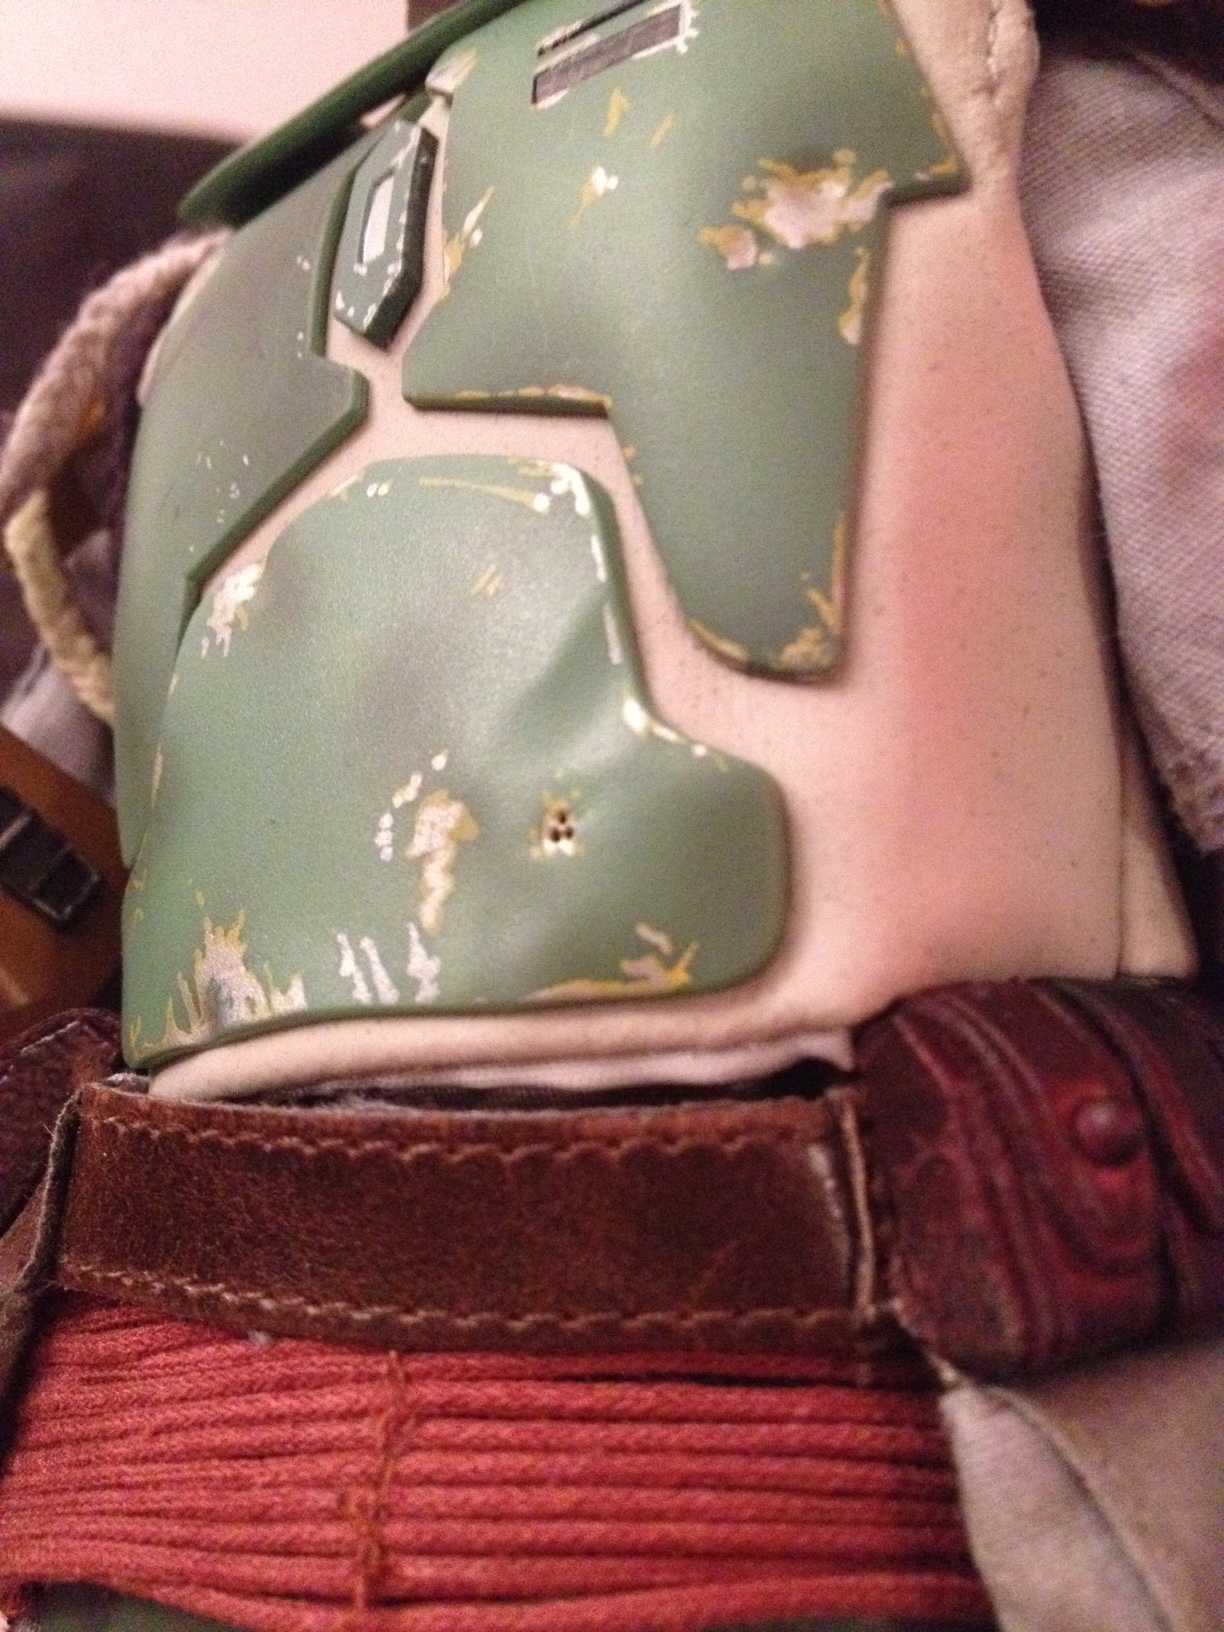
For those of you who successfully curved the edges of the ab armor, how did you do it? I tried to do it with a hair dryer and it ended up warping and bubling one side... The plastic completely buggered itself up beyond repair. So tonight I dropped 40 bucks for a spare chest armor on eBay

How do I not **** this up twice?
 
HI Raymond

Ive done a lot of research on the ESB Boba , heres a link for a better view of teh ESB suit .

https://www.rebelscum.com/gallery/fett-pw/default.asp

Definitley check this out , you will notice that AB Armour really isnt curved , but heres a tip you could try , Hot glue each side to the jacket tat way its nice and tight and will semi curve around his lower abs . Thats what i did for mine , most people dont realise the AB armour , and teh paint colours are dead on to the original custome , check the the links and you will see what i mean . The only thing thta is different is the flak jacket colours and the sleeves arnt matching . The only realy issue that bugs me now is the missing the triangles on his helmet - im so frustrated but i can live with it . You should definitley check out this link , you will feel better about your boba thats for sure.

the ssc chest armour is lighter than those pics, and the ssc helmet is too vivid a green compared to any pic ive seen of the real screen one (doing a repaint atm, taking forever though) also i'd be careful about using replicas/fan things for reference

here, the chest looks curved
ESB_BobaFett_Ref_1.jpg
 
yeah your probably right , i guess it does look kinda curved in that promo picture . I got mine to curve around a bit on my rebuilt jacket . regards to the green though I believe its to do with the contrast of the Tan jacket compared to offwhite or grey white colurs . As soon as I made my new jacket the green armour appeared alot darker . The helmet is a little brightish green should be more greyish green ,but after carfeul video watching the colour seems almost spot on except for the rear plates . The thing i did notice that was different was the shape of the armour plates on the shoulders, they seem to be squared instead of rounded is my eyes playing trickes or is the shoulder armour the wrong shape ??
 
the ssc chest armour is lighter than those pics, and the ssc helmet is too vivid a green compared to any pic ive seen of the real screen one (doing a repaint atm, taking forever though) also i'd be careful about using replicas/fan things for reference

here, the chest looks curved
ESB_BobaFett_Ref_1.jpg

Looking at this pic I have to say Medi's cape is better looking in color, material, ánd the way it attaches.
 
For those of you who successfully curved the edges of the ab armor, how did you do it? I tried to do it with a hair dryer and it ended up warping and bubling one side... The plastic completely buggered itself up beyond repair. So tonight I dropped 40 bucks for a spare chest armor on eBay

How do I not **** this up twice?

I cut the back of the chestplate into smaller sections (max have one entire chestplate on a separate piece of plastic backing). Prepare 2 cups of water, one near boiling and one cold. When you're ready to shape, dip it in the near boiling water. It shapes easier there. (use gloves as the water can get you after a bit) Once you have the curve you want, dip it in the cold water and it should stay in that shape. I DID get a bit of plastic warp on the back, but since it was already cut into individual plates, no serious warping occurred. Nothing that's not concealable once the vest is on.

You can also use that water to water treat the braids at the same time. :)
 
Thanks guys! It was actually the FRONT of the plate that warped on me. I actualy also cut the back clear plastic into different sections, in fact I ripped the plate right off the rivits when bending it.

it looked like it could have been a massive armor ding but the fact that it is inaccurate and technically ruined just ate at me. I will maybe have to try water instead of a dryer.

49022069.jpg
 
Thanks guys! It was actually the FRONT of the plate that warped on me. I actualy also cut the back clear plastic into different sections, in fact I ripped the plate right off the rivits when bending it.

it looked like it could have been a massive armor ding but the fact that it is inaccurate and technically ruined just ate at me. I will maybe have to try water instead of a dryer.

Water can still warp it so be careful, mine warped in water but luckily it was so minor I sanded it out prior to repaint. I guess the way around it is to do it for very little time over and over, hot, 10 second wait, cold, over and over rather than 1 big soak.
 
the ssc chest armour is lighter than those pics, and the ssc helmet is too vivid a green compared to any pic ive seen of the real screen one (doing a repaint atm, taking forever though) also i'd be careful about using replicas/fan things for reference

here, the chest looks curved
ESB_BobaFett_Ref_1.jpg

Yup. The correct poly/floquil colors for Fett's helmet are:

Panzer Oligrun - Dome and lower cheeks
German RLM73 Green - Back of helm
PRR Brunswick Green - Upper cheeks
Caboose or Boxcar Red - T-visor mandibles
Reefer Grey, Concrete and Chrome - Dents/scratches
 
Back
Top